
If you have been looking for fun ways to add a personal touch to your garden, DIY planters could be the way to go. All you need is a few things which you may have lying around the house and you will be able to make durable and great looking planters.
Let’s learn to make a few unique planters that you will love. In this article, you would also get to know a few useful tips to help improve the drainage of your DIY planters. But first, let’s learn about planters.
What is a Planter?
A planter is a container used to grow flowers and other plants. While it is easy to find planters made of terracotta, plastic, ceramic, wood, metal or other materials, DIY planters have their own charm too.
You could easily get a planter from the market but what’s the fun in that? Especially when you can make your own by getting your kids involved.
Let’s get started.
DIY Planters that You Can Easily Make from Scratch
01. Antique Tin Can Planter
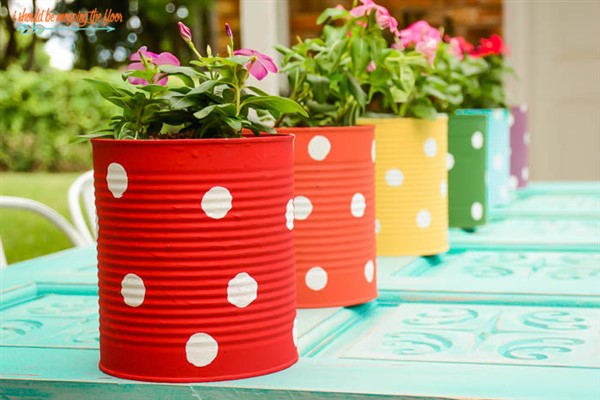 This is one of the easiest planters that you will ever make. Not only are the tin box or tin can planters absolutely adorable but are rather versatile as well. You could plant some flowers in these and place them around your house as tabletop greenery or centrepieces or turn these into little herb pots and place it on the kitchen window.
How to make planter?
Depending on whether you wish to make an herb pot or a large flower planter, take your can or box. Now, drill tiny holes at the base for efficient drainage. If you don’t have a drill, take a nail and hammer it in.
Pick a plant of choice. If you wish to put the steel box planter inside, choose succulents as they don’t require regular watering. Take your potting soil and fill up the can/box and put your plant in. Water it and it’s done.
02. Wooden Drawer Planter
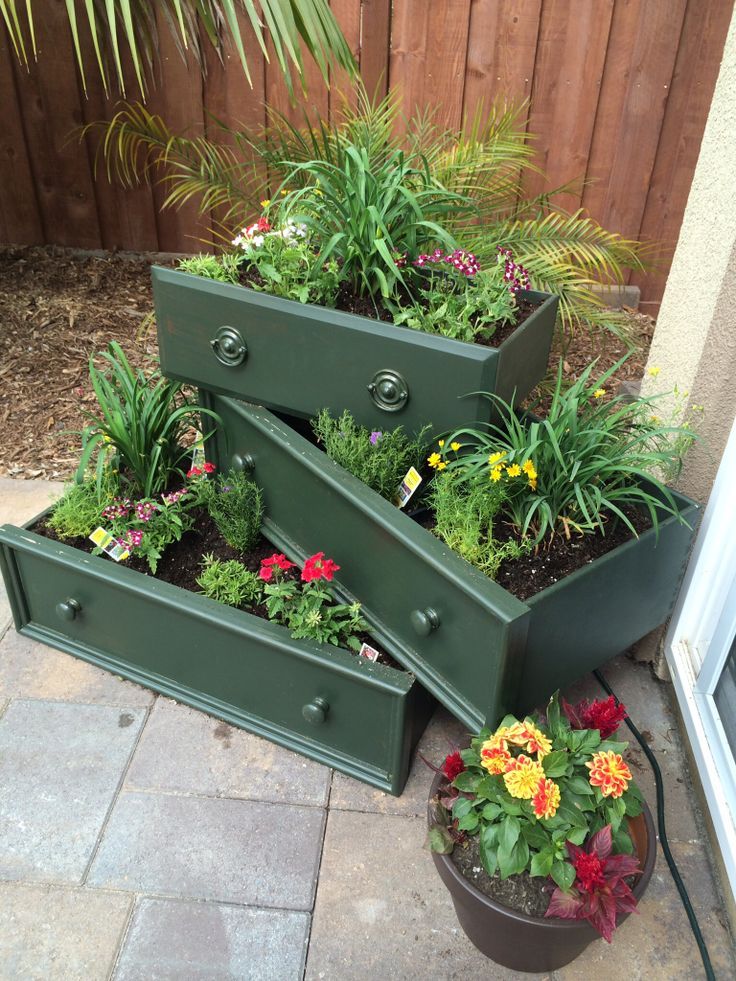 If you have an unused drawers lying around unused in your house or you may have thrifted one and are unsure about what do with it, turn them into cute planters. Involve your kids in this fun DIY project and they are sure to love it.
Materials Required For Making Wooden Drawer Planter:
- An old drawer
- A drill or hammer and a nail
- Paint of your choice
- Polyurethane sealer
- Waterproof sealer (optional)
- Marker (optional)
How to Make Planter?
Start by drilling a few drainage holes at the base of your drawer. Next, grab your paint and paint all sides of your drawer except the base. Leave it to dry overnight. You could use also use chalk paint and draw creative patterns with your marker.
Once that is done, you would need to seal your drawer really well to prevent rotting. Use a waterproof sealer to make the inside of the drawer waterproof. Also, make sure to seal the holes that you have drilled. This is important as the inner wood is exposed while drilling and if it doesn’t have any varnish on it, the wood can start to rot pretty quickly.
Spray a matte polyurethane spray to seal the outside of the drawer. Once that is done, throw in some potting mix and put in a few plants of your choice. Water it and you have a beautiful piece for your garden or porch that you will appreciate each time you see it.
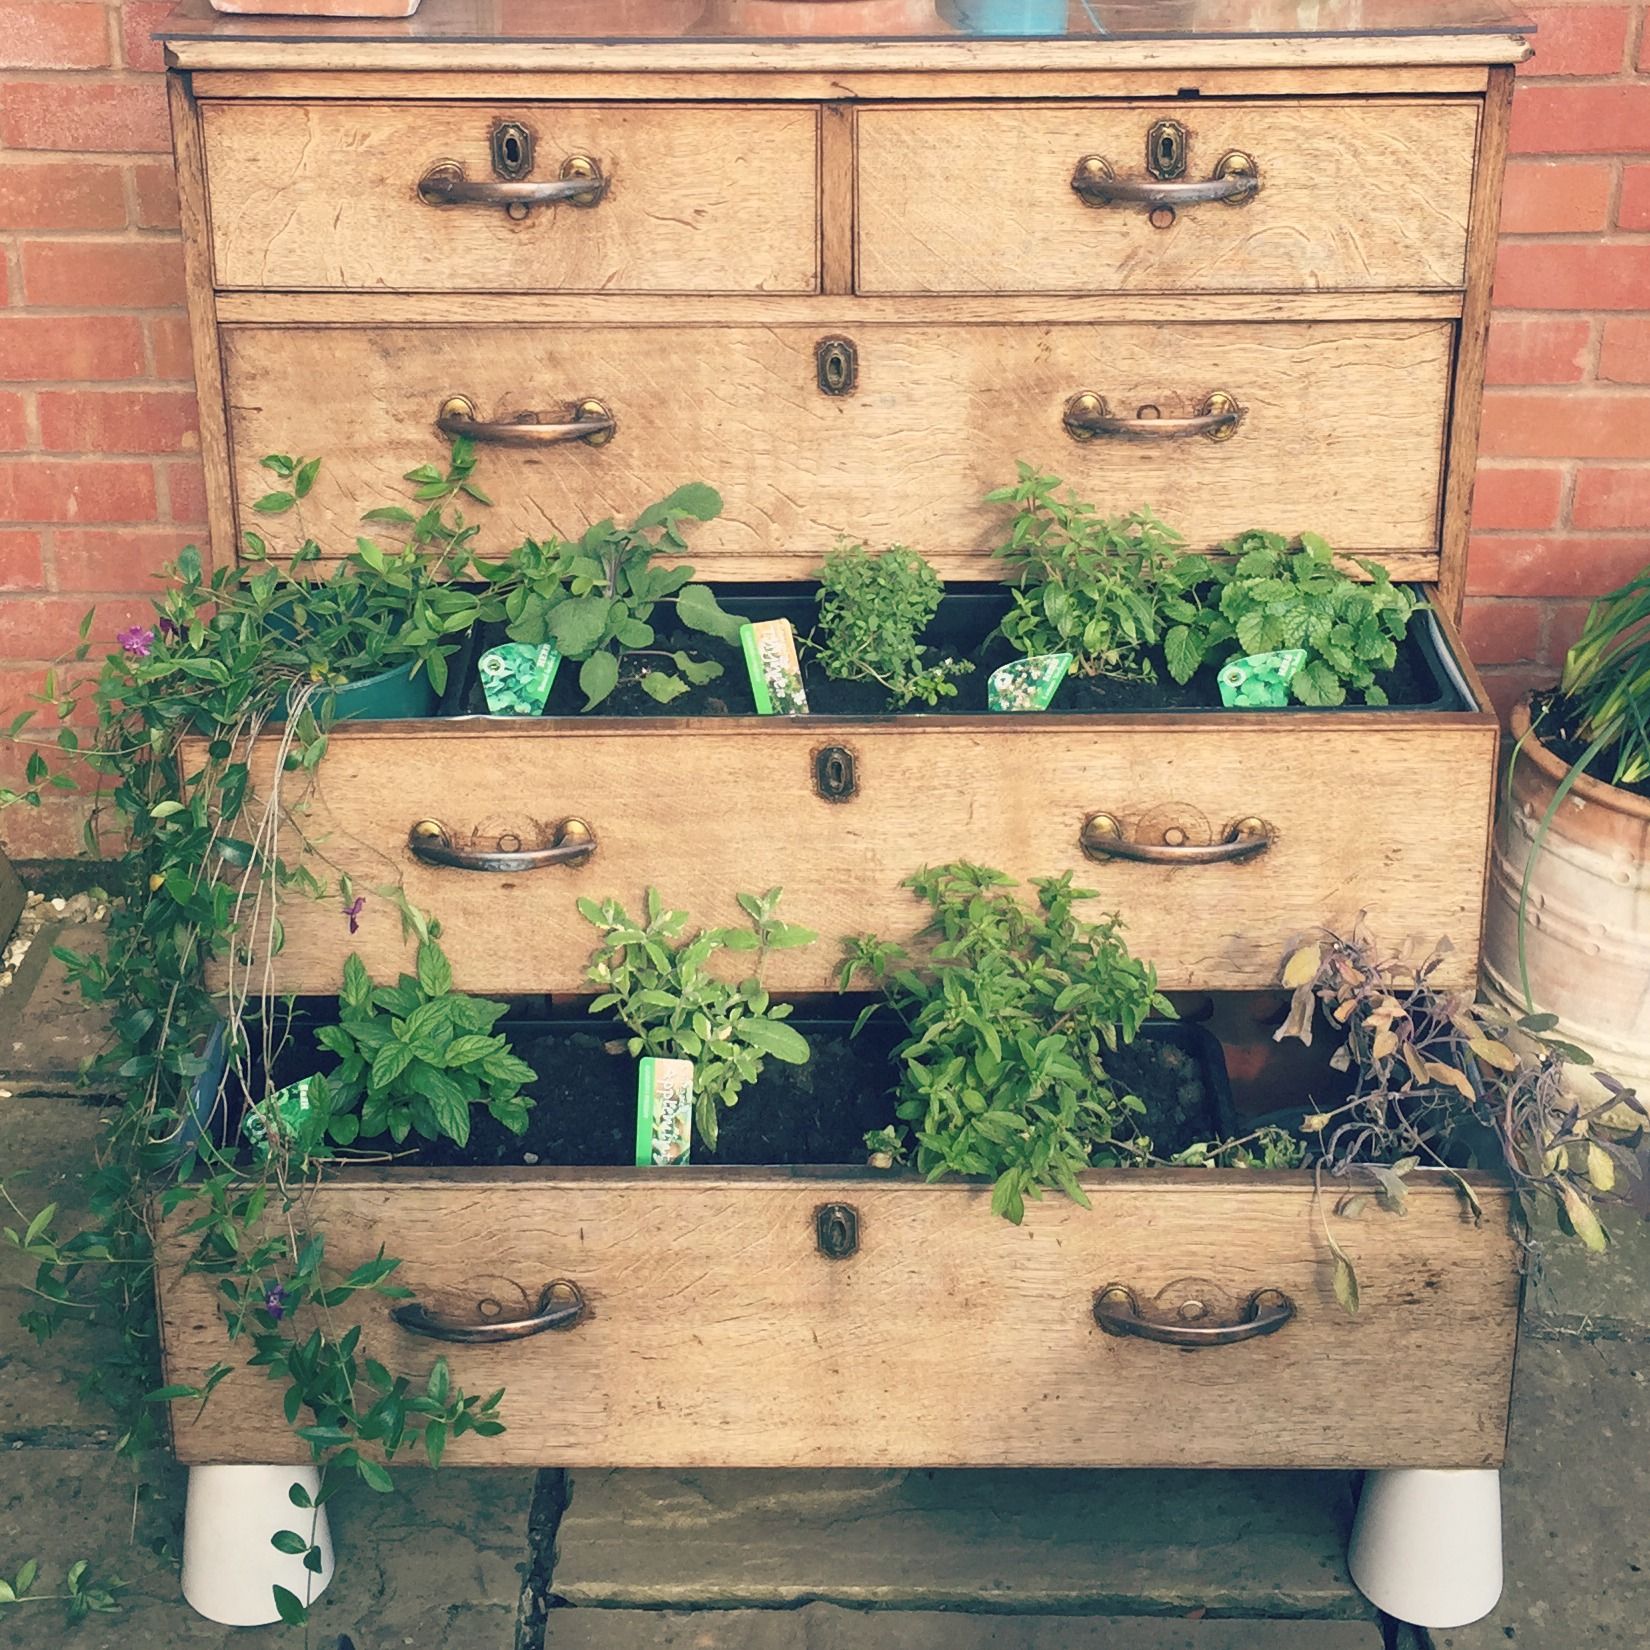
As shown in the image above, you could even upcycle an old dresser if you are feeling creative and have acquired it perhaps from your recent trip to the thrift store for a bargain.
03. Recycled Tyre Planter
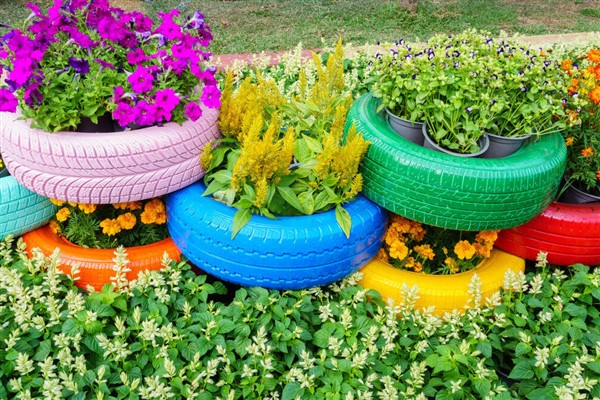
By now, you would have seen numerous photos of stack tyre planters all over the internet. If you too have wanted to make it, there’s no better time than now to do it. It’s very easy to make and there are several variations of this project that you can make. You could choose to stack tyres of different sizes, hang it up or decorate one single piece.
Materials Required For Making Recycled Tyre Planter
- Old Tyres
- A can of spray paint
- Plastic burlap bags (optional)
- Hammer and nails or a staple gun (optional)
- Potting Mix
- Plants of your choice
- Polyurethane spray
How to Make Planter?
If you happen to have a few used tyres in your garage, you can put that to use. If you don’t have any, they can be sourced pretty easily. All you need to do is ask a few mechanics in your area and they might even let you have a few battered ones for free.
Once you have all your materials, start by spray painting the tyres. Choose vibrant colours or muted colours depending on what you like best. Let it dry overnight and then seal the paint with polyurethane spray to ensure that the paint lasts for a year.
Next, if you plan on moving the planter often, seal the bottom with plastic burlap bags and staple it to the bottom. You could also nail it in place. Fill the tyre with potting mix and put in plants of your choice. You now have a beautiful tyre planter to beautify your garden.
Useful Tip – Fill in the sides of the tyre with empty plastic bottles instead of dirt. This will keep the tyres from being excessively heavy.
04. Old Rain Boot Planter
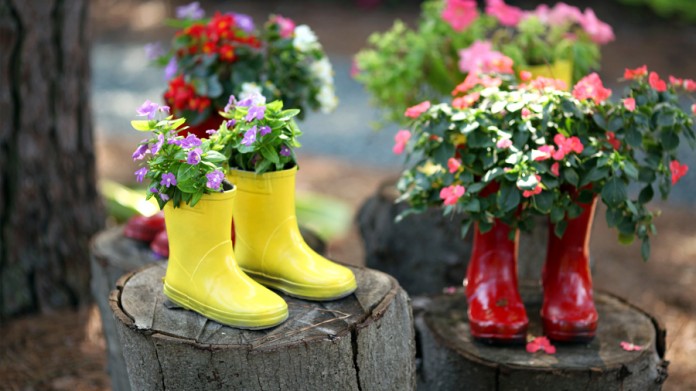
If you have an old pair of rubber boots that you no longer use, turn them into beautiful planters instead of throwing them away. If you don’t have any, you will be able to find an affordable one easily at your local thrift store. The colour doesn’t really matter as we will be painting over it.
Materials Required For Making Old Rain boot Planter
- Old Rainboot
- A can of spray paint, any colour of your choice
- A drill or a nail and hammer
- Potting mix
- Plant of your choice (choose flowering plants or herbs)
How to Make Planter?
To begin, wash off the boots to get rid of dirt and any visible marks. Let it dry off and then drill a few drainage holes at the bottom of the boots. Three to four holes should be sufficient. Next, spray paint the boots, making sure to cover all sides evenly. You can leave out the soles; nobody’s going to see that anyway. If you are feeling extra creative, go ahead and draw some beautiful designs.
Fill the boots 3/4th of the way with potting mix and put your plant in. Your adorable and unique planter is ready. You could make a few of these and hang these up on your fence or place them along the edging.
05. Garden Tools Planter
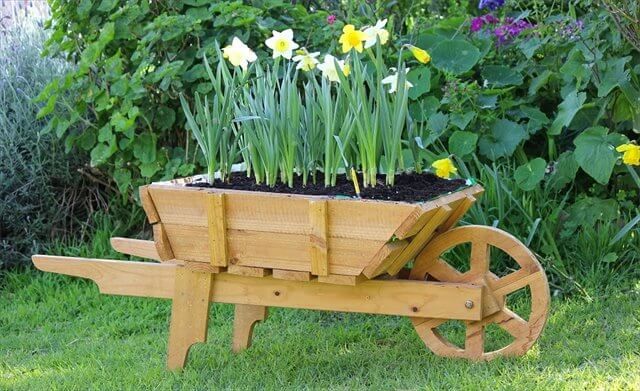
Let’s say you decided to de-clutter your garden shed and found old rusty rakes, shovels, wheel barrow and other tools which are of no use now. Instead of throwing them out, consider repurposing them. Repurposing is fun and if you want to preserve your tools, this is one way to do it.
Use old nursery pots to make a strawberry tower or a wheel barrow with drainage holes in it to create a charming and rustic planter for your colourful flowers. Planters can also be made out of old plastic rain gutters attached to the fence or hung with cables. The possibilities are truly endless and you just have to get creative with your ideas.
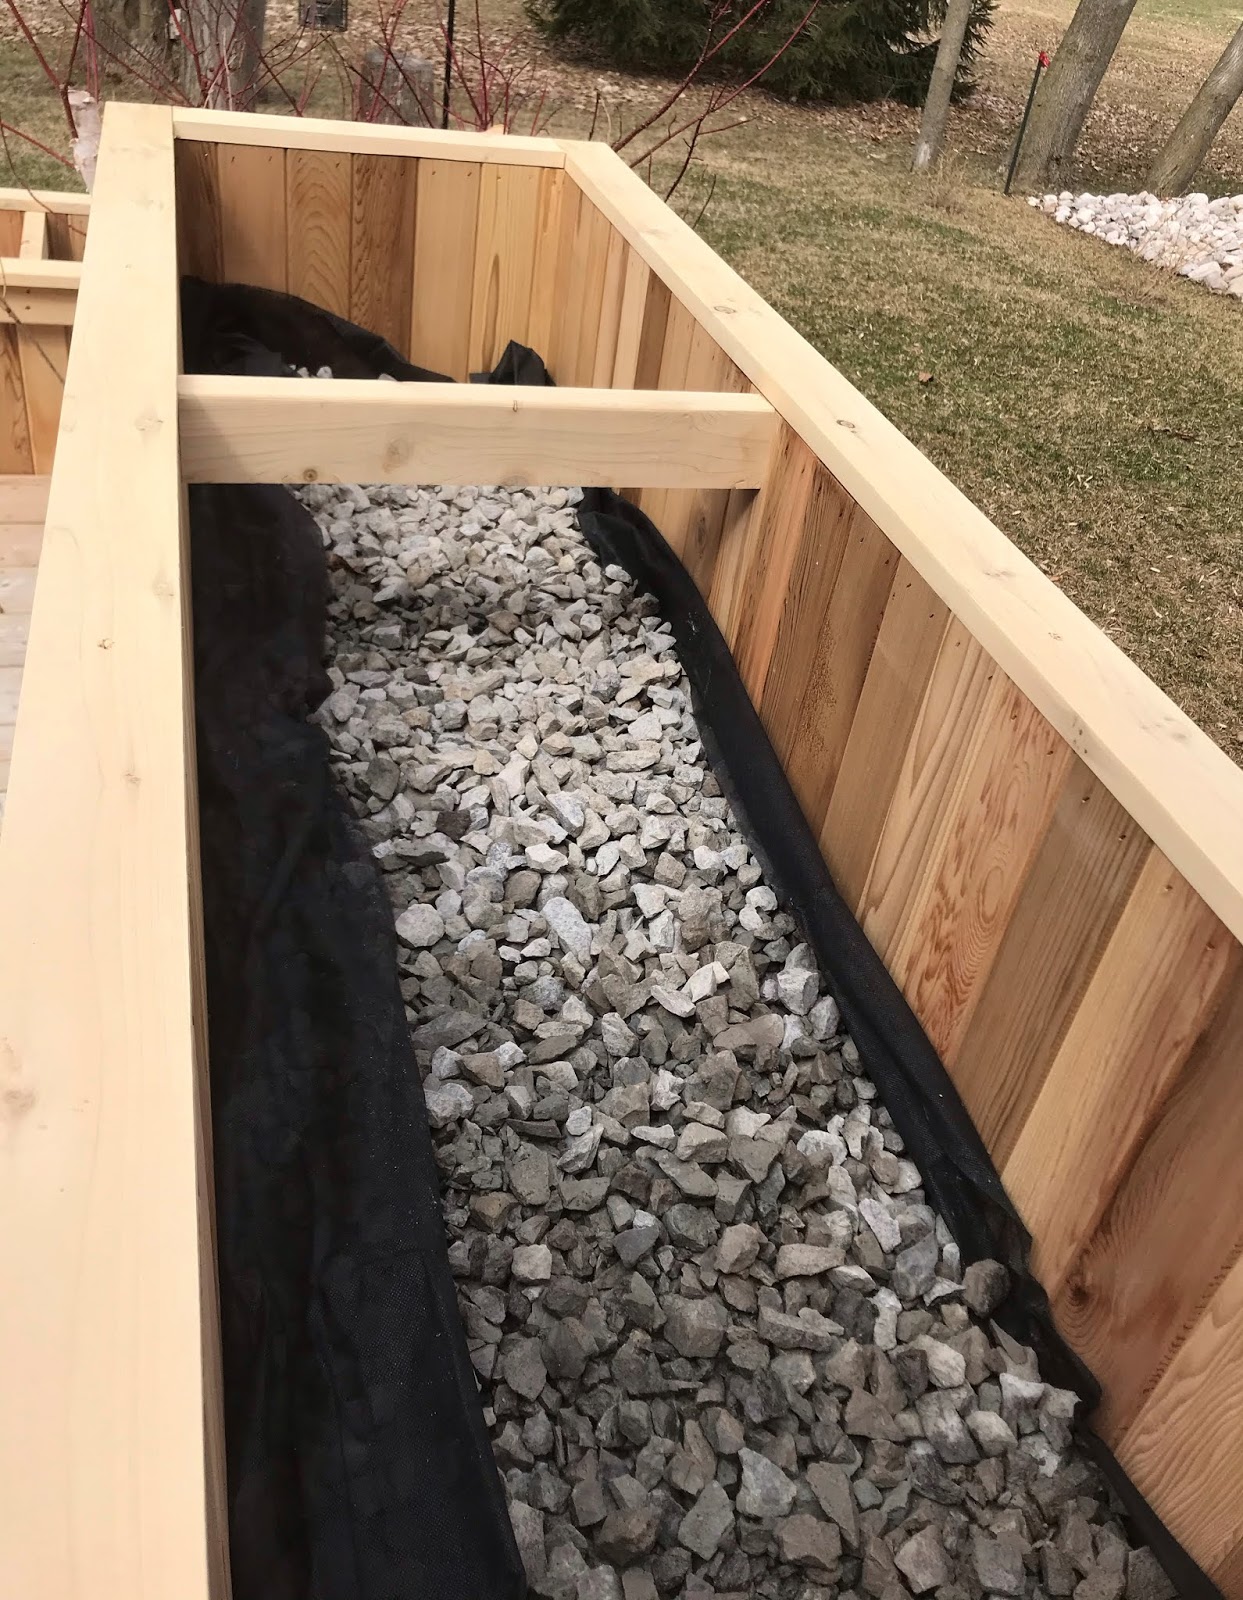
Tips to Improve DIY Plant Drainage
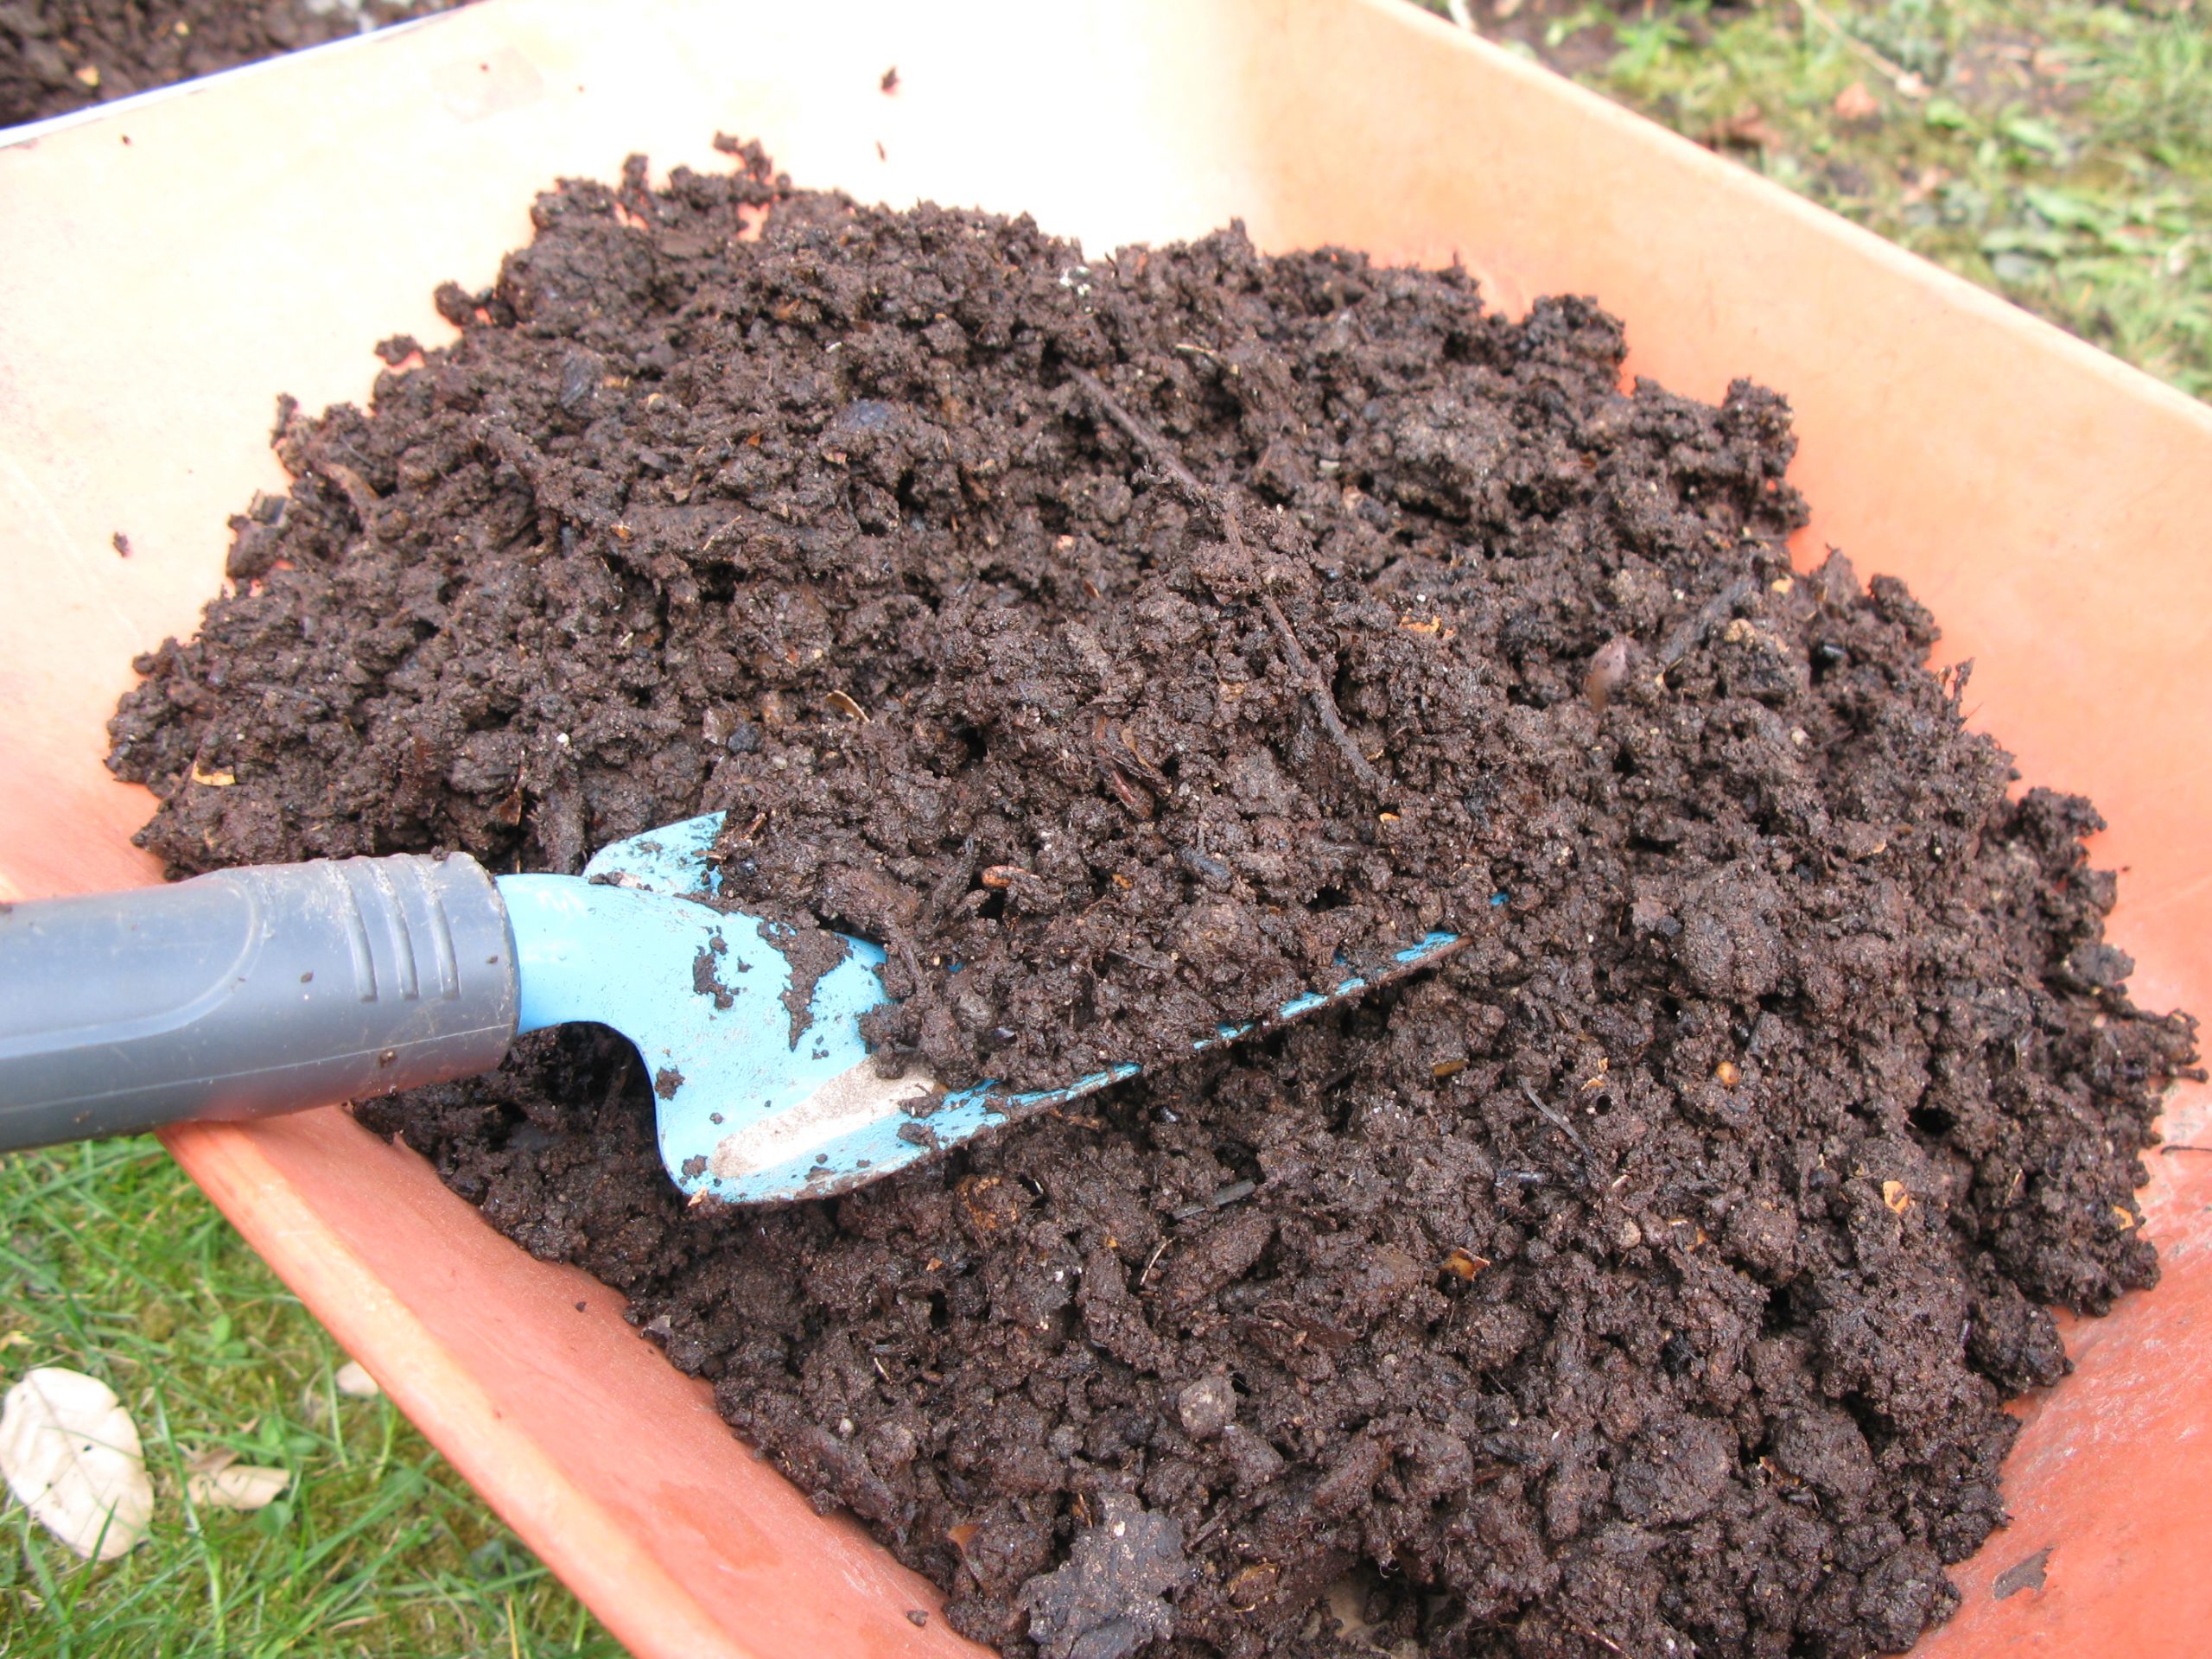
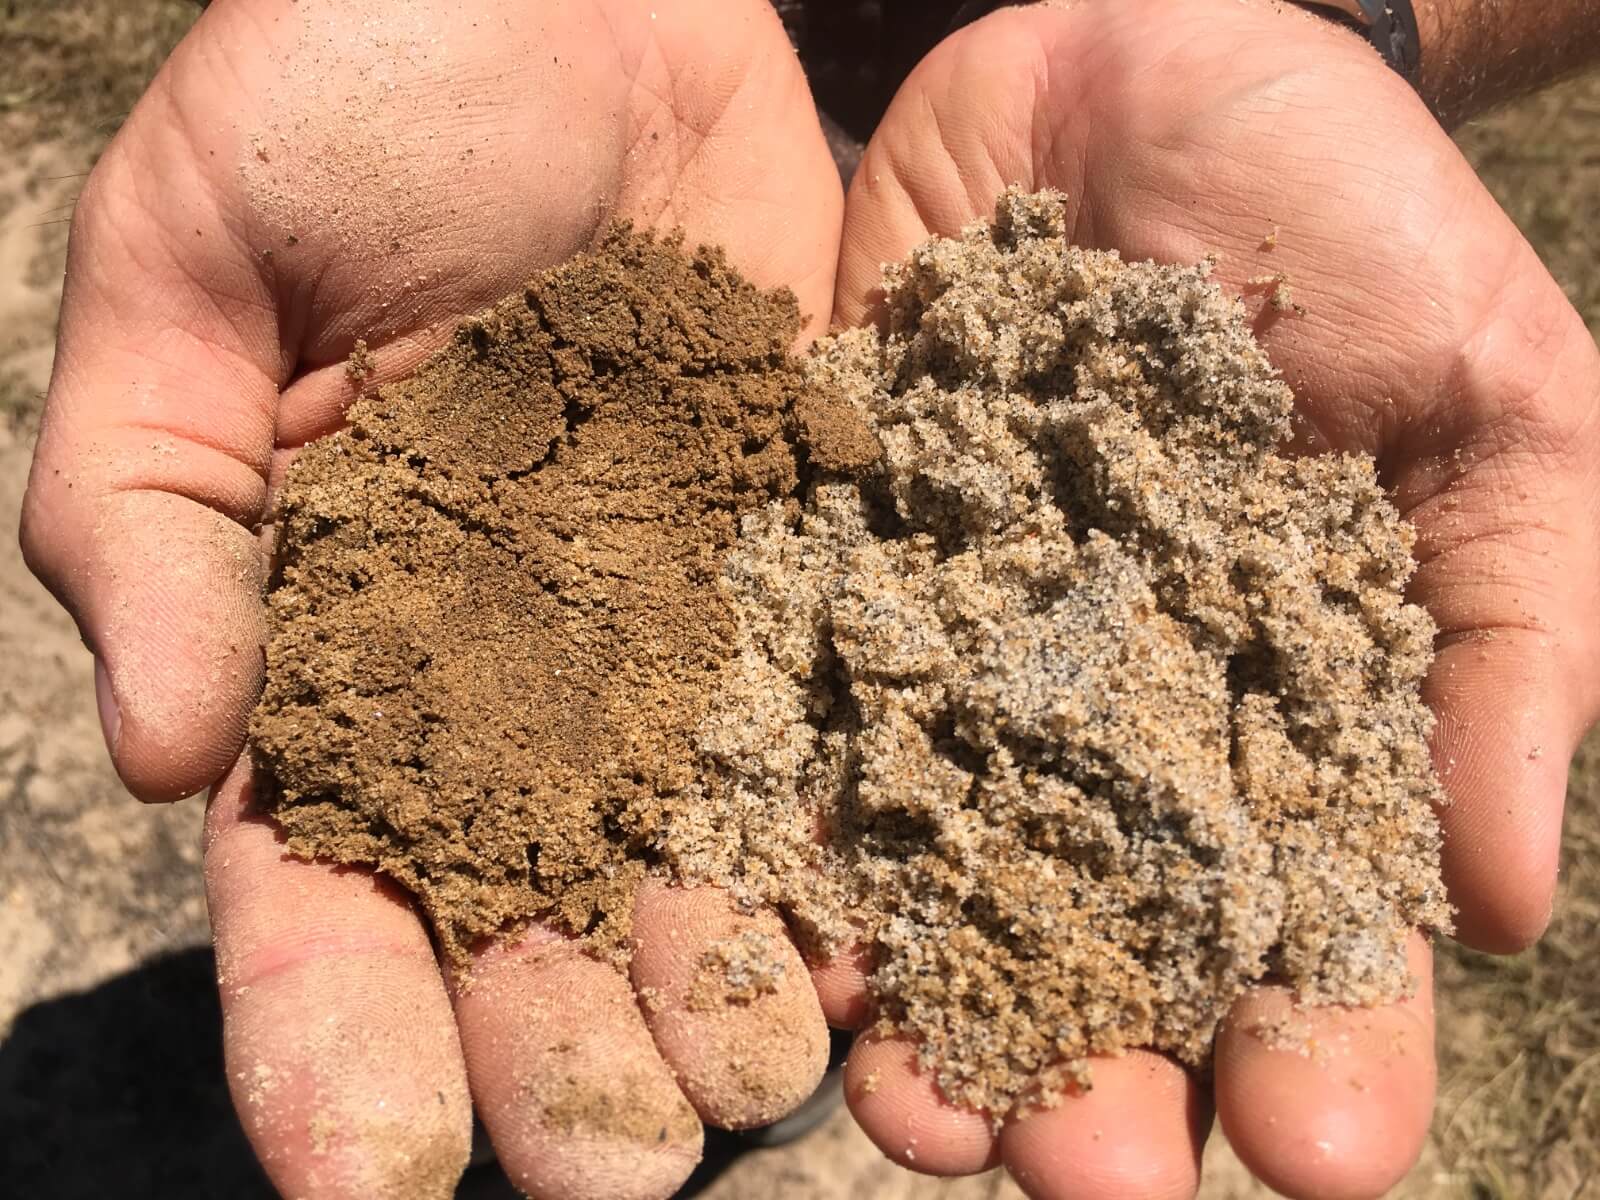
Having DIY planters is all fun until you mess up the drainage and the plant dies. Plants need adequate water, air, light and warmth to survive. While plants need water, it’s important to remember that the roots need air. If the roots don’t receive oxygen for an extended period of time, they will suffocate. This is why proper drainage is crucial especially in pots and planters.
You can improve DIY plant drainage by:
- Adding compost to your soil
- Improving the soil’s texture
- Adding gravel at the bottom of the planters
 Summing up, these above-mentioned DIY projects are extremely easy to make. Add your own touches to personalize it and it will make you happy every time you look at it.
So, what are you waiting for? Gather your supplies and get started.
Apart from this, if you are interested in knowing more about landscaping ideas for your house, do refer our well explanatory articles named.
Landscape Architecture – Creating a blissful outdoor space!
Everything You Need to Know About Pot or Container Gardening
Indoor Plant Care: Tips You Must Know!
Image Courtesy: Image 2, Image 3, Image 4, Image 5, Image 6, Image 7, Image 9, Image 10
Author Bio
Sanjukta Ganguly – I am Sanjukta Ganguly from Kolkata. I have 9+ years of experience in content writing. I have written for multiple niches and genres like, health, travel, pregnancy, love and relationship, dating, hosting services, and WordPress, Press Release, Web Designing, Case Study, Thesis, Proof Reading, Academic Writing, etc. I can handle the work of 4000-5000 words daily.


