In case of applying paint on your home wall, you will often hear the term wall putty and painters often take special care about how to apply putty on wall with the best effect. It is a realistic point to consider. In fact, before you understand and calculate the longevity of the paint on your home wall, you need to understand why to apply putty and how to use putty on wall to boost the longevity of paint.
Candidly, the paint unlike a building, does not have a longer life unless it is applied on a suitable surface. Further, the life of paint depends on substrata and moisture in too, apart from the type of paint and method of applying it. Here wall putty application plays a vital role.
So, first let us understand what is paint?
The Paint is a unique pigmented opaque material that completely covers and hides the surface on which it is applied. It can enhance the aesthetic of your surroundings. If you do not apply it properly, you may face a lot of problems both during and after painting or even at the time of repainting. Here application of wall putty makes a vital difference.
Do you See Problems on your Walls while Applying Paint?
Have you ever seen a problem like the ugly presence of discoloured patches caused by fine lines and cracks on painted walls? If it happens, be sure that, no matter how expensive paint you might have applied, use of wall putty is not done properly. All these fine lines and crack problems can be eliminated, according to pro-painters, by using putty on the wall before you start paint application.
What is Wall Putty?
Wall putty is basically a white cement-based powder that is used to make a smooth mixture, and the mix is applied to the wall before a paint application. It provides a smooth and even finish to your wall, perfectly suitable for the flawless paintwork. Wall putty is also essential for adding hardness and durability of the wall surface prior to apply paint.
To get more information on wall putty, read Wall Putty: Prolong the Life of Paint of your Home!
Further, wall putty comes in two types:
01. White Cement Putty
It is made by using a combination of white cement, minerals, and polymer. It is applied to both interior as well as exterior surfaces like plastered wall, ceiling, etc. It is suitable for almost all types of paint.
We have written a detailed article on it, go through the All You Need to Know about White Cement Wall Putty.
02. Acrylic Wall Putty
It is a water-based wall putty which is made of a mixture of white pigments, extenders, acrylic emulsion medium and additives. It is most suitable for interior surfaces. It can be used where water-based paint like distemper paint, emulsion paint, textured paint, etc. are going to be applied.

Application of wall putty is an important task. However, before you begin, it is necessary to know “How to Apply Putty on Wall?”
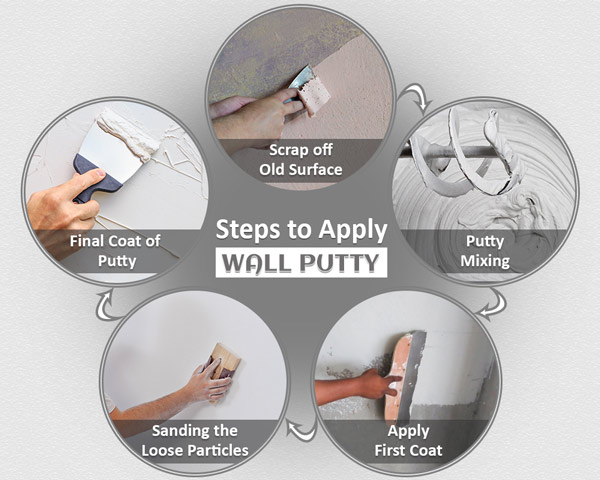
Here we have described step by step procedure on how to use putty on wall:
01. Surface Preparation
- Before you start, ensure that the surface on which you apply putty is plastered or made with the cementitious material.
- Give separate treatments or remedial measure for eliminating dampness,efflorescence, fungus, leakages, etc. if they are already exist on your wall.
- Ensure that the surface is totally clean. It should be free from dust, loose particles, residual paints, grease, oil or any other contamination.
- Remove all loose and poorly adhered materials from the surface by rubbing down them with the help of sandpaper or with a wire brush or with a putty blade, and wipe them out afterwards.

02. Mixing
- Mix the wall putty with a required amount in a pan and add water to it in a 2:1 ratio or as per manufacturer’s instruction.
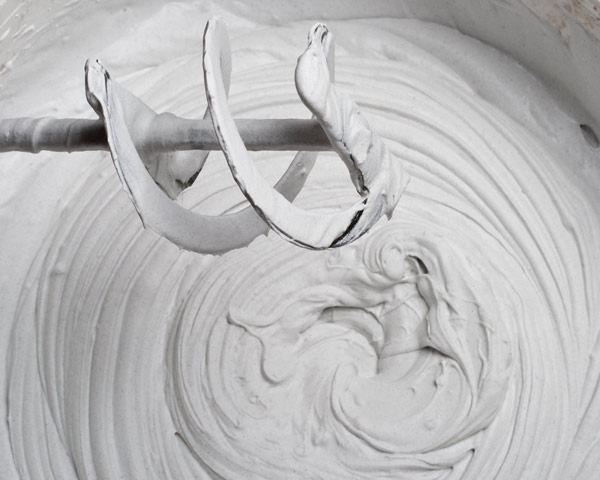
- Stir continuously by hand or by an electric putty mixer for about 10-15 minutes. Mix thoroughly to get a creamy, paste-like consistency.
- Make sure that it does not create lumps while mixing.
- Prepare the mix in such a way so that you can use it within the next two hours.
03. Application of Wall Putty
- Apply one coat of primer before you start applying putty on wall and dry it overnight, minimum 12 and preferably 24 hours. Some putty manufacturers recommend the application of primer before putty and some do not. Therefore, follow the manufacturer’s instructions as it might be governed by the ingredients of putty.
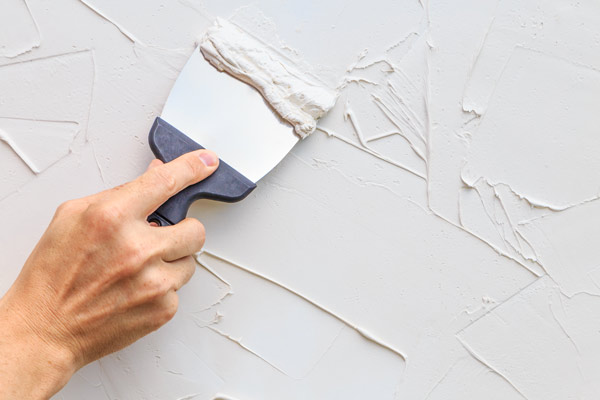
- Apply the first coat of putty in a vertical “bottom to top” manner by using a putty blade/spatula/ trowel or any finishing tool.
- As per the Berger Paint, allow the first coat to dry completely for a minimum of 6 to 8 hours.
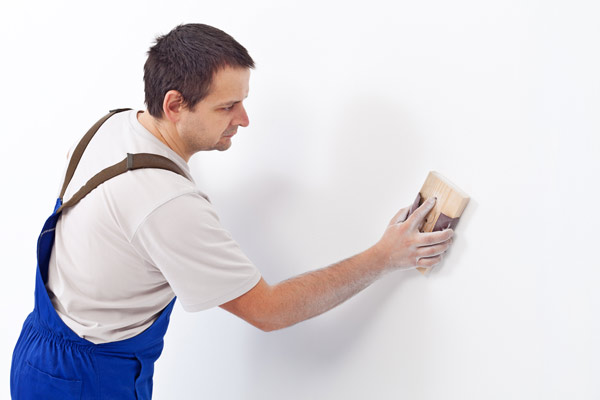
- Once the first coat is dry, just rub the surface gently with sandpaper in order to remove the loose and small particles.
- After finishing the first coat, start applying the second coat of wall putty.
- According to the Asian Paints, leave the surface to dry completely for a minimum 6 to 8 hours. After complete drying of the second coat, rub the surface very gently to remove unevenness with the help of sandpaper to get a glossy, smooth, even white surface.
- According to the Birla Putty, the minimum thickness of the wall putty should be limited to a maximum of 1.5 mm. If it is thicker, it may peel off or even develop cracks after some time.
- Drying time of wall putty may vary according to the temperature, humidity and thickness. In some cases, drying time will be significantly longer in cool and damp conditions and if you have applied thick coating.
Summing it up, follow the aforementioned steps while applying putty on wall. The end results will be satisfactory. Contact an expert painter for a perfect finish. The hardest part is trying, not to rush or skip a step. Once the putty is applied, it will surely accentuate the beauty of paint.
It’s a technical job, hence, it is always better to get the job done by experts. Unskilled or semi-skilled painters cannot get to manage this intricate work.