Table of Contents
Quick Summary
- To convert a ceiling Light to a Recessed Light, you need to understand the benefits of recessed lights.
- Recessed lights sit inside the ceiling, offering clean, unobstructed illumination and making rooms feel spacious.
- They distribute light evenly, making them ideal for kitchens, living rooms, and areas where a tidy finish is preferred.
- It is essential to plan the layout first. Recessed lights work best when evenly spaced across the ceiling.
- Think of wiring adjustments, switch placement, and careful drilling. These are the key parts of the installation process.
- Multiple lights may be required to avoid dim wall areas, often referred to as the cave effect.
- Improper installation can cause air leaks, which may affect heating and cooling efficiency.
- Although recessed lights enhance aesthetics, these categories of lights can be more expensive due to additional electrical work and the number of fixtures required.
- A thoughtful evaluation of benefits and limitations helps in making the right lighting choice.
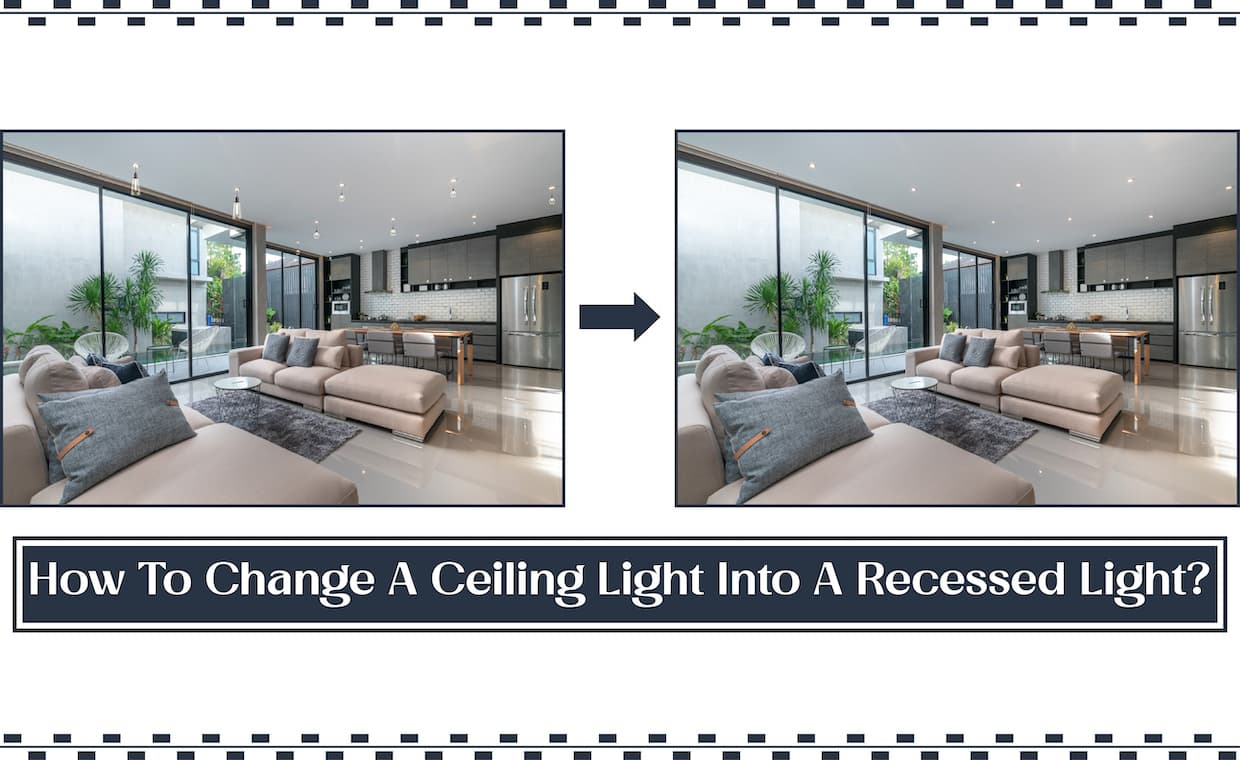
Unlike traditional lights that protrude from the wall, recessed lights can be fixed into the wall, creating a continuous source of light. It is a popular choice for lighting fixtures these days. They appear clean, and the light is distributed evenly across a vast area. It creates a sense of consistency in the area, similar to what you’ll find in most classy and minimalistic interiors. You will learn how to convert ceiling light to recessed light in this article.
This type of lighting is simple to achieve with a few calculated steps. To install recessed lighting, you must first remove the light source and its electrical box. If the location of the light needs to be changed, all that needs to be done is to ensure that the wire reaches the light.
You may be wondering why you should switch to recessed lighting. Stay here to explore more.
Why is it Smart to Convert to Recessed Lighting?
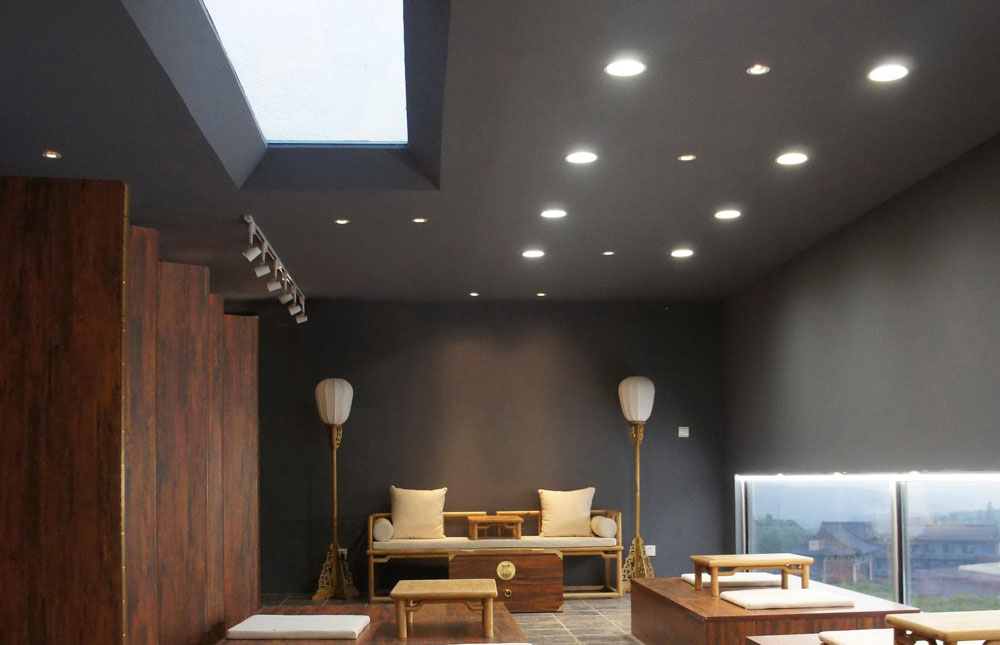
Recessed lighting is a type of lighting fixture that is installed in the ceiling cavity. They let the light fall directly onto the floor beneath it, without any obstructions. As a result, it is an efficient way of lighting a space without dissipation. It uses less energy per unit area than standard lighting.
Hence, many recessed lighting fixtures can be used to illuminate a space from above. Being built into the ceiling saves on the volume it occupies, making the room look bigger, unlike the fixtures that protrude and make the space look more crowded.
Providing a seamless finish to the ceiling brings in an ambient aesthetic element of minimalism with the lighting fixtures. It becomes a perfect choice for low ceiling heights because of the space it saves. Recessed lights cover a larger area. They can be spaced at regular intervals across the ceiling. Thus, lighting up every corner of your room becomes easier. Their use is best suitable for kitchens, living rooms, and closets. Moreover, they are an excellent choice for highlighting art pieces.
Following that, we have provided five pointers to consider change light fixture to recessed lighting in existing ceiling.
5 Pointers To Keep In Mind to Convert Ceiling Light To Recessed Light
You must keep the following things in mind before installing recessed lighting in existing ceiling.
- It’s critical to plan out the area before you begin the ceiling light replacement process. Lighting fixtures should be chosen according to the amount of lighting needed in a room. Since a single recessed light only illuminates a small portion of the room, stringing many lights in a sequence across the ceiling can brighten up the space. Fix the areas where the lights need to be fixed to provide adequate lighting, making recessed lighting installation easier.
- You can then decide whether to connect all the lighting fixtures to a single switch or to separate them by area or room. Diverting the lighting control will give you more control over using only what you need, whereas a single switch may result in energy wastage.
- Deciding on the design of the fixture is also important to convert ceiling light to recessed light. The design ranges from flush settings to ones that protrude out, giving it a defined lighting fixture look. Also, you should select easy-to-install recessed lighting fixtures.
- There are two main methods for installing recessed lighting on the ceiling. The first involves repairing an existing circuit, while the second involves designing an entirely new circuit specifically for the addition of recessed lights. The first method would be much easier to implement because —it involves rectification only. Parts of the walls and ceiling will need to be broken as required by the extent of rectification. With a new circuit, it becomes an intricate task that requires the assistance of an electrician.
- Although the term “impossible” does not apply to change a recessed light setting to a traditional one, it is extremely difficult to accomplish the same. As a result, we recommend that you think about this decision carefully and not make it hastily.
You’re probably wondering how to replace ceiling lights with recessed led ceiling lights.
To learn how to change ceiling lights and install recessed lights, follow the eight steps outlined below.
8 Easy-To-Install Recessed Lighting Steps
The followings are the steps to convert ceiling light to recessed light. First, start your work by removing ceiling lights, then follow these steps thoroughly.
01. Fix The Layout
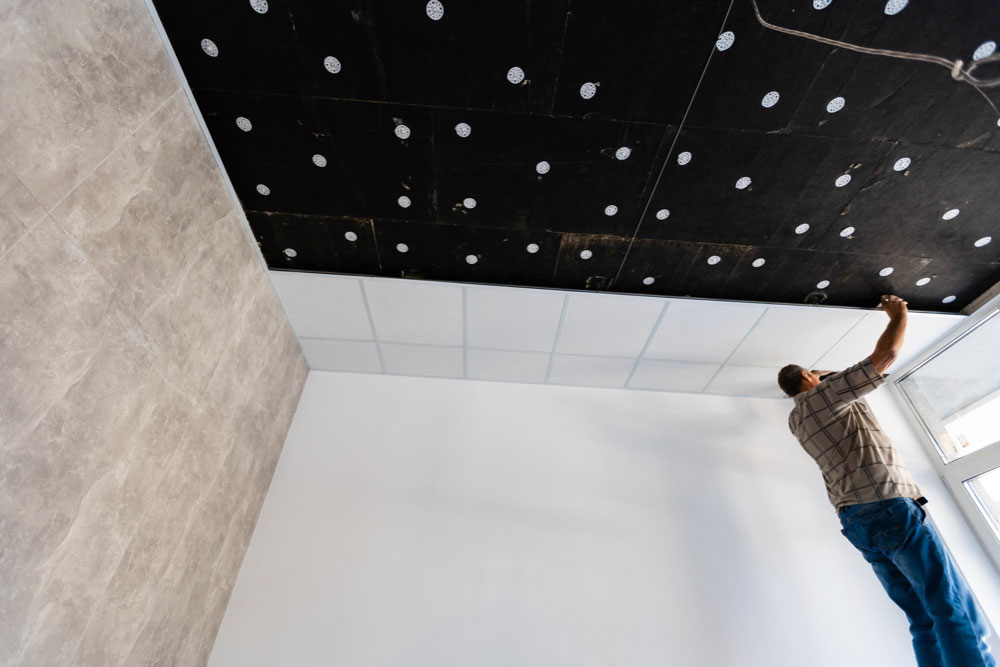
To convert ceiling light to recessed light and to get the right transition, the first step is to fix the lighting layout. Traditional lights are often placed on one or two walls and are sufficient. With recessed lights, to ensure that the room is appropriately lit, it is required to install multiple lights on the ceiling. As a result, the spacing of each light and the setting of the points to cut out the ceiling must come first.
02. Locate The New Switchbox
This task begins with locating the new space for the switch box. After that, you can cut that section of the wall to fit in the remodelled box. Check for built-in cable clamps and wait for the wire to be pulled through to fix it.
03. Giving Access To Wires
To get the wiring out and connected, the top plate and joists must be drilled. Drill the holes in the middle of the plate, 2″ away from the top and bottom of the joists.
04. Pulling Out Wires For Connection

First, find an existing switch box that has a hot wire. When multiple lights are connected, the circuit must be correct so that there is no overload. Once that is determined, proceed to find a power source for the new switchboard. It will be easier to remove the wires if it is on the same wall as the old one.
Before working with the wires that have been removed, ensure that they are dead. Calculate the size of the box that will go into the wall cutout to hold the switchboard’s wires in place. Insert a weighted wire through the joist hole to reach the new cut-out.
Once you’ve removed any new wires, you can secure them in the box that will house them. Make the necessary number of deep holes to install the recessed lights and run the wire to them. Once the holes are cut out, pull the fish tape with the required wire at the end through the ceiling cut out.
05. Connect The Wires To The Recessed Light
Once the required wire has been taken from the opening, the corresponding-coloured wires need to be connected. In addition, connect the low voltage fixture to the low voltage fixture of the recessed light as well. Follow the manufacturer’s guidelines for any additional connections before installing the device outlet into the ceiling.
06. Fix Up The New Switch Box

Once the wires are in place at the recessed light opening, run them through the new switchboard cut out to be pulled through the remodelled box. Label them to make them easy to find. Insert the box into the opening and secure it with screws. The cables pulled through the remodelled box can now be connected to the outlet and screwed on top to fix it in place.
07. Fix The Bulb

The light fixture that will go onto the recessed portion can now be fixed with trim that will be passed through it. Once fixed, it can be pushed into place and used.
08. Be Prepared Before Starting
Plan out the process and everything you will need along the way. It will be simple to install a recessed light if you understand how it works. In case you don’t, there is no harm in hiring the necessary assistance. You also need to be aware of the following disadvantages of recessed lights.
3 Disadvantages of Recessed Lights
While recessed lighting creates a great ambience and brings in light and space, there are a few disadvantages to consider before proceeding.
01. Improper Installation
Fixing recessed lights requires cutting out holes and refilling them. In case this is done incorrectly, air could leak in and out, leading to higher loads on air conditioning and heating systems. Combined with different climates, this can lead to an expensive energy problem. If the procedure is done correctly, this is not an issue.
02. The Cave Effect
When recessed lights are installed in the ceiling, the space along the walls is frequently darkened. This can also be due to improper placement. It might be an ambient way to light the space, but it can also result in non-uniform lighting.
03. Energy Efficiency And Expense
To counteract the Cave Effect, multiple recessed lights up to ten or more per room, must be installed. Because of the extra work involved in cutting out and reattaching wires, this can be quite costly and inefficient. Enhancing one’s interiors is mostly what drives a person to opt for recessed lighting for their interiors. While it has mostly aesthetic benefits, it also has some drawbacks that should be considered. A well-informed decision will help you to determine what is best to do next.
If you are building a new home from the ground up, then consider your options for types of lighting with an eye towards prospects will save you time and energy. The same is true if you want to add to or change up the space you already have. Knowing and acting on the option that best suits your needs will be the right choice.
Conclusion
If you are building a new home from the ground up, then consider your options for types of lighting with an eye towards prospects will save you time and energy. The same is true if you want to add to or change up the space you already have. Knowing and acting on the option that best suits your needs will be the right choice.
Also Read: How to Choose the Lighting for the Living Room
FAQS On Convert Ceiling Light to Recessed Light
01. What Should Be The Minimum Distance Between Each Recessed Light Fixture?
The simple way to know the distance between each recessed light is to divide the height of the ceiling by 2. That will give a layout that will properly light up the area without overdoing it. It would also depend on the beam angle each company provides!
02. Is It Possible To Switch To Normal Ceiling Lights From Recessed Lights?
It is possible to convert recessed lighting to conventional lighting, despite the difficulty of the procedure. In such cases, electricians can be hired to do the transition.
03. What is The Best Kind Of Recessed Lighting For My House?
Recessed lighting can have a sleek flush finish or rotating fixture spotlights. You can change it up depending on the space and use. If you have a one-of-a-kind showpiece in an area, smaller and closer recessed lights that glow up on the piece can be installed. Lighting fixtures that have water-resistant features can make perfect bathroom lights. Smart technology is the convenient option of today, and if you enjoy the same, a fixture that includes it with adjustable lighting options can be used throughout for connectivity.
04. Is Recessed Lighting A Good Idea?
If you want to direct light in a specific direction (i.e. straight down or against a wall feature or if you need to use low-profile lighting fixtures that don’t hang or protrude from the ceiling because of low ceilings) recessed light fixtures are a good option. However, keep in mind that recessed lighting typically requires the installation of multiple fixtures in groups to provide sufficient light for room illumination.
05. What The Difference Is Between Recessed And Down Light?
Recessed lights, also known as flush mount lighting, are a type of light fixture that can be mounted within the surface of the ceiling. It is a standard fixture in most homes because of its attractive appearance and capacity to focus where it is most needed.
Downlights, unlike recessed lights, can be mounted to the surface of the ceilings. As a result, the light from these fixtures shines at an angle down onto the flooring of your home. It is suitable for use under cabinets and over kitchen countertops where there is a need for additional light sources with a focal point.
References
Oriola Emmanuel Akinradewo, Obiseye Obiyemi, Seun Oyelami (2018) in Performance evaluation of lighting fixtures and installations for renewable energy applications, December 2018Environmental Quality Management 28(10) DOI:10.1002/tqem.21587 [Online] Available from https://www.researchgate.net/publication/329490851_Performance_evaluation_of_lighting_fixtures_and_installations_for_renewable_energy_applications
Author Bio
Saili Sawantt – She is an Architect and Interior Designer by profession. Writing is what she treats as her passion. She has worked as an Architectural Writer, Editor, and Journalist for various design as well as digital portals, both national and international. Formerly she has also worked with Godrej Properties Limited (GPL) Design Studio, Mumbai, due to her keen interested in learning about Sustainability and Green buildings. Apart from this, she runs her blog ‘The Reader’s Express’ and is a practicing Architect & Interior Designer.


