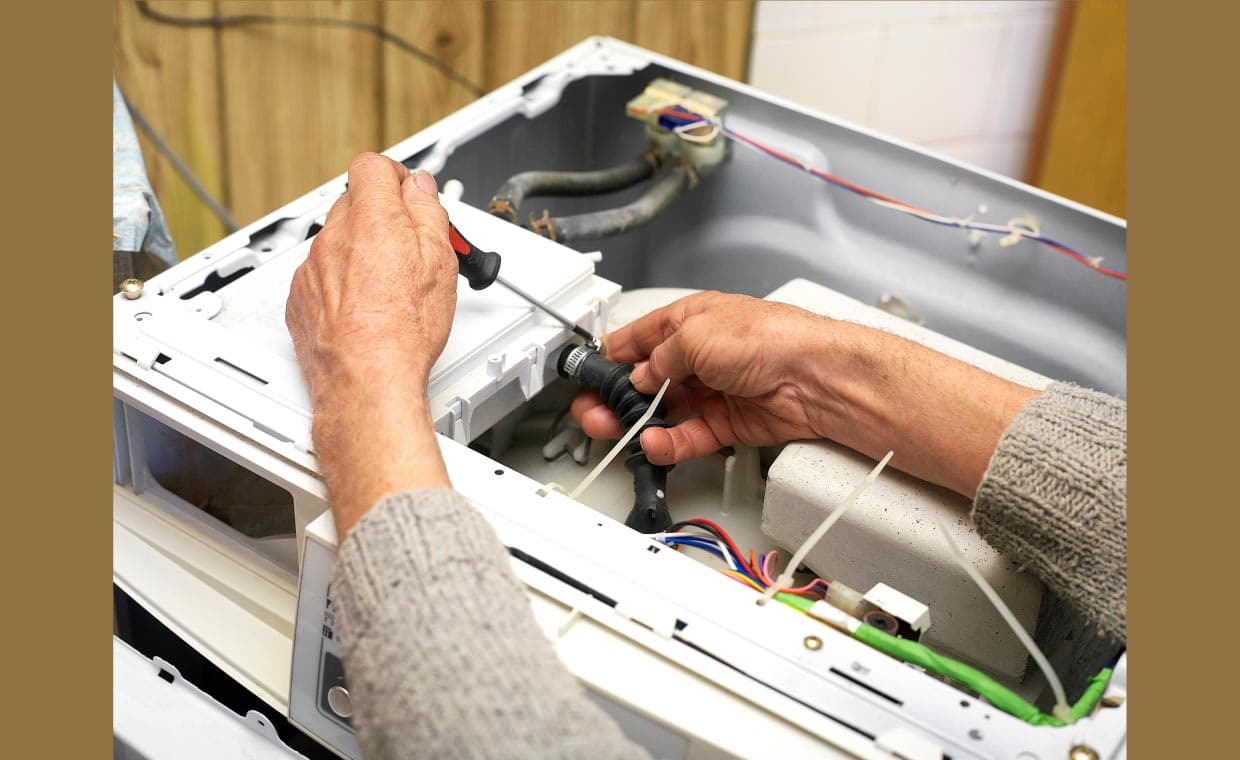
Repairing household appliances yourself can save significant money and extend the life of your devices. A key component of successful DIY appliance repair is understanding how to identify, source, and install the right replacement parts. This guide by Gharpedia covers everything you need to know about replacement parts, from diagnosing issues to purchasing and installing components safely.
Understanding Appliance Components
Understanding different components of all the appliances is must, before beginning any repair project.
01. Common Parts Across Appliances

While different appliances serve unique functions, many share similar components. Understanding these parts will help you identify potential issues and make informed decisions when replacing them. Common components include:
- Motors: Power essential functions such as spinning, moving, or compressing.
- Belts: Transfer motion between parts, such as in washing machines or vacuum cleaners.
- Thermostats: Regulate temperature in ovens, refrigerators, and dryers.
- Seals and Gaskets: Prevent leaks and ensure proper functioning in dishwashers, refrigerators, and washing machines.
- Filters: Maintain efficiency by trapping dirt, lint, or debris in appliances like dryers and air conditioners.
02. Identifying Faulty Components

Early diagnosis of faulty components can prevent further damage and costly repairs. Look for these signs:
- Unusual noises, such as grinding, rattling, or squeaking.
- Decreased efficiency, like longer drying cycles or higher energy bills.
- Leaks or spills from the appliance.
- Irregular or inconsistent performance.
Performing routine maintenance and inspections can minimize the risk of major breakdowns and help identify parts that need replacement. So, scheduling professional appliance repair service in St. Petersburg is the best way to keep your appliances running smoothly.
Sourcing Replacement Parts
Once you have identified the faulty components, you can source the specific replacement parts.
01. Locating Model and Serial Numbers
To find the right replacement parts, you’ll need your appliance’s model and serial numbers. These identifiers are typically located:
- Inside the door frame.
- On the back panel.
- Printed in the user manual.
02. Purchasing Genuine Parts
Using genuine parts ensures durability and compatibility, reducing the likelihood of future issues. For example, GE Appliances offers a range of authentic replacement parts designed specifically for their products. Check their official website for reliable options and regular promotions.
03. Exploring Deals on Large Brand Parts

To secure the best deals on GE spare parts and other big brand appliances, consider the following:
- Official Brand Website: Look for discounts, bulk purchase options, and seasonal promotions.
- Authorized Dealers: These sellers often provide competitive pricing and warranty-backed products.
- Online Retailers: Platforms like Amazon and eBay may have discounted prices during sales events.
04. Evaluating Third-Party Parts
Third-party parts can be a cost-effective alternative to OEM (Original Equipment Manufacturer) parts. However, it’s important to ensure that they meet the manufacturer’s specifications. Poorly designed third-party parts can lead to inefficiencies or void warranties, so research is critical before purchase.
Also check out our other article:
Expert Tips and Troubleshooting Advice for All Your Appliances Need
Essential Tools for DIY Appliance Repair
Once you have got the replacement parts for appliance, now its time to DIY appliance repair, but first get the required tools.
01. Basic Toolkit

A general toolkit should include the following items for common appliance repairs:
- Screwdrivers (flathead and Phillips).
- Pliers for gripping and pulling.
- Wrenches for loosening and tightening bolts.
- A multimeter to test electrical connections.
- A flashlight for visibility in dark or enclosed spaces.
02. Specialized Tools
Depending on the appliance, you may need specialized tools such as:
- Nut drivers for tightening hexagonal bolts.
- Torx drivers for certain screws.
- Appliance-specific tools like a belt tension gauge or coil cleaning brush.
Investing in the right tools ensures efficient repairs and prevents damage during installation.
Safety Precautions
Ensure safety precautions during DIY appliance repairs:
01. Electrical Safety

- Always unplug appliances before starting repairs.
- Use insulated tools to reduce the risk of electric shock.
- Avoid working in damp or wet conditions.
02. Handling Sharp Components
Appliance repairs often involve handling sharp edges or small, pointed components. Wear gloves to protect your hands during disassembly and installation.
03. Chemical Safety
For appliances like refrigerators or air conditioners, repairs may involve handling refrigerants or cleaning agents. Ensure adequate ventilation and wear protective gear to minimize exposure to harmful substances.
Step-by-Step Guide to Replacing Parts
Follow these simple steps for DIY appliance repair:
01. Diagnosing the Issue
- Refer to your appliance’s user manual for troubleshooting guidance.
- Use online resources, such as repair forums or video tutorials, to pinpoint the problem.
- Confirm the faulty part using a multimeter or visual inspection.
02. Disassembling the Appliance

- Document each step with photos or notes to ensure correct reassembly.
- Use the appropriate tools to remove screws, panels, or housing.
- Keep screws and small components organized in labeled containers.
03. Installing the New Part
- Compare the new part to the old one to confirm compatibility.
- Follow the manufacturer’s instructions for installation, paying attention to alignment and connections.
- Tighten screws and fasteners securely, but avoid overtightening, which can cause damage.
04. Reassembling and Testing
- Reassemble the appliance, following your documented steps in reverse order.
- Test the appliance in a controlled setting to ensure the repair was successful.
When to Seek Professional Help
Professional help is required for the following cases:
01. Complex Repairs

While many repairs can be handled at home, some issues require professional expertise, especially when dealing with:
- Gas lines in stoves or dryers.
- Refrigerants in refrigerators or air conditioners.
- Complex electrical systems or wiring.
Attempting these repairs without proper training can be dangerous and may violate safety regulations.
02. Warranty Considerations
If your appliance is still under warranty, check the terms before attempting repairs. Unauthorized repairs may void the warranty, leaving you responsible for future issues.
Maintaining Appliances
Maintaining appliances ensures long life of the appliance:
01. Regular Cleaning

- Clean filters, vents, and coils regularly to prevent buildup that can strain components.
- Wipe down surfaces and remove debris from moving parts to avoid blockages.
02. Routine Inspections
- Check for wear and tear on seals, belts, and hoses.
- Replace components showing signs of cracking, fraying, or thinning.
03. Proper Usage
Follow the manufacturer’s recommendations for loading, temperature settings, and cleaning cycles to ensure optimal performance.
Conclusion: Mastering Appliance Repairs at Home
By understanding appliance components, sourcing reliable replacement parts, and following safety measures, you can handle many appliances repairs yourself. This not only saves money but also empowers you to extend the life of your household devices. With the right tools, resources, and techniques, DIY appliance repair becomes a manageable and rewarding task.


