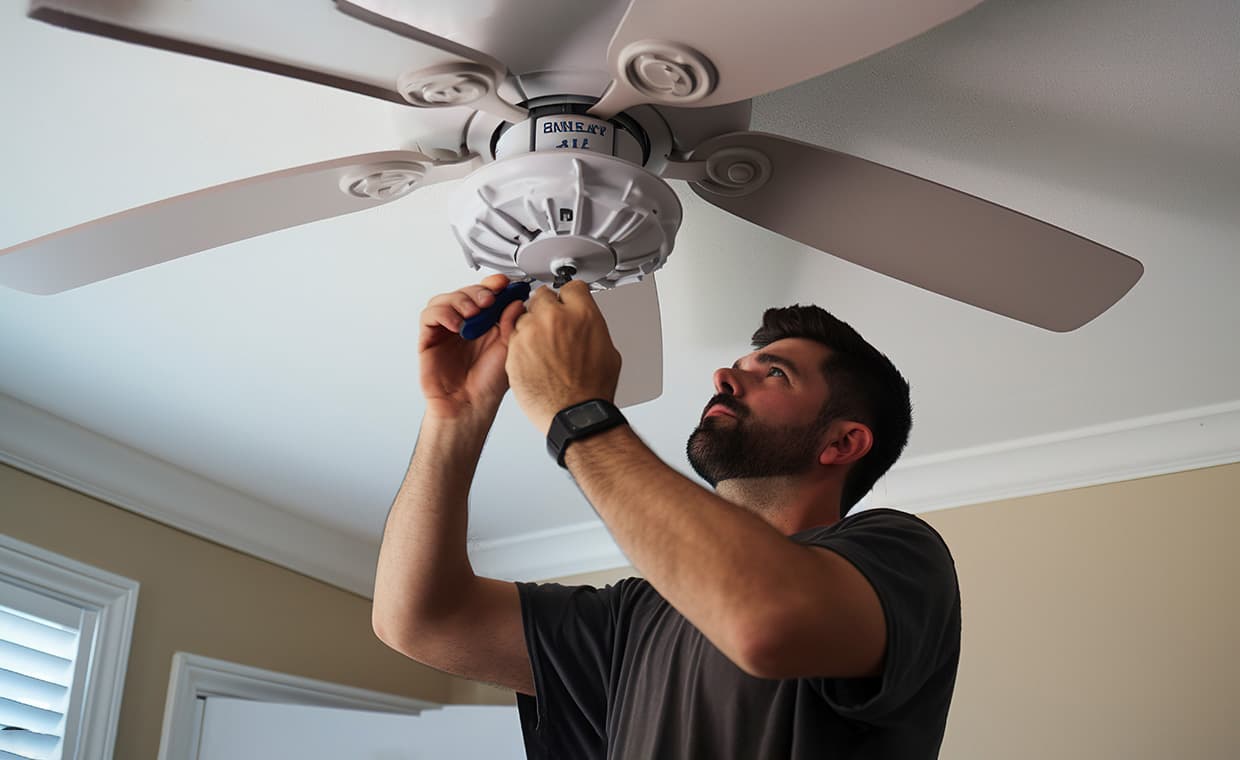
Is your house heating up due to the rise in outside temperatures? Are you looking for a cooling method that’s both effective and low in cost? Here’s your solution- a ceiling fan. Yes, a ceiling fan would come in handy in lowering indoor temperatures and controlling humidity in your home. Unlike window unit ACs that significantly increase your power bill, ceiling fans are energy efficient and low in cost as they do not use energy-intensive compressors, making them inexpensive to run. These fans will go a long way if your rooms are too cold or hot. Gharpedia shares a complete DIY ceiling fan installation guide which anyone can follow and accomplish the process of ceiling fan installation at home.
How Does Ceiling Fan Work?

During the summer, the fan draws air up to the ceiling, preventing warm air from accumulating near the floor level. In the colder months, ceiling fans can be set to rotate in the opposite direction, pushing warm air from the ceiling closer to the floor level.
What is the Best Height for a Ceiling Fan?

When installing a ceiling fan, you should fix it in the centre of the room, 18 inches from the wall and 7 feet above the floor. And if the ceiling height allows, install the fan 8 to 9 feet above the floor.
What is the Best Ceiling Fan Size for a Room?

When choosing the right ceiling fan for your room, you must first compare the diameter or the fan blade sweep. For instance, you should install a 42-inch sweep fan in rooms up to 144 feet long, a 44-inch sweep fan in rooms measuring 144 to 225 feet, and a 52-inch sweep fan in rooms ranging in size from 225 to 400 feet. If you are still not sure which ceiling fan to choose, you must have a look at our blog, Use These Ideas to Pick the Best Ceiling Fan for Your House
Now, let’s dive in and check out how to install your ceiling fan.
How to Install a Ceiling Fan?

Installing a ceiling fan is easy, especially if you can access the above space from an attic. This article will guide you through how to replace your old light fixture with a new light and ceiling fan in a room which doesn’t have an attic.
The good thing about this process is that you won’t need any new wiring. You can connect the fan to the old light’s existing cable.
Tools and Materials Required for DIY Ceiling Fan Installation

Following are the tools and materials you should have in your ceiling fan installation kit:
- Power Drill
- Drill Bits
- Screwdriver
- Ladder
- Wrench
- Ceiling Tape
Steps For Installing a Ceiling Fan

Step 1: Clear the Room You’re Working in
Here, you’d need a ladder to install the fan. You don’t want unnecessary items that could endanger your safety while you’re on the ladder. Therefore, clean the area you intend to work in before beginning the installation process.
You also want to avoid any distractions that could cause you to make a mistake or skip a step while working. So, to ensure your safety, clean up the area and remove any potential distractions.
Step 2: Prepare the Ceiling for Installation

Now that you’ve cleared the room, prepare the space for your light fixture. Ensure that the ceiling is large enough to accommodate the desired fan. Before you begin, inspect the section of the ceiling for adequate wiring support and whether your building code requires a special permit. Then, double-check whether the light switch in the room is wired correctly, as the fan will require it to function.
Consulting a professional is better and safer if you need clarification on any of these things.
Step 3: Turn Off the Circuit You’re Working On

After clearing and preparing the space, turn the power off to the section of the house you’ll be working in. As previously stated, your safety is paramount, so do not skip this step. If you do, you’ll risk electrocuting yourself during the installation process.
Also, consider putting markers on the electrical box switches to warn people not to turn them back on while you’re working.
Step 4: Install the Junction Box and the Mounting Bracket

Install the ceiling fan junction box once you’re up on your ladder. Insert the brace into the ceiling hole and twist it until it is securely fastened to the ceiling. After that, insert the U-bolt bracket into the centre bolts facing outward. Connect the cable wire, raise the junction box, and secure the bolts on the side.
Then, align the ceiling fan mounting bracket with the junction box. Feed the wires through the centre and tighten the bolts with a wrench. The mounting bracket holds the fan to the ceiling; ensure you tighten the bolts as much as possible during this step. If the bolts are loose, the fan may fall.
Step 5: Attach the Down rod to the Ceiling Fan

The down rod is the component that connects the ceiling to the fan blades. This piece is connected to the fan canopy.
Set the fan down on a flat surface. Ensure that you have the correct size down rod for your ceiling fan. To correctly gauge the down rod angle, adjust before fully installing the fan. The proper angle for your depth reduces potential hazards, injuries, and other risks.
If the angle is too sharp after the installation, remove the fan and reinstall it.
Step 6: Set up the Ceiling Fan

In this step, you’d need someone in the room with you for support if something happens while you’re up the ladder during installation.
Connect the fan motor wires to the ceiling wires using the same colour pairings. After connecting all the cables, nudge them gently into position in the junction box.
Then, using your screwdriver or power tool, attach the ceiling plate to the mounting bracket and secure everything.
Step 7: Insert the Fan Blades

After completing all the previous steps, installing the fan blades would be the only thing left. Use a blade iron to attach each fan blade (the bracket that holds the blade to the fan). Using the provided screws, secure the blade irons to the motor.
Next, connect the fan’s light fixture housing to the wire hanging from the motor’s underside. Then, put up the shades and light bulbs and screw the remote-control holder to the wall next to the switch.
Step 8: Attach the Light Shade and Light

Does your ceiling fan have a light component? If yes, finish by installing the light shade and the light bulb.
Step 9: Test the Fan

Turn on the circuit again and return to the fan to test it. Is it working? If yes, pat yourself on the shoulder for the work well done. You have accomplished this mission of installing your ceiling fan, and it is now ready to use.
Although ceiling fan installation is an ABC thing, you must be cautious. Calling a professional if you are unsure how to install it is also acceptable. Remember that safety should be your priority in any DIY project.
Did you face any challenges during the process of ceiling fan installation? If yes, kindly leave a comment in the comment box below.
Also Read: How To Install A Ceiling Fan – A Brief Installation Guide
Image Courtesy: Image 5, Image 6, Image 7, Image 10, Image 11
Author Bio
Jennifer Kiminza – Jennifer Kiminza is a content writer and content marketing professional at Hub Spot, an inbound marketing and sales platform that helps companies attract visitors, convert leads, and close customers. Previously, Jennifer worked as a marketing manager for a tech software startup. She graduated with honors from Nairobi University with a dual degree in Business Administration and Creative Writing.


