
A little bit of research on the internet, a sensible, patient and meticulous mind-set and some basic tools and supplies are all that one requires to prepare aesthetic shelves for one’s home, sweet home.
Shelves are an integral part of the décor of a room – without them your house may look a bit bare and cluttered too. And the best part about shelves is you can either pick them up readymade from a home furniture shop or portal; or do a made-to-order with your local carpenter; or if you’re one of those DIY types then it’s pretty easy to construct them on your own too!
The Gharpedia Team shares with you through this blog the significance of shelves; the wide variety of DIY floating shelves; the points to keep in mind while deciding the dimensions of the shelf; and the method for preparing floating shelves.
Benefits of Shelves
From a wider perspective shelves have multiple usages and benefits –
- They provide you with space to showcase your personality through displaying items that mirror your hobbies, collectibles and interests
- Besides the above shelves can play out versatile functions. Say for instance a shelf installed at the apt height can double up as a space to place your home temple
- They can provide householders with ample space for concealed storage i.e. while the top shelves can display your collectibles the back-end of the shelves i.e. the hidden-from-view portion can be used to keep cartons
- Shelves can free up your floor space for furniture and movement as they enable you to organize stuff on them
- Adding floating shelves along with baskets and bars to wardrobes may allow you to use up unutilised areas like the huge section where you have only one coat hanging 365 days in a year nicely gobbling up space
- Shelves can help you bring some order to your home as they facilitate organizing your clutter; and if you have a flair for design then you can simply go ahead and give a free rein to your creativity and incorporate some design elements by grouping items together … albeit with a mix and match of different heights and shapes to create a contrasting impact
Functional shelves can add to the design quotient of the room alongside organizing it. But what is of key importance here is that one needs to be clear about how they intend to use the shelves and where would they like to install them.
Types of Floating Shelves
Each house has its niche design and shelves need to be synced into the same. Does that get you worried about whether you’ll be able to find THE shelf design which will fit into your home sweet home? Relax there’s a multitude of options available – floating shelves, A-frame shelves, rope shelves et al! You could even select a different type for each room of your house to spice-up things! And the best part is that all the types of shelves below are DIY…trust us there’s absolutely no rocket science involved – just a pinch of design sense and an innate knack for measurement and visualisation!
So here’s a peep into some of the popular range of DIY Floating Shelves –
01. A-Frame Shelves:
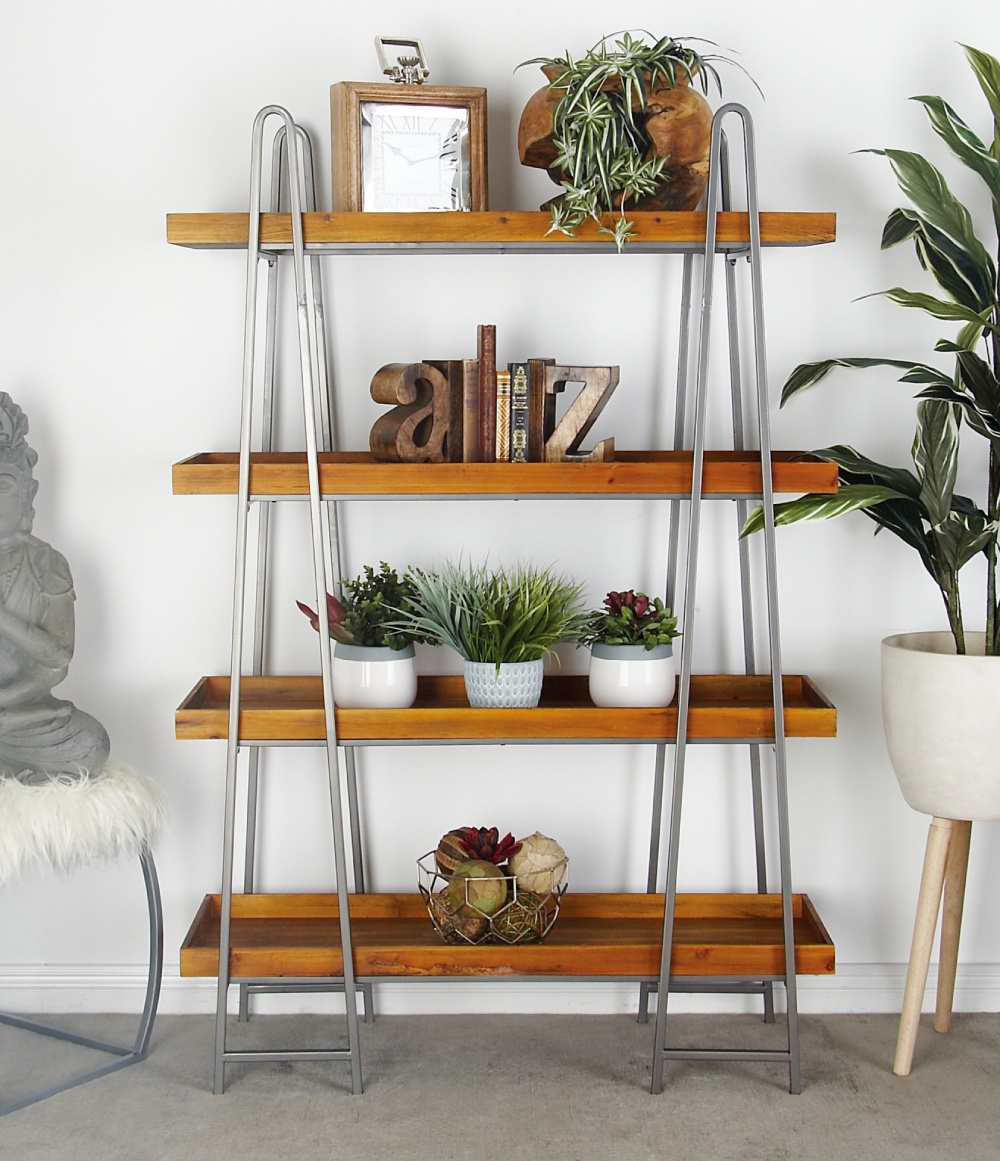
These are the perfect contemporary replacement for those heavy china cabinets! They can store umpteen numbers of items and you can build them as per your requirement…and the best part is yet to come – you can move them around from one room to the other!
02. Belted Shelves:
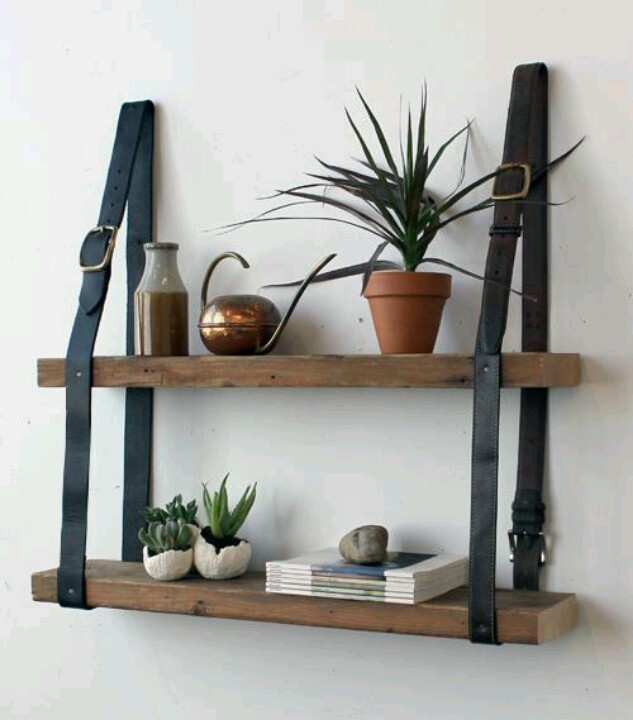
Shocked, eh? But old belts make rustic and offbeat shelves …may remind some of us of train berths though!
03. Copper Pipe Shelves:
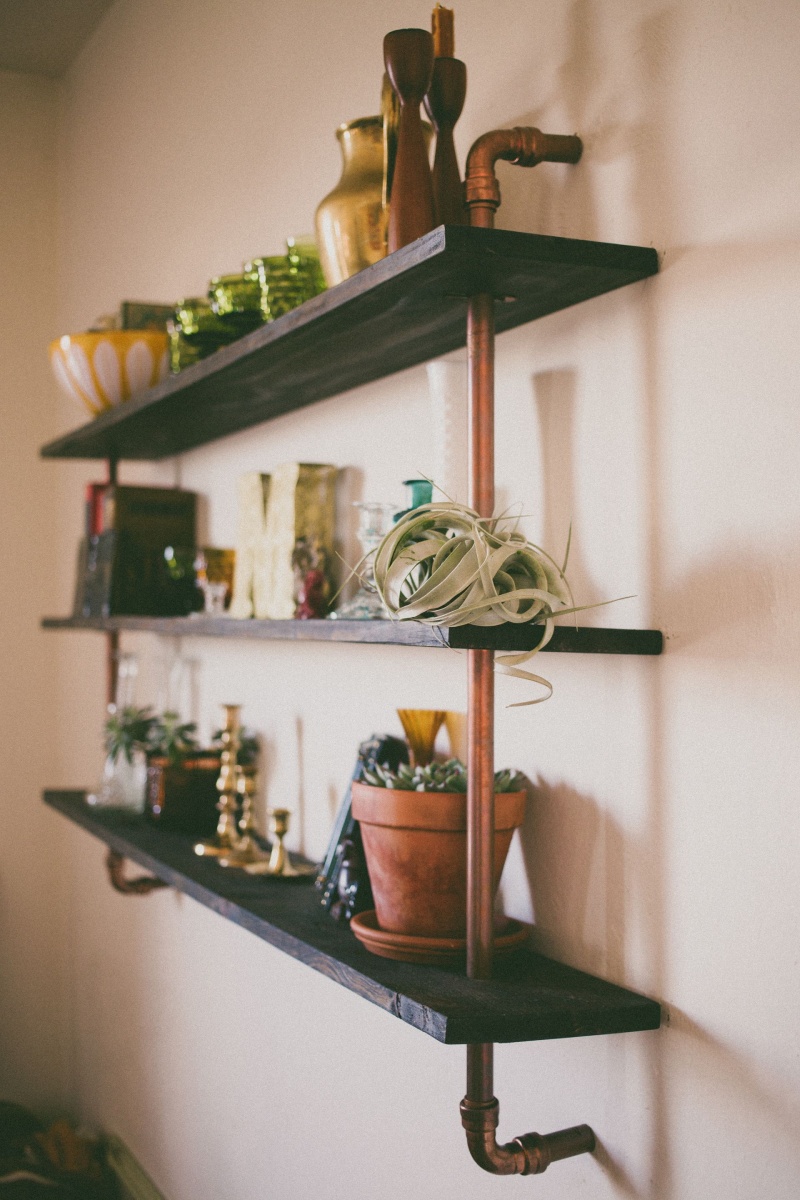
These super simple shelves call for basic construction skills alongside leftover copper pipes!
04. Crate Shelves:
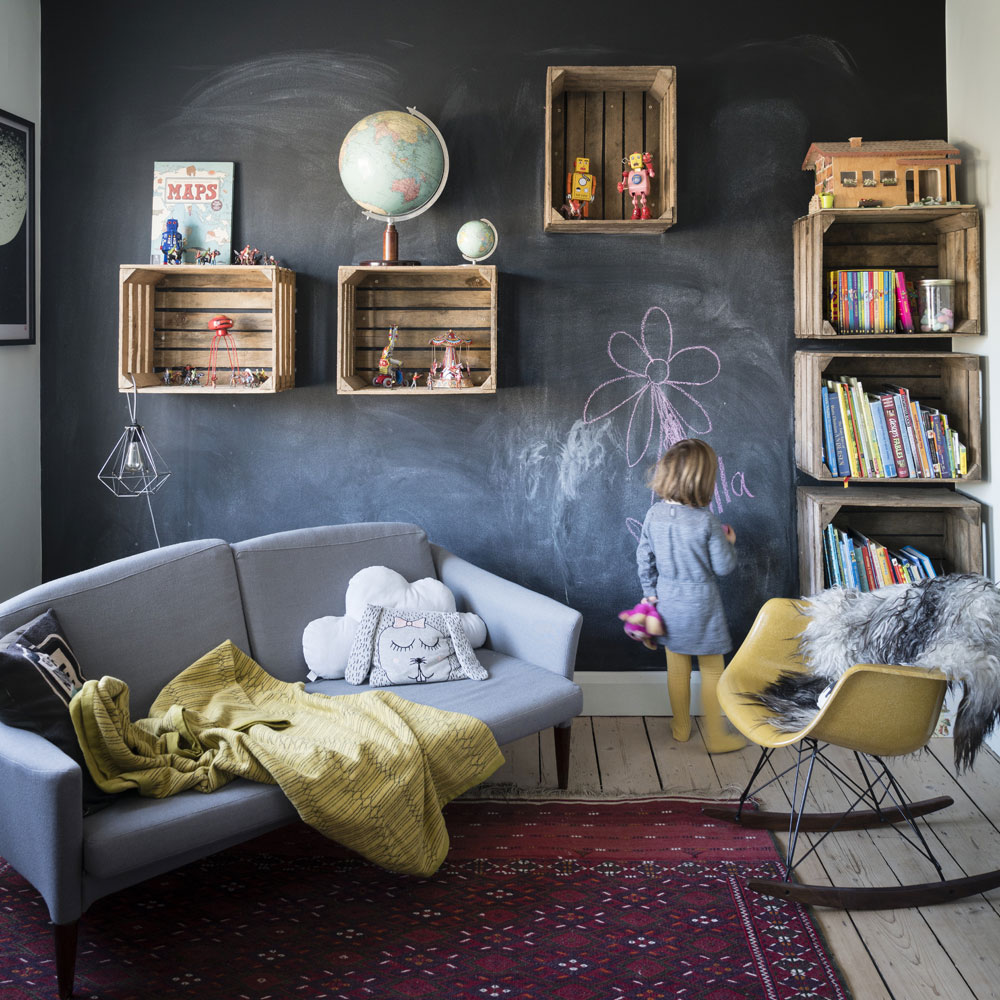
Instead of throwing away those old crates in which you packed your stuff before moving into your new home … repurpose them by nailing them on the wall and go ahead and place your spices, shoes, books or anything in the world!
05. Driftwood Shelves:
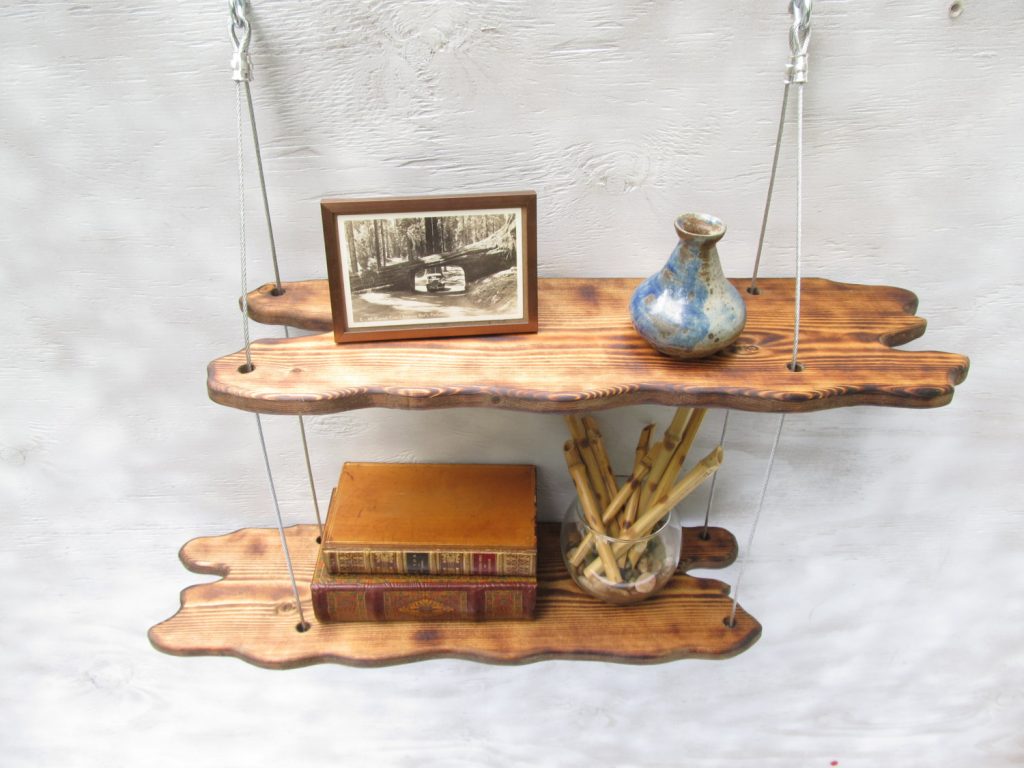
Fond of the sea…. Want to add a natural touch to your drab room? Then these easy-to-make driftwood shelves are THE best thing for you! A friendly word of counsel – ensure that the wood you select is light
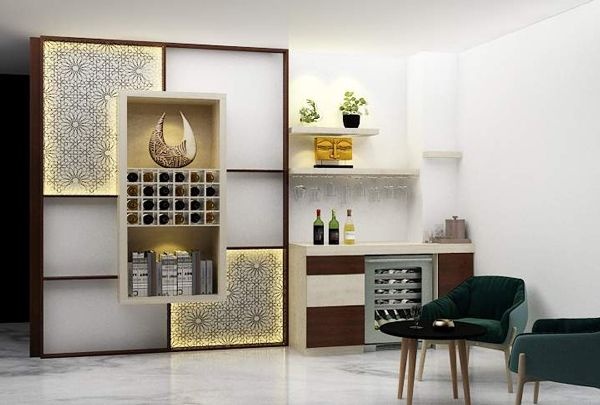
06. Floating Corner Shelves:
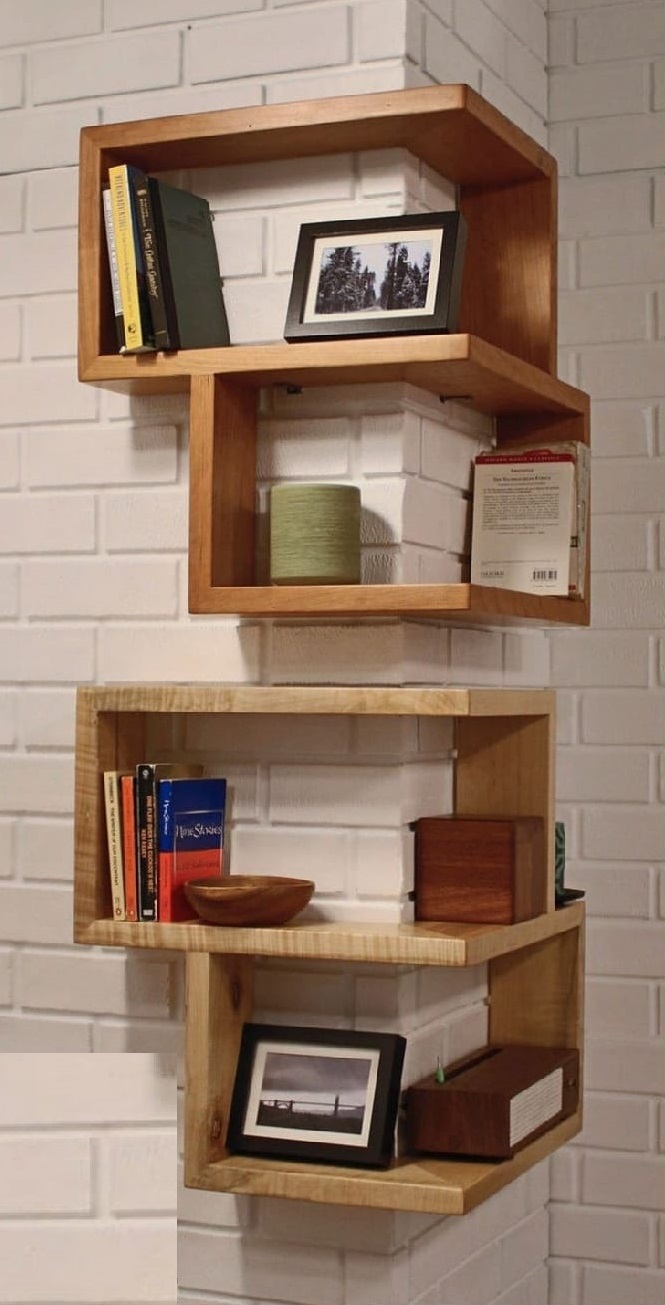
These shelves are a classic example of not letting an inch of space go waste! Well, all rooms have corners don’t they? So go ahead and fit these whitewashed floating shelves and voila you’ve got loads of space to place anything you want – toiletries, knick-knacks or even your bonsai!
07. Flower Shelves:
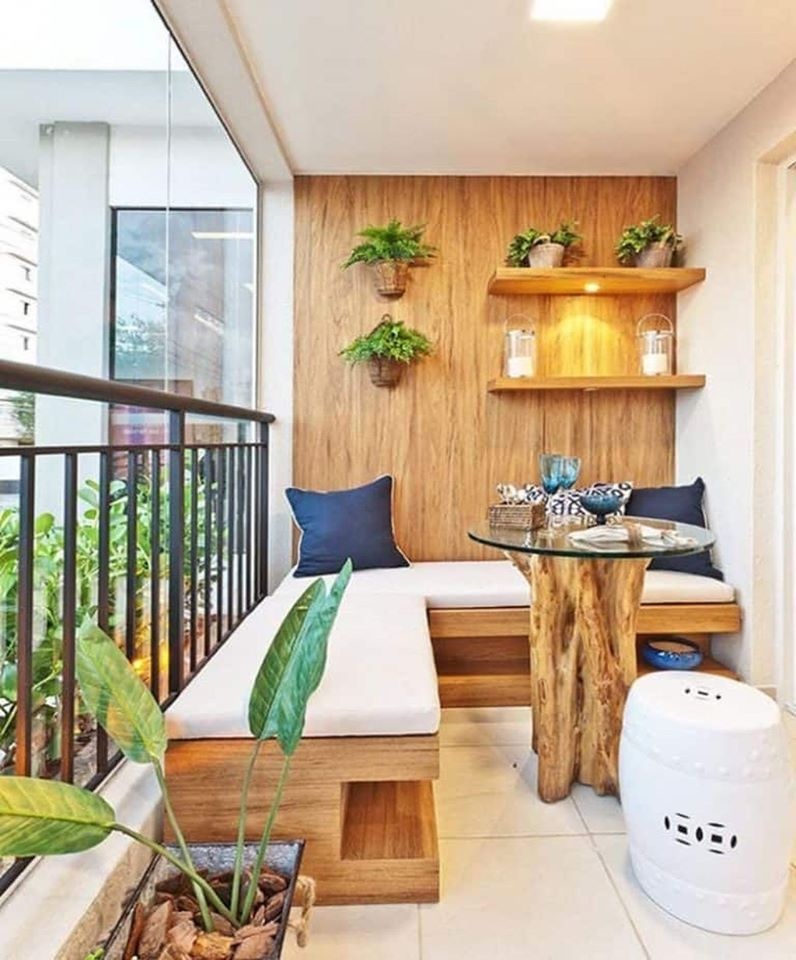
These must-haves for green-fingered souls can be placed both, indoors or outdoors in your balcony; and can be made from any material so long as it’s sturdy enough to withstand the weight of your flower pots!
08. Hexagon Shelves:
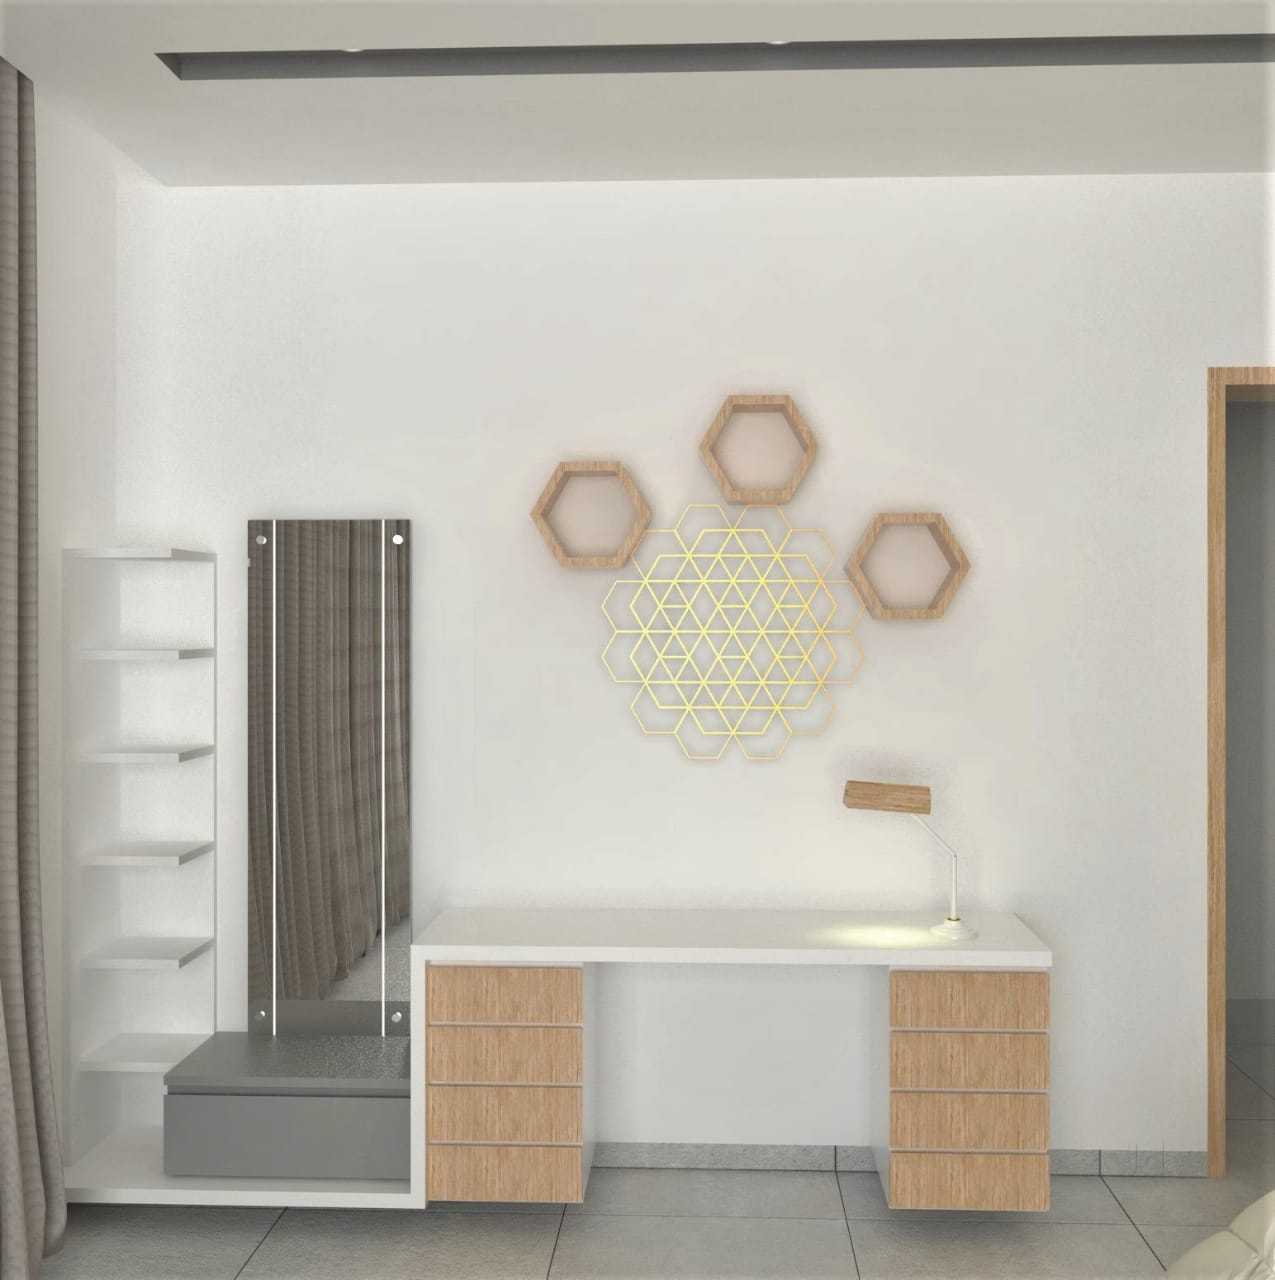
Does this remind you of mathematics? Jokes aside, these are concocted from popsicle sticks and trust us are a sure-shot conversation starter!
09. Industrial Pipe Shelves:
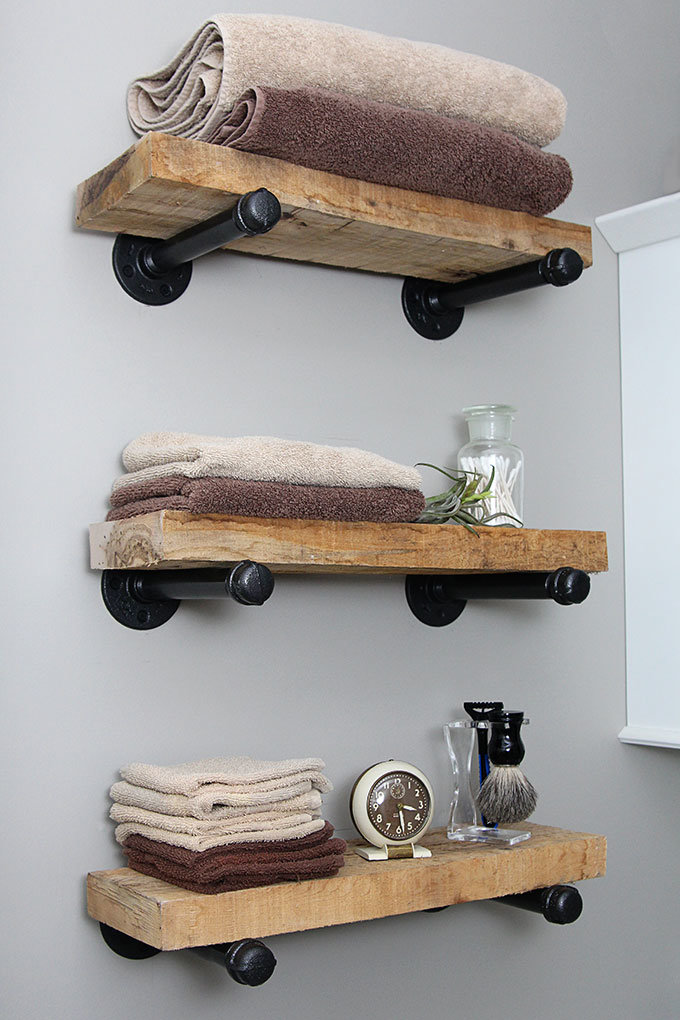
These are for the no-frills and sturdy types who have a streak of ‘best from waste’; albeit they don’t score high on the glamour quotient but yes when it comes to strength they win hands down!
10. Pallet Shelves:
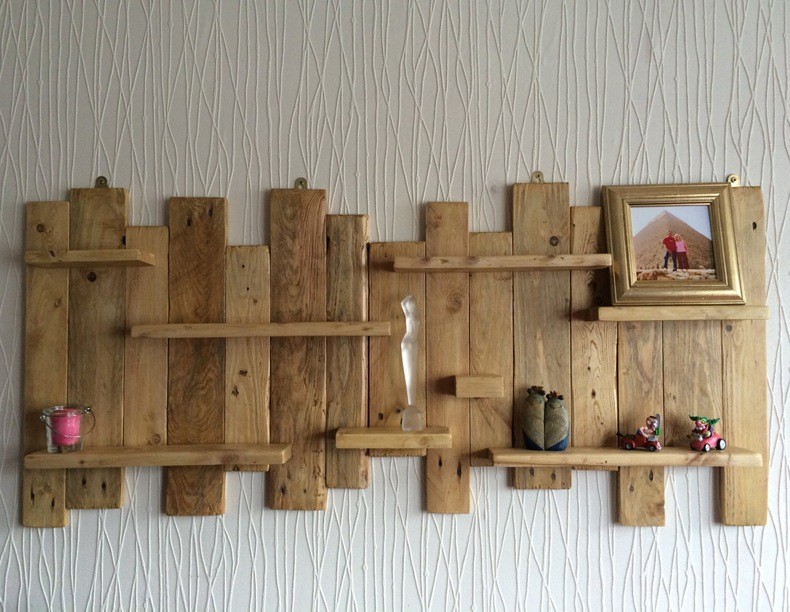
Pallets are one of the most versatile resources which can be repurposed to practically anything under the sun! Then why should the shelf segment be left behind? They lend a rustic hue to your room and are best suited for displaying light-weight items like magazines, photograph frames, slim books et al.
11. Pegboard Shelves:
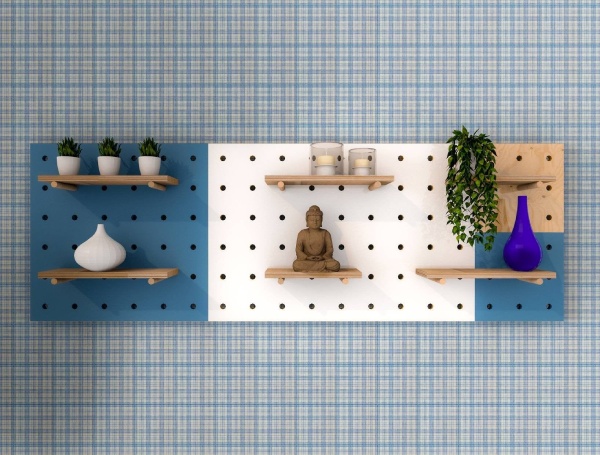
These are ideal for placing those gifts which you are emotionally attached to – say flower vases, photo frames, mementoes from your foreign vacays, plants et al. But, hey do remember to keep rearranging them to keep your guests intrigued!
12. Quilting Hoop Shelf:
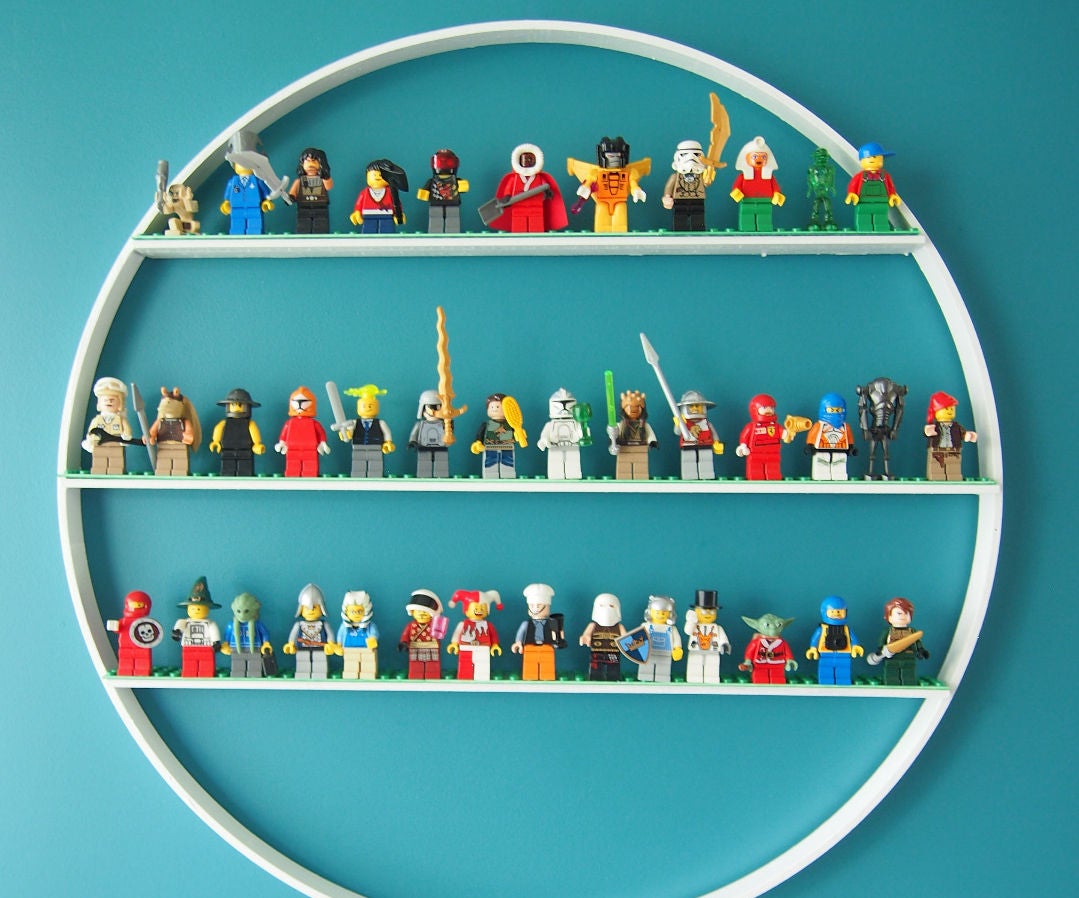
Back to geometry! But jokes apart these circular shelves made from quilting hoops are the perfecto place to showcase your tiny objects
13. Rope Shelves:
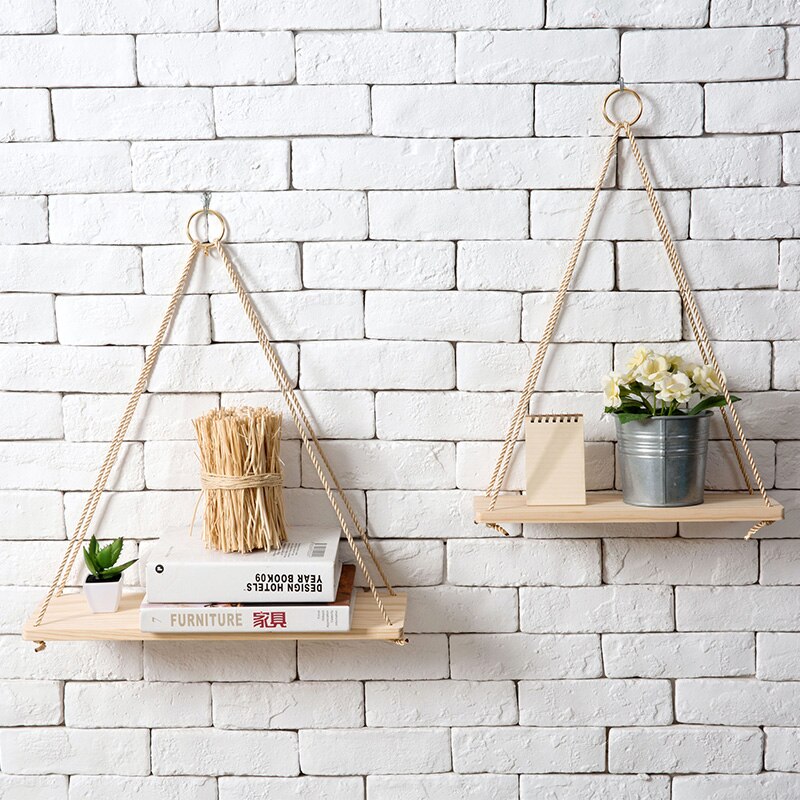
These shelves are extremely aesthetic and lend an ethnic look to your house. You can even use them to hang mirrors!
14. Tetris Shelves:
These may take you on a nostalgic trip to your childhood! Modular in structure they add an off-beat look to your space and can store items of different sizes in their different sections.
How to Decide the Dimension of the Shelves
Apart from the types of shelves you select an important factor to keep in mind is their dimensions which in turn is dependent on “Where” you intend to place the shelves.
Length of Floating Shelves:
It will depend on where and in which room you want to place them; and also on the dimension of the wall and the furniture placed nearby
Height of Floating Shelves:
This is very important as the efficiency of usage will entirely depend upon whether it is within easy reach or not; and so will their cleanliness to a large extent
Width of Floating Shelves:
How much the shelves, need to protrude from the walls is very crucial – because if it is too less, the shelf will hardly be of any use; and if it is too much then it may obstruct movement besides posing a source of injury for any passer-by
Building Floating Shelves
A positive downside of the pandemic is that it has reduced our dependency on external vendors … owing to the risk element they may carry with them which may compromise with our health and safety. Hence the various phases of the lockdown gave rise to a budding community of DIY entrepreneurs.
While it’s quite easy to simply go online and place an order for a pre-made floating shelf which best suits your palate you may end up with compromising on the colour, size and type. Well there’s no need for restricting yourself when with a little bit of creativity and effort you can make a floating shelf tailored to your room and house and perhaps at a lesser cost too. A side benefit is the ‘sense of ownership’ which this DIY shelf will bring to you; and you could also involve your family members and make this entire exercise a forum for family bonding!
Gharpedia brings to you a simple and easy DIY floating shelves woodworking process … along with practical pointers and requisite tools and supplies.
Tools and Supplies for Building Floating Shelves
- Adjustable Blind Shelf Floating Support Invisible Brackets
- Circular Saw
- Cloth (2 or 3)
- Drill
- Drill Press (Optional)
- Hand or Bench Router with Dado Router Bit
- Level
- Paintbrush
- Pencil
- Polyurethane (Optional)
- Sand Paper (Medium Grit)
- Stain or Paint
- ½” Paddle Bit
- 2” x 10” Pine Board
Method of Building Floating Shelves
Barring the time it takes for drying this entire shelf building project can be wrapped up in as little as half a day!
Step 1: Cut the Board for Shelves
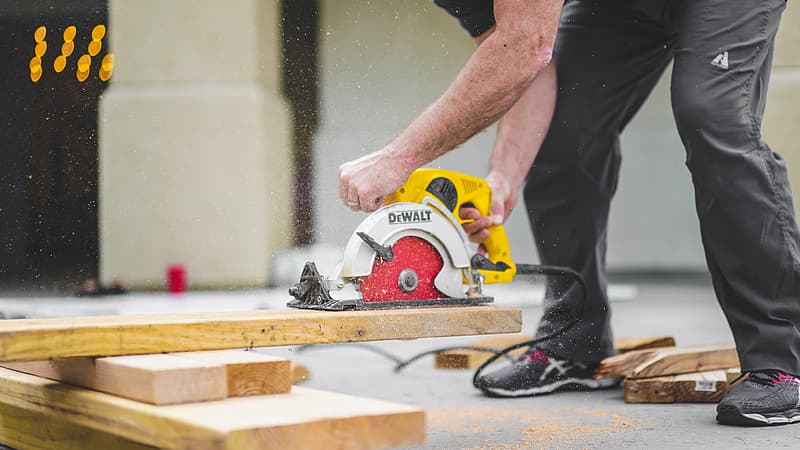
We’ve been practical and cost-effective and suggested a large piece of wood so the first step would be to cut it into the size suitable to your space with the help of the circular saw.
Point to Remember – 25” per shelf is a good size to begin with
Step 2: Make Indents in Shelves
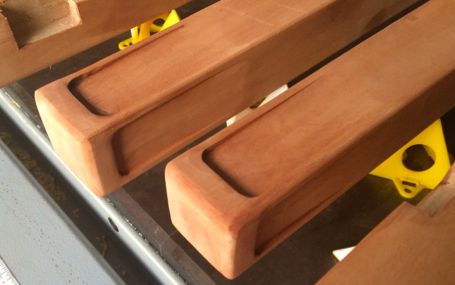
With the help of the hand or bench router make an indent so that the hardware fits in the back of each shelf.
Point to Remember – The indent will enable you to ensure that there’s no space between the shelf and the wall when you place the shelves
Step 3: Drill Holes in Shelves for Fixing Hardware
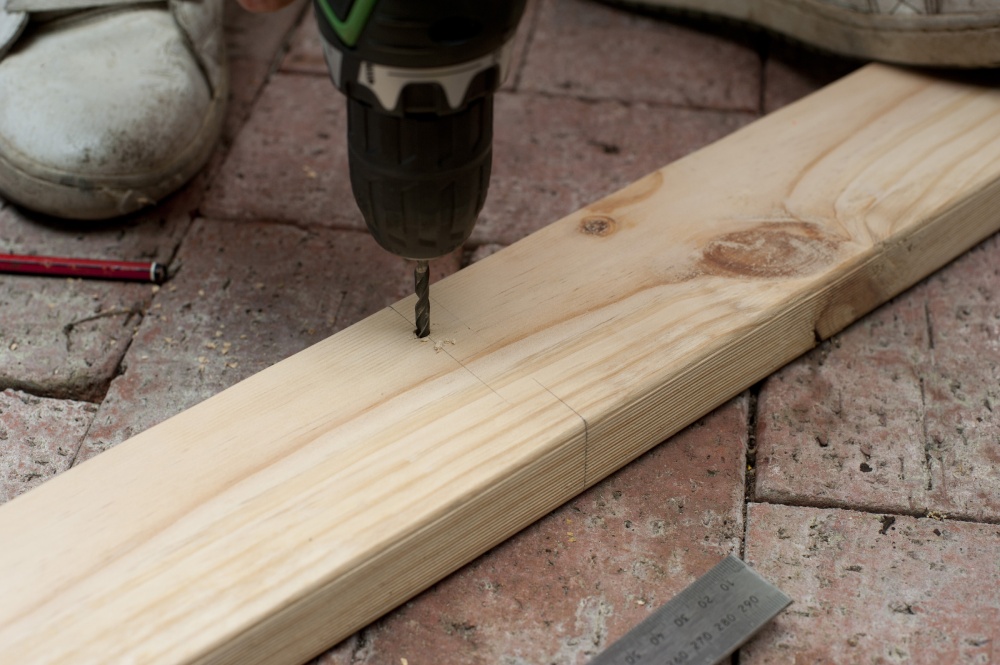
In case of a hand drill, use the paddle bit to make holes where your hardware can slide into place.
Point to Remember – The paddle bit eases the accurate drilling of each hole
Step 4: Sanding and Staining of Shelves
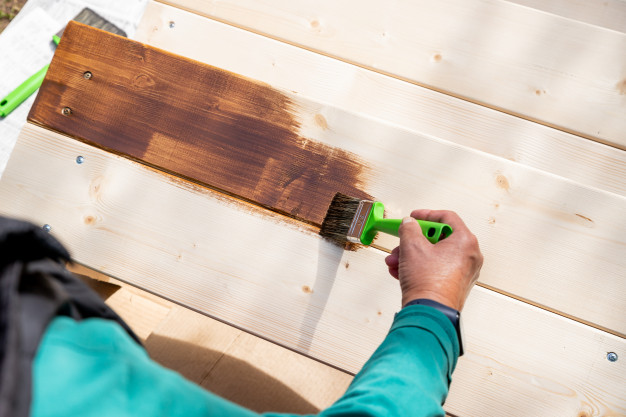
Select the best-ventilated space in your house for this step! Then go ahead and sand the rough edges on each shelf; rub off any extra saw dust and then apply your chosen paint or stain. In case you’re opting for the latter then do remember to wipe off all the excess stain and allow each coat to dry.
Point to Remember – If you’re aiming for a glossy look for your shelves then coat them with a layer of polyurethane lacquer.
Step 5: Hang Shelves on Wall
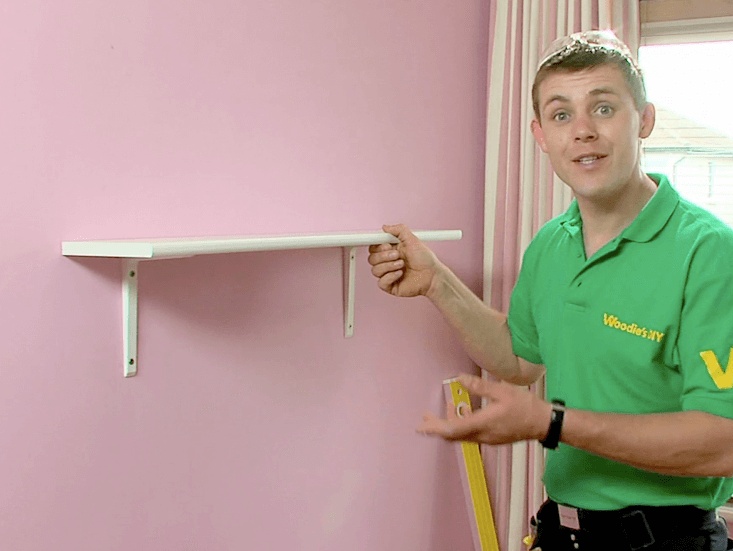
Post drying of your painstakingly handcrafted shelves it’s time to put them up. For this follow these steps –
- Decide exactly where you want to fit your shelves
- Meticulously mark and measure where you may be required to install the hardware on the wall – the packaging instructions would be of great help here
- Deploy the level to ascertain that each shelf is straight
- Post placing the hardware on the wall, slide your shelves (through their drilled holes) into position
Conclusion
As we saw, DIY of floating shelves are quite simple, easy and quick, eh!Also, these floating shelves can work in any room of your house and eventually adds much more amount of storage for your room.So go ahead and create an affordable yet state-of-the-art décor piece!
We hope this article on floating shelf DIY is quite informative and helps you out in providing storage by using appropriate type with correct method. So before taking a leave, if you are interested in providing storage in your house, we would insist you to have a glance at our articles:
10+ Ways to Increase Storage Space in your House!
Top 10 Self-Storage Tips You Must Know to Do Storage Work!
Image Courtesy: Image 2, Image 3, Image 4, Image 5, Image 6, Image 10, Image 11, Image 12, Image 13, Image 14, Image 17, Image 20
Author Bio
Huta Raval – An English Literature and Journalism Topper, Huta Raval has graduated from the L D Arts College, Ahmedabad. Post serving for 23 years in the NBFC and Public Library Sectors her desire for ‘writing the unwritten’ brought her to the creative field of content writing. Her clientele comprises of NGOs, Blogging Platforms, Newspapers, Academic Institutions, et al.


