


Gardening is undoubtedly fun. Laying down your seeds and then waiting for them to germinate and slowly develop into full-grown plants is satisfying to say the least. It takes hours of nurturing including watering the plant to finally feel the joy of seeing it bloom.
It is important that your kids learn to identify the plants and also to live with them.
Plant markers that are both functional and aesthetically pleasing help in clearly identifying the plants especially when you want to show it off to your friends and family. It is therefore important that you mark your plants carefully to avoid mixing them all up and ruining your hard work.
Ideas for DIY Garden Markers
DIY plant markers are fun and will get your creative juices flowing. This article lists a bunch of unique DIY garden markers that you can make easily.
Let’s get started.
01. Use Chalkboard Paint and Chalk for DIY Plant Markers
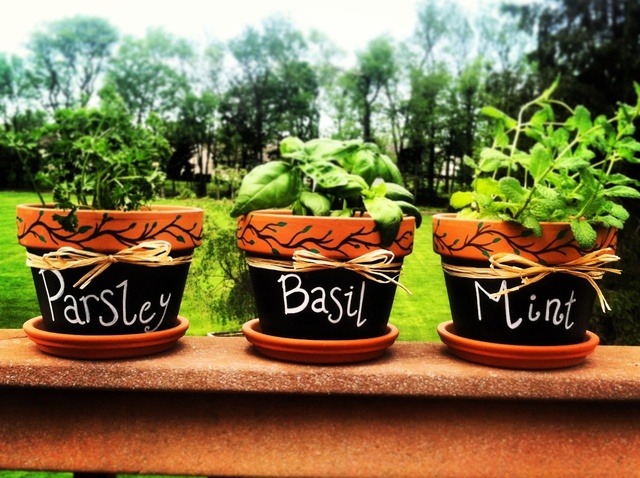
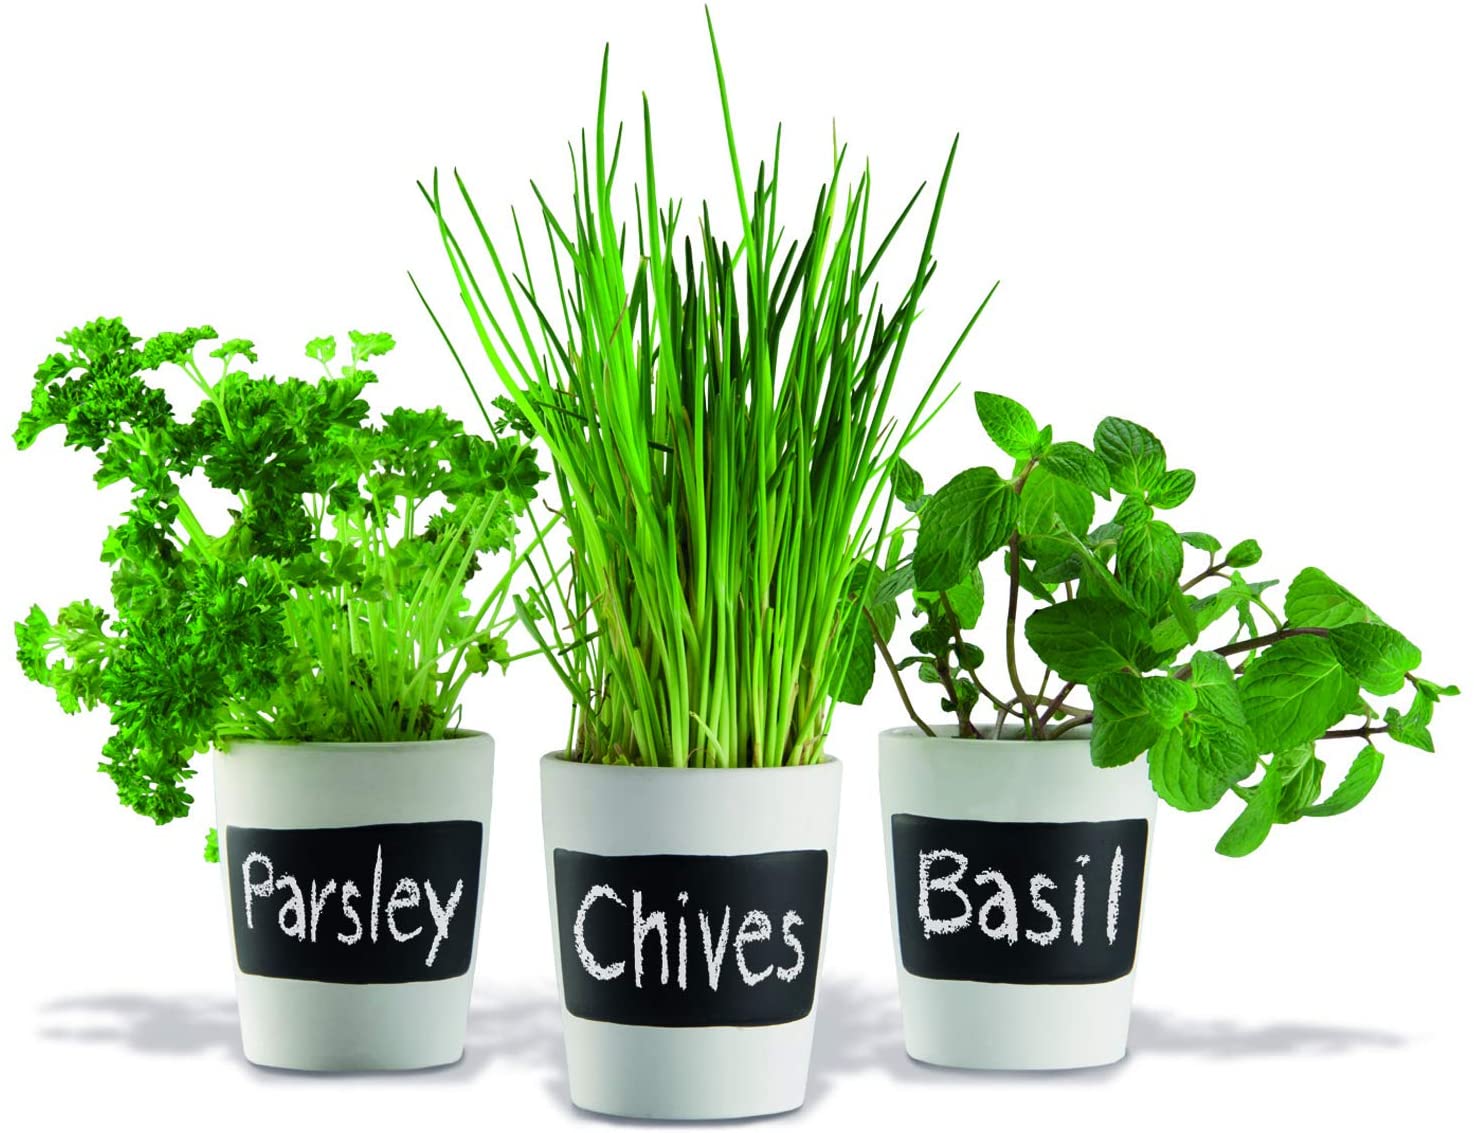
This is perhaps one of the easiest and yet creative plant markers that you can make. They are long lasting and can easily be changed as and when you want to. To begin, get some chalkboard paint and a painting brush. Acrylic matte-black paint will also work fine if you can’t seem to find chalkboard paint. Now, grab your terracotta or plastic pots and paint it however you like. Let it sit for some time to dry. Once it’s dry, you can write over the paint with chalk and mark your plants.
02. DIY Garden Markers with Hand-Painted Rock Labels
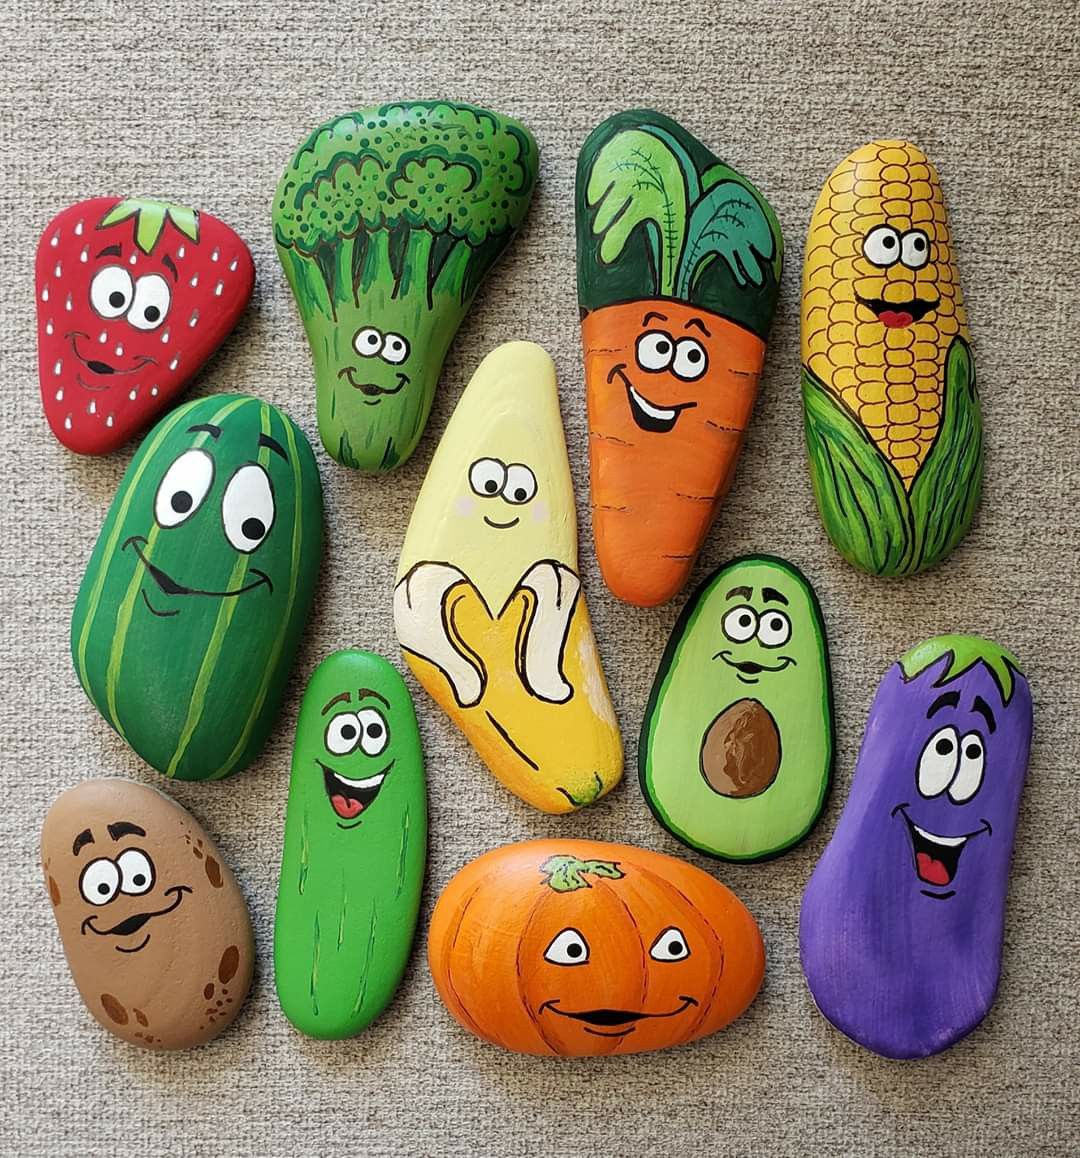
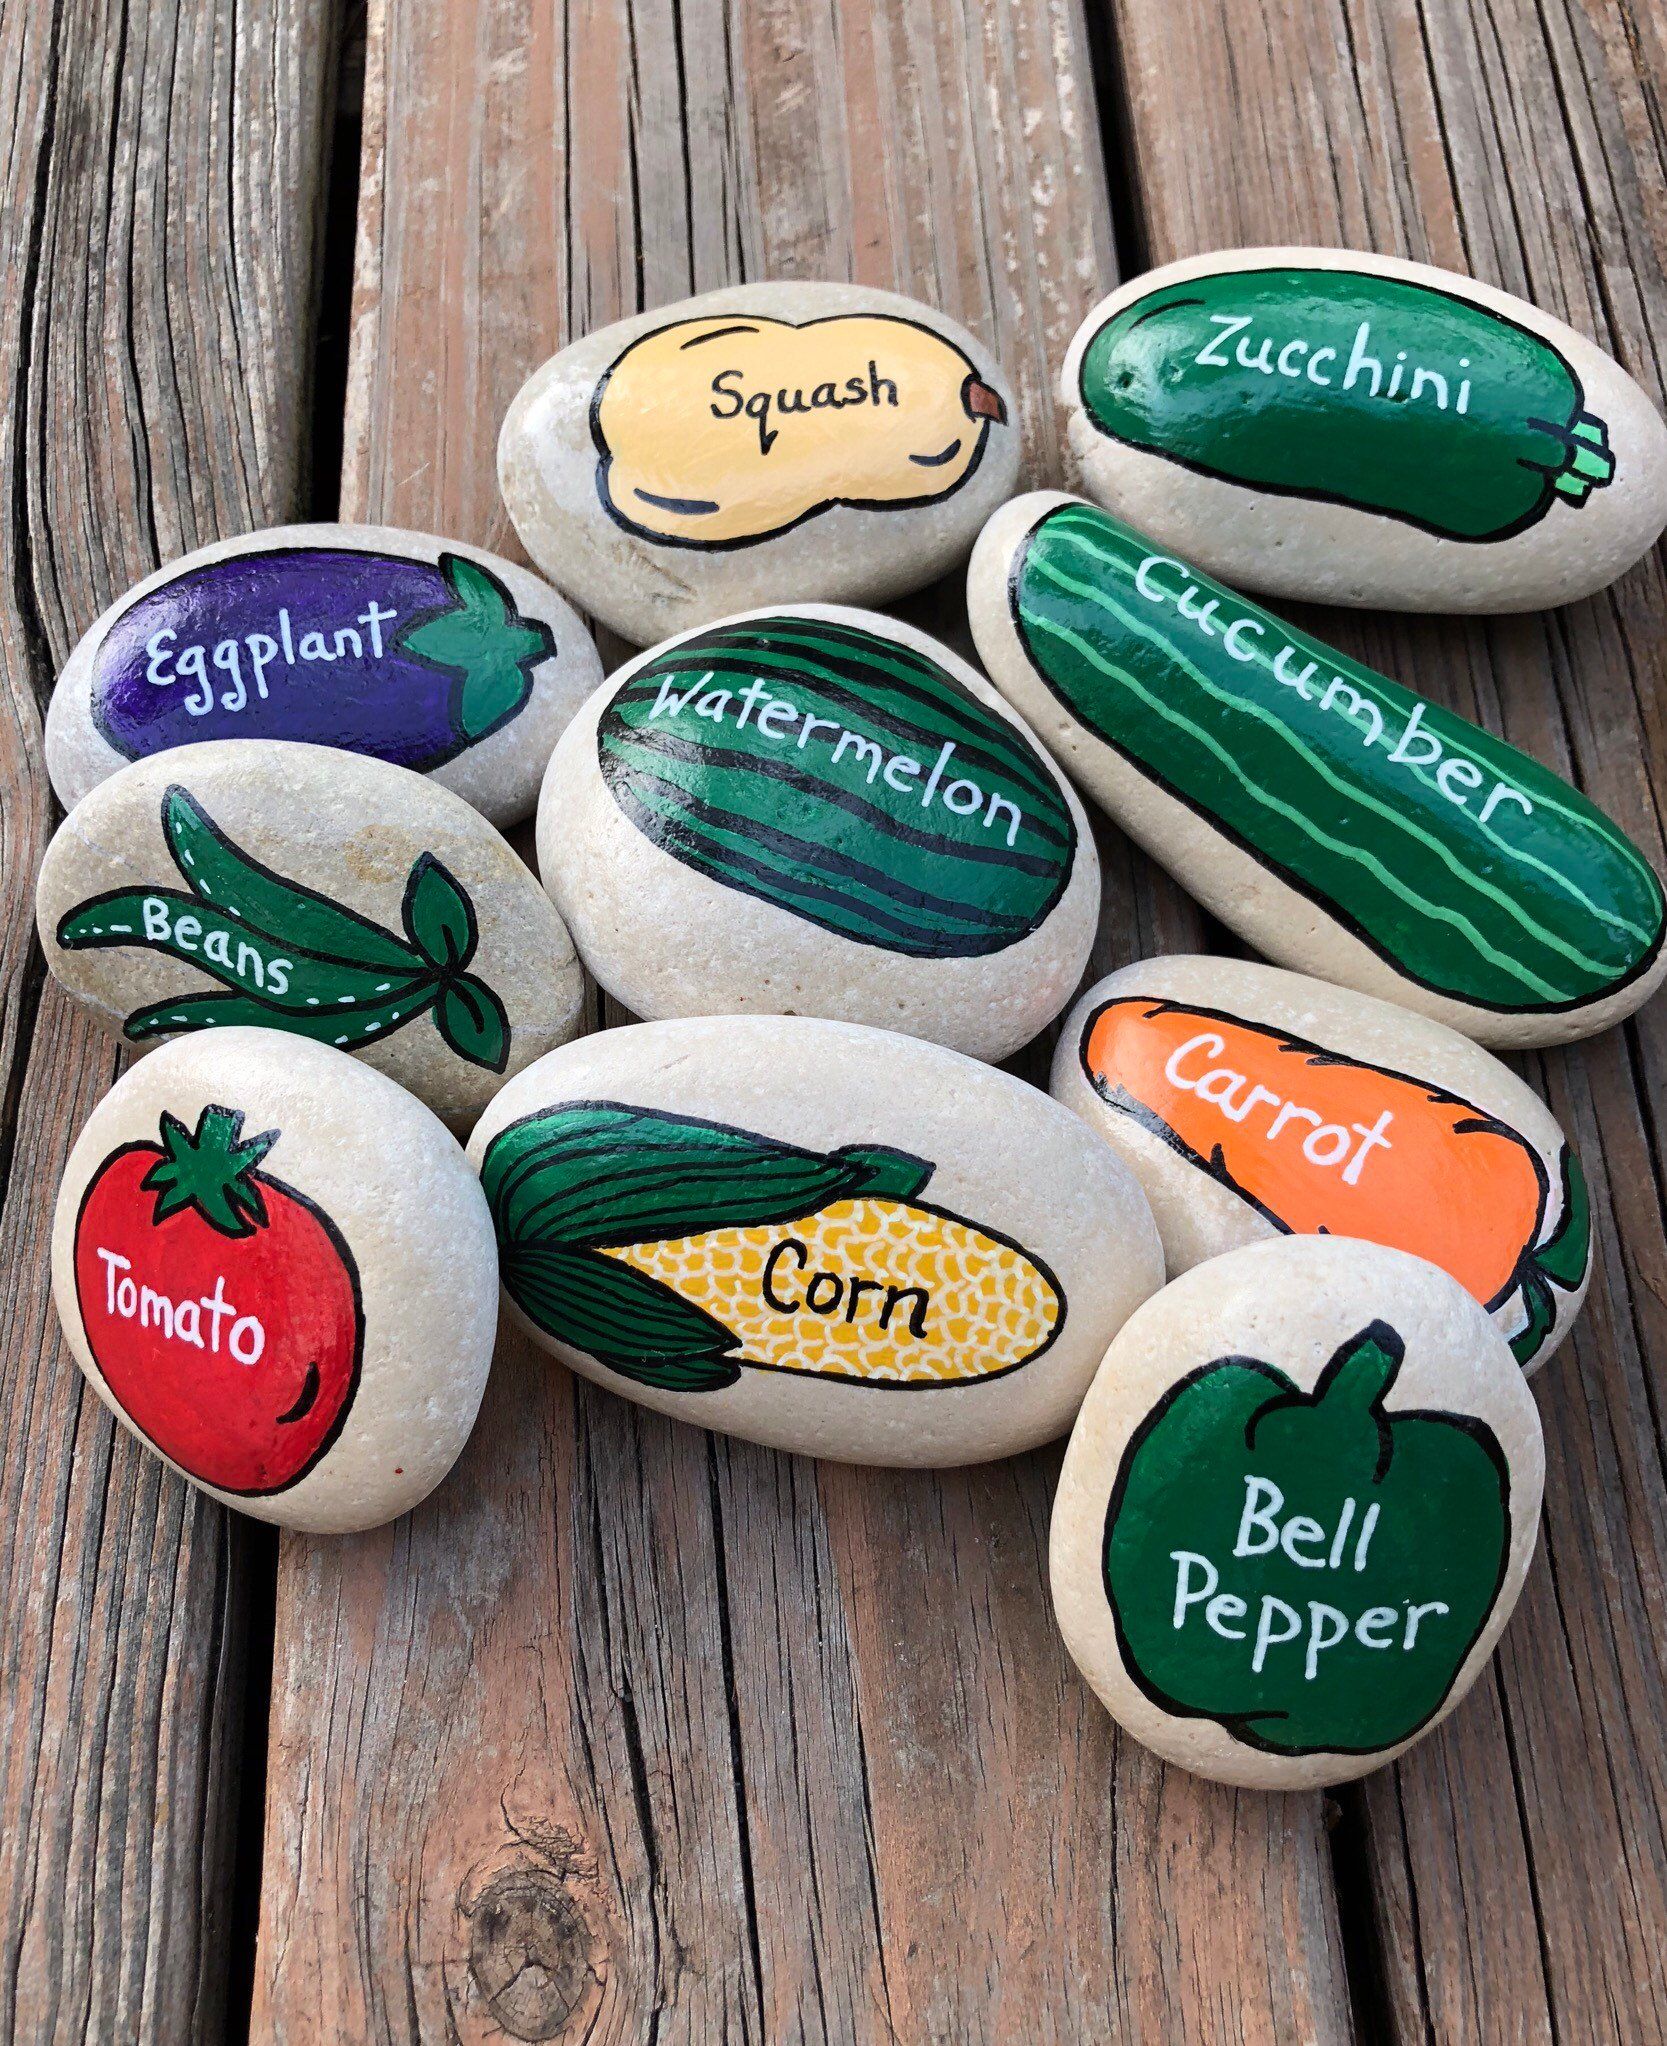
Take advantage of the rocks that you might have in your yard and create cute plant markers using bright and cheerful colours. For this DIY, you will need, palm-sized stones, outdoor paint, paint markers, a fine paintbrush and flat brush. Start by priming your stones with white paint.
This will help your colours to go on evenly. Allow this to dry completely before painting with colour. Remember, that you need to paint only the top portion. Leave it to dry.
Next, grab your paint marker and write the name of your plants on each painted stone. You could use the fine paintbrush and write the name of the plants if you can’t seem to find paint markers. If you want it to last longer, you could also coat the stones in a layer of varnish to protect it from water damage.
03. Creative Plant Markers with Tin Lid Markers
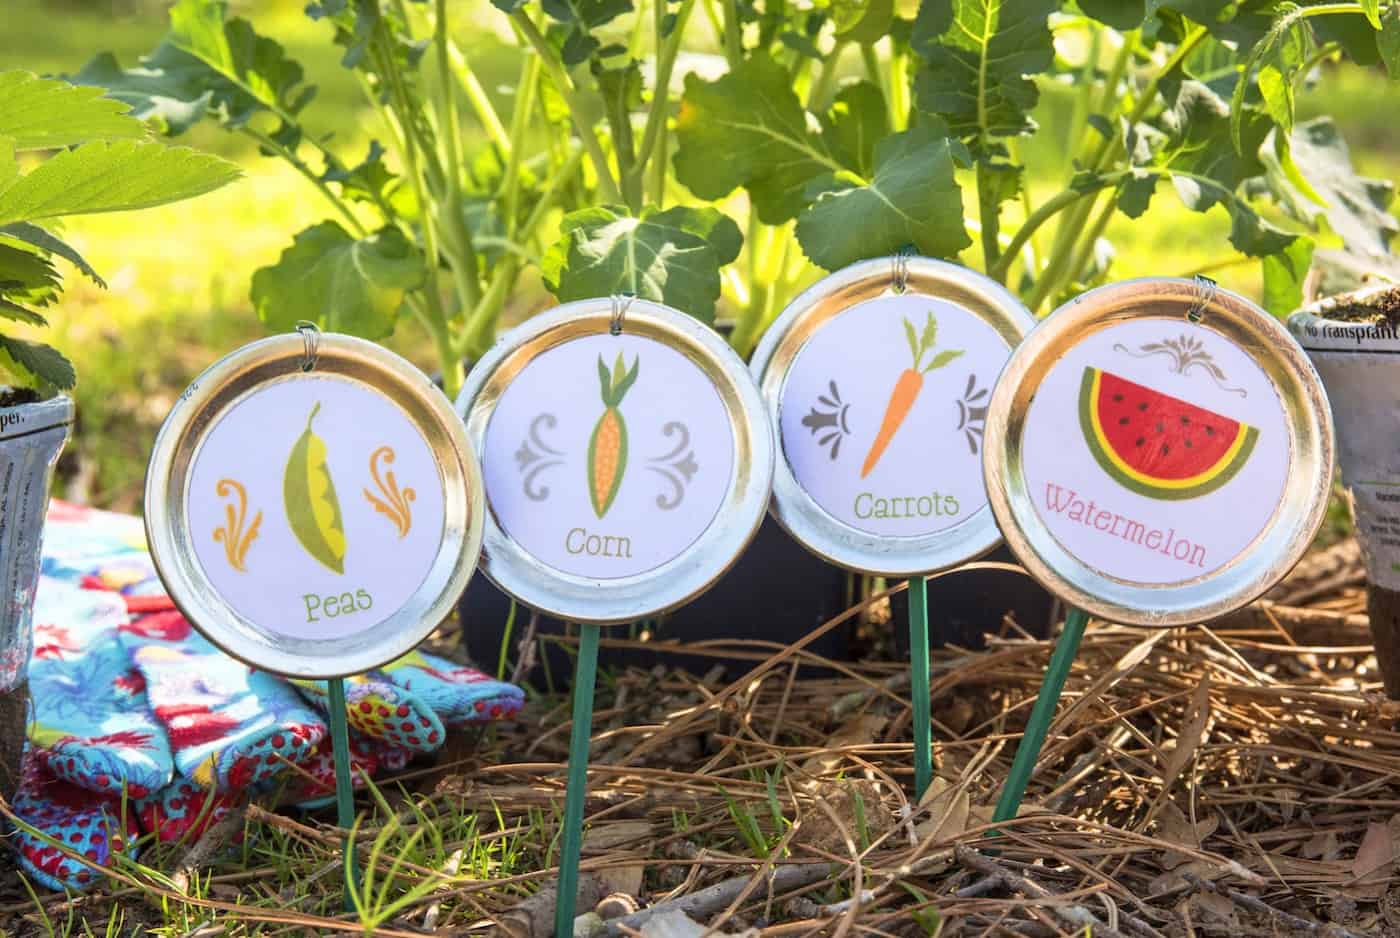
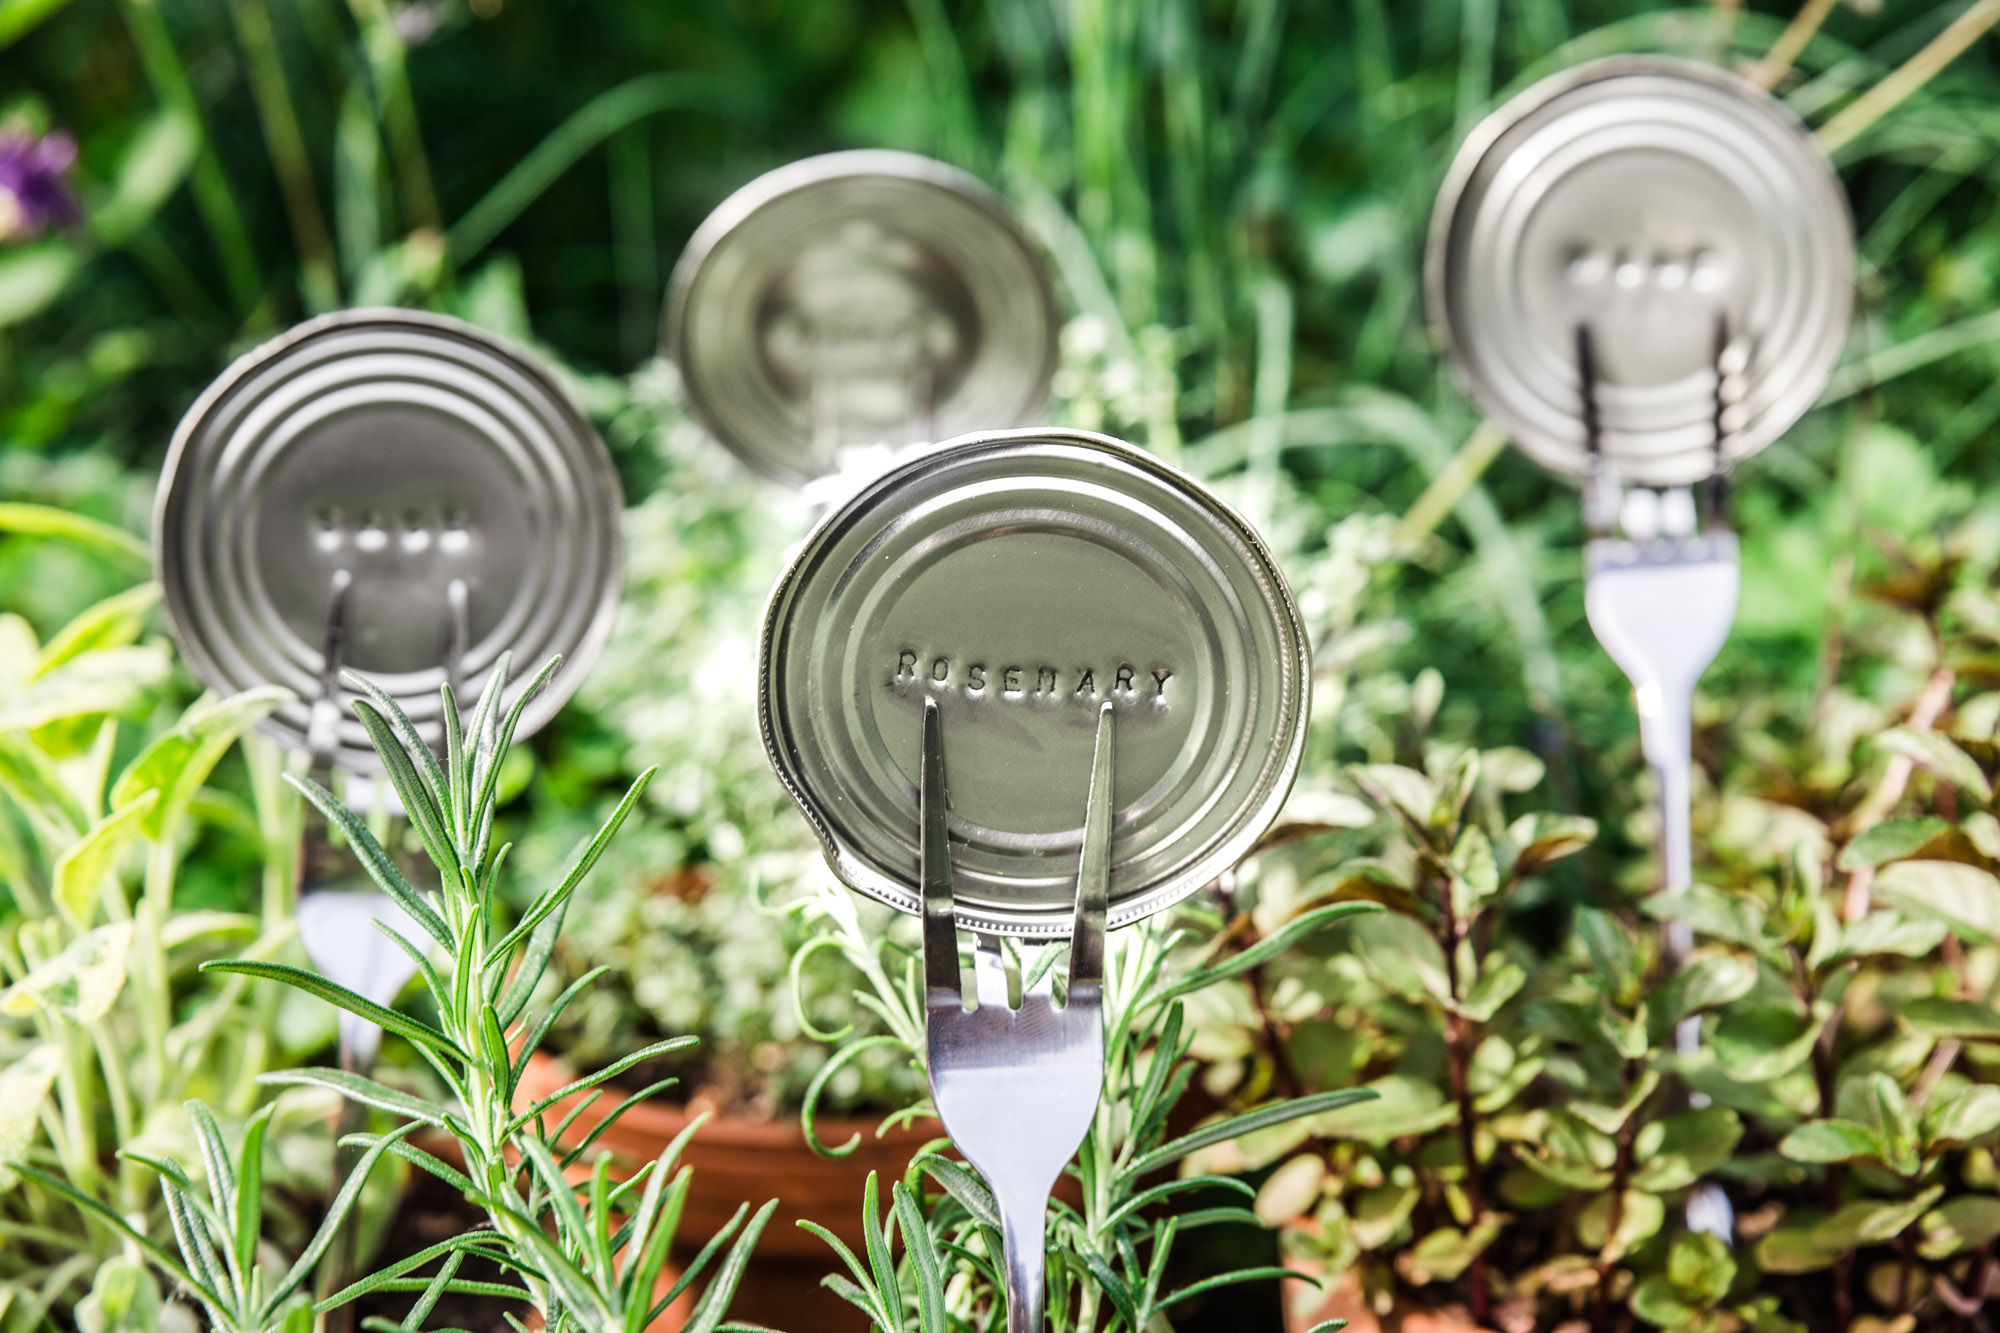
If you have a few cans or containers lying around, you can actually upcycle the lids and turn them into beautiful garden markers. For this easy and yet unique DIY, you will need lids from old cans, ice cream or small bamboo sticks, seed packets, adhesive and lacquer spray paint. Now cut a circle off the seed packet that you would be planting. Use a blank template if you don’t have a nice picture that can be used.
Next, glue the picture template onto the lid and then the bamboo or ice-cream sticks to the back of the lid. You could also use wooden skewers instead. Once, the glue dries off, spray it with some lacquer and it should be good to withstand any weather condition for quite some time. Not only do these helps in recognizing the plants easily but also add some colour to your garden.
04. DIY Wine Cork Markers
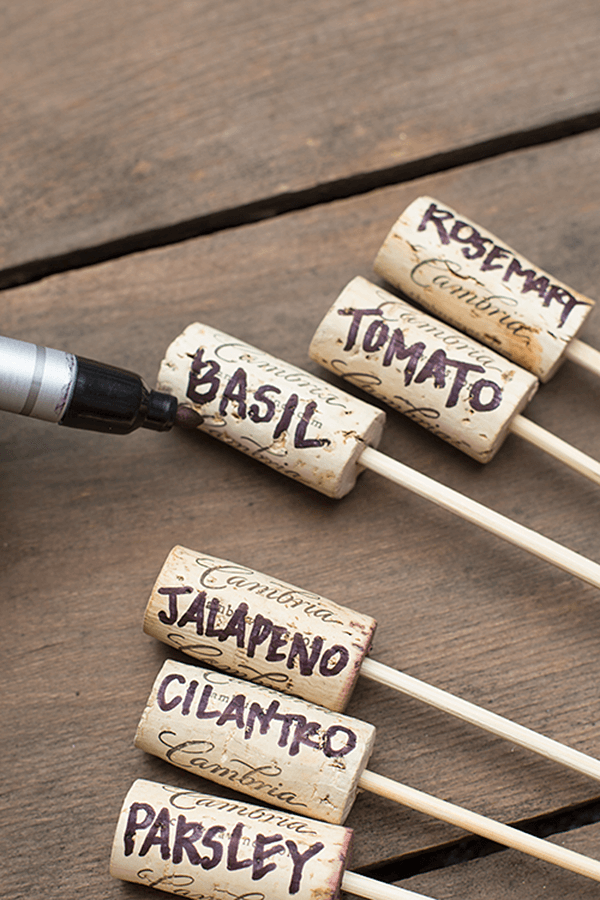
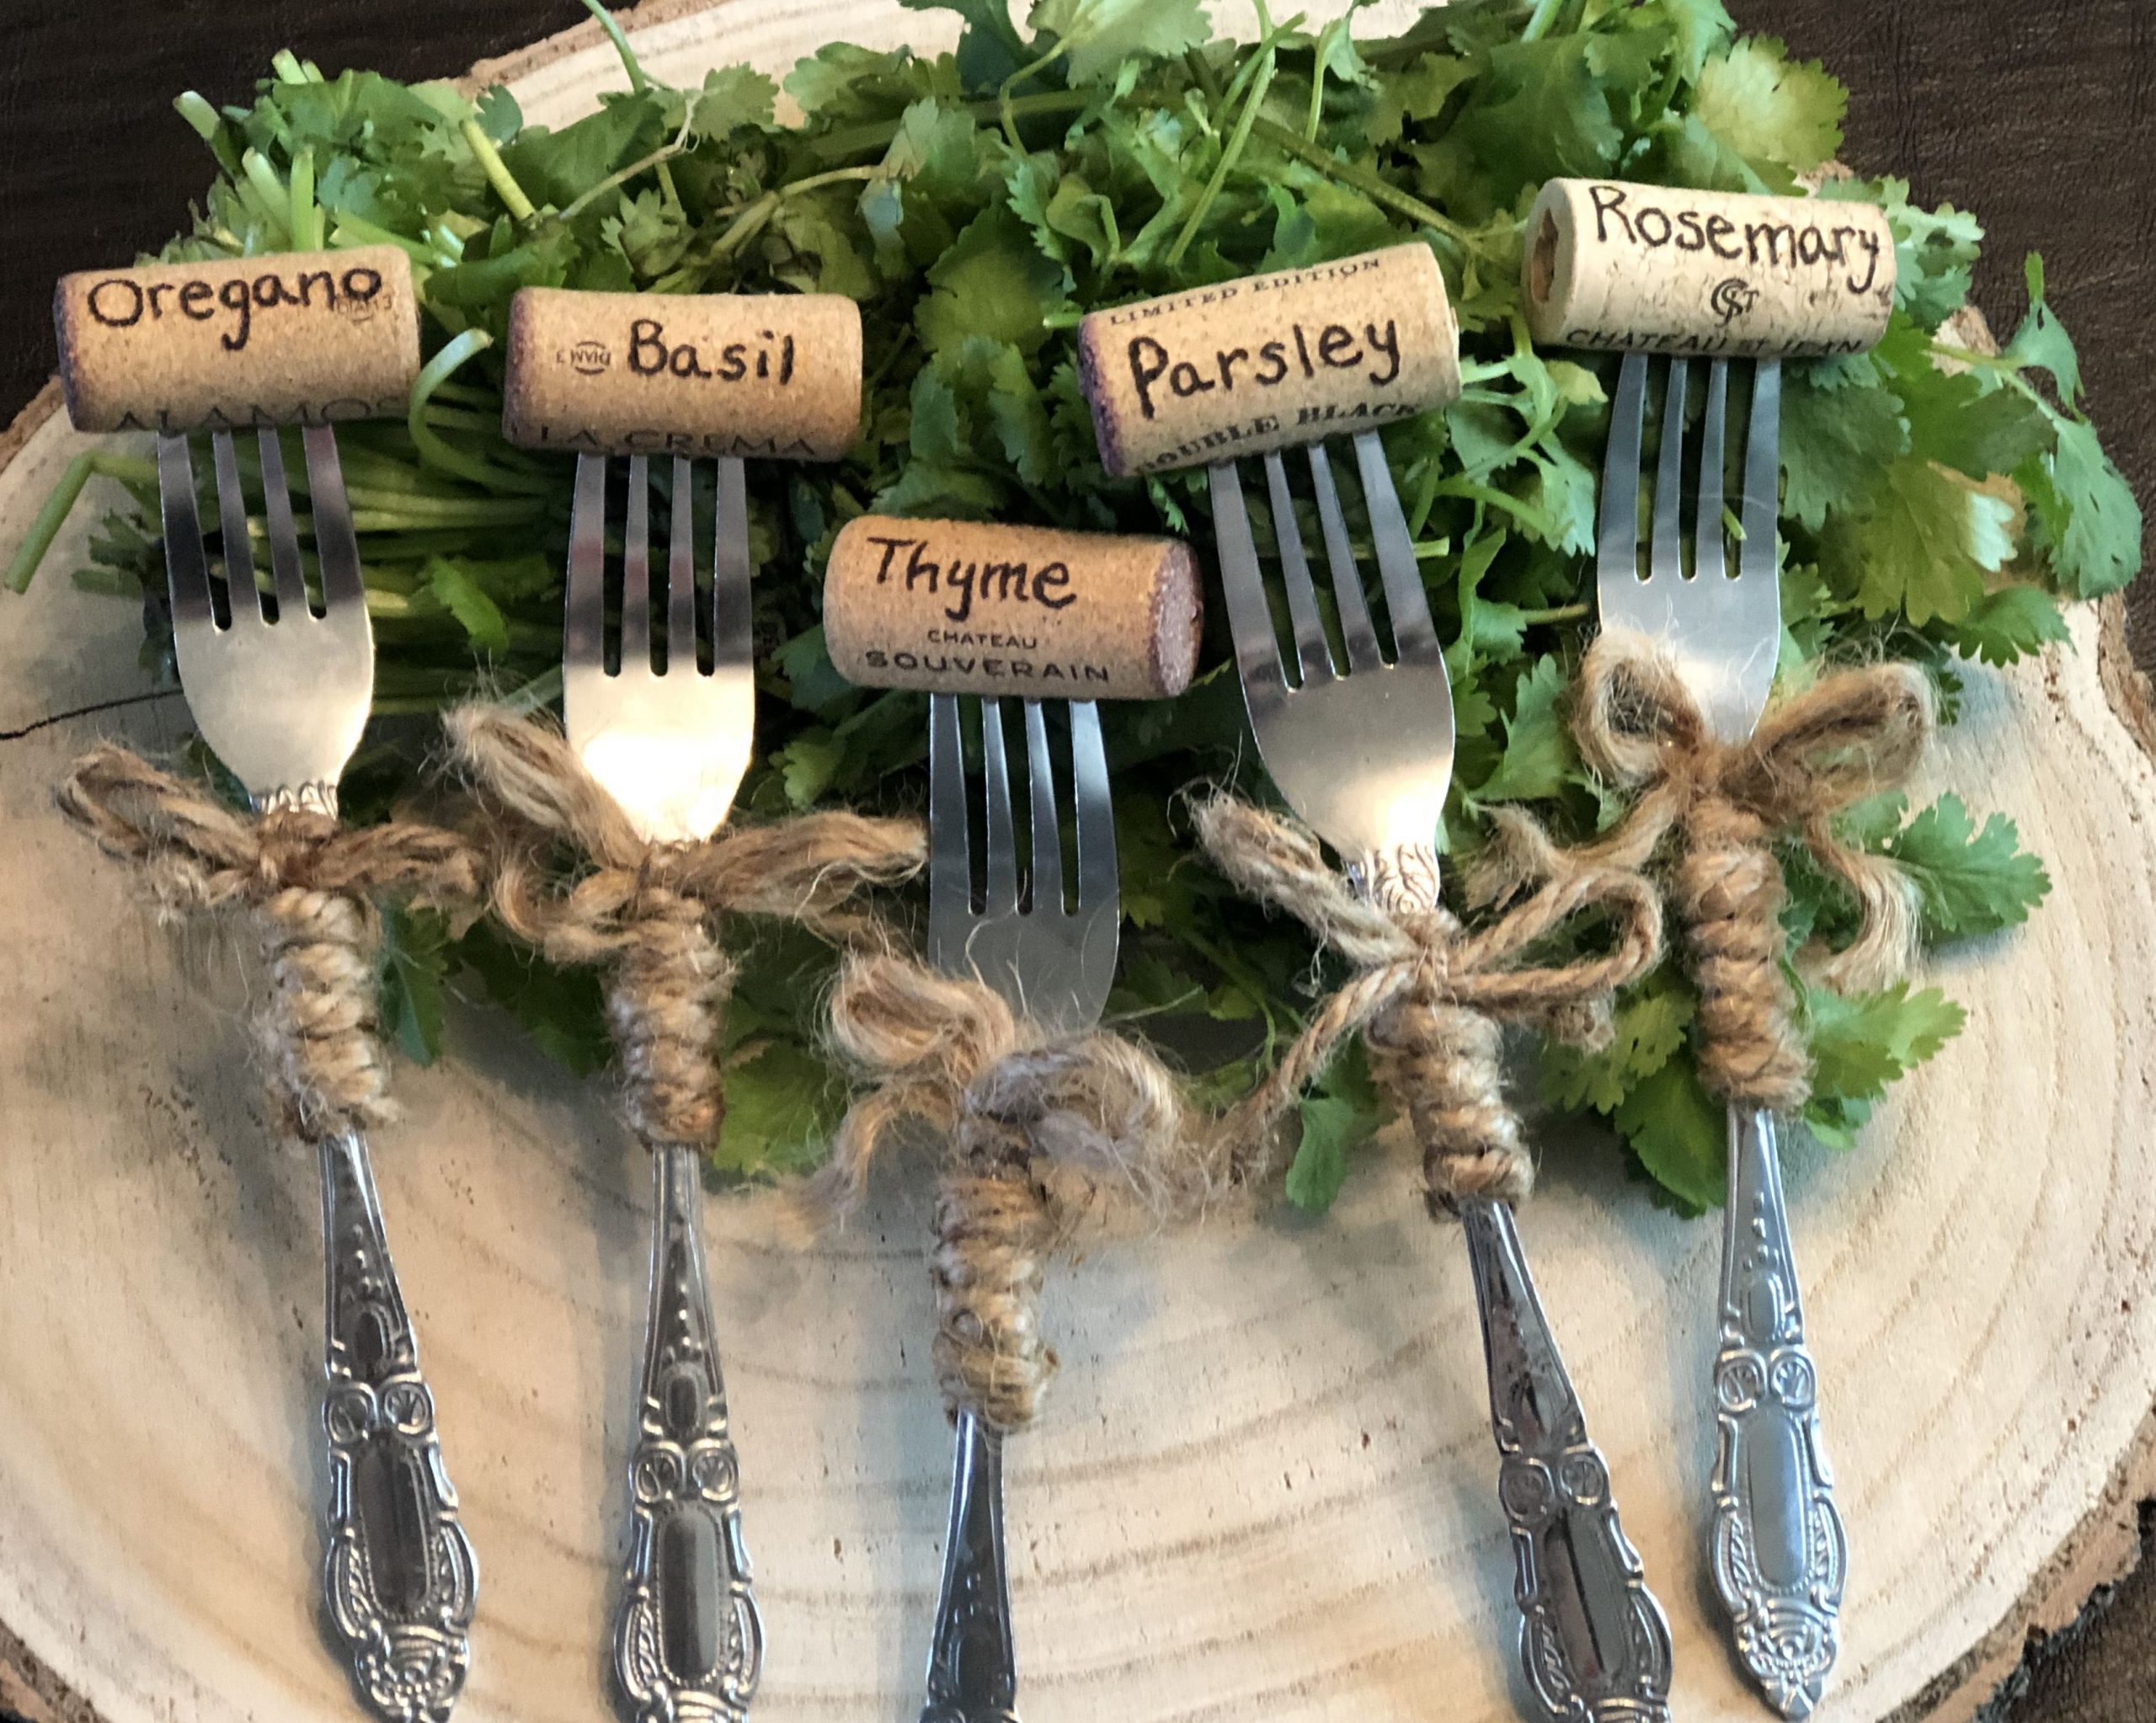
If you happen to have a few unused wine corks lying around, you could actually use those to create this super easy and fun DIY project. For this you will need, markers, wooden skewers or dowels and Polyurethane finish.
Start by writing the name of the plants on the cork and then stick it on the end of a bamboo skewer. Use a screwdriver and a hammer if you face difficulty while inserting the skewer in. Next, add a clear coat of Polyurethane so it can withstand water and you are done.
05. Wooden Spoon Garden Labels
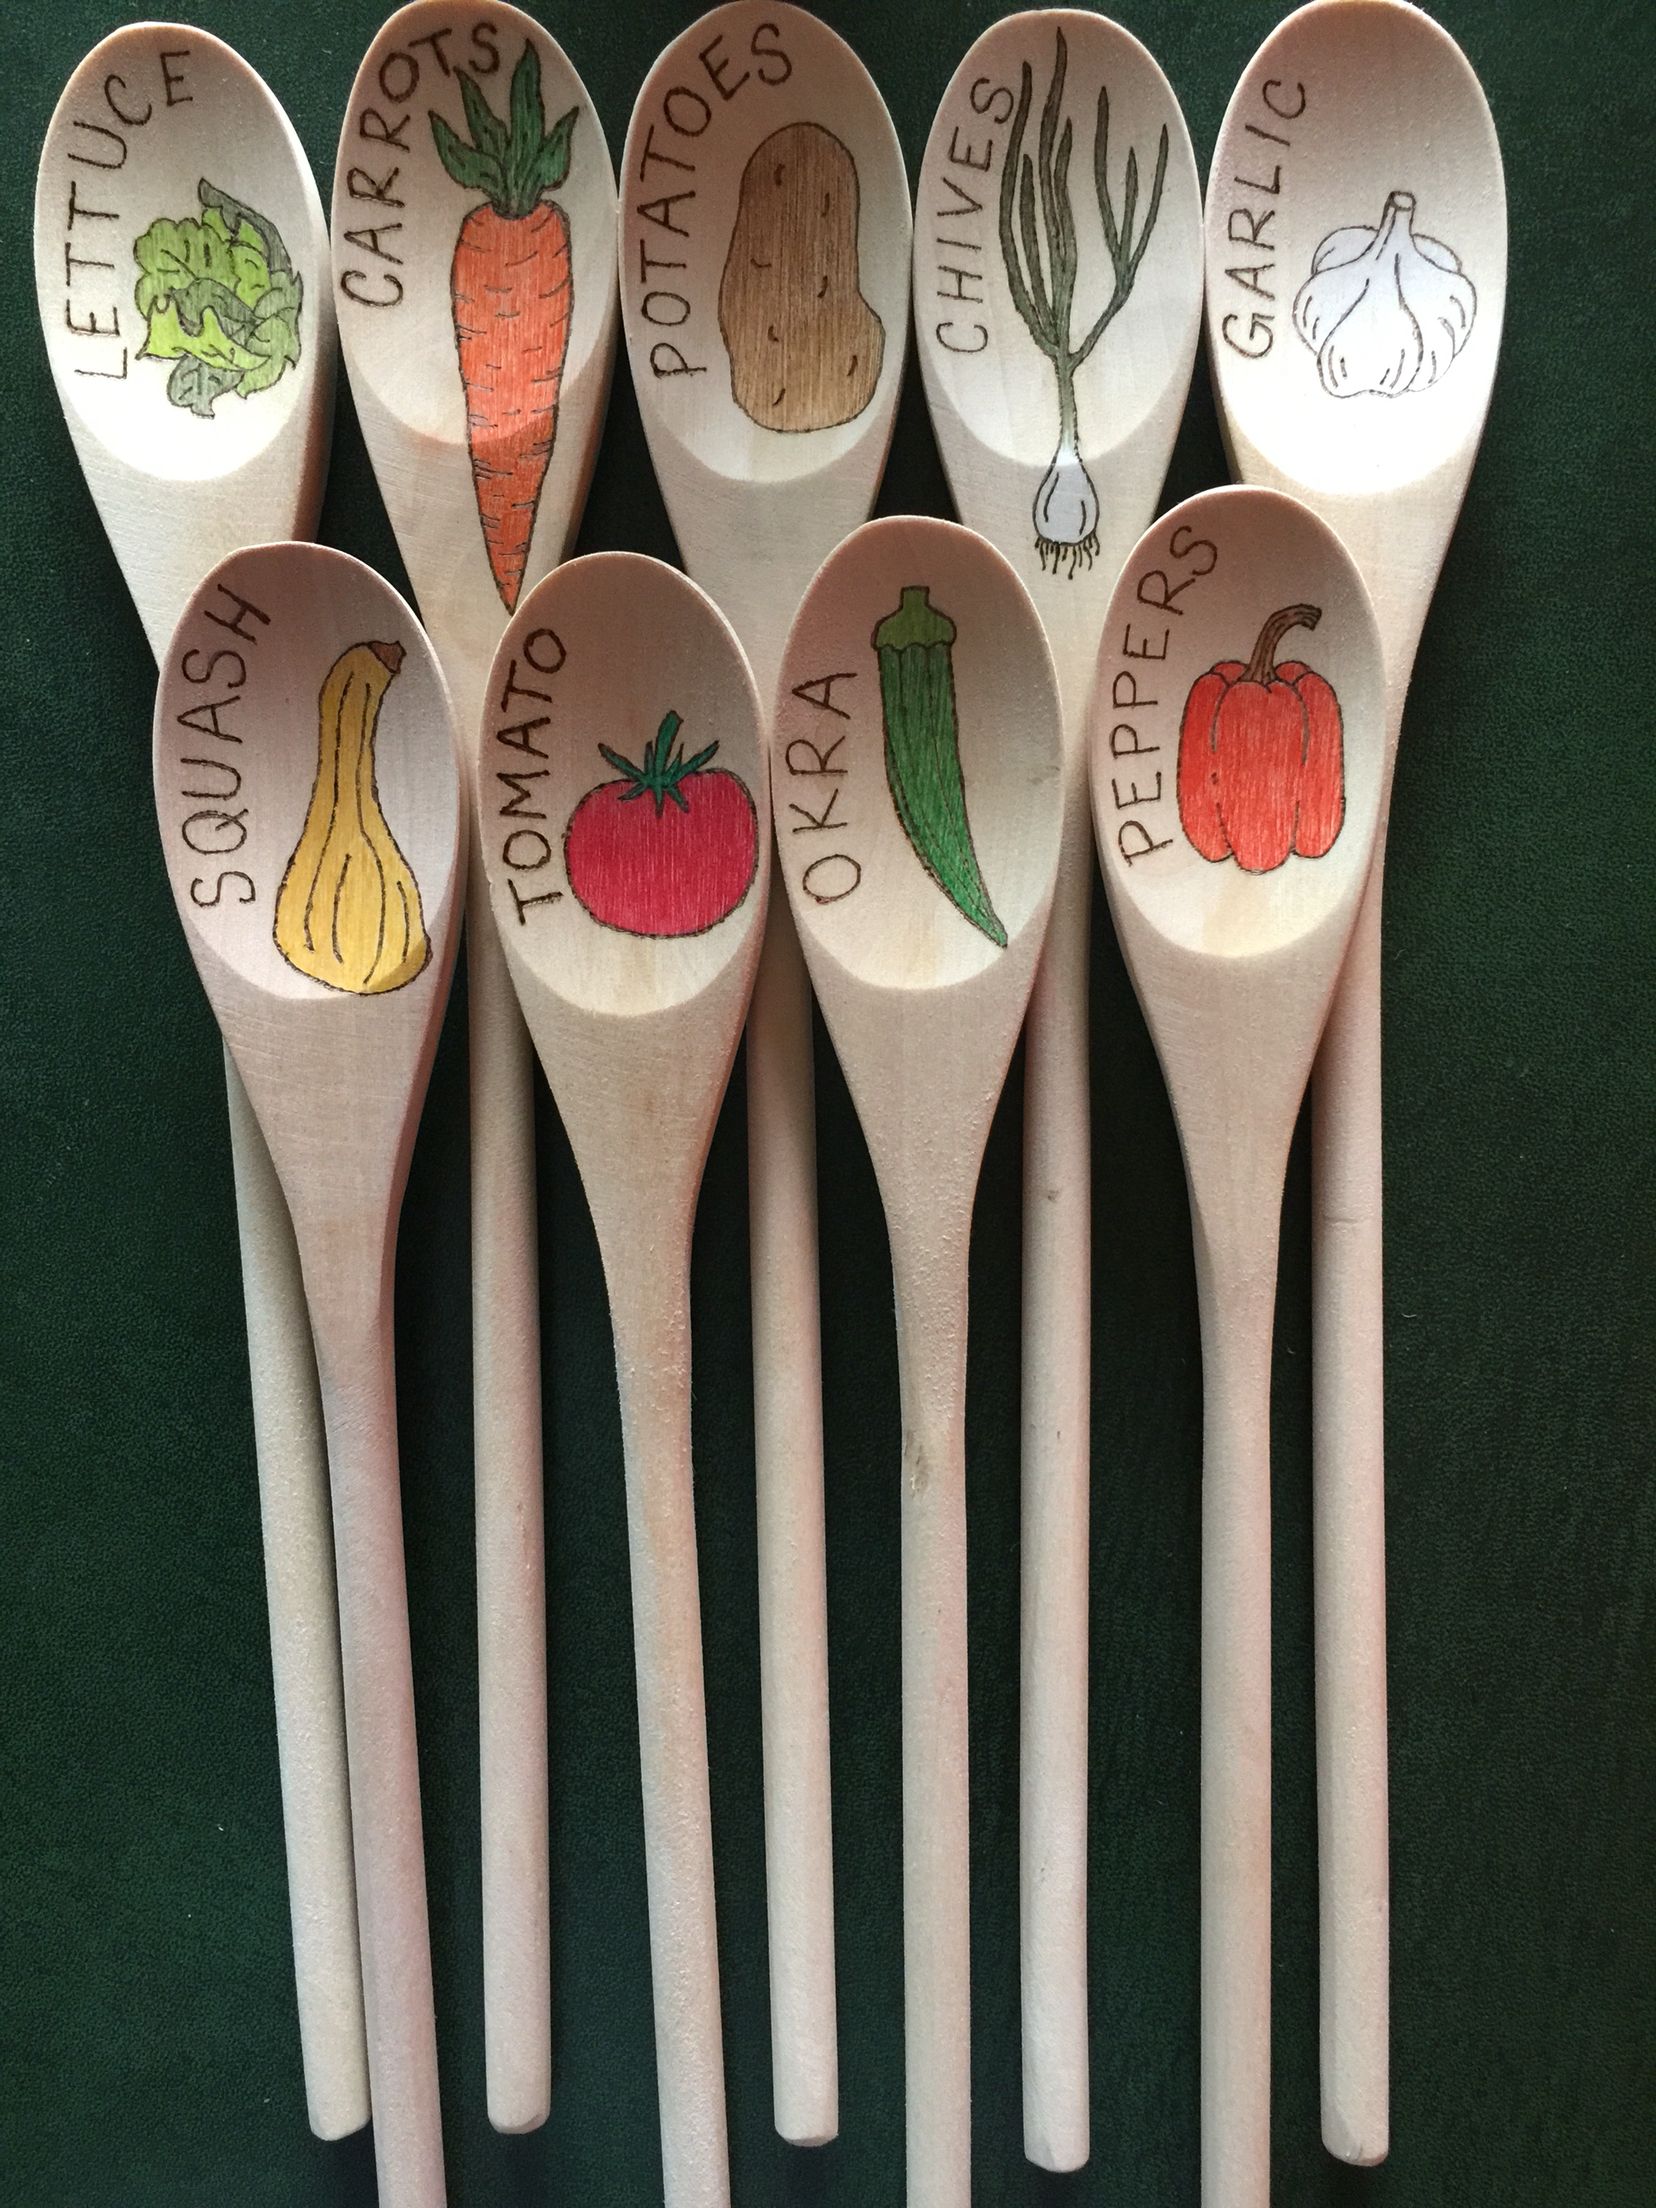
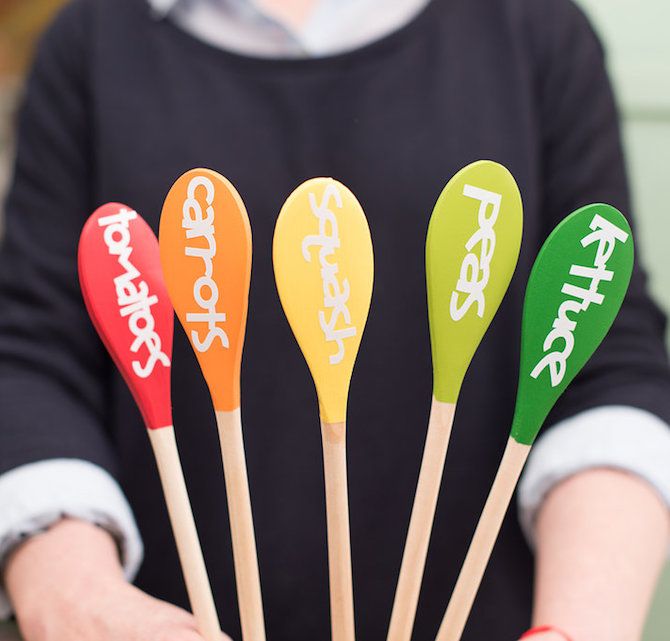
This DIY is a family-friendly project that you can involve your kids into and create something fun and yet useful. For this DIY, you will need, wooden spoons, outdoor paint, markers and foam brushes. To begin, use the foam brushes to paint the head of the spoons.
Get an even coat of paint on the spoon and then leave it to dry overnight. Once it’s dry, use your marker to write the names of the plants. If you are feeling creative, go ahead and draw images of each herb or vegetable along with the names. This little project takes less than ten minutes and everyone will enjoy.
06. Garden Markers with Popsicle Stick and Seed Packets
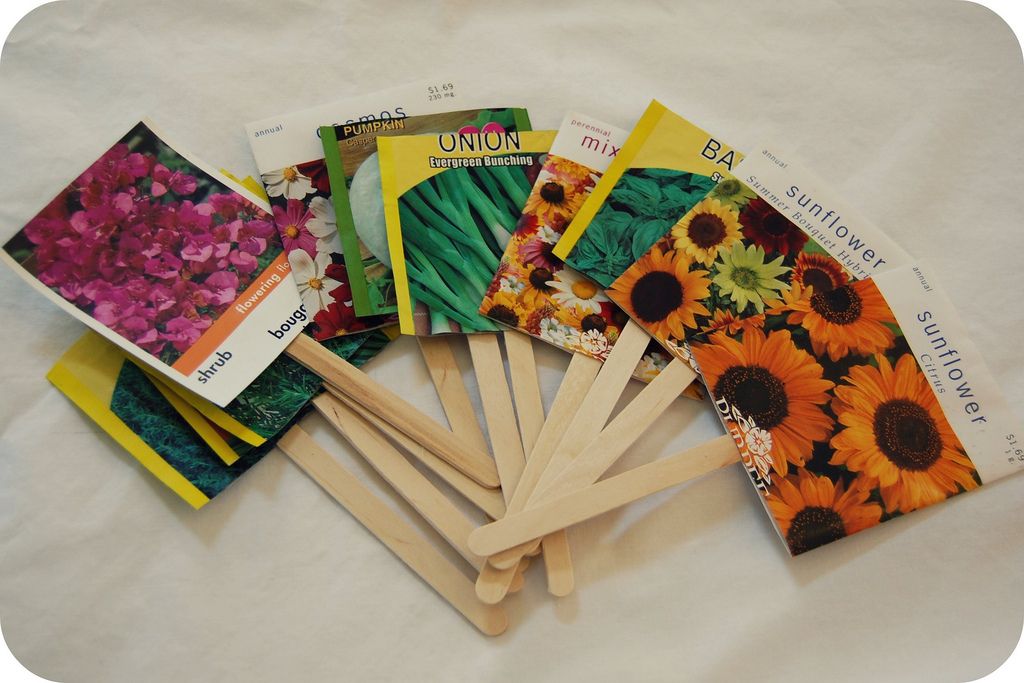
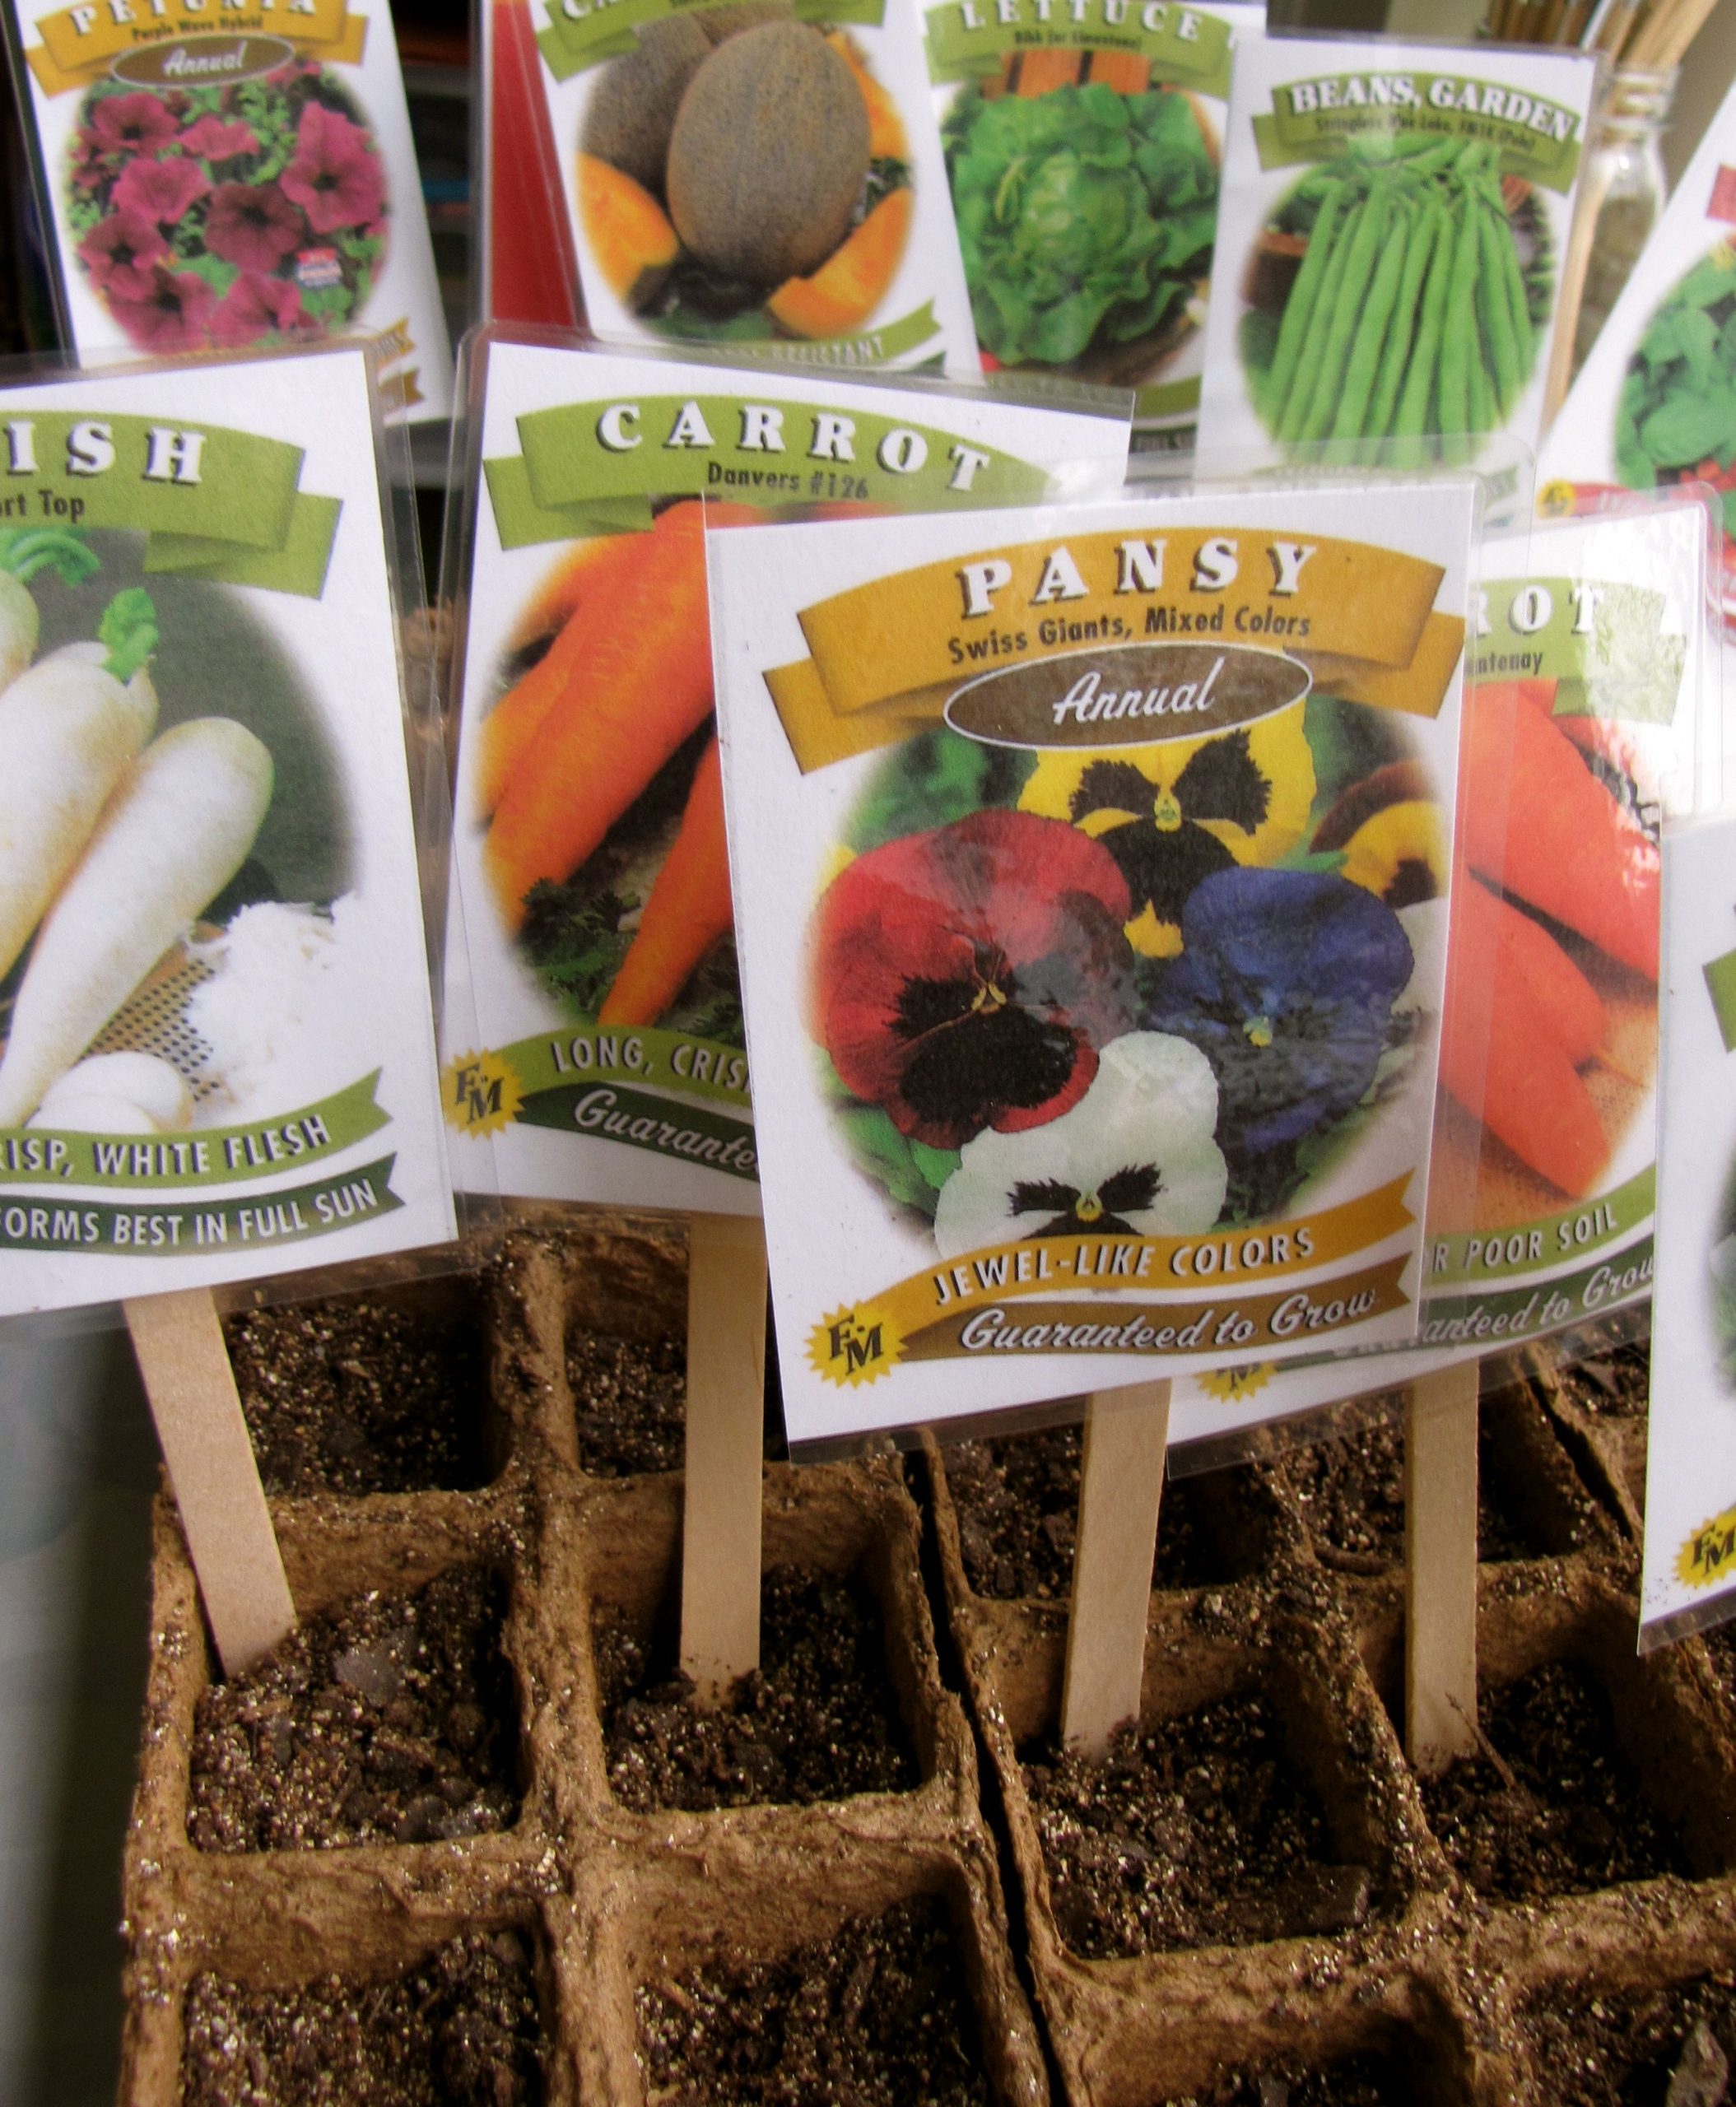
Once you put the seeds in the ground, what do you do with the packet? If you have been throwing them out all this time, you might want to reconsider it. The seed packets can actually easily be used to create cute markers for your plants.
For this DIY, you will need your empty seed packets, Popsicle stick and some contact paper. Simply cover the seed packet in contact paper or get them laminated and glue them onto the ice-cream sticks. By laminating it or covering the seed packet in contact paper, you can be sure that this plant marker would last you for at least a year.
07. Bricks Garden Markers
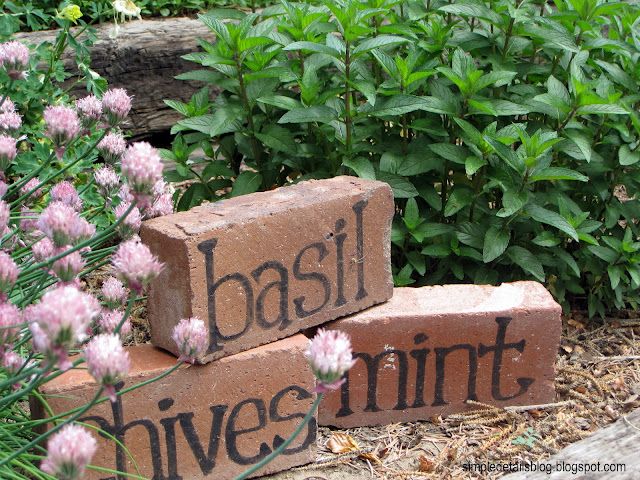
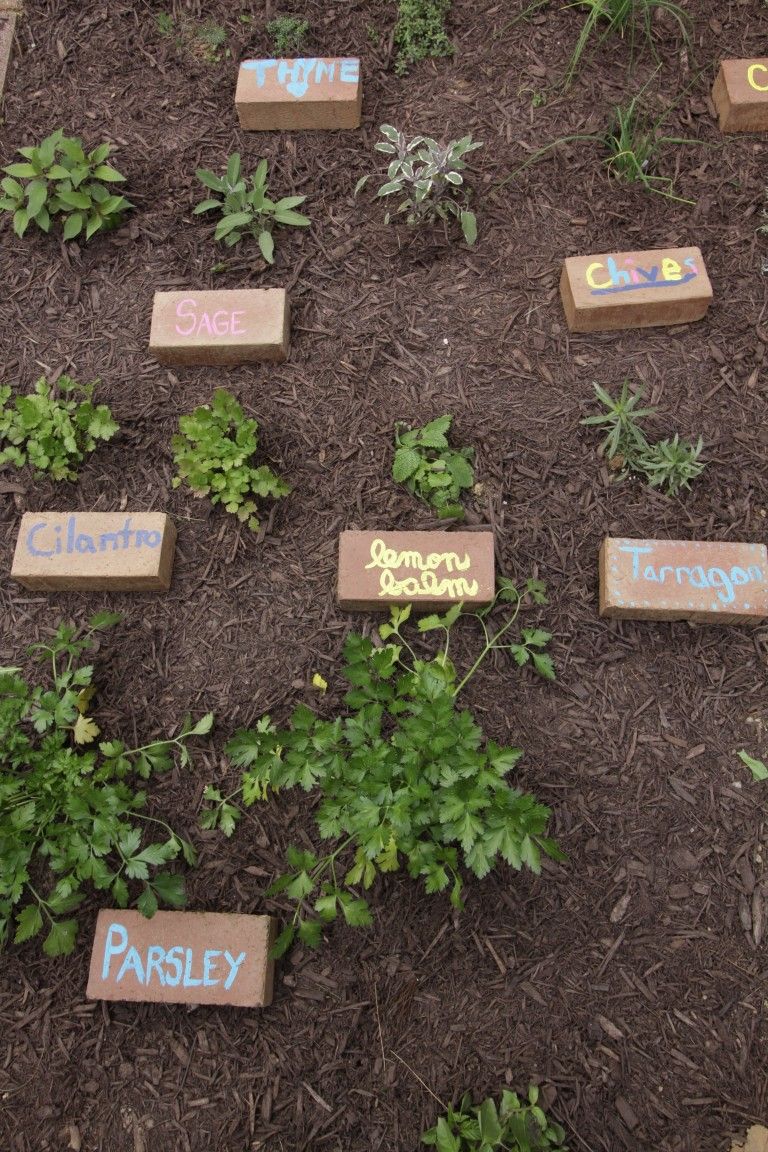
Use that stack of bricks lying on your backyard and turn them into adorable plant markers. All you need is a permanent marker and the bricks. If you are too nervous about messing it up, trace your words with a pencil on the brick and then go over it with a marker.
You could take this project a step ahead by painting your brick with outdoor paint and then writing the name of your plant with a fine-lined brush. This is a cute addition to your garden and will help in identifying veggies and other plants.
08. Creative Plant Markers with Twig Labels
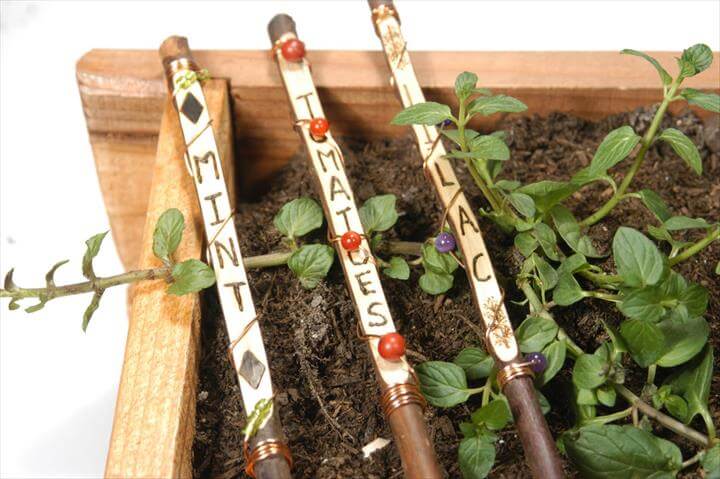
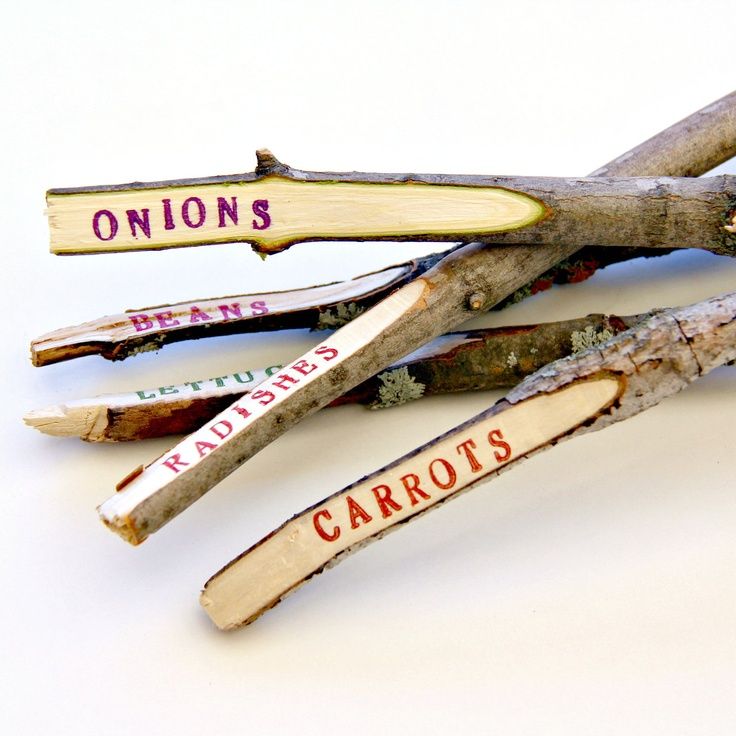
For this DIY, all you will need is a piece of twig, a vegetable peeler and a marker. Start pruning some thin branches and create flat surface on the twig.
Write the name of the plant on the exposed flat surface and you are done. It is important to note that the wood can decompose gradually so this will only work as a temporary marker.
09. Clothespin Garden Markers
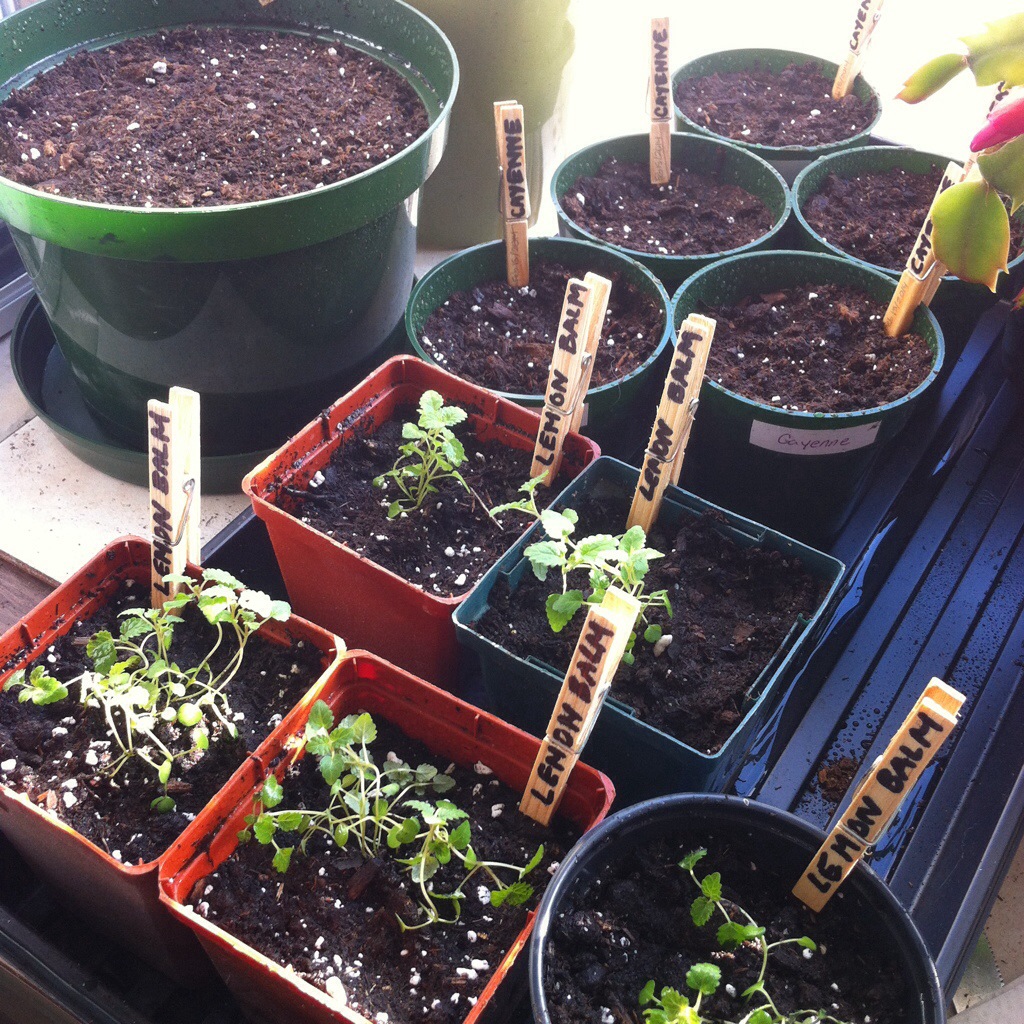
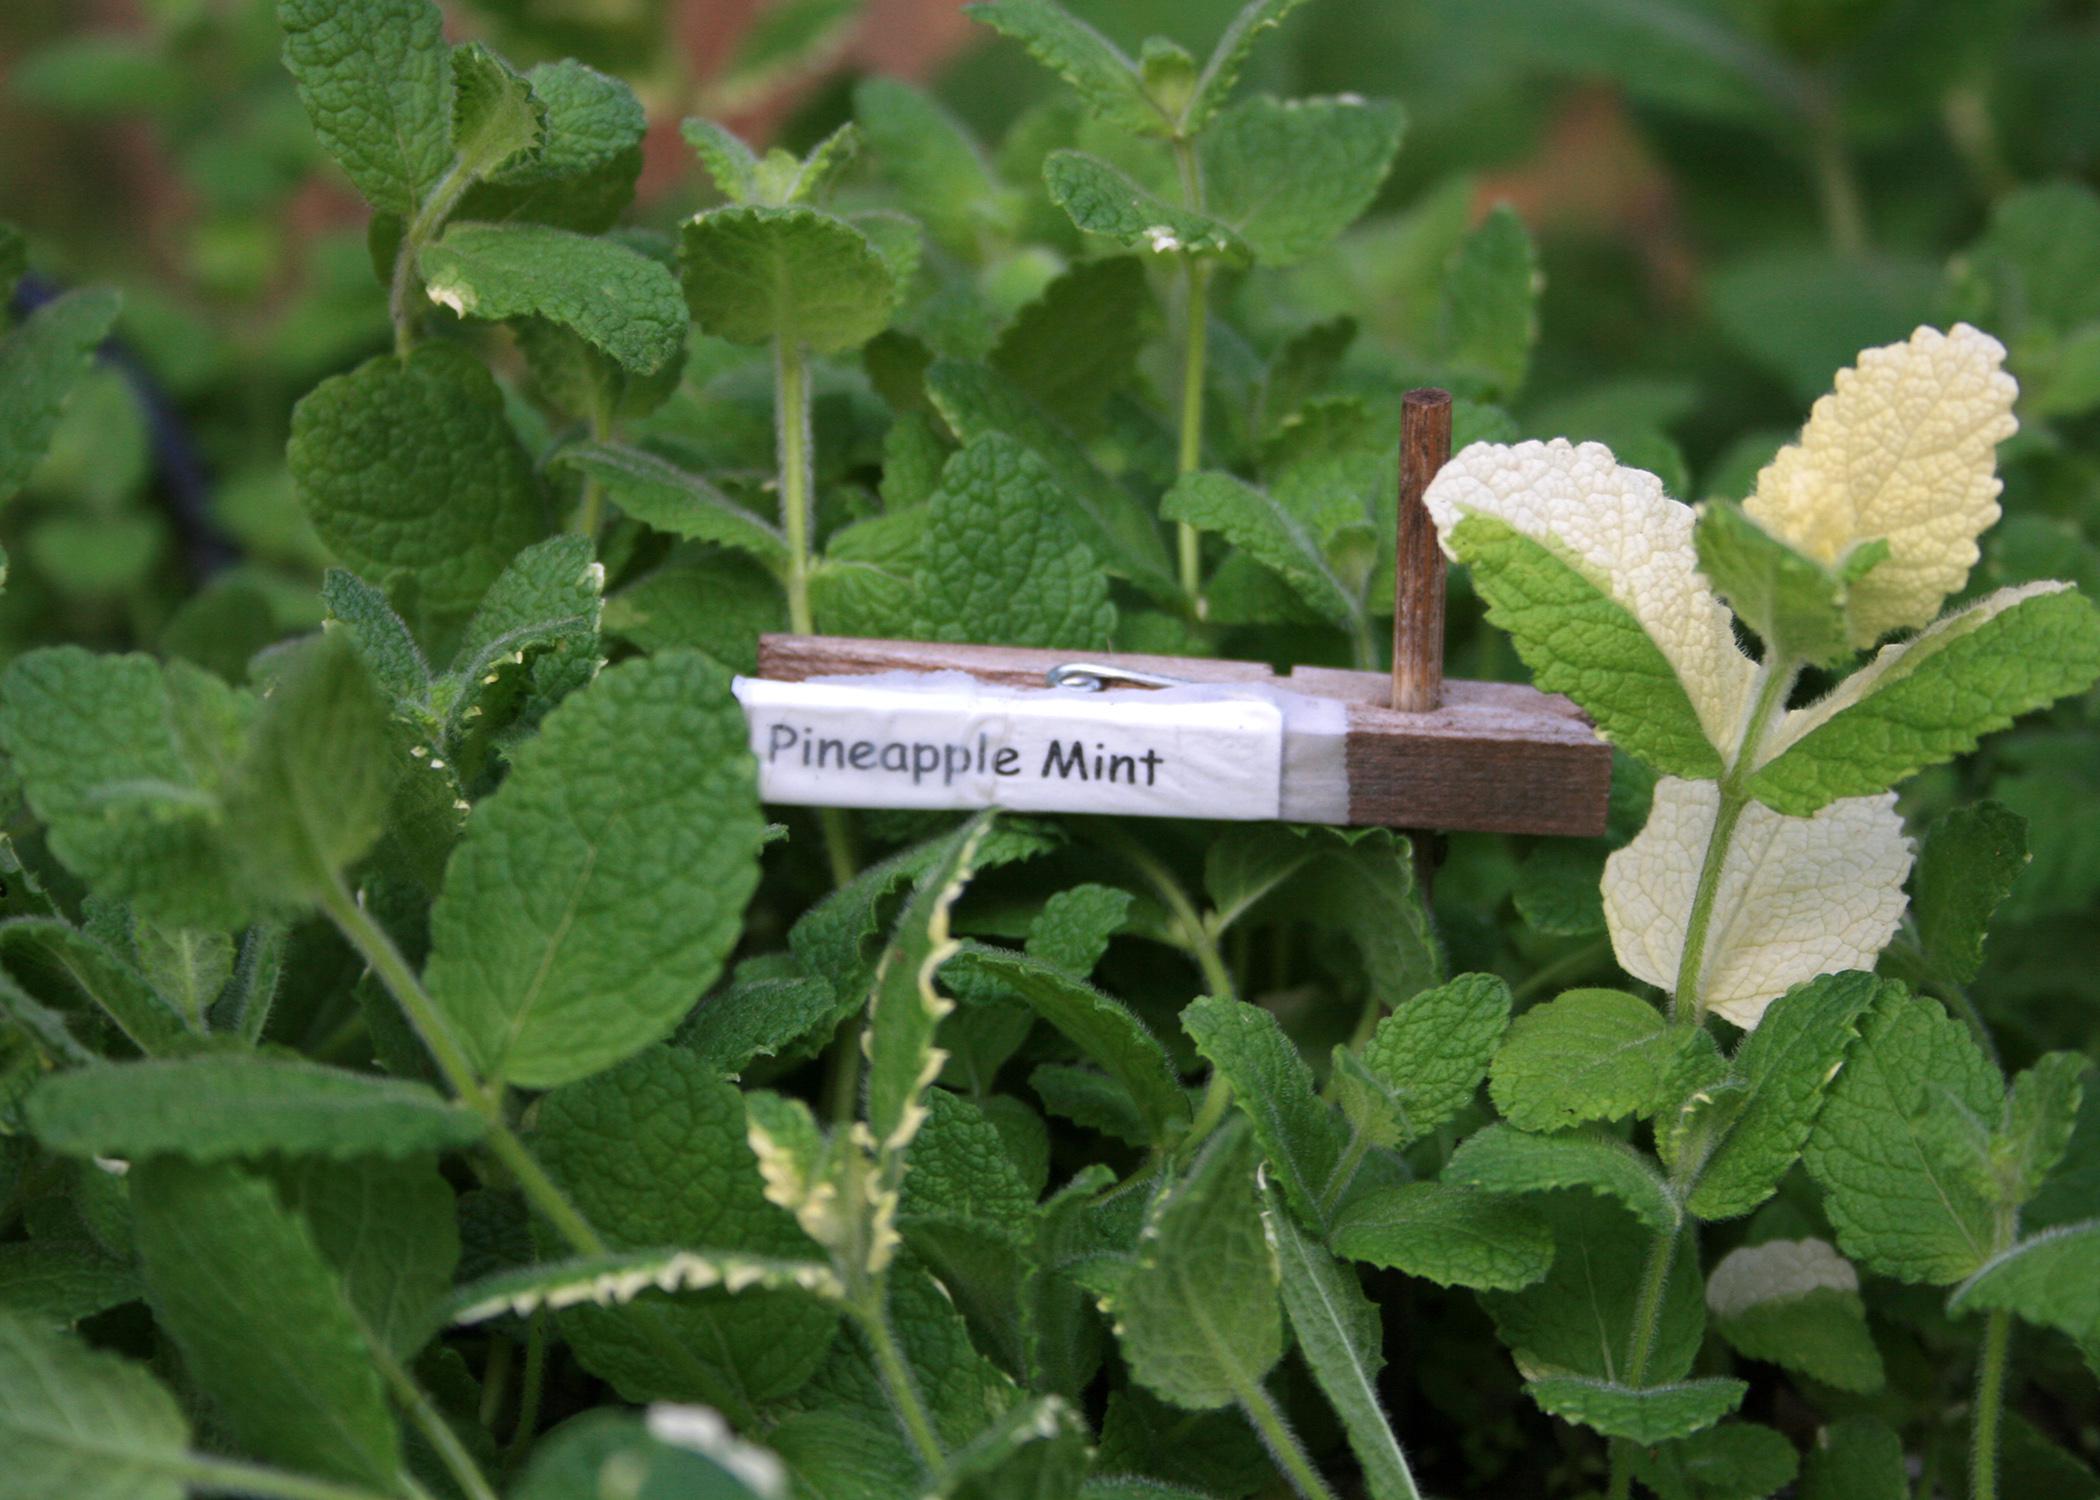
It is a low-cost DIY and can be easily made by the use of wooden clothespins. You can even buy them if you don’t have one since they are cheap to buy. All you need to do is simply customize them with markers, colours and add some designs to it.
Conclusion
All the above-mentioned DIY garden markers require very little items that can be found easily at homes. Normally you throw all such items into dustbins. Involve the kids in the projects and watch them have fun.
So, what are you waiting for? Gather your supplies and start making cute labels for your plants now.
We hope that you like our DIY garden markers and would surely implement these in your gardens too… And before you take a leave, if you are a landscape lover, and want to enhance your garden with landscaping designs, here we have a wonderful article on it:
In this covid-19 pandemic, nothing is wrong in becoming health freak and really want to give some extra efforts & do some medicinal herb gardening, here we have some of the pro tips only for you:
Here is short video on DIY garden markers. Don’t forget to watch it!
Image Courtesy: Image 2, Image 3, Image 4, Image 5, Image 6, Image 7, Image 8, Image 9, Image 10, Image 11, Image 12, Image 13, Image 14, Image 15, Image 16, Image 17, Image 18, Image 19
Author Bio
Sanjukta Ganguly – I am Sanjukta Ganguly from Kolkata. I have 9+ years of experience in content writing. I have written for multiple niches and genres like, health, travel, pregnancy, love and relationship, dating, hosting services, and WordPress, Press Release, Web Designing, Case Study, Thesis, Proof Reading, Academic Writing, etc. I can handle the work of 4000-5000 words daily.


