Table of Contents
Custom home furniture has become a must-have in today’s residential design. From full-wall shelving to modern kitchen cabinetry and hidden storage units, homeowners want furniture that fits their space, matches their style, and works with how they live. For many builders and remodelers, delivering on those expectations takes more than craftsmanship. It also requires the right tools and systems. This is exactly where working with a reliable furniture CNC manufacturer can make a major difference.
A CNC workflow helps you go from design to finished piece quickly and accurately, while avoiding the errors and delays that slow down traditional production. Whether you’re running a one-person custom shop or managing a growing team, CNC tools can help you save time, reduce waste, and stay organized.
Here’s how each part of the process works, and how it applies to real custom furniture projects.
Step 1: Start Every Project with a Precise Digital Design
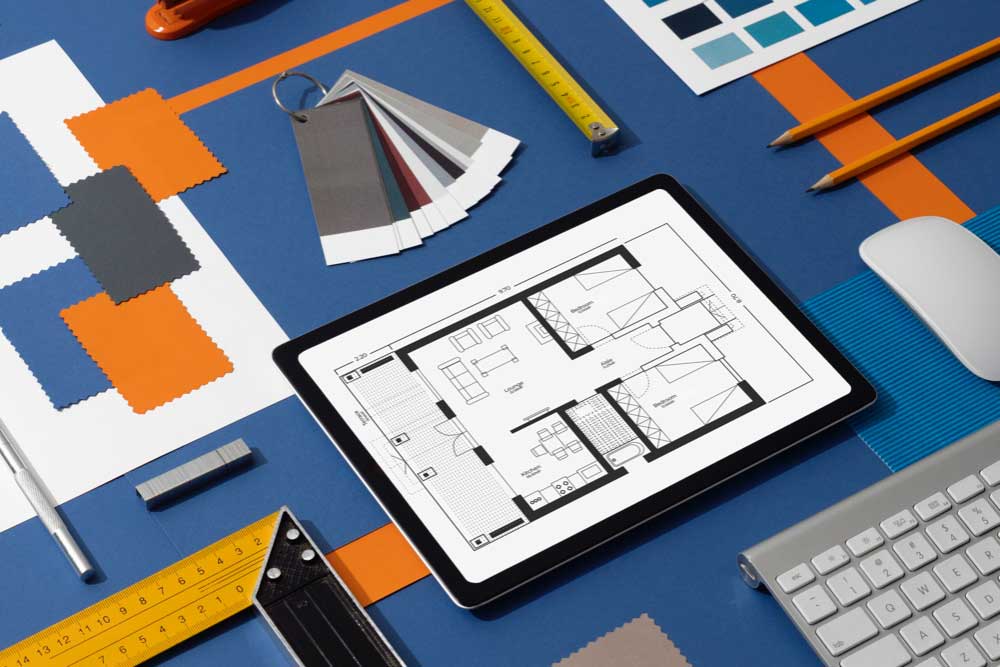
The foundation of any CNC workflow is a clear, digital layout. Using CAD (Computer-Aided Design) software, you can draw out every part of your build, from the width of each panel to the depth of every shelf. This digital plan is more than a sketch. It is the full blueprint of your project, complete with joints, curves, openings, and trim lines.
For example, if you are designing a built-in for a narrow hallway or a wall unit that wraps around windows, CAD lets you fit your design perfectly into the space. If you’re creating a set of cabinets or shelves that might be used again in another home, you can save that design as a template for future builds.
Most builders who use CNC tools regularly work with a furniture CNC manufacturer to select CAD software that pairs smoothly with their machine. This makes it easier to move designs into production without extra steps.
Step 2: Use CAM Software to Create Machine Instructions
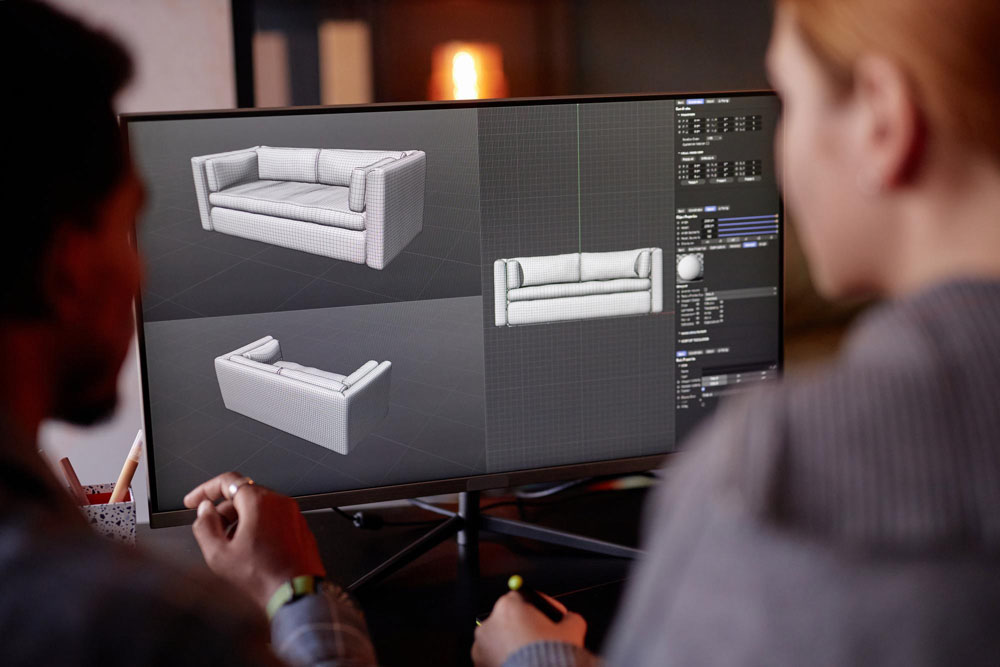
After your design is complete, you’ll use CAM (Computer-Aided Manufacturing) software to turn it into toolpaths. These instructions tell the CNC machine exactly how to move, where to cut, how deep to go, and what tool to use for each part of the job.
This step is where you define the technical side of the process. If you’re routing shelf pins, cutting door panels, or carving detail into drawer fronts, the toolpaths control how those actions happen. CAM software also allows you to simulate the cuts before you start, helping you catch any potential problems and make adjustments before material is used.
Many platforms also include nesting tools, which arrange your parts efficiently on each sheet of material. This saves wood, lowers costs, and helps you be more sustainable. If you are new to this step, a good furniture CNC manufacturer will often help you get comfortable with the software and its key features.
Step 3: Prepare the Materials and Set Up the CNC Router
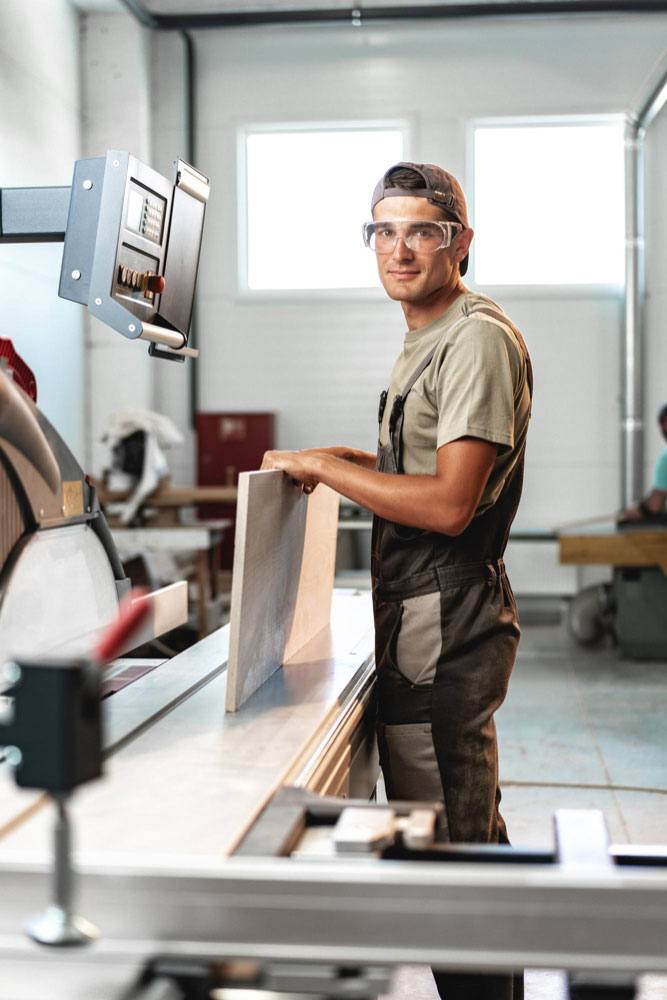
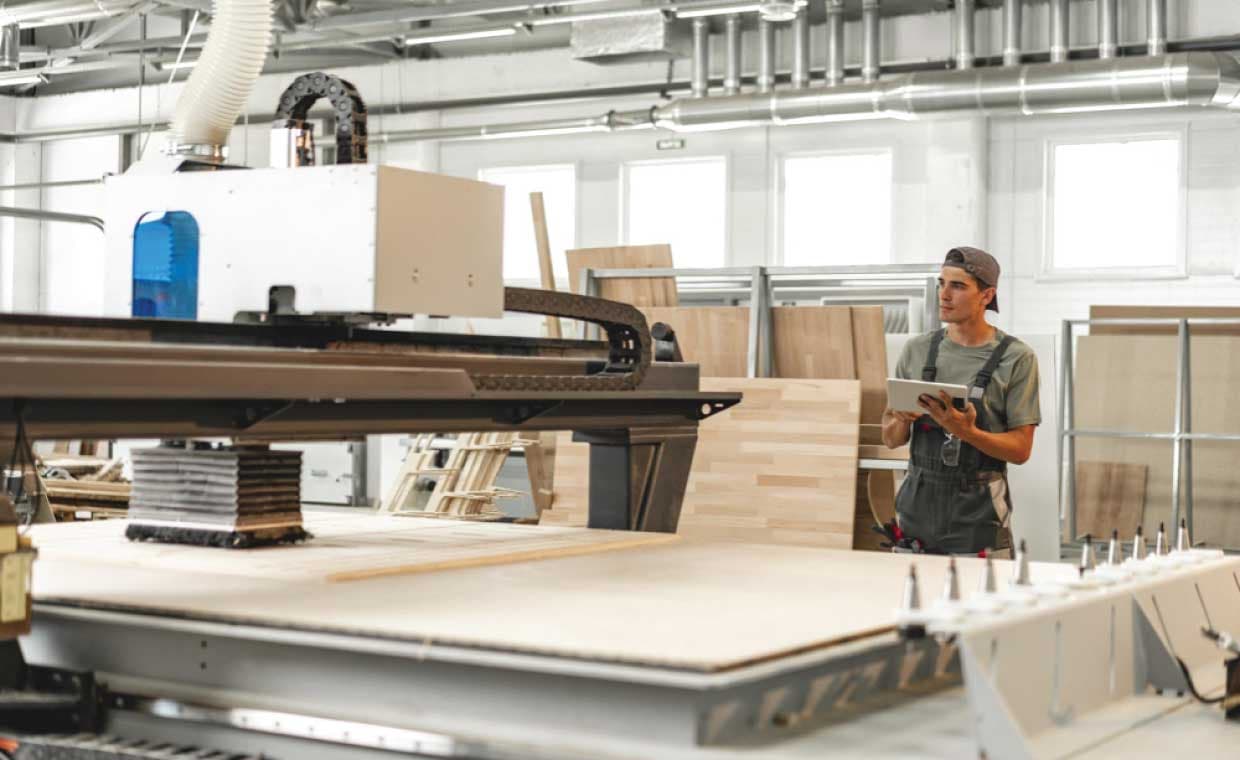
With toolpaths complete, it’s time to prep the material and your machine. This involves placing your boards or panels onto the CNC bed and securing them properly. Depending on your setup, you might use clamps, screws, or a vacuum hold-down system to keep everything in place.
You will also check key settings such as bit length, Z-axis height, and material thickness. If you’re switching between profiles or materials, having reliable router cutting tools helps keep your settings consistent from sheet to sheet. Many builders run a dry simulation on the machine before cutting, especially when using expensive wood or one-of-a-kind boards.
Taking the time to set everything up correctly helps avoid common mistakes and protects both the material and the machine.
Step 4: Cut the Parts with Consistency and Precision
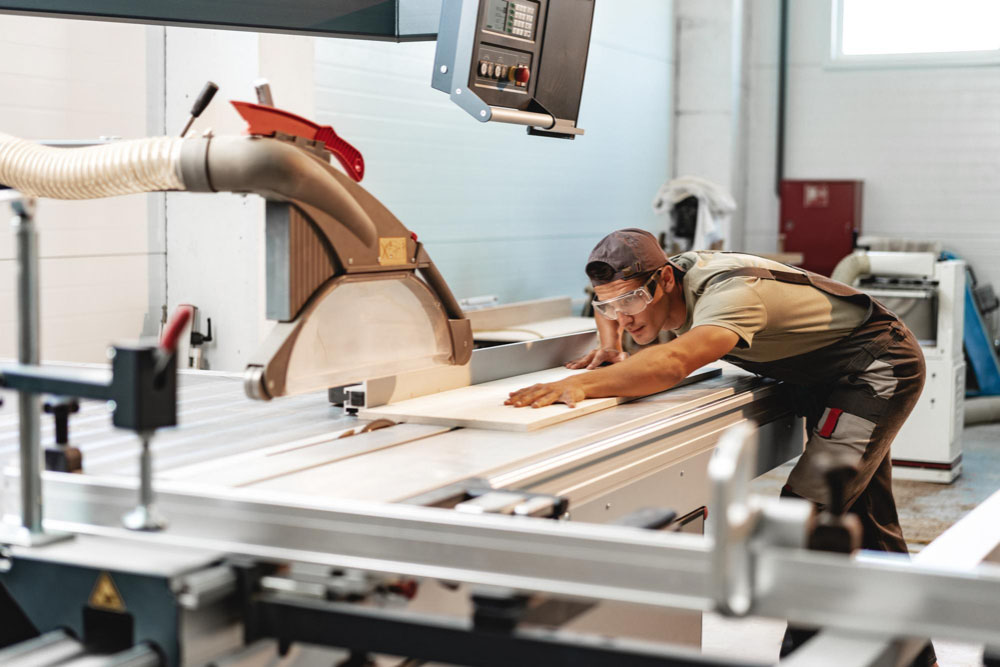
With the material in place and the machine loaded, your CNC router goes to work. It cuts, drills, and shapes each piece based on the toolpaths you created. The results are consistent from start to finish, whether you are cutting five identical drawer fronts or fifty individual shelving components.
This is where CNC shows its biggest time-saving advantage. While the machine handles the cutting, you and your team can start preparing for finishing, move on to the next job, or handle customer updates. The machine keeps working without breaks, and every part comes out exactly as planned.
Some machines from advanced furniture CNC manufacturers come with helpful features like auto tool changers, safety sensors, or project status tracking. These extras make it easier to manage multiple jobs at once or shift priorities mid-week.
Step 5: Finish and Assemble the Pieces
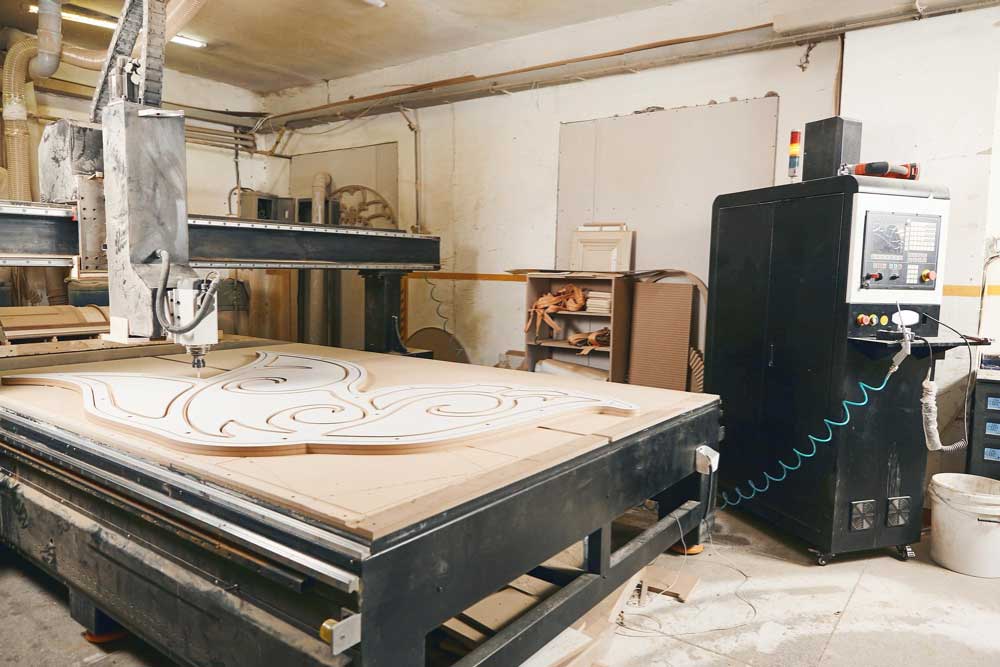
Once the CNC cutting is done, the parts are ready for final touches. This usually includes sanding, edge cleanup, and applying any paint or finish. CNC cuts are clean, but there is always some handwork involved to bring out the best in the wood and ensure everything feels polished.
Because the parts are cut accurately, they are easier to assemble. This is true for everything from built-in shelving systems to entryway storage benches. The joints fit without forcing, the panels align neatly, and there is less adjustment needed during installation.
This step is also where many shops add details that make their work stand out. Edge banding, trim, and decorative routing can all be added to enhance the final design.
Step 6: Keep the Workflow Organized and Efficient
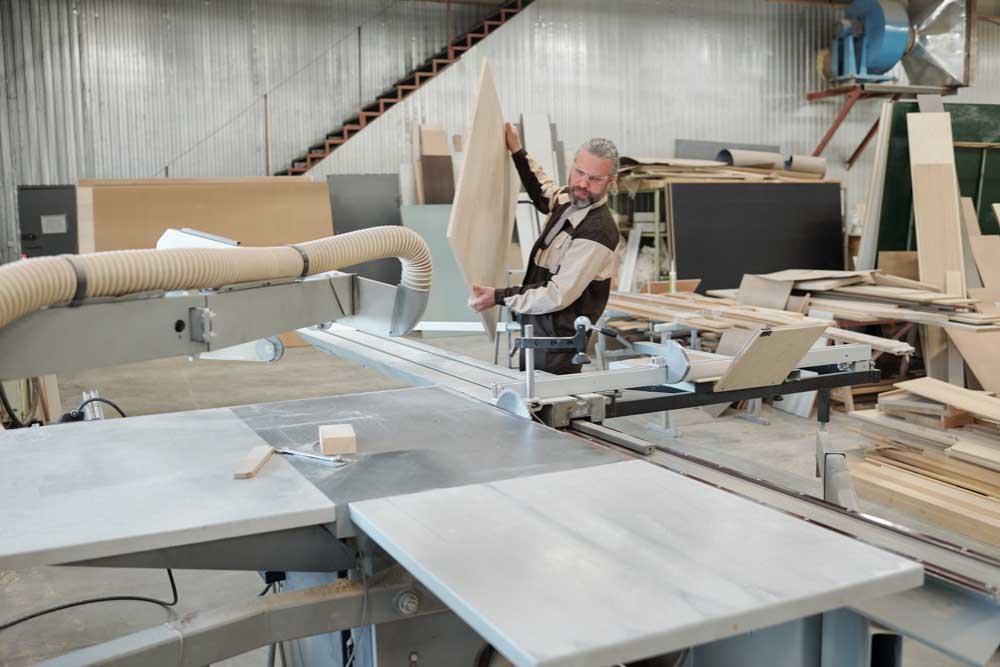
Once your CNC system is in place, maintaining a smooth workflow becomes a matter of staying organized. Builders who use CNC successfully tend to follow a few helpful habits:
- Organize design files with names and folders that make future projects easy to find or repeat.
- Use nesting tools in your CAM software to maximize every sheet of material and reduce waste.
- Perform regular maintenance on your machine to avoid downtime and preserve cut quality.
Most experienced furniture CNC manufacturers provide resources and training to help your team build good practices from day one.
Step 7: Why CNC Workflow Makes Sense for Home-Focused Furniture Shops
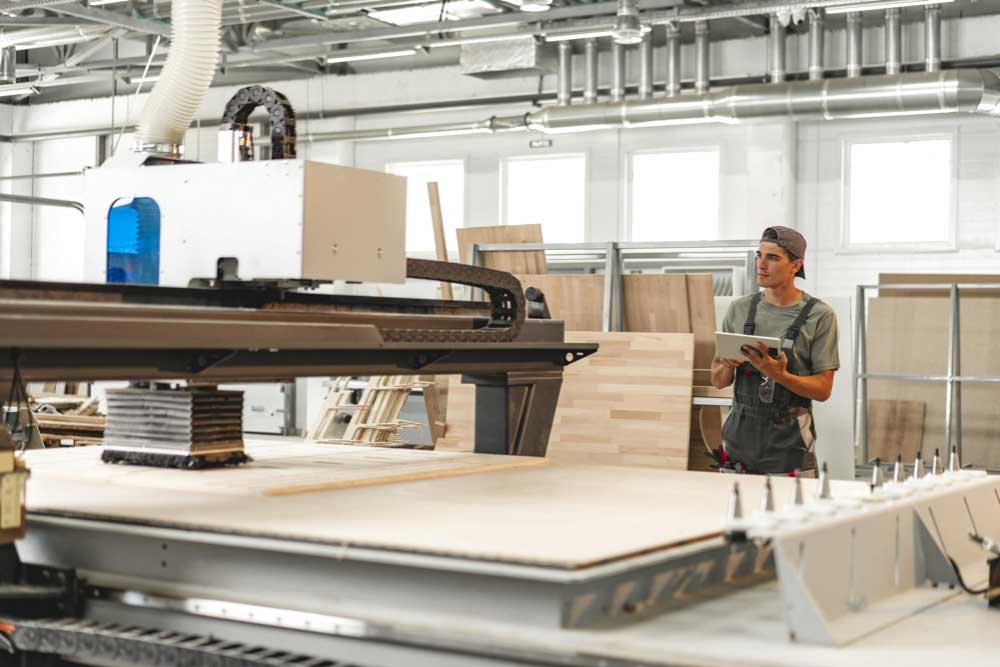
Each step of this process might seem small on its own. But when combined, these steps create a production system that is easier to manage, more consistent, and more efficient. You can take on more jobs without sacrificing quality, and you can offer clients shorter lead times without adding more staff.
Whether you specialize in kitchens, media walls, or custom storage pieces, a CNC workflow helps you grow without losing your hands-on approach. It allows your team to work smarter, not harder, and helps you deliver furniture that feels built just for the space—because it is.
Final Thoughts
As custom furniture becomes a bigger part of modern home design, builders need smarter ways to work. A clear CNC workflow gives you control over every step of the process, from initial design to final installation. With a trusted furniture CNC manufacturer as your partner, you have the tools, the support, and the confidence to build high-quality furniture that fits your clients’ homes and their lives.
If you are ready to bring more speed, accuracy, and clarity to your process, now is the perfect time to set up your CNC workflow and let the machine do more of the work while you focus on design, craftsmanship, and customer experience.
Also Read: Smart Home Gadgets To Enhance the Lives of Elderly


