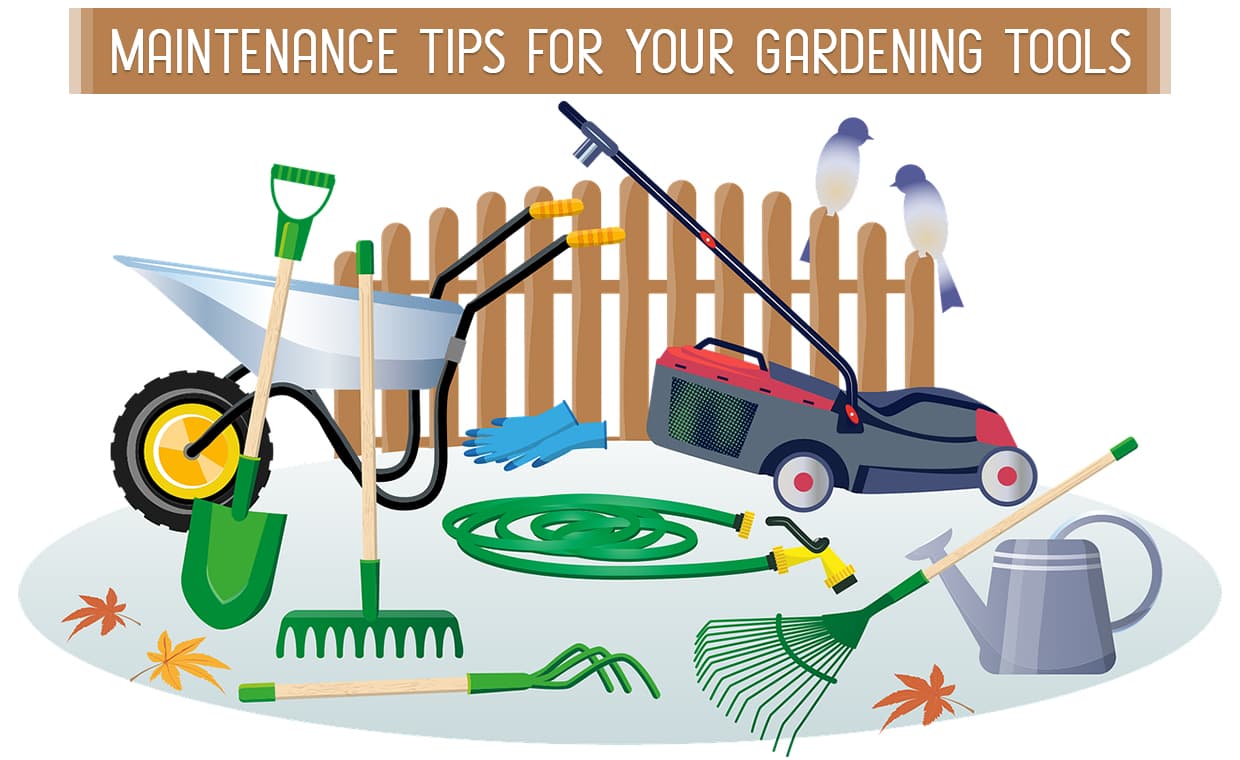
If plants are living sculptures, then consider yourself the artist-in-residence who will care for your indoor and/or outdoor garden. But in order to nurture and maintain your garden, you need to have well-maintained gardening tools. Through this blog, Gharpedia provides you with some hacks to organize sanitize and take care of gardening tools.
Mike Steven, a researcher and lecturer in Landscape studies at Australia’s University of Western Sydney, worked on a project titled, “The Congruent Garden: An Investigation into the Role of the Domestic Garden in Satisfying Fundamental Human Needs.”
After interviewing gardeners on the importance of gardening in their everyday lives, he concluded that gardens have the potential to satisfy nine basic human needs – leisure, subsistence, protection, affection, understanding, participation, creation, identity and freedom, along with four existential states – being, having, doing and interacting.
Besides this, the best part is, alongside satisfying the gardener’s personal needs, the garden also increases property value.
According to ‘Kelsey Savage’ (Author of Article How To: Care for Garden Tools, which has published on websitebobvila)“A quality garden starts with quality care”, and that does not meant only for weeding maintenance. There’s more to gardening than tending to weeds and plants. It is most important to properly maintain your garden tools.
History of Gardening Tools

‘Tonya Barnett’ writes (author of article – Ancient Garden Tools: Historical Tools Used for Gardening published on gardening know how Garden tools date back ten thousands of years, it was nothing new to do weeding, tilling & planting. The Bronze Age saw the introduction of the first metal garden implements, which gradually led to the development of tools used for gardening today. All these ancient garden tools were used to complete similar chores we do today.
We heard it through the grapevine that the first woody plant which actually was a grapevine in Armenia was pruned by man around 6000 BC! Spades made of bronze were used in China in 1100 BC and the ancient Romans used iron spades and shovels. While the archaeological evidence in India, shows a civilization much older than this.
Fast forward to the mid fourteenth century when thanks to non-smelting technology, tools were made lighter in weight and quite shapely. Then take another leap forward to the mid-seventeenth century when gardens became the rage and gardeners wanted to be well-equipped to both plant and prune. The industrial revolution had begun and steel and alloys were used to make tools lighter, more precisely shaped and more durable.
Enterprising manufacturers met the needs of gardeners with a wide range of tools – including pruning and hedge shears, cultivating forks and trowels … just about every non-mechanical gardening tool that is still used today.
We bet you never thought that your gardening tools had their roots in the fourteenth or seventeenth centuries! Now, after that jaw-dropping detail, we promise you that you will find some helpful tips on organizing and caring for those tools if you’ll just keep reading.
Organizing Tools

- Make room on your garage or shed wall to hang a clear-plastic shoe bag – the kind that has 12 or 16 or more shoe compartments. It’s a great way to keep your gardening tools and gloves in one convenient place.
- Tired of misplacing your tools while you work in the garden? Get some bright, fluorescent (meaning day-glow colours) spray paint or tape and put some on the handles of your garden tools. If you tend to give vent to your gardening aspirations after sundown, add strips of glow-in-the-dark tape (available at hardware stores and most craft stores) to the handles of the tools. The time you’ve saved looking for the implements will be extra time spent gardening.
- Use an old golf bag to store rakes, spades and hoes. You can get an inexpensive bag at a yard sale or a second hand sporting goods store. When you decide to use your garden tools, is there any better way to drag them around than in a golf bag? Well, yes … have your caddy drag them around!
Caring for Rusty Tools

Pour some dry sand into a big bucket until it’s about three-fourths full. Then pour motor oil, or machine oil, or mineral oil or even used cooking oil evenly over the top. For every gallon of sand, use about one pint of oil.
To clean a rusty tool, stick it in the sand several times, and then wipe it with a soft cloth or paper towel. The sand cleans the tool, the oil coats it and prevents moisture from rusting the metal.
You may want to store your tools in the bucket just for the night, but you can even keep them there for the winter.
If you keep your garden tools in a toolbox, toss in moisture absorbers such as some loose rice or activated charcoal or pieces of chalk or mothballs. Doing so will help prevent your tools from developing rust. Make sure that your tools are clean and not caked with soil before storing them.
Sanitizing Tools

- If you’ve had sick plants, your garden tools may be infected with the plants’ disease. Kill the problematic bacteria by thoroughly washing the tools with soap and warm water. Wear rubber gloves while doing this task.
If you want to use something stronger than soap and water to sanitize your tools, soak them in one gallon of water mixed with one-fourth cup of bleach. Rinse the tools thoroughly with plain water before using them again. Here are 7 Ways to Keep Your Garden Healthy.
Caring for Hoses

- Do not store a hose where the sun will shine down on it. The sun’s heat will dry it out. Always keep a hose away from any kind of heating source, like a furnace or outdoor barbecue.
- If the hose has sprung a little leak, instead of using glue or tape to repair it, try this fix – heat up the tip of an ice pick or screwdriver and gently touch the rubber around the hole in the hose with the hot tip of the tool. It should seal the hole closed.
Important Pointers
- If you take a portable phone outside with you to the garden, add a piece of day-glo tape to the receiver, so you can find it quickly.
- When planting and harvesting, a ruler often comes in handy to calculate distances when planting seeds or bulbs, or to measure how deep seeds should be planted, or at what height they should be harvested. So, turn the handles of your tall tools into rulers. Account for the number of inches from the tip of the tool to the start of the handle, and at the start of the handle, mark off and number each inch with a waterproof pen. Measure each of your small tools as well and assign it a number for its length in inches. Use colourful poker chips to mark the measured spots where you plan to plant.
Don’t forget to wash your gloves, gardening shoes and any other clothes that may have had contact with ailing plants. And also go through How to Get Rid of the Weeds from your Garden?
- Want to make a DIY Scooper? Take an empty plastic detergent bottle or a bleach bottle or a spring water bottle – the size depends on how big or small you want your scooper to be. Wash it thoroughly with plain soap and water. Then, with the handle in your left hand, use regular kitchen scissors to cut from the bottom of the right side of the bottle. Cut in a diagonal direction to the left side, about one inch under the handle and go around to the other side. Cut diagonally down to the bottom (cut in the opposite direction if you’re left-handed). It may sound complicated, but when you follow these instructions, you’ll see exactly how easy it is to create a terrific scooper that can be used to scoop seeds, fertilizer, mulch and whatever else needs scooping.
- If your garden hose has sprung several leaks and is beyond repair, you can recycle it by poking more holes into it and turning it into a sprinkler (also called a ‘soaker hose’) for your lawn or garden. You can also cut up an old hose and use it to brace newly planted trees, it will protect their bark
- Put a large plastic bag in a big (5-gallon) plastic bucket. Then fill the bag and the bucket with your tools, gloves, bulbs, seeds, a bottle of drinking water and cell phone and take the bucket to the garden. Once you’ve reached the patch of garden you plan on tending, empty the contents of the plastic bag onto the ground; then turn the bucket over, have a seat and get to work!
Hope these pointers for taking care of your gardening tools enable you to tend to your garden in a better manner and in the words of innovative landscape architect, Thomas D Church – ‘When your garden is finished, I hope it will be more beautiful than you anticipated, require less care than you expected and have cost only a little more than you had planned.’ You can prepare your garden for upcoming seasons. Here few tips on How to Prepare Your Home Garden for Summer?
Author Bio
Huta Raval – An English Literature and Journalism Topper, Huta Raval has graduated from the L D Arts College, Ahmedabad. Post serving for 23 years in the NBFC and Public Library Sectors her desire for ‘writing the unwritten’ brought her to the creative field of content writing. Her clientele comprises of NGOs, Blogging Platforms, Newspapers, Academic Institutions, et al.


