


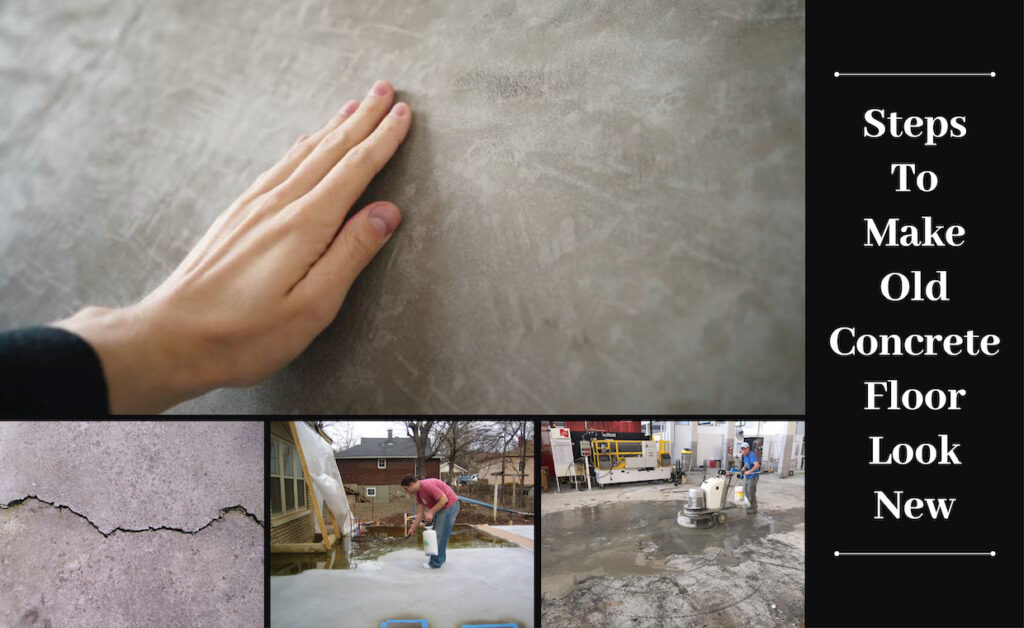
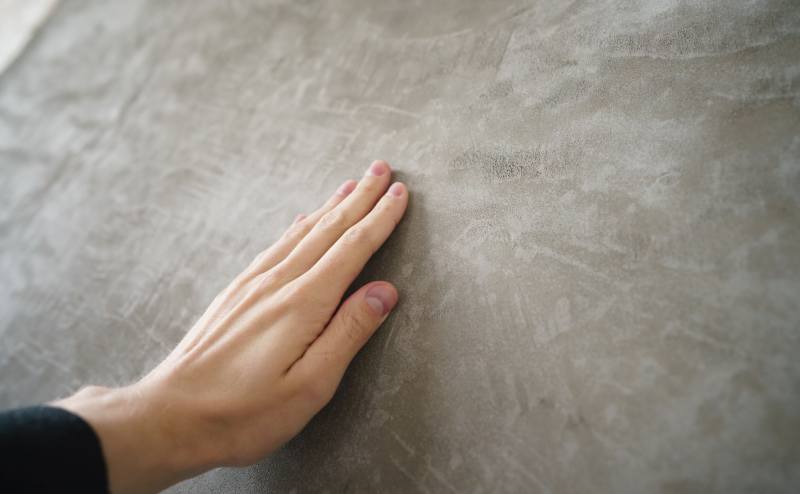
Concrete is a durable flooring material that has been utilized for years; however, temperature changes, heavy loads, and chemicals can cause fading over time.
Concrete staining is the most convenient and affordable method to give your dull surface a brand-new look. The process requires about two days to be completed depending on the surface to be stained.
In this article, we interviewed “The Concrete Guy” to tell us more about ways to give your concrete floor a fresh look with epoxy, polish or staining.
Can I do a Concrete Staining Myself?
It would be best if you choose between water-based or acid-based stains. Even though staining can be a do-it-yourself project, any mistakes during the process will be permanent to your floor surface. Hire a professional concrete floor staining or epoxy company services to help you restore the once lost glory of your floor at an affordable price. Staining will increase your floor’s aesthetic value and durability, saving you the cost of maintenance.
Materials required to do staining old concrete floor:
- Concrete Stain
- Pump Sprayer
- Concrete Stain Sealant
- Broom
- Low-nap roller
- Bucket
- Chemical Etching Agent
- Electric Buffer, Sander, or Concrete Floor Grinder
Step 1: Cleaning and Repairing of Damaged Concrete
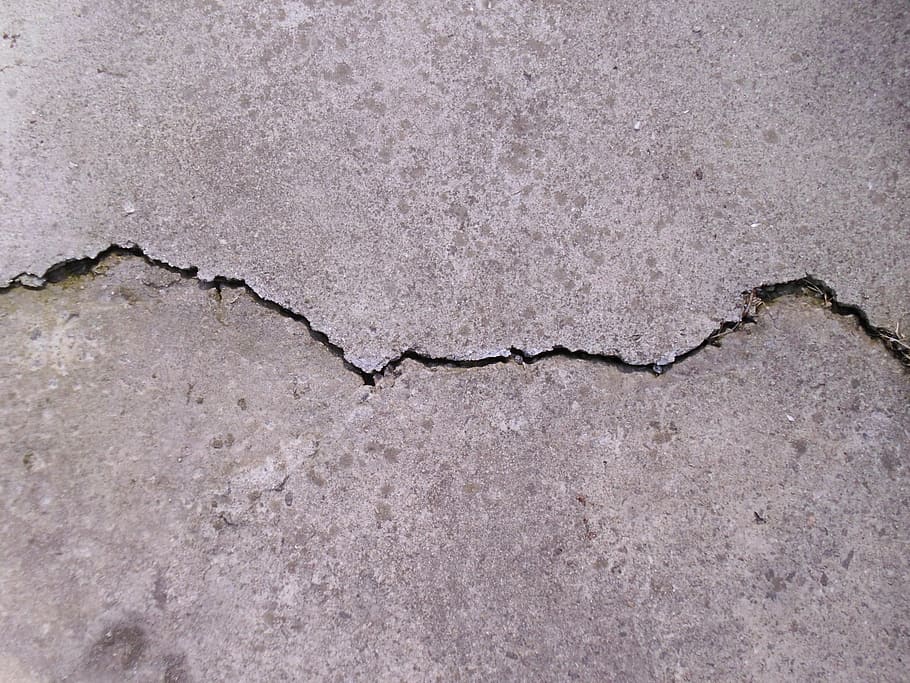
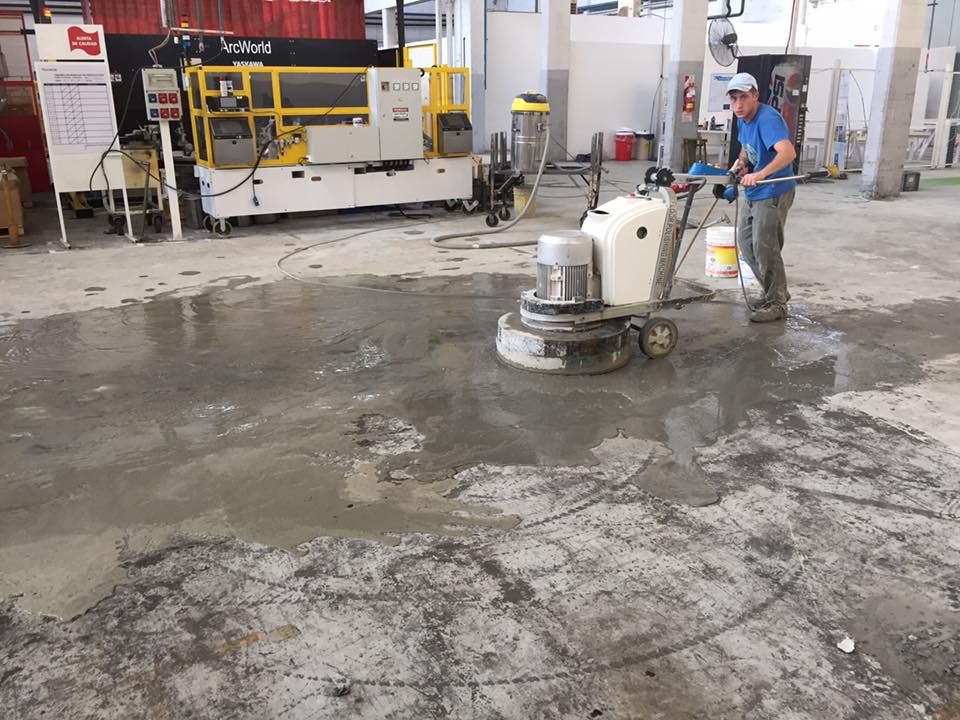
Concrete should be free from dirt, wax, paint and other contaminants before applying the stain, as it may affect the chemical reaction. Inspect the concrete for cracks, pits, and gauges. Use concrete patching compound for repairing cracks. Then use an electric buffer to level the surface before staining. Efficiently vacuum the floor to remove debris, dust, and small broken materials.
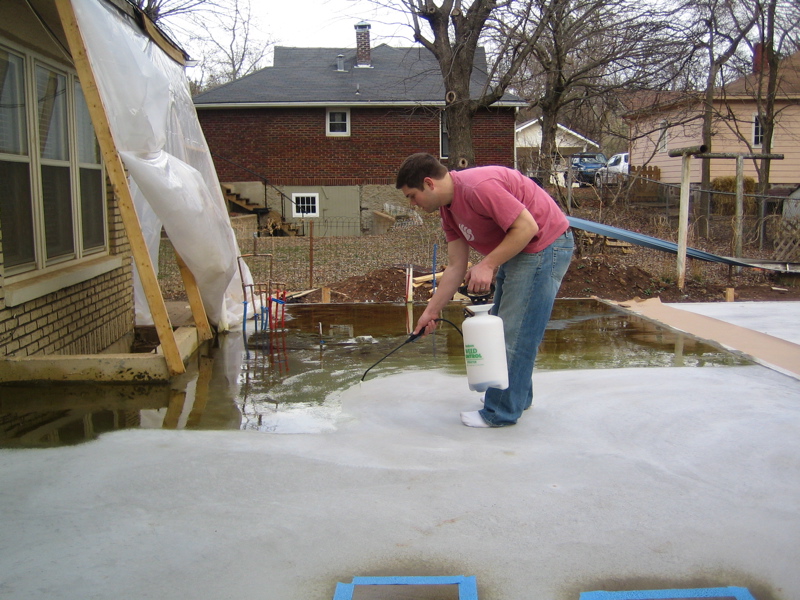
Step 2: Etching the Floor
Concrete stains stick well on chemically etched floor. Buy a bottle of chemical etch, then mix it with warm water, and scrub the floor evenly. Not all staining materials require the floor to be etched. Read and understand the product’s instruction properly.
Step 3: Testing Old Concrete Before Applying Concrete Stain
It is advisable to choose a sample area of a few square inches, before staining the concrete, stain it, and observe the result. Sample staining helps to; determine whether the etching material will react with the floor, the colour that will be produced, and ensure the floor is well cleaned. Take a cleaned area, pour the stain, and observe the changes. If the stain does not produce sufficient results, try to find out another type of stain or acid etching the floor again.
Step 4: Apply the Concrete Stain
Tape off the walls or concrete regions that should not come in contact with the stain. Make sure the room you are working in is well ventilated for your safety. Mixing the staining agent as per the manufacturer’s instruction. Ensure you have a protective gear.
With the help of pump sprayer, start applying the stain from the back of the room towards the door, to avoid being trapped and forced to walk on the stain. Older concrete tends to take more time to accept the stain, so it is advisable to buy extra stain. Spray the stain uniformly with overlapping stroke. Make sure the strokes are evenly distributed to avoid seamless lines.
To have a uniform finish, use a broom to spread excess stain evenly. Start from left to right, then top to bottom to eliminate darker areas. Allow the stain to dry for 3-4 hours, then wet a small area to test the colour if it’s satisfactory.
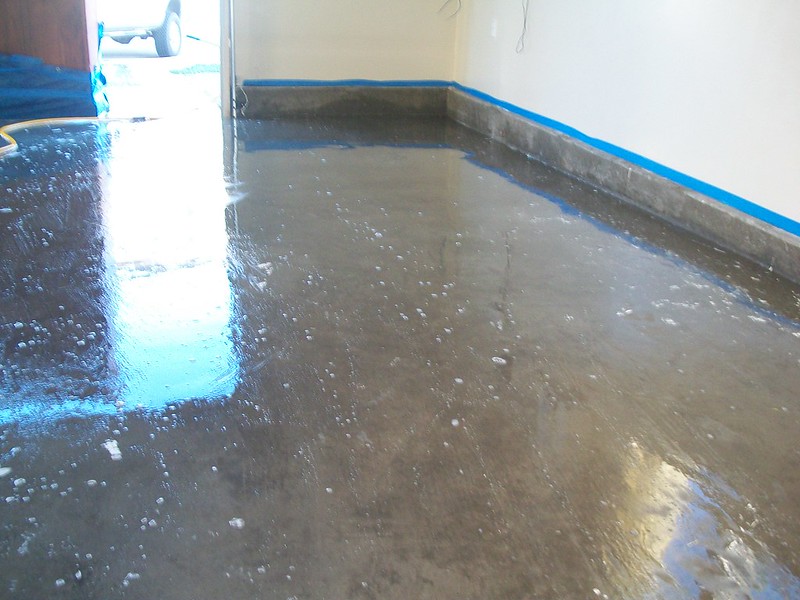
Step 5: Sealing the Concrete
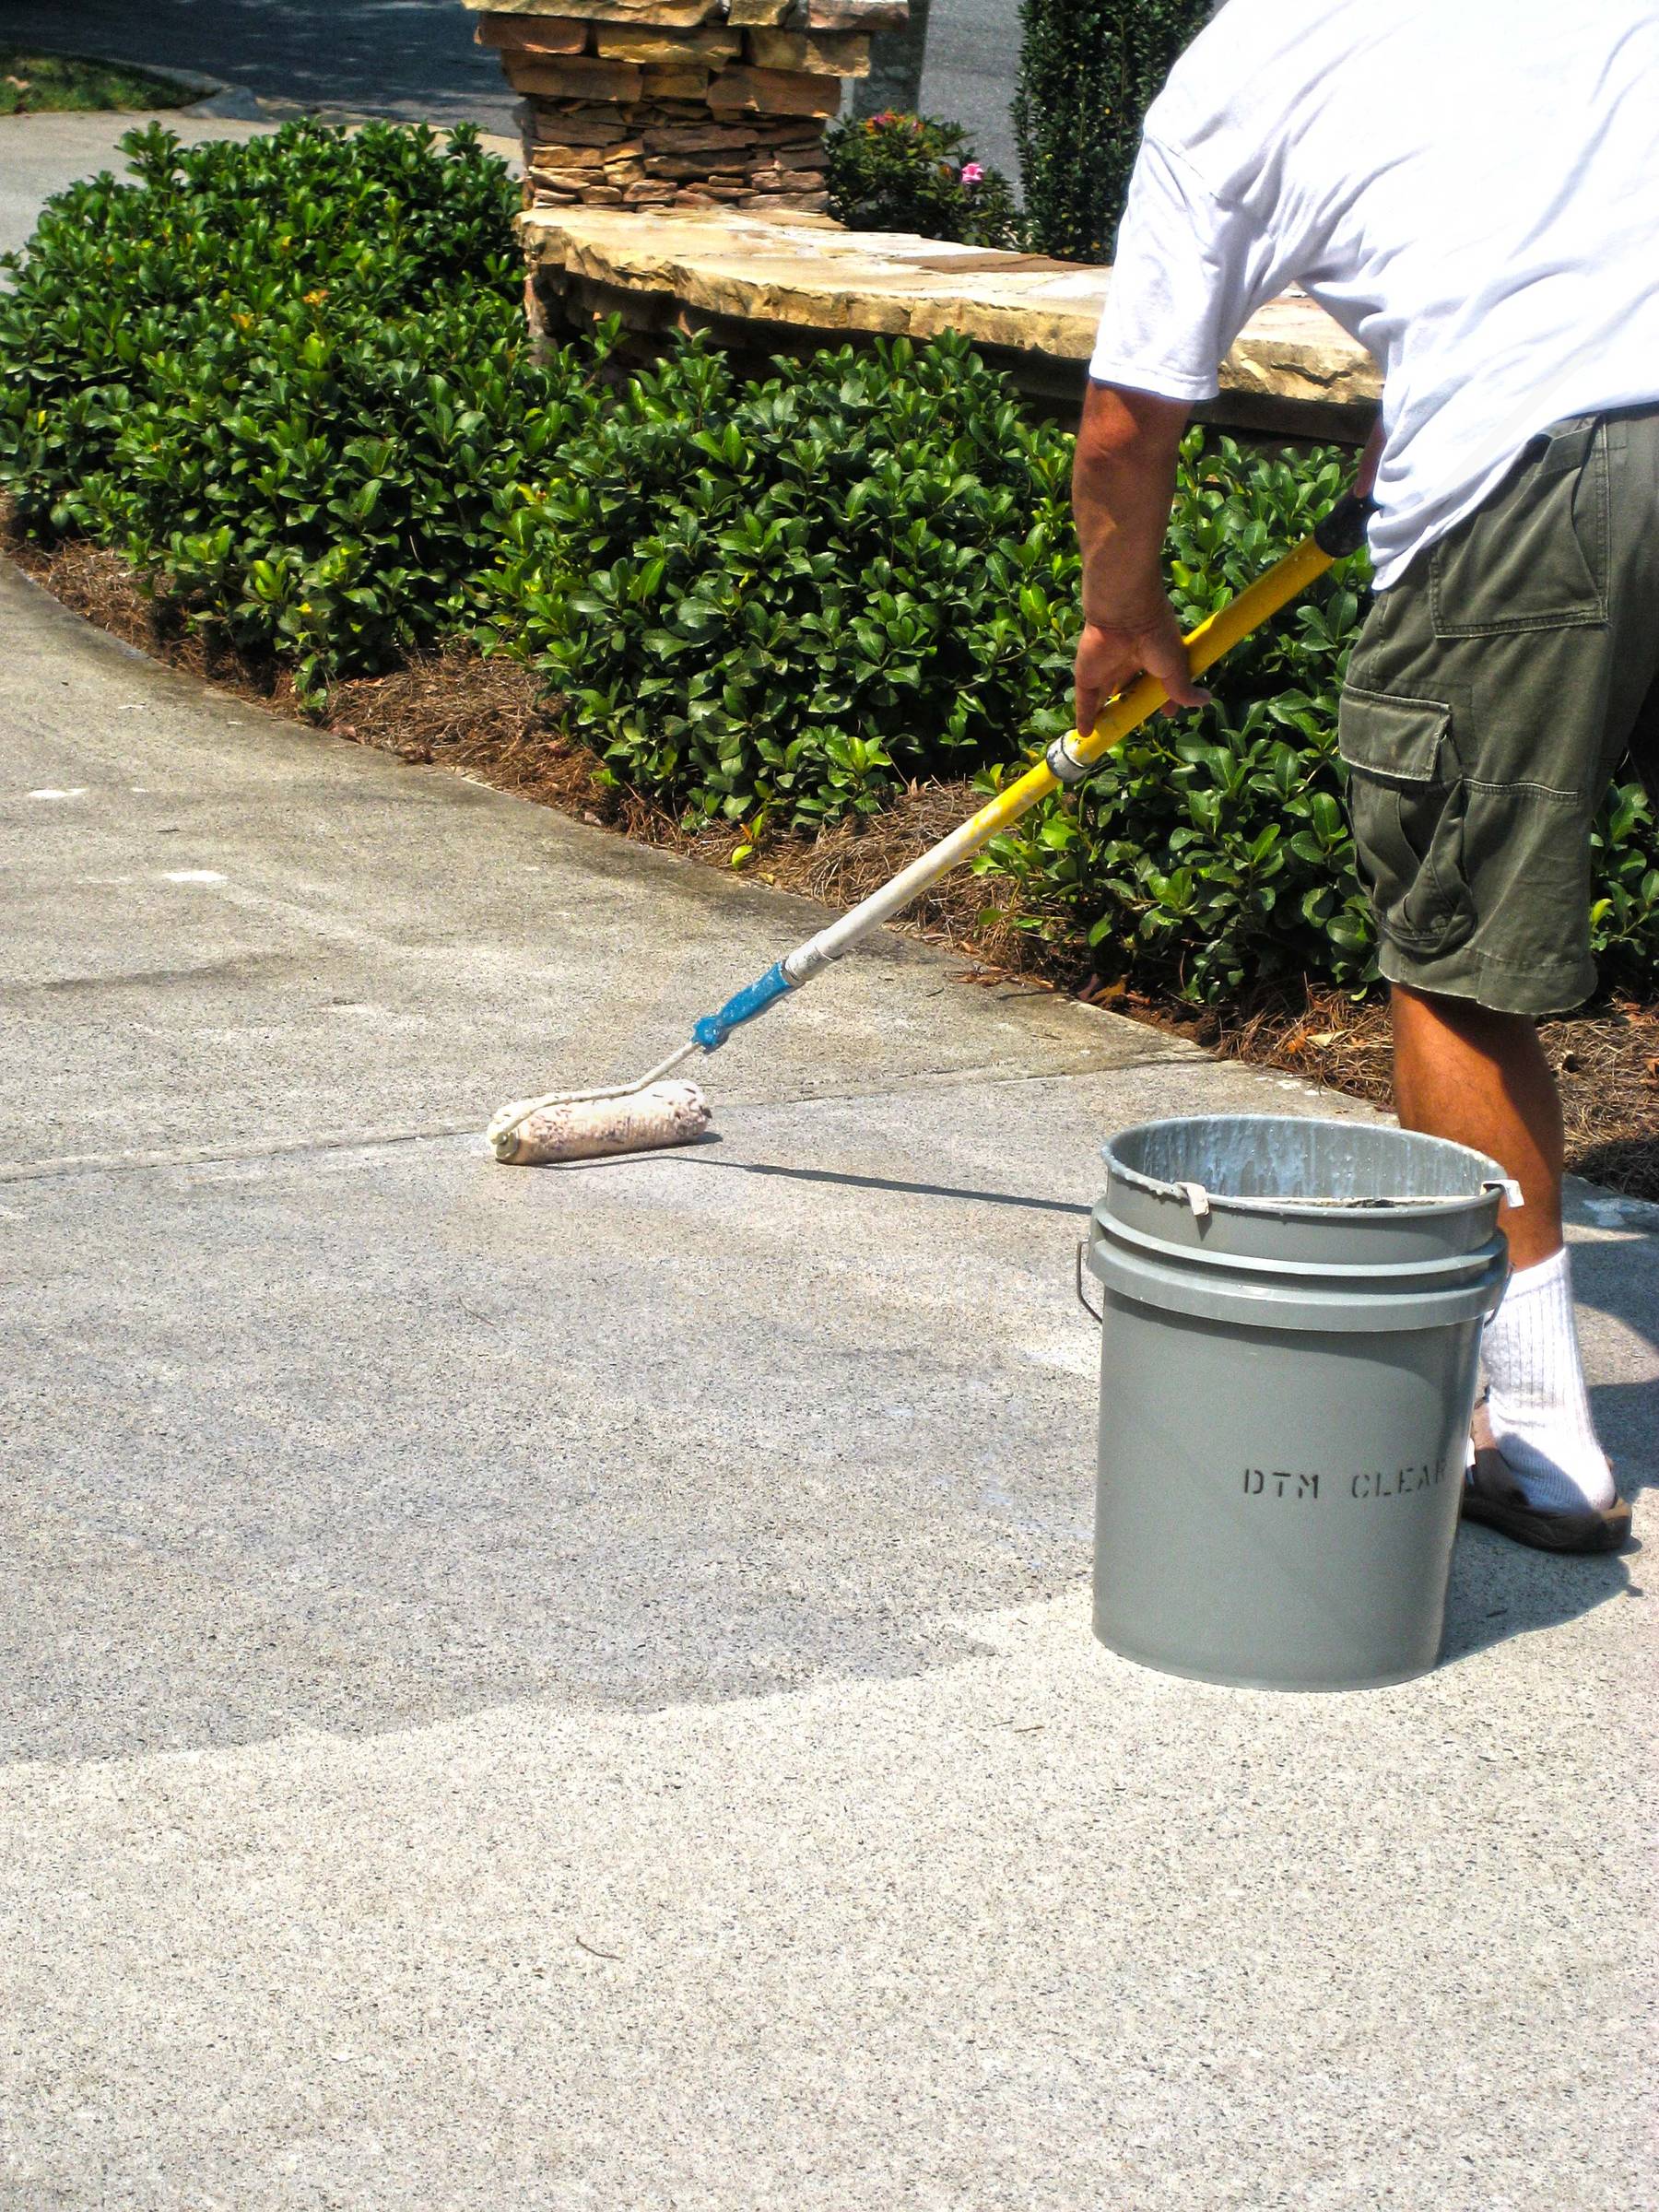
While it is not necessary to seal your stained concrete, it is recommended because the seal will maintain the concrete’s appearance. Using an all-purpose cleaner; first, clean the floor before sealing to prevent dust from being trapped. Use a water-based seal; mix, then apply on the floor. Use a nap roller, apply one coat from north to south. Let it dry up, then east to west for quality results. Don’t forget to remove the concrete or floor tapes after the sealant has been dried.
Let not fear to stop you from concrete staining by following the steps given. Do test spots before setting out. You can also consult professionals for quality services.
Hire a Professional for Concrete Repair
There are a lot of steps involved in concrete repair. If you want to skip all of them, that’s absolutely fine. Just hire a professional and don’t always go for the cheapest price, you might have to pay for it twice if it’s not installed correctly.


