


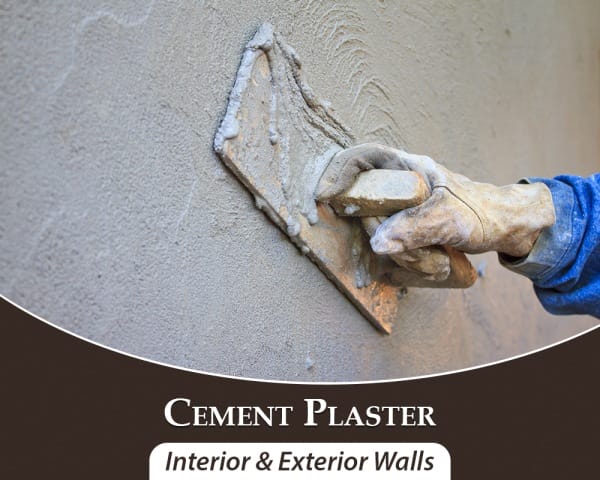
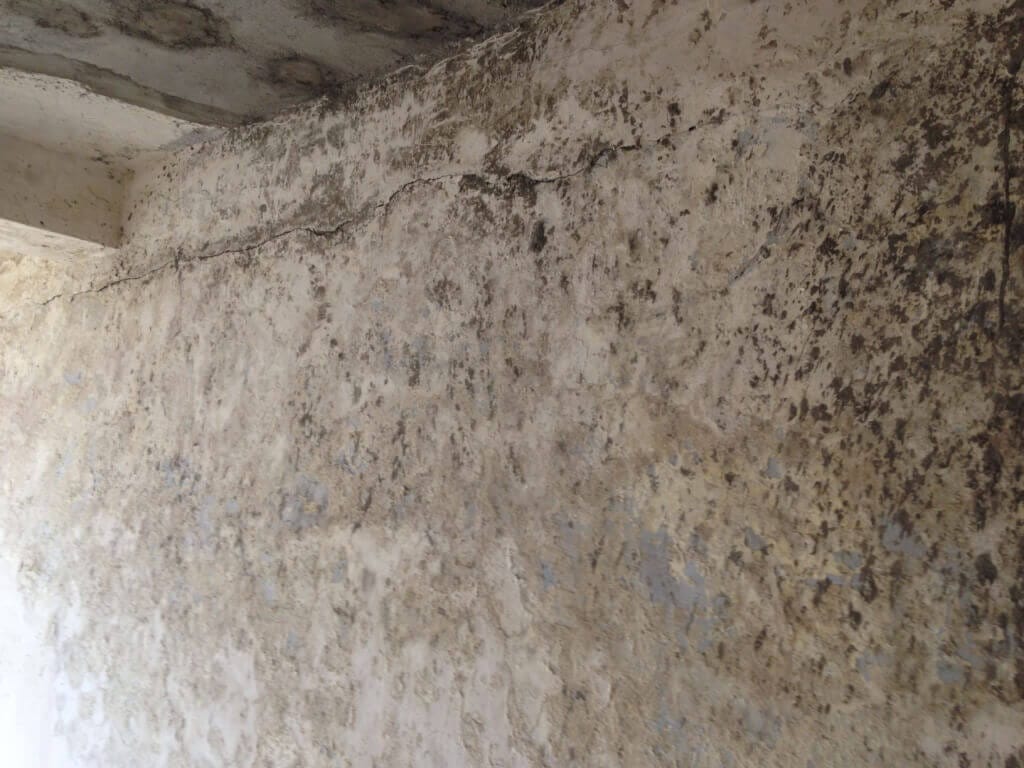
Plaster is an art, which is a combination of materials used to obtain a durable, visually pleasing surface and the physical way of the application. Plaster also works as protective covering which is used to protect bricks or stones from the direct devastating attacks of wind, rain, and harmful industrial gases. Sand, cement, clay, aggregate and water are the basic ingredients to make the mortar for plasterwork. Sometimes admixtures are also used in plastering. Depending upon ingredient, finishes, coat, popularity or proportion, the different types of plaster are used for different work.
Internal plastering work on surfaces of concrete columns, beams & walls which are aligned with surfaces of brick/ masonry walls, external or internal surfaces are also plastered.

The plaster may be applied in one, two or three coats. But the thickness of a single coat should not exceed 12 mm in case of an inferior or cheaper type of construction. The plaster may be applied in one coat for internal surfaces. For an ordinary type of construction generally, internal plaster is done in one coat while external is generally done in two coats. Whereas for a superior type of works, it is applied in three coats.
It is necessary to keep many things in mind during plasterwork. Here we give some common tips which help you while doing the internal plaster.
Preparation of Internal Plaster
(a) Before Plastering Work
- All the walls & ceiling surfaces should be saturated with water a day before plastering.
- You need to make sure that the area you want to plaster is free from dust.
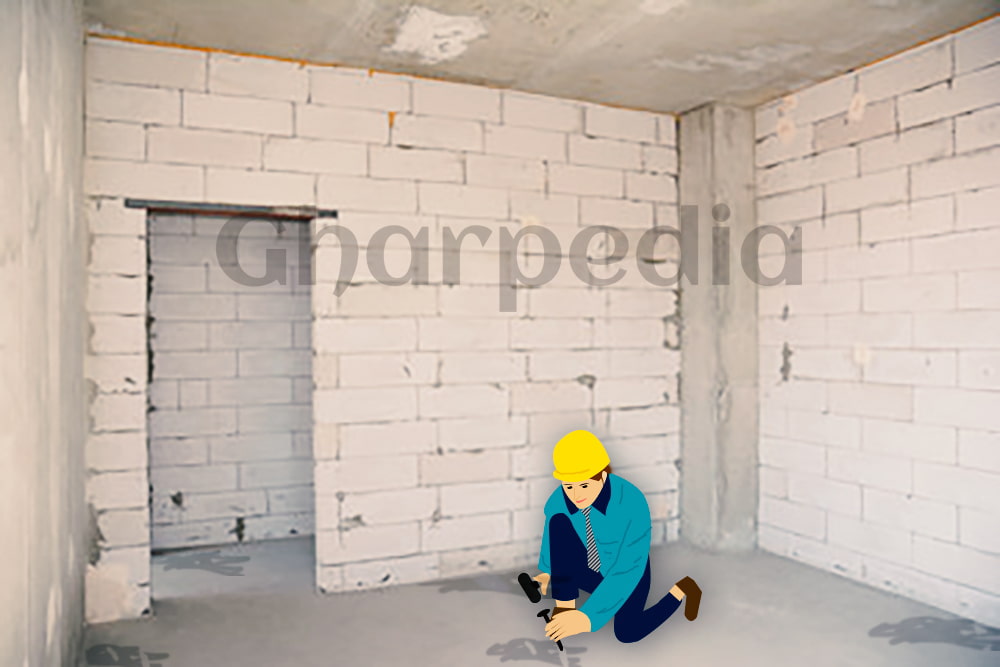
- Ensure that all the masonry work is complete in all respects.
- Before plastering mortar on walls make sure all the brick walls are cured for sufficient time.
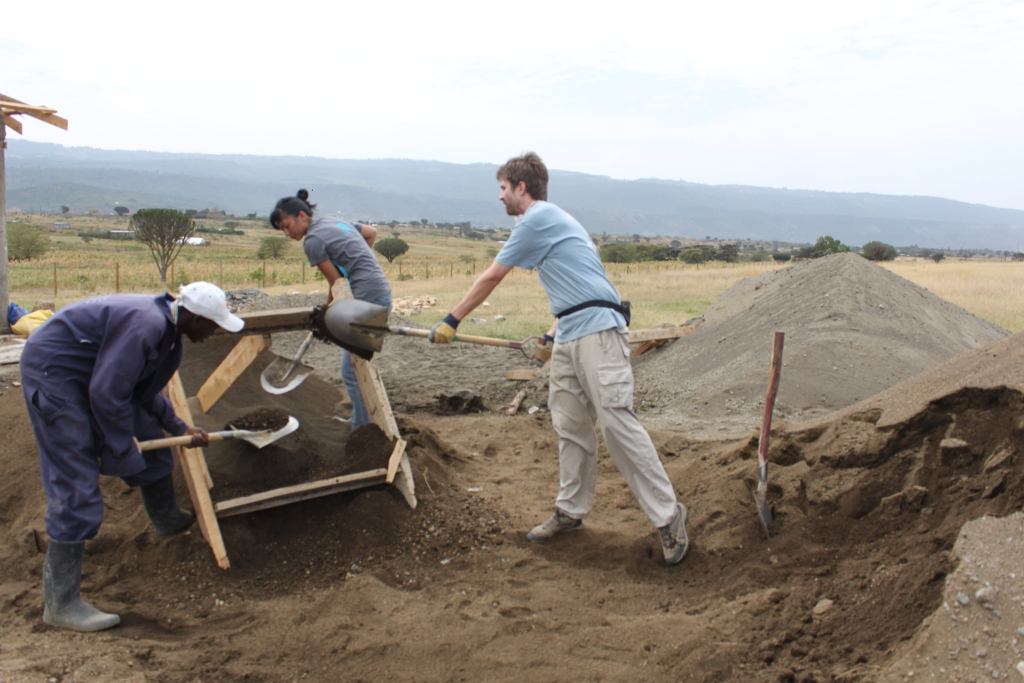
- Screening of sand to be done with a sand screening machine, with the required size of screens.
- It is essential that you also need to cover any holes and cracks you may find.
- All windows, door frames to be checked for the complete line, level, plumb, position, size. If not correct, then rectify the same.
- See that holdfast of window and door frames are concreted properly.
- Nailing of column strip to the column should be proper with a full depth of nail. The nail should not be bent. Use only drill machine for holes.
- Ensure that proper margin for all four sides of the window are provided. (Minimum 25 mm (1”) from all four sides.)
- Holes and joints in a masonry wall and R.C.C. beam should be filled with rich mortar before fixing the chicken mesh, at bottom of beams.
- Chip off all unwanted parts in R.C.C. and masonry work, before plaster work begins. Chip off all extra thickness or out of line/ level concrete of beam/ column etc.
- See that sufficient curing to all masonry, lintel, lofts and repairing work is done.
- Check the level and thickness of loft.
- Check the top of the loft at the junction of the wall, where normally unwanted concrete is found, as it can cause the improper level. Remove this concrete before plastering.
- In case of concealed wiring, check whether all electric, TV and telephone conducting work are finished as per the requirement, i.e. board level, first-floor level, a distance of board point from the wall, provision for crossing electric lines wall to wall etc.
- Finishing of concealed conduits to be done after chicken mesh fixing if more than 2 pipes are running simultaneously.
- See that the fan hook swings it is exposed and straight in line and level for all rooms.
- Remove unwanted concrete, mortar from the floor to mix plaster mortar, on a clean surface.
- Check the salt content of sand. Never use such sand.
- If salt is found to exceed 7%, then wash the sand manually or in a machine before a screening.
- Check weather tacha (hacking) to all R.C.C surface i.e. ceiling, beams, column and lintel loft is sufficient or not: it should not be less than 5 nos. notched per set.
(b) During Plastering Work
- Ensure that all change in masonry, as per extra amenities, is done and checked.
- The chicken mesh should be fixed to all vertical and horizontal joints of R.C.C. and masonry wall.
- The chicken mesh should be equally fixed in width on masonry and R.C.C. portion.
- If the chicken mesh is loose; it will come out of the plaster.
- On interior walls, a chicken mesh is often fixed in corners since it gives a risk for shrink and movement cracks.
- Mark the level of Neeru (sanala) finishing (type of finish) in W.C. bath on the door frame with chalk or red pencil.
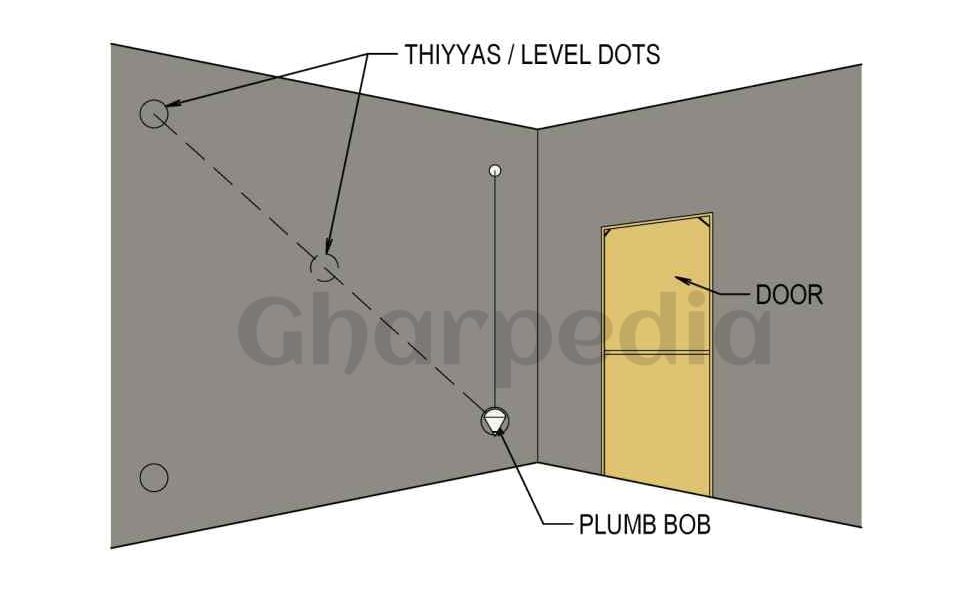
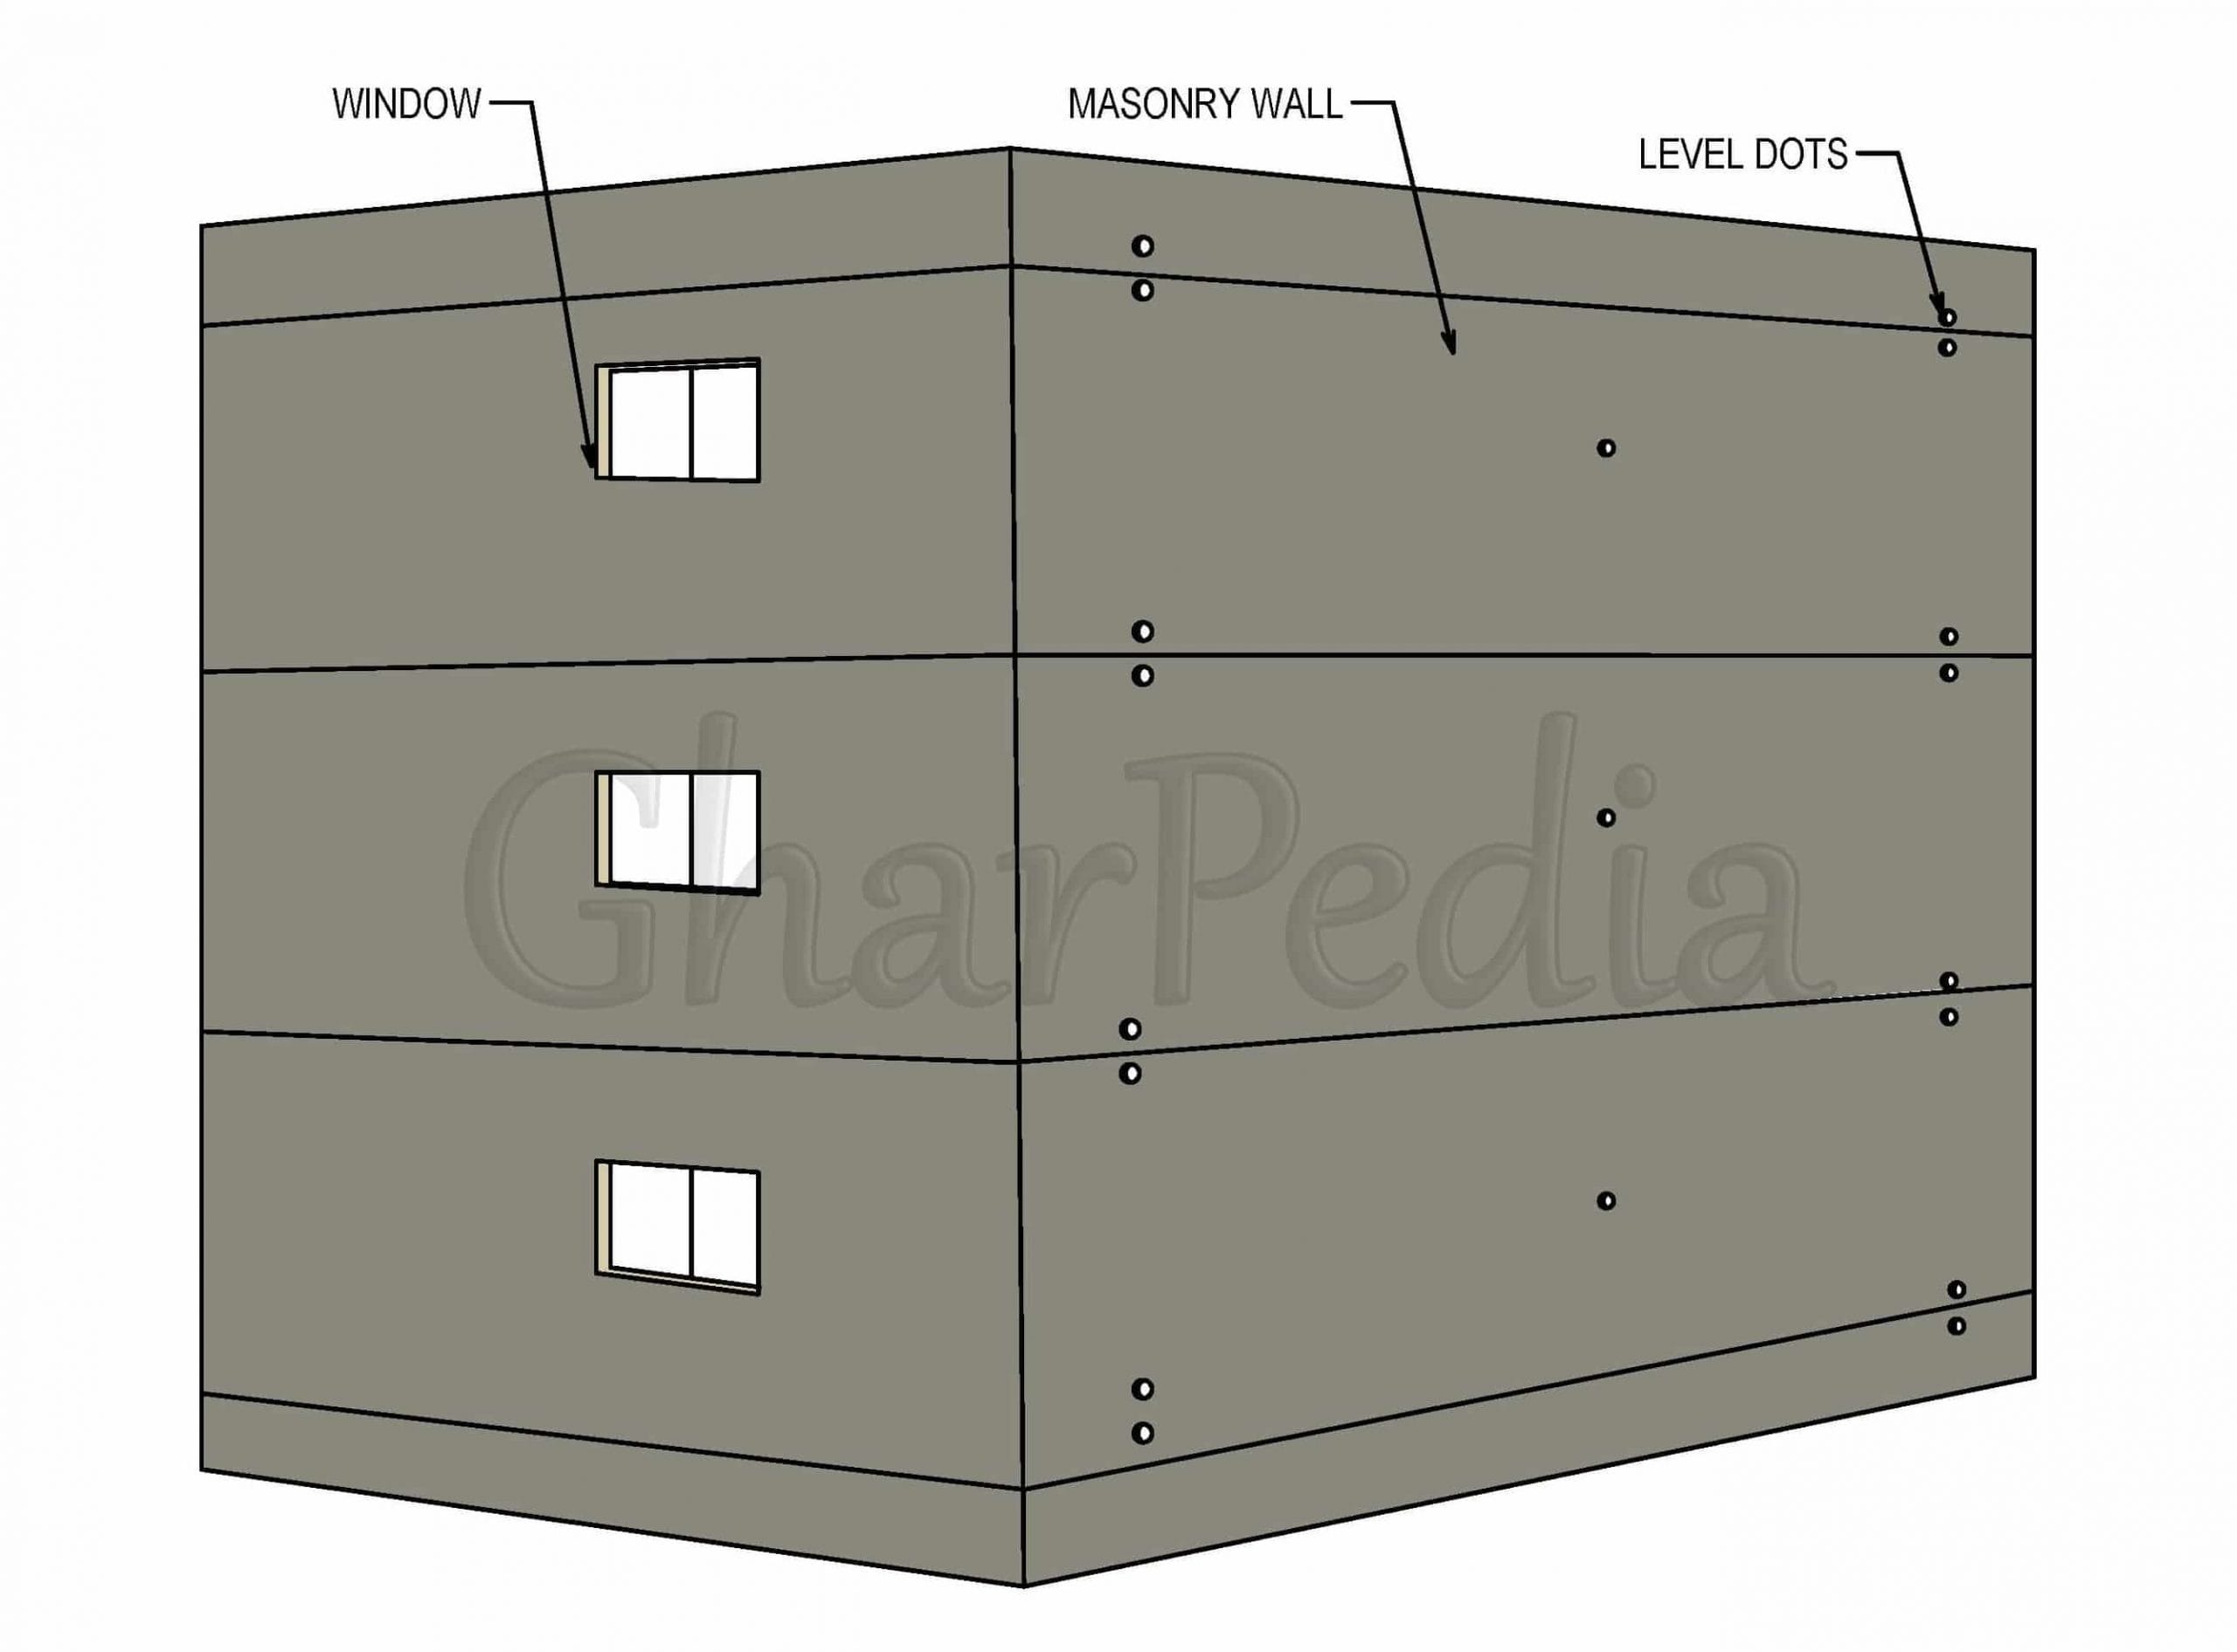
Level Dots (thiyyas) for Internal Plastering
- Take level dots of plaster in all room at top and bottom levels of all walls and ensure that the maximum thickness should not exceed 20 mm.
- Ensure that all holes in the external scaffolding are finished with proper rich concrete and mortar.
- Ensure that the door frame is projected by 12 mm outside the wall and R.C.C. lintel above so that after plastering, wall surface will flush to the door frame.
(c) After Plastering Work
- After completion of plasterwork, clean the unwanted plaster from the floor, wall, door and window frames. If these unwanted drops of plaster once get dry, then the later stage, you will have to do lots of efforts to remove it and it will lose your both money and time.
- It is advisable to start the curing after 24 hours of application of plaster and it should be cured at least 7 days continuously.
- Remember that plaster should be fully dried before the application of paint.
The knowledge of preparation for internal plaster will help in the different stages i.e. before plastering, during plastering and after plastering. That will allow plastering work easily, smoothly and with minimum time.
Also Read:
Curing of Concrete: Things to Keep in Mind While Curing
Different Methods of Curing Concrete: Know Before Curing


