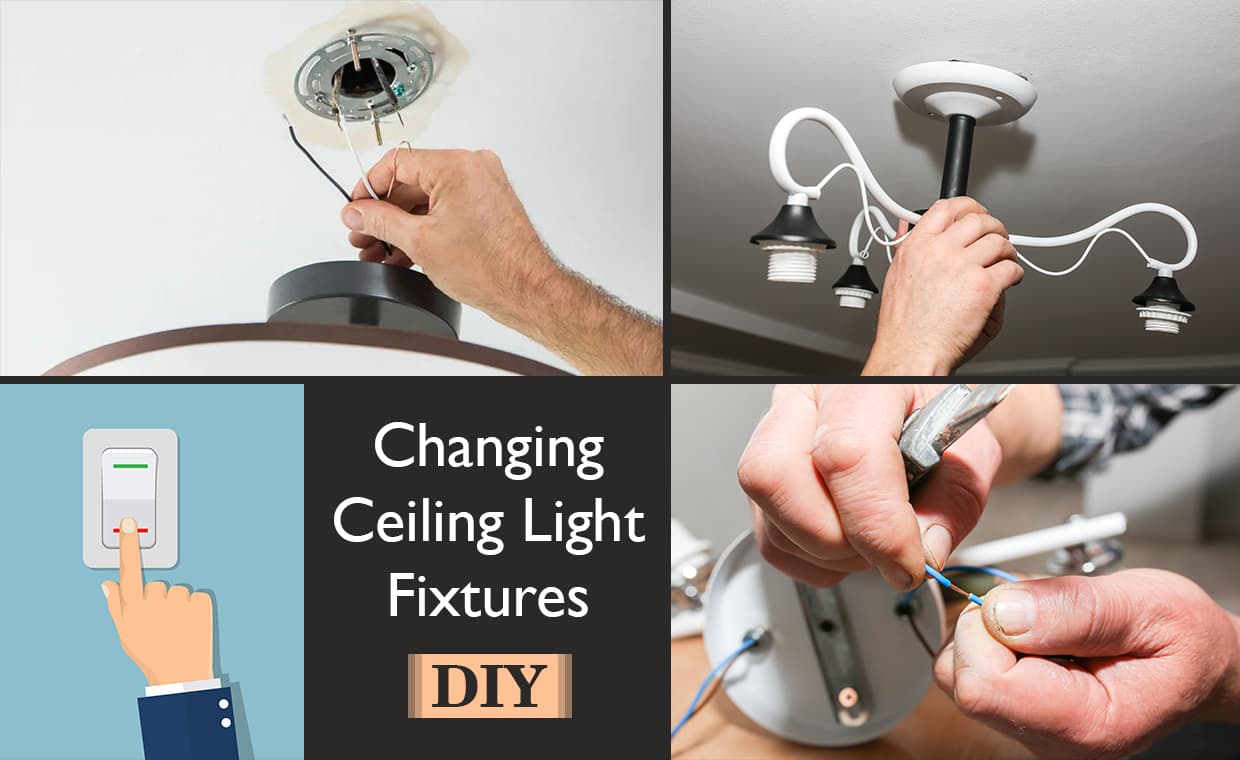
For those experimental souls who simply love to play around with the look of their house, replacing ceiling fixtures provides the perfect way to do so. Gharpedia shows you how to change a ceiling light fixture…
What are the Ceiling Fixtures?

Ceiling fixtures are generally lights that are mounted on or are suspended from the ceiling – there are many types of lights. They could be placed bang in the centre of your ceiling, or in the case of track lights and cove lights, they could be placed at a specific corner in order to lend emphasis to the display in that corner.
Different Types of Ceiling Light Fixtures

Besides the renowned chandeliers for lavish houses, some other types of ceiling light fixtures include cove lights, flush mount lights,semi-flush mount lights, pendant lights, inverted pendant lights, track lights, recessed lights etc.
01. Cove Lights

02. Flush Mount Lights

03. Semi-Flush Mount Lights

04. Pendant Lights

05. Inverted Pendant Lights

06. Inverted Pendant Lights

07. Recessed Lights

If you want to transform your kitchen, then try some light fixtures. Here are the best options, which you can opt for.
Benefits of Ceiling Light Fixtures

For the unversed, ceiling fixtures pack in a lot of benefits besides adding a zing to your house –
- If you install ceiling light fixtures, they add a lot of space to your room as they go right up there where no man has gone before!
- They come in versatile shapes and sizes, so there’s one to suit the taste of each householder.
- If you install ceiling light fixtures, logically they provide more light as they are fitted either-
- Bang at the centre of your ceiling, ascertaining that the circumference of their illumination is more evenly spread.
- In a niche corner where their splendid focus lands on the Objet d’art
- A large chunk of ceiling fixtures is quite economically priced.
- They are quite decorative and organically lend an exclusive ambience to the room. Some ceiling fixtures transform into conversational pieces too!
But unfortunately, despite all the pluses they offer, when it comes to ceiling fixtures, some people are not only lazy but skinflints too! So they’ll continue with the same outdated fixture for a couple of decades; despite having the alternative to doll up the hallway or bedroom with a new ceiling fixture in a matter of time.
Well, hope you don’t fall into that unfortunate segment; you can simply pick a ceiling fixture you like, take out your screwdriver, and do what is required on the weekend. Needless to say, the new fixture will come with its own set of installation instructions, so you need to devote time to read them and understand which part is which as you take everything out of the box. For the rest, simply go through the steps mentioned in the process flow in this blog and know how to install ceiling light fixtures. So, let’s get started!
How to Change a Ceiling Light Fixture?
Go thoroughly below steps to know how to change a light fixture –
01. Time Required for Changing a Light Fixtures
02. Tools to Install Ceiling Light Fixtures
03. The Process: How to Replace a Ceiling Light Fixture
- Switch Off the Power
- Detach the Old Fixtures
- Unscrew the Mounting Bracket
- Refer Instructions for the Installation of New Fixture
- Connect the Wires
- Install the New Lights Fixture
- Restore the Power
04. Important Cues
Time Required for Changing a Light Fixture
This entire DIY Project can be wrapped up in an hour. But a word of caution – You may need a helper on a second ladder if the new or old fixture is terribly heavy; otherwise, it can be tough to simultaneously loosen the screws and hold the fixture so that it doesn’t crash to the floor.
Tools to Install a Ceiling Light Fixture

The following tools are required for changing ceiling light fixtures-
- New Fixture
- Ladder
- Screwdriver
- Wire Cutters
- Wire Nuts
- Wire Stripper
The Process: How to Replace a Ceiling Light Fixture
If you are confused about how to change a light fixture or how to replace a light fixture then follow the below step-by step procedure to replace your ceiling fixtures and give your home a new charm.
Switch Off the Power

Switch off the power to the circuit that controls this fixture. Then try the light switch to ensure the power is off.
Detach the Old Fixtures
Detach the old globe from the ceiling fixture – while some have decorative knobs at the base that unscrews; others have screws on the sides. Do remember to hold the globe up with one hand as you unscrew it with the other… don’t hesitate to rope in the services of a helper if you can’t support the weight of it with one hand.
Unscrew the Mounting Bracket

Remove your old light cover and if you are confused that how to remove ceiling light cover then first hold the light cover with one hand and unscrew the knob with another hand. Once the old light cover has been removed, remove the light bulbs and unscrew the mounting bracket that is attached to the housing box. Find the wire groupings connected with wire nuts in the housing box. You can unscrew the wire nuts and untangle the wires or use the wire cutters to cut them. Cut the wires only if you’ve got plenty of wire slack for the new fixture; in case you have barely enough wire to make the connections, then absolutely refrain!
Refer Instructions for the Installation of New Fixture
Refer to the instructions that came with the new fixture to install it. The one we’re explaining through this blog has a grounding plate that’s first attached to the housing box with mounting bolts.
The grounding plate has a green grounding terminal (or screw) on it. Wrap the grounding wire (it will be bare copper or green) emanating from the housing box around the terminal and tighten it with a screwdriver.
Connect the Wires

Connect the black wire from the fixture to the black wire in the housing box by twisting the ends of the two wires together. In case you don’t have enough exposed wire, then strip the ends. Then snip about half-inch of the wires off, so the tips are even.
Place a wire nut over the wires and twist clockwise until it’s tight and no bare wire is exposed. Tug on the wires to see if they come loose, in case they do then you’ll need to start again. Connect the white wires in the same way. Carefully hold all the connected wires into the housing box and secure the canopy (the base of the fixture) to the housing box.
Install the New Lights Fixture

Assemble the fixture according to the instructions that came with it. Put in new light bulbs that are no brighter than the wattage indicated on the fixture.
Attach the globe or bowl to the canopy; this is usually done by tightening a decorative screw at its base.
Restore the Power
Restore the power to the circuit and switch on the light. If it doesn’t illuminate and you are sure that the light bulbs are in good condition, then call your electrician to troubleshoot it for you.
Important Cues
In case your current fixture touches the ceiling, someone may have painted up to it but not under it. Therefore, if the new fixture hangs just below the ceiling, you might have some touch-up painting to do.
In the Final Note,
Now that you are done, you can go ahead and provide tutorials to your friends and neighbours on how to replace a light fixture…!
Hope you have enjoyed reading above content on how to change a ceiling light fixture. If you are planning to upgrade your ceiling look, then the following blog is a MUST READ for you.
Things to Know About False Ceiling for Your Interior!
Image Courtesy: Image 3(a), Image 3(b), Image 8, Image 12, Image 14
Author Bio
Huta Raval – An English Literature and Journalism Topper, Huta Raval has graduated from the L D Arts College, Ahmedabad. Post serving for 23 years in the NBFC and Public Library Sectors her desire for ‘writing the unwritten’ brought her to the creative field of content writing. Her clientele comprises of NGOs, Blogging Platforms, Newspapers, Academic Institutions, et al.


