Table of Contents
Quick Overview
Here is the quick overview of cement grout:
- Cement grout is made up of cement, water, sand and other additives and is used to fill the joints between tiles.
- It comes in different types such as sanded grout, unsanded grout, polymer-modified grout and epoxy grout.
- There are certain factors you need to consider while choosing cement grout, like location, joint width, tile type, performance characteristics, aesthetic and cost.
- Mix the cement grout properly and apply it with a rubber float. Cure for 24 to 72 hrs and seal it if needed.
- Common mistakes you need to avoid are overwater mixing and early cleaning. Meanwhile, never skip sealing in areas prone to moisture.
- Maintain your cement grout every 1 to 3 years, using pH-neutral cleaners.
When it comes to tile installation, people naturally focus on the tiles rather than the cement grout. But the fact is that the grout does all the heavy lifting by holding the tiles together structurally and visually. Whether it’s a bathroom wall, a kitchen backsplash, or a living room floor, using the right grout is essential to ensure strength, durability, and long-lasting beauty. This guide will help you understand what to look for when choosing the best grout for your next tiling project.
What is Cement Grout and Why is it Important?
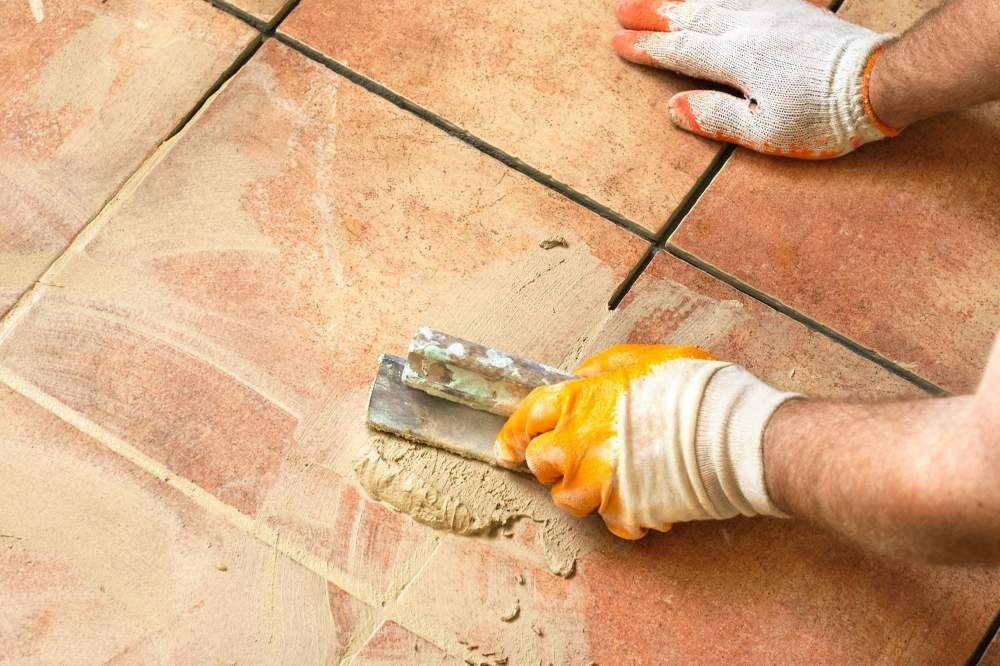
Cement grout basically consists of cement, water, and, sometimes, sand or other additives. It is used to fill the joints between tiles. Cement grout secures tiles in place, prevents water from seeping beneath surfaces, and helps block dirt from infiltrating tile joints. A good-quality grout not only seals the surface but also allows for slight movement without cracking. Properly applied cement tile grout increases durability and aesthetic value.
Also Read: Grouts in Construction & Their Types!
Types of Cement Grout Used in Tiling
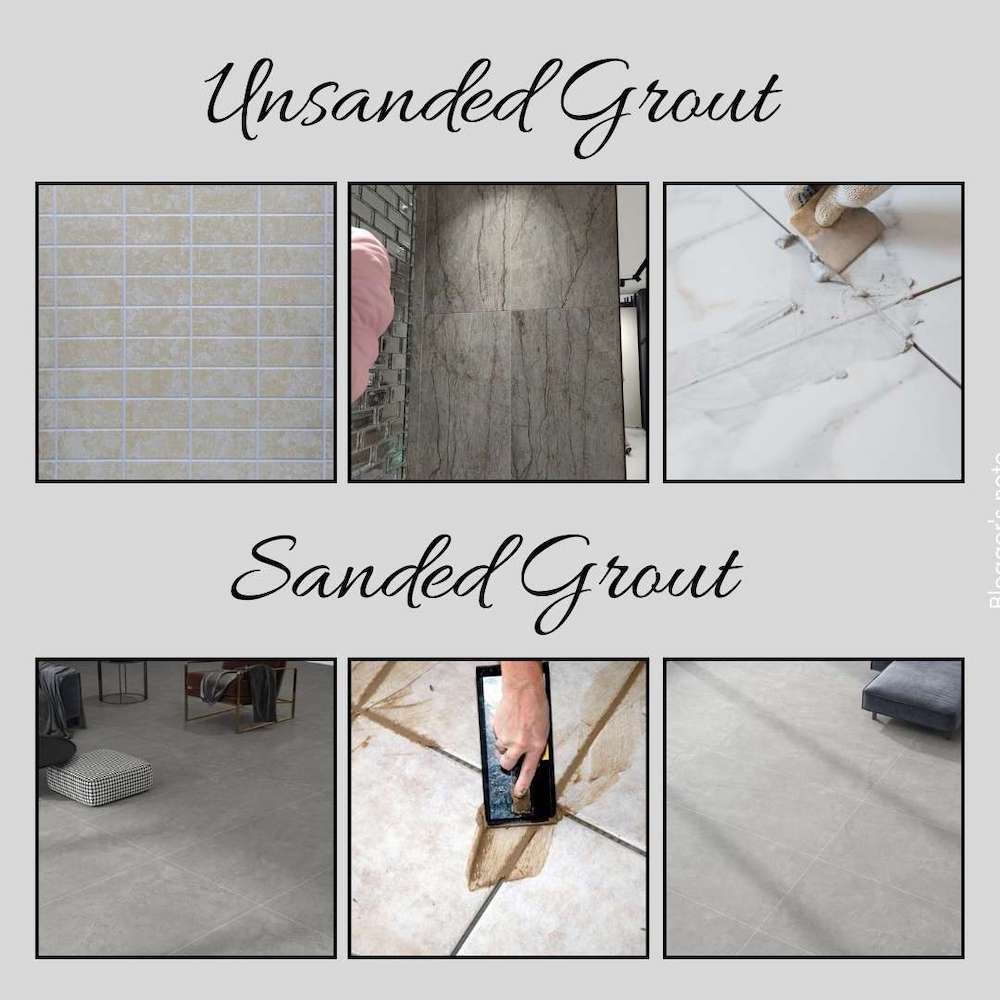
There are two kinds of cement-based grout: sanded and unsanded. Sanded grout has sand added to it and is suitable for wider joints, as it provides a firm grip and resists any shrinkage. Unsanded grout is smoother and can only be used for narrow, thin joints or when tiling up delicate vertical surfaces such as bathroom walls.
There are also polymer-modified grouts; these types hold their shape better, are a little flexible, and resist water. Despite being more difficult to install, epoxy grout is incredibly resilient, waterproof, and stain-resistant, making it perfect for damp, high-traffic areas like bathrooms. Bituminous grout is primarily used for flexible, waterproof expansion joints in specific applications, whereas furan resin grout offers exceptional chemical resistance in industrial settings. The specific requirements of your project will determine which type is best, considering its cost, performance, and aesthetics. For a broader overview, check out article 7 Types of Grout and How to Choose the Right One for the Job
Factors while Choosing Cement Grout
| Factor | Considerations & Details |
| Location | Dry Areas: Standard cement grout is fine. Wet Areas (Bathrooms, Kitchens, Outdoors): Opt for polymer-modified cement grout for enhanced water resistance, or epoxy grout for complete waterproofing. |
| Joint Width | Wide Joints (>1/8 inch / 3mm): Use sanded cement grout; the sand prevents excessive shrinkage and adds strength. Narrow Joints (<1/8 inch / 3mm): Choose unsanded cement grout for a smooth finish and to avoid scratching delicate tiles. |
| Tile Type | Porous Tiles (e.g., Natural Stone): May require pre-sealing to prevent staining from the grout. Non-Porous Tiles (e.g., Porcelain, Glazed Ceramic): Generally compatible with most cement grouts. Glass Tiles: Unsanded grout is typically preferred to prevent scratching. |
| Performance Characteristics | Durability: Important for high-traffic floor areas. Water Resistance: Crucial for areas exposed to moisture. Stain Resistance: A key benefit for kitchens and busy areas. Flexibility: Helps prevent cracking in areas with minor substrate movement. |
| Aesthetics | Colour: Decide if you want the grout to blend seamlessly with the tiles or contrast to highlight the pattern. Remember, cement grout often dries lighter than it appears wet, so test a small area. Texture: Sanded grout has a slightly gritty feel, whereas unsanded grout is smooth. |
| Cost | Economical: Standard cement grouts are the most budget-friendly. Mid-Range: Polymer-modified cement grouts offer a good balance of performance and cost. Higher Cost: Epoxy grouts are the most expensive but provide superior durability, stain resistance, and waterproofing. |
1. How to Select the Right Grout Based on Tile Type?
The type of tile you are working with will determine the kind of grout you need. If you are using a porous material, such as natural stone, consider selecting a grout that contains sealant properties. For porcelain or ceramic tiles, standard cement grout works well, provided you follow the recommended joint width guidelines. If your tiles are textured or uneven, use a cement tile grout with a compatible texture. Always check with your tile supplier to avoid stains or damage to a sensitive surface.
Also Read: Tile Grout: Know Its Functions & Types
2. Choosing the Right Grout Colour for Aesthetic Appeal
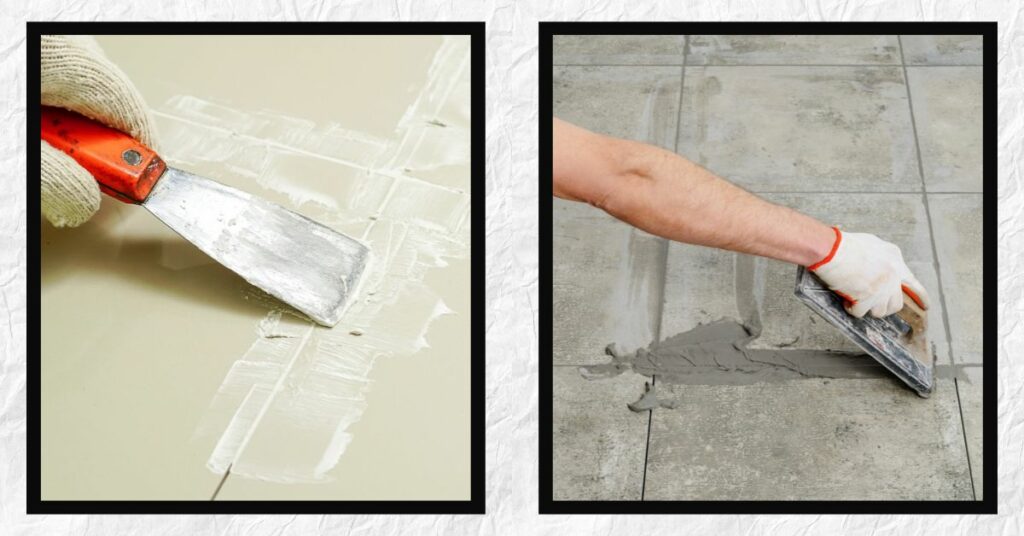
Grout colour plays a significant role in the overall appearance of your tiled surface. A contrasting grout will highlight the tile patterns, while a matching tone will create a seamless look. With cement tile grout, remember that colours often dry lighter than they appear when wet. Neutral shades such as grey or beige offer versatility, while darker tones are good at hiding stains. Test a small section before committing to a complete application.
3. Waterproof vs. Standard Cement Grout: Which One to Choose
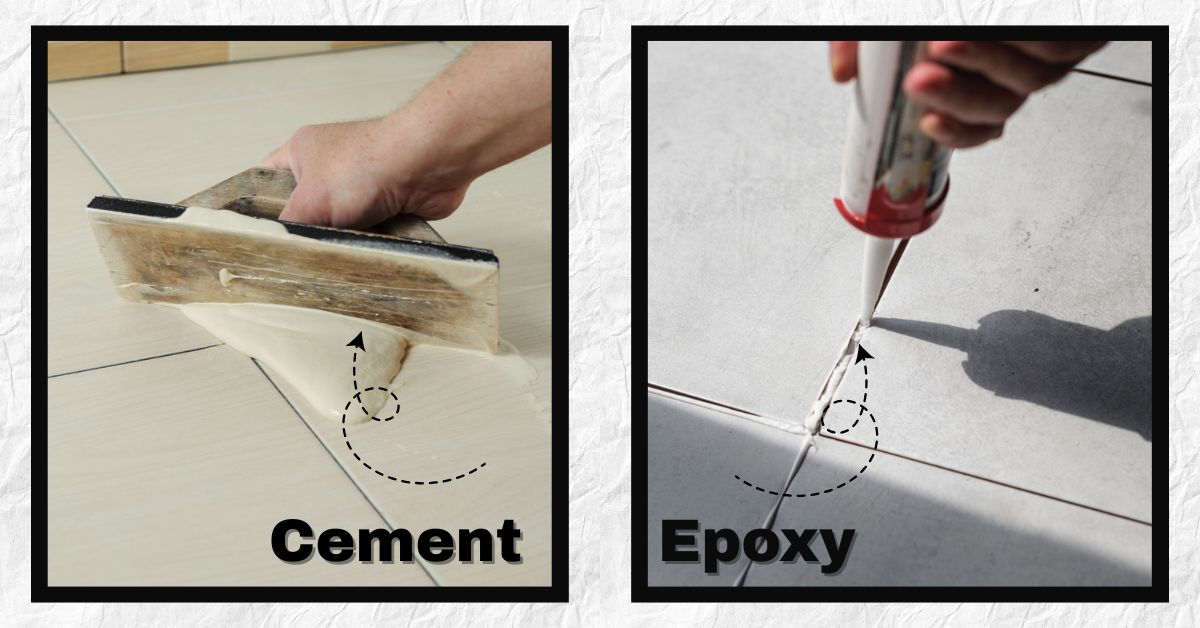
Water-resistant or epoxy-modified cement grouts are ideal for wet areas, such as kitchens and bathrooms, because they provide better water resistance than standard grouts. Standard grouts are suitable for dry areas but may also require sealing over time to maintain performance. Epoxy grouts are highly durable but tend to be more expensive and slightly more challenging to install. The best cement grout for most purposes is a polymer-modified cement grout, as it provides an excellent balance of performance and ease of installation.
4. Step-by-Step Guide to Mixing and Applying Cement Grout
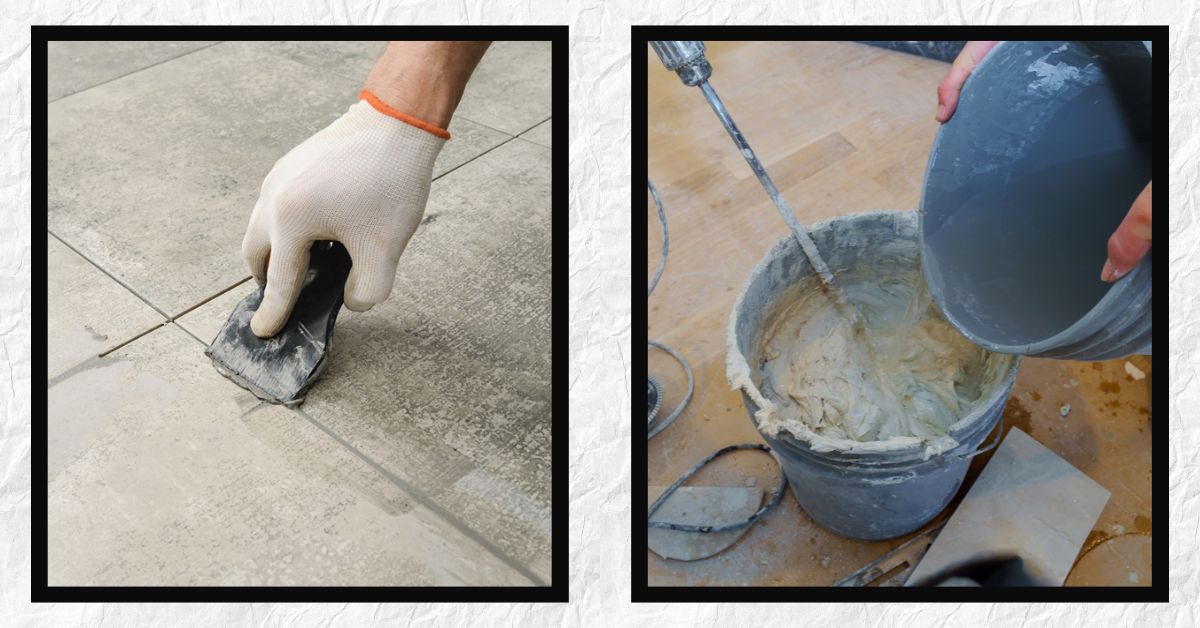
Mix the cement grout until it is smooth and free of lumps. Allow it to sit for ten minutes, then remix. Using a rubber float, apply the grout at a 45-degree angle, pressing it firmly to ensure it fills all joints or gaps. Give it about fifteen to twenty minutes, then gently wipe away the excess grout from the tiles using a damp sponge. Once the grout has dried, buff the tile surface until a light haze appears, and allow it to cure for at least 24 hours before sealing or putting the area to full use. For more detailed tile installation tips, check our blog Essential Tips for Successful Tile Installation
5. Common Grouting Mistakes and How to Avoid Them
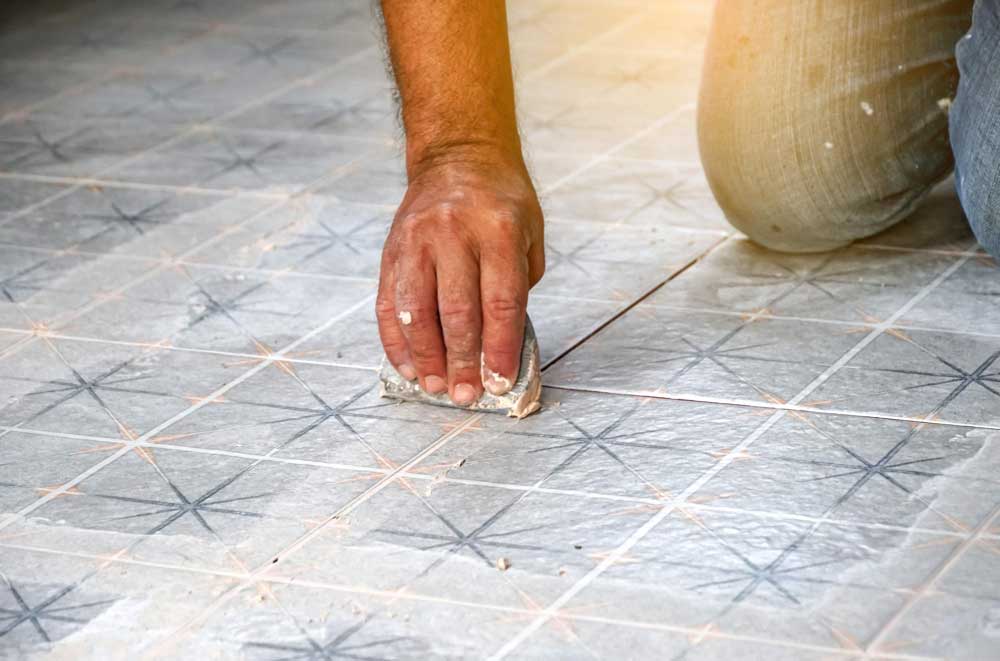
Be careful not to add too much water to the mix, as it can weaken the grout. Avoid cleaning too soon or too aggressively, as you may accidentally remove grout from the joints! Inconsistent grouting or neglecting to seal grout in wet areas can lead to discolouration or even mould growth. Following best practices for grout application is important for both concrete pressure grouting for structural work and regular directional grouting between tiles.
6. Maintaining Cement Grout After Installation
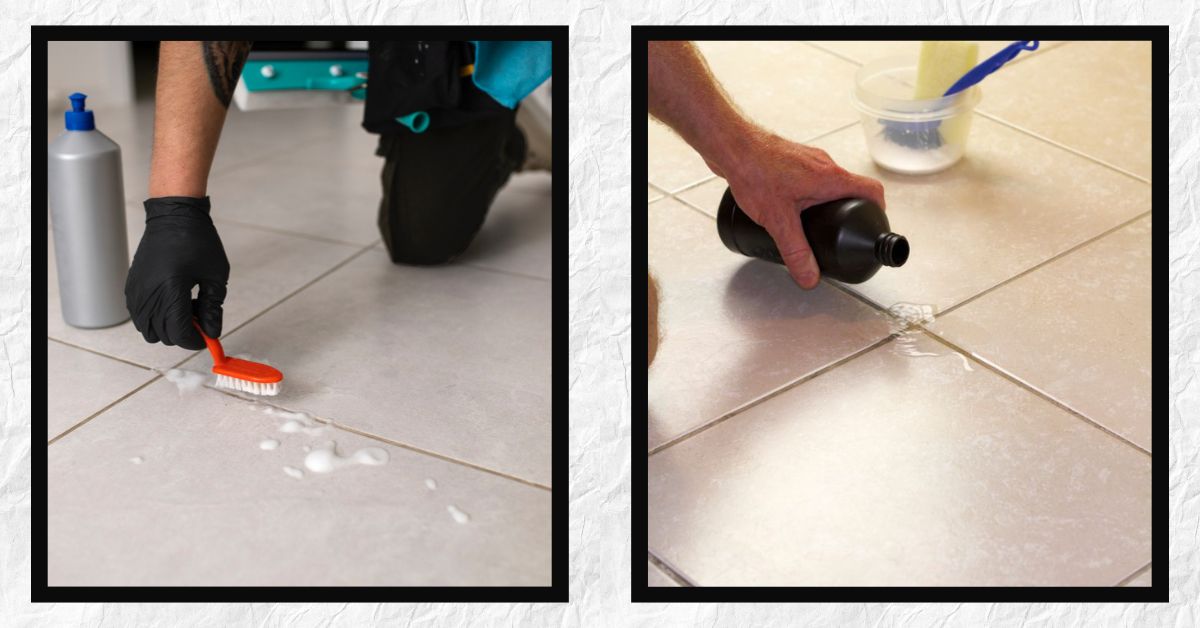
Once your cement grout has been installed correctly and has fully cured, you must maintain it regularly to ensure its longevity.
Curing and Sealing: Allow the cement grout to cure completely (24-72 hours) before exposing it to moisture. Unlike other types of grouts, cement-based grouts, especially in wet areas, require a quality sealer as part of their maintenance plan. Reapply sealer every 1 – 3 years to prevent moisture and stains from penetrating the grout.
Regular Cleaning: Use a pH-neutral cleaner and clean the grout lines. Avoid harsh chemical cleaners, acidic cleaners, or abrasive scrubbers, as they can weaken the grout and compromise the sealer.
Quick Spill Cleanup & Ventilation: Clean spills immediately to prevent them from setting into the grout. Ensure proper ventilation in wet areas to reduce the growth of mould and mildew.
Repairing Damage: If you notice any cracked grout, repair it immediately to prevent water or moisture from seeping underneath or behind the tiles, which could damage the substrate. Prompt repairs protect both grout and the tiled surface.
Also Read: 5 Best Ways To Clean Bathroom Tiles And Grout
Conclusion and Expert Tips for Long-Lasting Grout Performance
To protect your grout for the long haul, ensure you use the right type of grout for both your tile and its location, apply it correctly, and seal it where necessary. Clean your grout using recommended pH-balanced products and avoid harsh chemicals that could damage the surface. By using the proper products, tools, attachments, and techniques, your cement grout will contribute to a professional-looking finish and protect your tiles for years to come.
FAQs on Cement Grout
1. What is the Best Type of Cement Grout for Bathroom and Kitchen Tiles?
Polymer-modified or waterproof cement grout is ideal for wet areas due to its superior moisture resistance.
2. How do I Prevent Grout from Cracking or Discolouration Over Time?
Use the correct water ratio when mixing, apply it evenly, and always seal the grout in high-moisture areas to prevent damage.
3. Should I Use Sanded or Unsanded Grout for My Tiling Project?
Sanded grout is best for joints wider than three millimetres, while unsanded grout is better suited for narrow joints and vertical surfaces.
4. How Long Does Cement Grout Take to Cure Before Sealing or Using the Surface?
Allow the grout to cure for 24 to 72 hours, depending on the manufacturer’s instructions and environmental conditions.


