Turning a part of your house into a full-fledged acoustic home studio can be a fulfilling and exciting experience for musicians, podcasters, and content creators. But more than just the setup of cameras and microphones goes into perfect sound quality.
The acoustic design plays an imperative role in making recordings clear and professional. Be it music, voiceovers, or shooting music videos, a well-thought-out studio design can make quite a difference.
In this blog post by Gharpedia, you’ll learn essential ways to take your room and turn it into an acoustic home studio to meet all your creative needs.
How to Create an Acoustic Home Studio
Follow the below tips to create your acoustic home studio:
1. Choose the Right Room
Be looking for a space sheltered from external noise; ambient sounds can easily interfere with recordings. Ideal rooms often have fewer windows and doors, reducing leakage and echo control. Most often, rooms composed of thick, solid walls are suitable.
Also, pay attention to the sound in your chosen room. Clap your hands to see if there are any breaks in sound, for example, irritation from echoes or unwanted reverberations. The smaller the room, the less echo there may be; larger rooms may require more treatment for sound.
2. Soundproof the Space

The concept of soundproofing is that you do not allow outside noise to come into your recording space or vice-versa. It’s truly worth it for those who are situated in busy neighborhoods. Start by sealing any gaps in windows, flooring, and doors, common areas in a room where noise leaks through. The addition of a door sweep, weatherstripping, and even heavy curtains cuts down on outside noise.
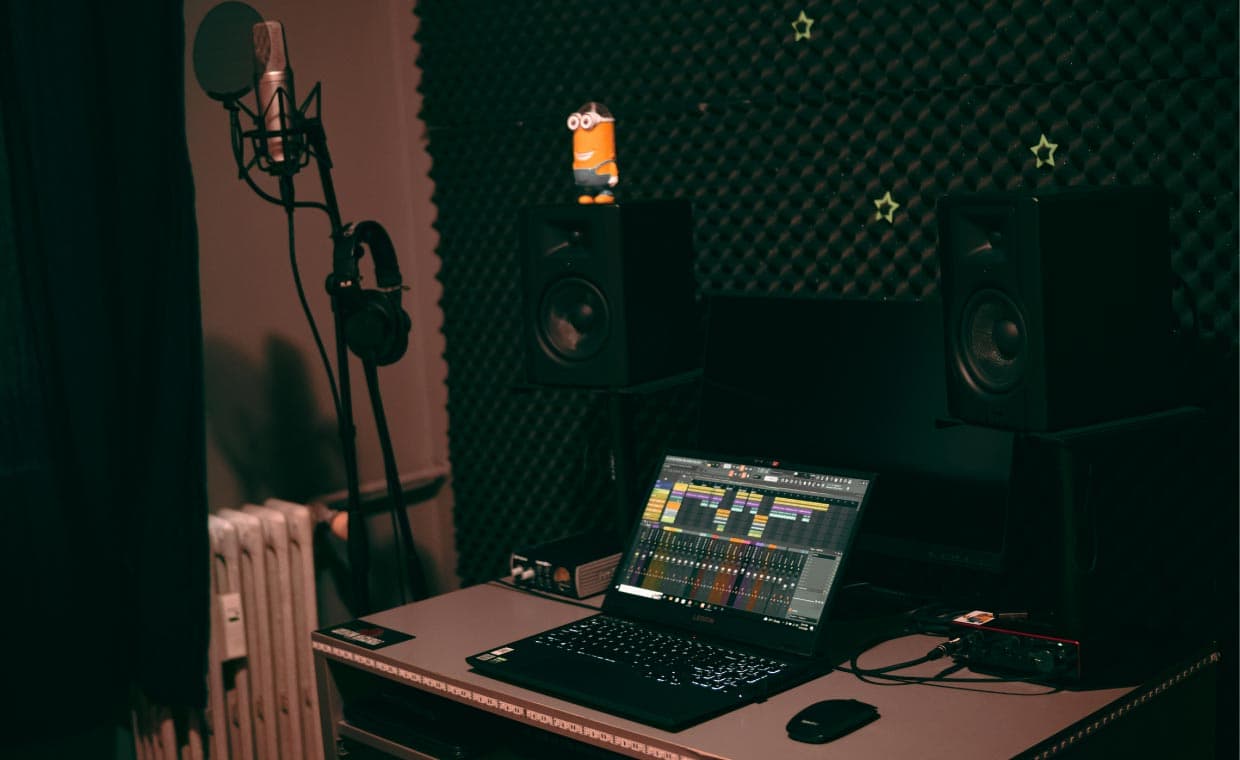
You can install thick carpeting and foam tiles to fend off the sounds. For larger budgets, specialized sound insulators like mass-loaded vinyl or acoustic panels do the trick better for better insulation. This will improve the quality of your recording because of the silent environment and controlled sounds it provides.
3. Explore Affordable Distribution Options
Once your acoustic home studio is set up, think about effectively distributing your content to a broad audience. For the independent musician and videocaster, reaching a big audience is easier today than ever.
Distrovid lets you efficiently distribute videos affordably on major platforms that help you connect with your fans and build an audience from the comfort of your home studio. This service would suit the out-of-pocket, fiscally conservative artist seeking visibility without many upfront costs.
Distribution is critical in content creation, allowing one to grow their reach further than the immediate community. As you reach a wider audience via Distrovid, your fan engagement increases. This also shows your hard work to the world, which adds to your credibility and leads to more opportunities within the creative industry.
4. Mind the Floor

A hard floor, such as tiles, wood, and laminates, may reflect sound and quickly put it in a highly excessive reverb position. Softer floor treatments can help absorb sound, reduce reflections, and provide a warmer tone within recordings.
If you already have hard flooring, adding a thick rug or layering sound-dampening mats will help control the acoustics without an entire overhaul.
Place sound-absorbing mats or rugs under recording equipment and on as much floor as possible. This simple addition will dampen the harsh sounds, giving clear audio a bright, echoey sound. An addition such as this adds professionalism to sound quality.
5. Arrange Furniture Thoughtfully
Large pieces of furniture, such as bookcases, sofas, or cabinets, add mass to a room and serve to take in part of the sound waves. Well-placed and non-regular surfaces can turn a bookshelf into a natural diffuser that scatters sound reflections without unwanted echo.
Experiment with the room’s configuration until you find a layout that enhances the sound. Many times, acoustic treatments can be avoided by merely arranging furniture. This makes it an extremely cost-effective way to get superior audio. Also, a functional layout supports good sound but enhances the workflow.
6. Invest in Quality Equipment

An excellent condenser microphone, a pair of closed-back headphones, acoustic panels, and some suitable audio interfaces are the must-have features in any acoustic home studio. The critical issue is the equipment that captures crispier audio since no acoustic treatment will compensate for a poor recording device. For compactness, adjustable stands, and shock mounts are handy.
Microphone placement also contributes to how well your recordings are turning out. Excellent results can be derived from trying different mic distances and angles to find a profile that best fits your voice or instrument. Combine proper acoustic treatment with a decision to invest in high-quality audio equipment, and you’ll be producing professional-level sound from your home studio in no time.
Endnote
Setting up a friendly and acoustic home studio would take more effort, but it would be well worth the results. With the right moves and intelligent investments in equipment coupled with distribution platforms, you’ll be able to build a recording space at a high level that fuels creativity. You will be empowered to just keep pushing the boundaries, experimenting, and finding what truly resonates with your audience.
Also Read: Sonic Serenity: Step-by-Step Strategies for Soundproofing a Room


