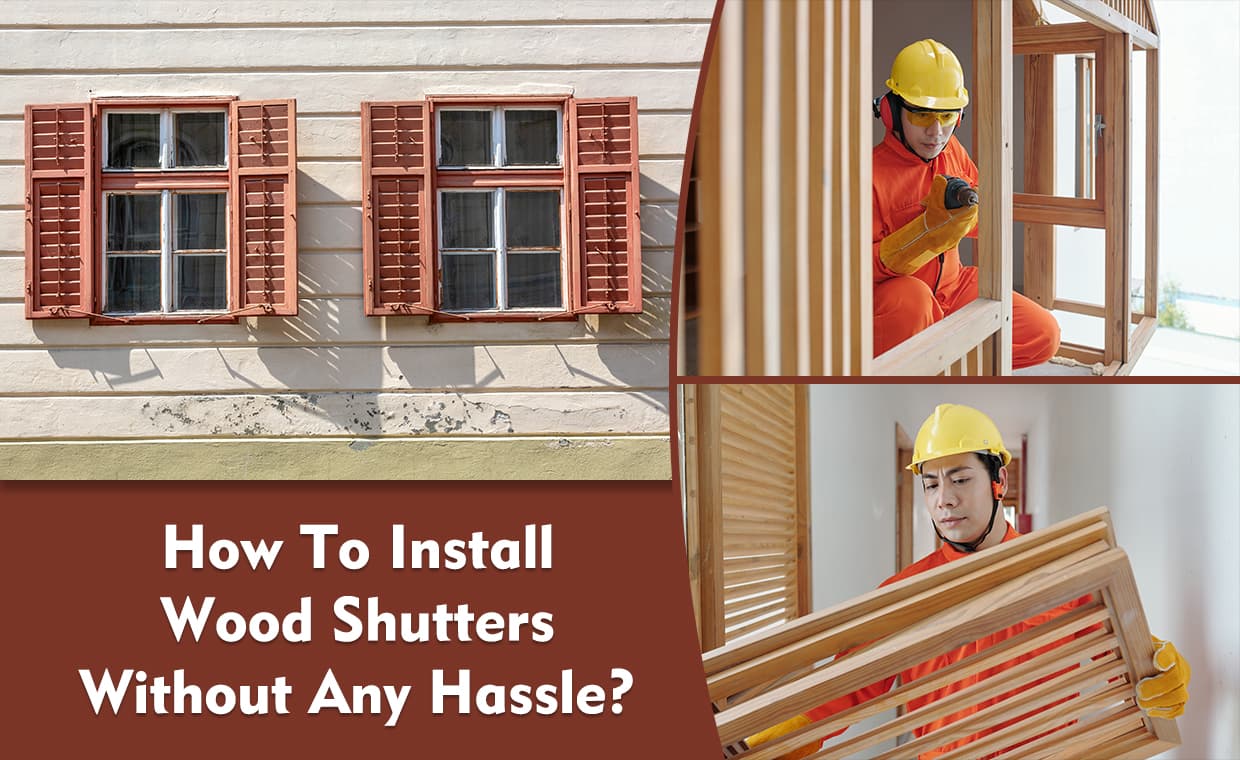
Besides adding character and warmth to the space they adorn, wooden shutters are timeless, aesthetically appealing and versatile. But there are a few questions which trigger our minds such as how to install wood shutters, Wood shutter installation cost, how to install interior shutters, shutter placement on windows and so on. In case this tempts you to try them out, then through this blog Gharpedia shares with you a wood shutter installation guide. Internal wooden shutters were an integral part of window design in Georgian and Victorian period houses. The shutters were paneled, often had moldings that matched the panel work in and around the bay recess, and folded neatly away into shutter boxes at the sides of the window. Wood shutter installation provided security, privacy and noise reduction.
Interior shutters installation is not so time-consuming and difficult, even if you are new to this activity. By just following the steps mentioned, even a novice can install simple shutters. If you are planning to make your own shutter for a period property that has had the shutters removed but still retains the side boxes, seek the advice of a local joiner. You could have pine shutters made up to fit and match, thereby restoring the window area to its former glory. Period shutters are normally associated with sash windows, either full length and covering the glazed area from floor to ceiling, or more usually covering the lower part of the window only. They look at their best in recessed bays, but were and still can be stylish and functional at any home window, and there is no reason why you can’t fit them into modern sashes and casements. Sashes can still be fitted with any height of shutter, but casement window styles look better with full-length screens, having no meeting bar to form a visual parallel to a half-or-three-quarter-length shutter. Wood shutter installation cost depends on the size of the shutter and the material of the shutter. The types of windows also come into consideration while planning wood shutter installation.
Things Required to Install Simple Shutters

List of things needed to install simple shutters:
- Softwood
- Screws
- Brass Hinges
- Brass Screws
- Clear Varnish
- Decorative Moulding
- Decorator’s Filler
- Glasspaper
- Hammer and Pins
- MoldingPins
- Sanding Block
- Saw
- Screwdriver
- Wood Glue
Steps To Make Your Own Shutter

Followings are the steps to make your own shutter –
- Begin by assembling the inner support frame using right-angled butt joints. Glue and screw the joints for maximum strength.
- Mark the position of the centered cross-piece on the uprights and drill to accept the reinforcing screws. Glue and screw the piece in place.
- Cut lengths of TGV cladding to size and screw them to the front of the frame, countersinking the fixing screw heads, flush with the surface
- Attach the outer frame, so it projects at the front, using glue and molding pins, which should be punched below the surface of the wood.
- Cut lengths of panel molding to fit inside the projecting lip of the outer frame, mitering their ends for neat corners. Pin them in place.
- Fill any defects and pin-heads, using a matching wood filler. If a clear varnish will be employed and sanded down, then the wood can get a smooth finish.
There are different types of window shutters like bay window shutters, solid shutters, tier shutters, arch window shutter, glass window shutter etc.
Once the shutter is ready let’s see how to attach wood shutters to a window.
Know – How to Install Wood Shutters?

Steps for wood shutter installation:
Step 1: To install simple shutters to a window, first measure the opening carefully, and see if you need to fit timber battens vertically inside the recess to hinge onto. If so, remember to subtract this measurement from the calculation.
Shutter placement on windows is to be done very wisely. Small windows can accommodate two shutters easily, which gives you a nicely balanced scheme, but if the window is too large or you prefer smaller shutters then measure up for two hinged together on each side, or a total of three with one side doubling up. In this scheme, three shutters span the gap, with one side having two shutters hinged to neatly fold back-to-back.
Step 2: Check all your measurements twice, then cut to size 5cm X 2.5 cm timber for the inner support frame, TGV cladding for the shutter body, an external frame that overlaps the front edge from 3.8 cm X 1 cm wood and decorative moulding.
Step 3: Glue and screw the inner support frame first, using right-angled butt joints, driving home 5 cm number 8 screws. Use a combination screw sink to counter bore a hole, enabling you to drive the head into the middle of the wood piece at right angles.
Step 4: Fix a centered cross-piece for extra strength and then screw the TGV Lengths to the front of the frame, using 2.5 cm number 6 screws.
Step 5: Countersink the heads just flush with the surface and make sure their position will be covered by the moulding that you will add later.
Step 6: Glue and pin the outer frame in position, counterpunching 2.5 cm moulding pins below the surface, flush at the back and overlapping at the front.
Step 7: Finally, measure and corner-miter the moulding to fit neatly into the rebate created at the front, pinning it with the same moulding pins.
By following these steps, I am sure you must be aware of how to install window shutter.
Fill all pinholes prior to sanding down the surfaces. If you choose to paint the frame moulding, a decorator’s filler is good enough here; if you intend to varnish the work use a matching wood filler as the wood and the grain will show through even if it is coloured. A painted frame and moulding with a similar colour varnished TGV inside make a good combination effect. Attach the shutters to each other and to the frame with 7.5 cm flush hinges in a brass finish, using brass screws.
You could adapt the basic framework of these shutters to make louver shutters that will allow cool air into the room in summer while shading it from the sun. You would need to route a series of slots into the inside of the frame at an angle to accept the slats.
Louvered window shutters are very practical in the summer, shading the interior from the sun. And they can also be used to divide a room.
So, wishing you a happy time as you install wooden shutters and lend a classy vintage look to your home sweet home!
With this knowledge of how to install wood shutters, you must go through our blog on different types of window blinds.
Different Styles of Window Blinds
Image Courtesy: Image 2(e), Image 2(i), Image 2(l)
Author Bio
Huta Raval – An English Literature and Journalism Topper, Huta Raval has graduated from the L D Arts College, Ahmedabad. Post serving for 23 years in the NBFC and Public Library Sectors her desire for ‘writing the unwritten’ brought her to the creative field of content writing. Her clientele comprises of NGOs, Blogging Platforms, Newspapers, Academic Institutions, et al.


