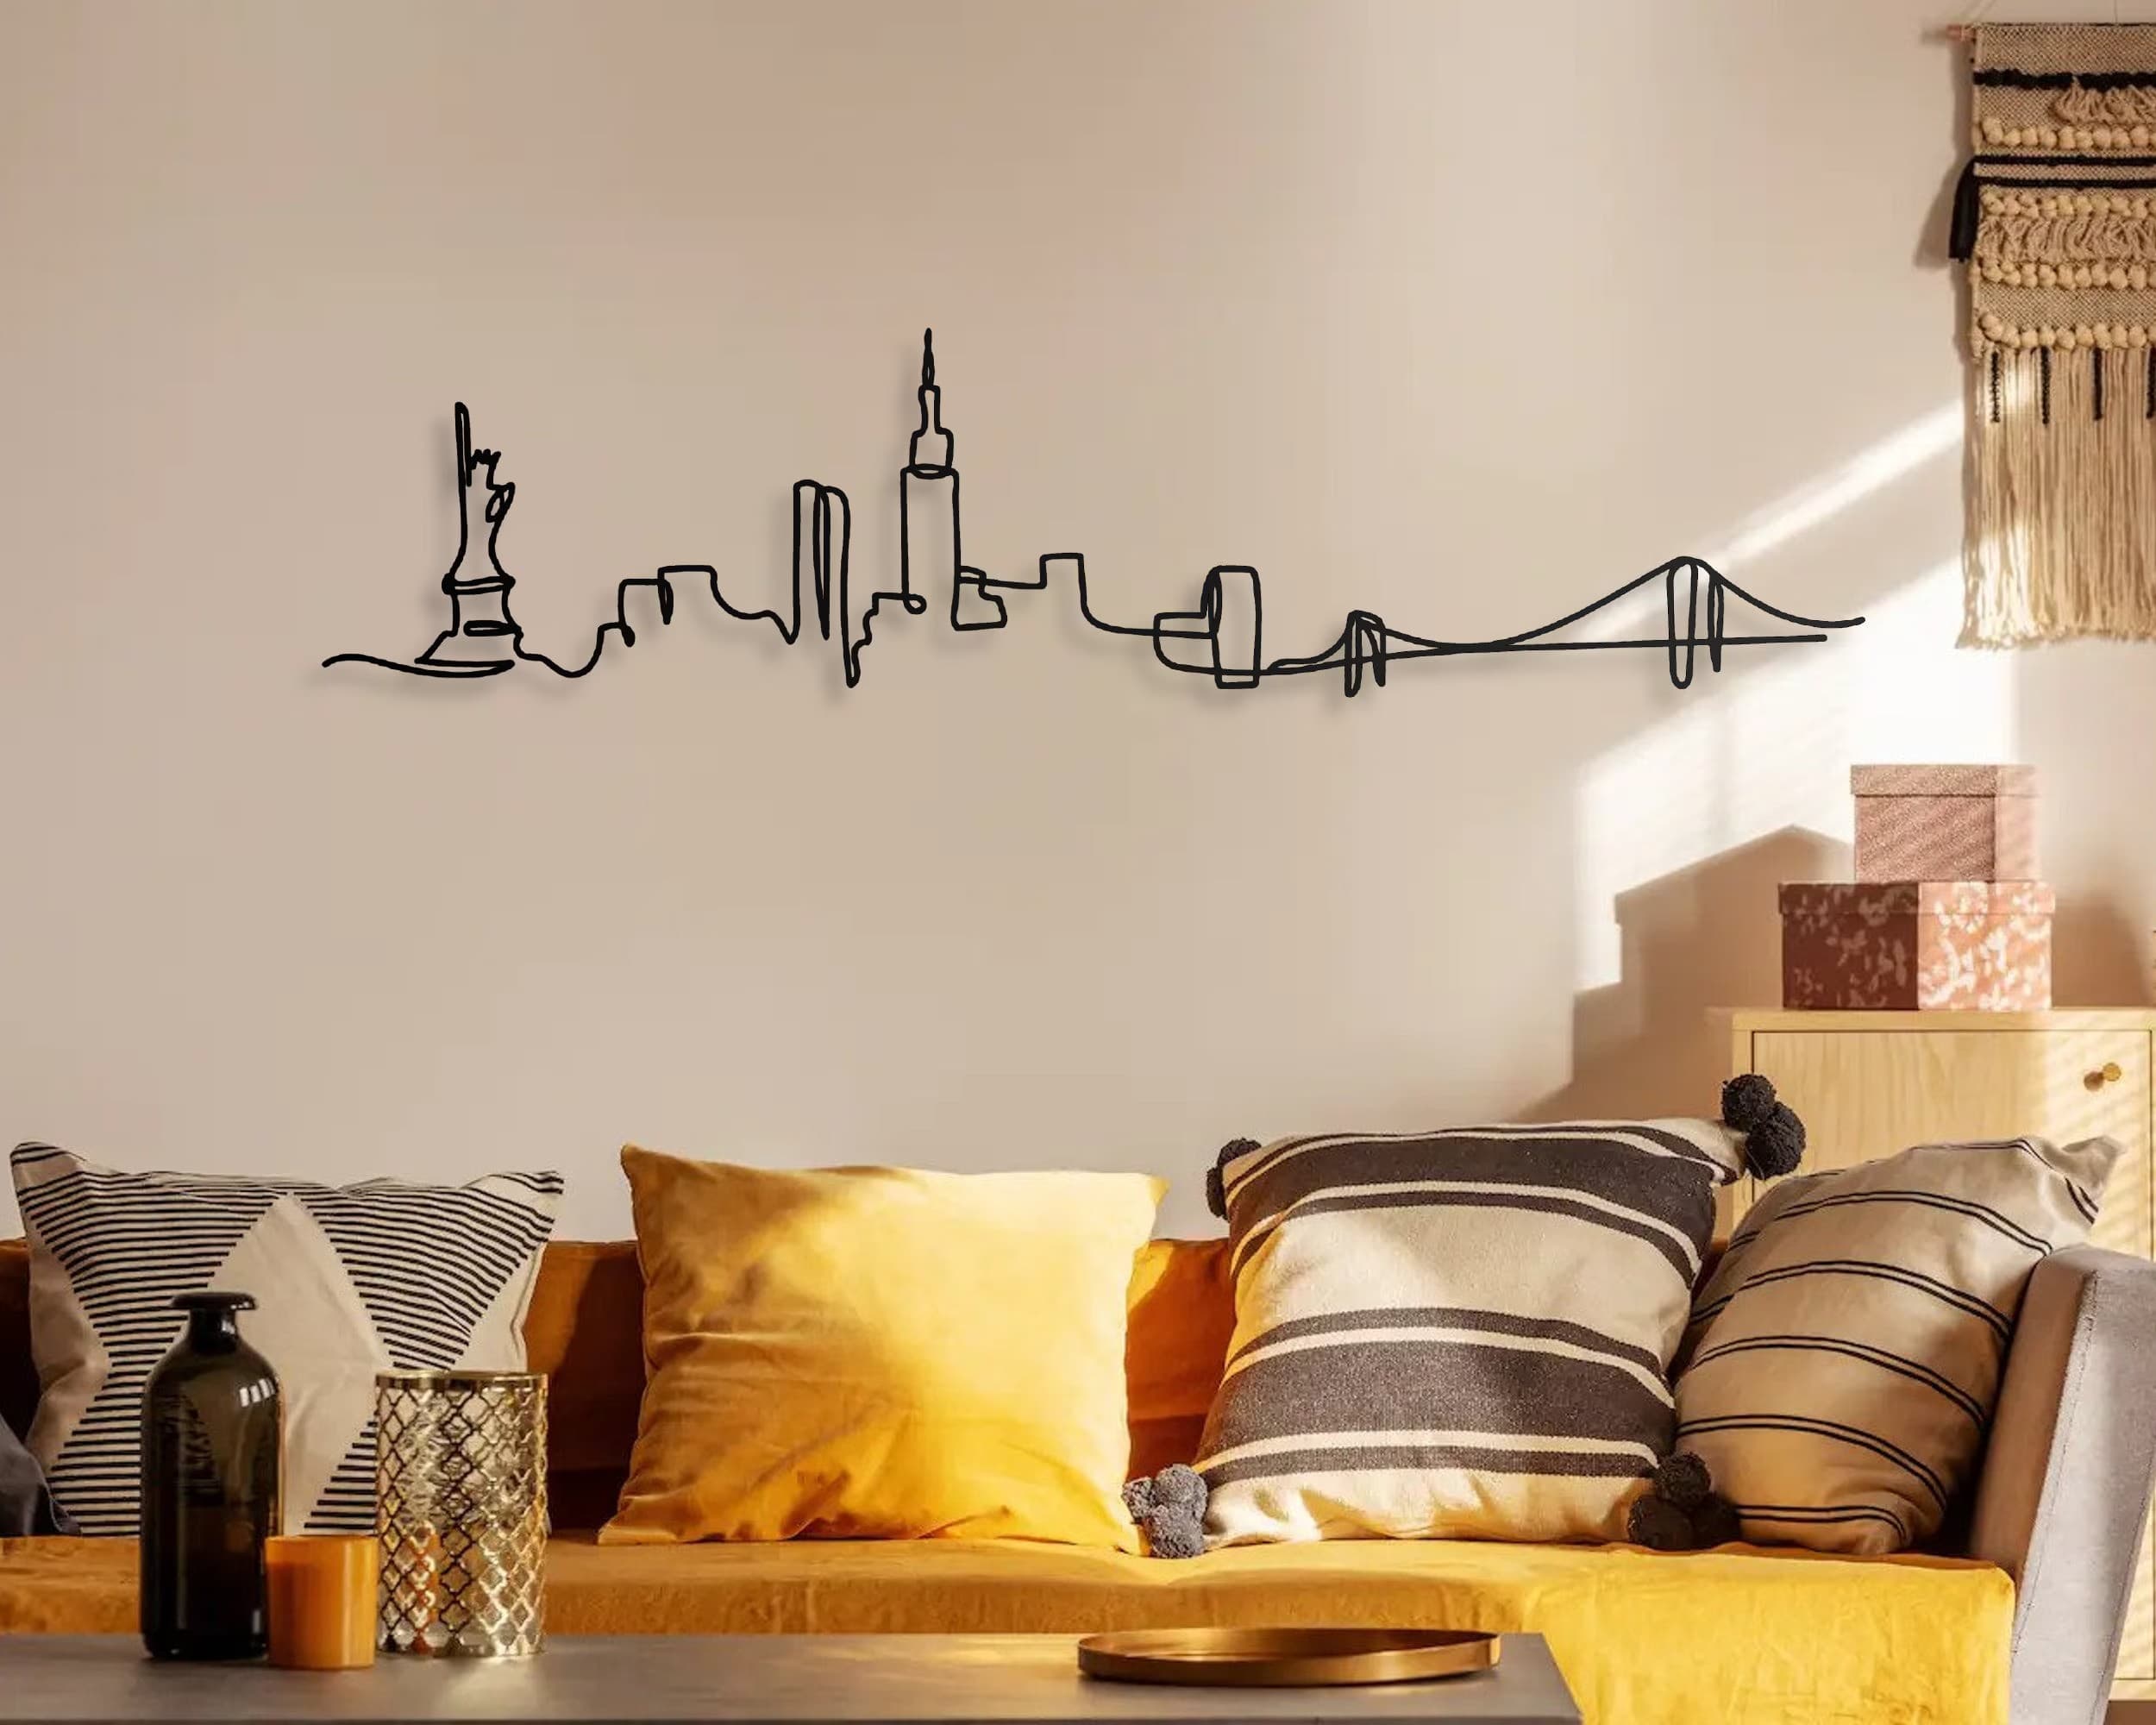
Transforming the ordinary into the extraordinary is the essence of creativity, especially when personalizing your living space. One unique and often overlooked method to add a distinctive touch to your room is through custom cable art. Cable art allows you to turn the clutter of wires and cables into intriguing wall art, sculptures, or functional pieces that reflect your personality and style.
How to Make Wire Wall Art: Step-by-Step Guide
This guide will walk you through the steps to create custom cable art, from the conceptual design to the final installation. Read on to learn more!
01. Conceptualizing Your Design

The first step in creating custom cable art is to conceptualize your design. Consider what you want to achieve. Are you looking to make a wall piece that acts as a focal point? Or are you interested in a functional piece that also serves as a conversation starter? Sketch your ideas, considering the flexibility and length of the cables you’ll be working with. Think about colour schemes that match or complement your room’s decor.
02. Gathering Materials

Before you dive into creating your masterpiece, you must gather the necessary materials. Start with the cables, which can be of various types and colours, and other elements that will help bring your design to life. Consider using different textures and materials to add depth and interest to your art piece.
For cable art, the types of cables used can vary widely depending on the project’s requirements, artistic vision, and functionality, if any. Here’s an overview of common types of wires that artists and DIY enthusiasts might choose for cable art:
- Ethernet Cables: Their colourful insulation and multiple internal wires are great for colour and flexibility projects. They’re braided, twisted, or shaped into patterns, figures, or text.
- USB Cables: USB cables can add a functional aspect to art, potentially integrating electronic devices into the artwork. They come in various lengths and colours, offering versatility in design.
- Power Cords: Thicker and more durable, power cords are suitable for larger pieces that need structural integrity. It’s ideal for creating sculptures or larger installations that require a sturdy base.
- Audio Cables: Audio cables, including those used for headphones or instruments, are often very flexible, making them suitable for intricate designs. They come in a wide range of thicknesses and colours, allowing for detailed work.
- Fibre Optic Cables: These cables can transmit light, adding a luminous element to cable art that can be particularly striking in low-light conditions. Perfect for creating dynamic, light-based art pieces or adding visual interest to a piece with glowing elements.
The choice of cable often depends on the desired aesthetic, the physical demands of the project like weight, flexibility, and durability, and whether the art will have an electronic function. Many artists mix and match different types of cables to achieve the desired effect, texture, and colour palette.
03. Tools

Creating cable art requires specific tools to manipulate the cables safely and effectively. Here’s a bulleted list of the tools you’ll need for the job:
- Wire Strippers: Use wire strippers to remove insulation from the cables if needed.
- Pliers: For bending and shaping the cables.
- Cutters (Maun Tend to be Best for Hard Wire): Essential for cutting cables to the desired length.
- Screwdrivers: For any disassembly or reassembly of electronic parts, you might incorporate.
- Glue gun or epoxy: For attaching parts or cables.
- Measuring tape: This tape is used for precise measurements and to ensure symmetry in your design.
Including the right tools in your arsenal, especially the best cutters, can significantly impact the quality and ease of creating your cable art. The keyword here is precision, and Maun cutters are renowned for their sharpness and durability, making them ideal for cutting through rigid cable housing without fraying the wires inside.
04. Creating Your Cable Art

Once you have your concept, materials, and tools ready, it’s time to start creating your cable art. Follow these general steps:
1. Preparation
Lay out your tools and materials on a clean, flat surface. Have a cutting mat or a protective surface if you’re cutting or soldering to prevent damage to your table. Ensure you have good lighting to see your work without hassles.
2. Measure and Cut Cables
Using your design as a guide, measure out the lengths of cable you’ll need. It’s always better to cut cables longer than you think you need; you can always trim them later.
Use your cutters to snip the cables to the desired lengths.
3. Shaping
Begin shaping your cables according to your sketch. Doing so might involve bending, twisting, or braiding different wires together. Pliers can be helpful here for tighter bends.
4. Assembly
Start piecing together your design. Doing so might involve soldering wires together for electrical projects or using glue for non-electrical ones.
5. Mounting
Decide how you’ll display your art. You may need hooks or a frame if it’s a wall piece. For standing sculptures, consider a base that supports the weight and shape of your creation.
Step back and examine your work once your cables are in place and secured. Adjust any parts as necessary to perfect your design. It’s also the perfect time to add any final touches or additional elements to enhance the visual appeal of your artwork.
05. Installing Your Cable Art

The final step is to install your custom cable art in your room. Choose a spot where it will be most appreciated, whether above your workstation, as part of your living room decor, or even in a more private space like your bedroom. Ensure it’s securely mounted or placed to avoid any accidents.
06. Tips for Success
Here are some additional tips that you can find helpful, especially if it’s your first-time making cable art:
- Experiment with Textures and Colours: Feel free to mix and match different types of cables to create depth and interest.
- Practice Bending and Shaping: Some cables might be stiffer or more brittle than others. Practice shaping them before cutting them to the exact lengths needed for your design.
- Consider Lighting: Integrate LED lights or other light sources into your design to highlight parts of your art or add a dynamic element.
Creating cable art is about experimentation and letting your creativity flow. With patience and practice, you can turn ordinary cables into stunning pieces of art that reflect your personality and enhance your living space.
Conclusion
Creating custom cable art for your room is a great way to recycle unused cables and wires and an opportunity to express your creativity in a unique and personalized way. With the right tools, particularly the precision offered by Maun cutters, and a bit of imagination, you can transform ordinary materials into extraordinary pieces of art that elevate the aesthetic of your living space. So, why start sketching your design today and see where your creativity takes you?
You may also like to read the following article:


