


Most of us can’t hold back our excitement when the winter weather begins to recede and warmer weather arrives. That’s because we all know that it’s getting closer to opening our pool. However, there are few steps that you will have to take before you open up your swimming pool again. There are quite a few things that you’re going to need to do to make sure that the pool is opened correctly.
Of course, before you begin to open your swimming pool, you’re going to need a few supplies and be willing to put in a little bit of work. It’s also a good idea to have a friend available to help you get the pool set up again for the swim season. Opening a pool for the first time might seem like a daunting task, but after you have learned how to do it, it will become easier to do every year. Before long, you’ll be poolside chilling with a drink in your hand and without a care in the world.
Step 1: Assemble Some of the Pool Tools You’ll Need
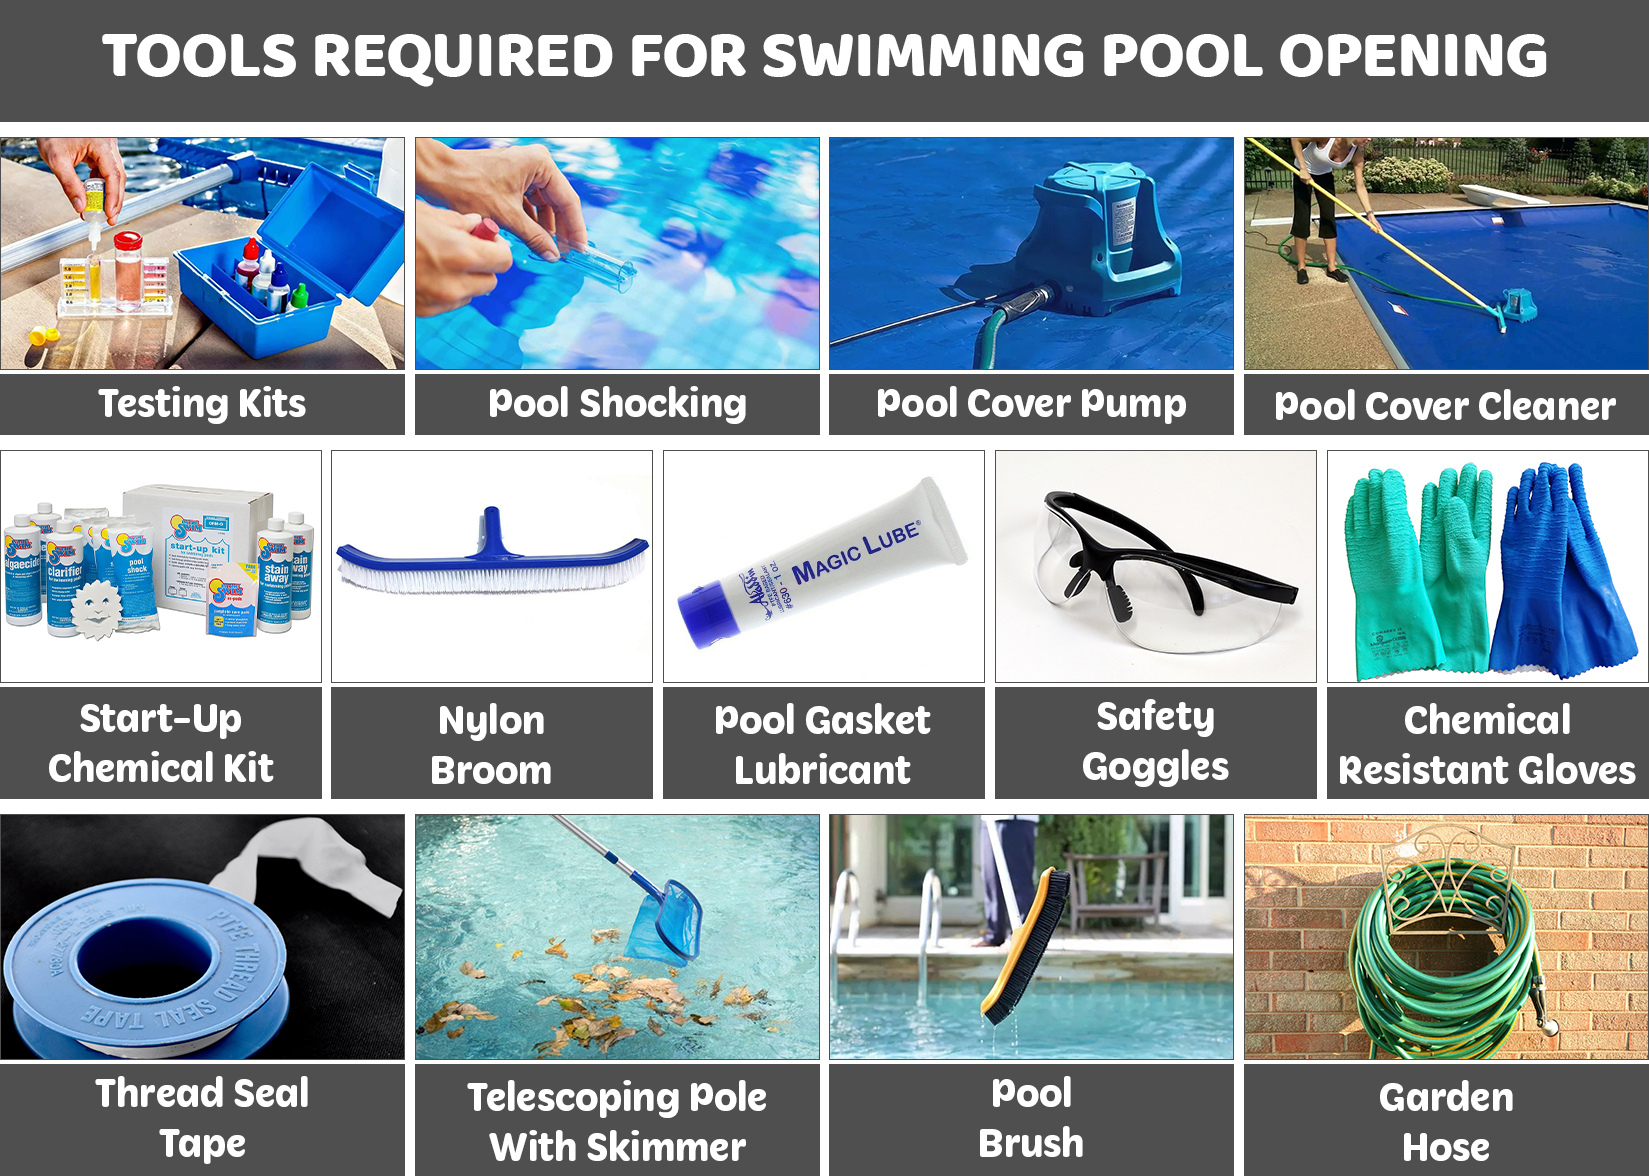
Before you even begin to open swimming pool, you’re going to have to have a few supplies available to you. It’s better to gather these tools together before you begin and not have to run out and buy a tool when you’re in the middle of opening the pool. The following are tools you’re likely to need for this project:
- Testing Kit
- Pool Shock
- Start-Up Chemical Kit
- Pool Cover Pump
- Soft, Nylon Broom
- Pool Cover Cleaner
- Pool Gasket Lubricant
- Thread Seal Tape
- Telescoping Pole With Skimmer
- Pool Brush
- Garden Hose
- Safety Goggles
- Chemical-Resistant Gloves
Step 2: Remove That Dirty Pool Cover
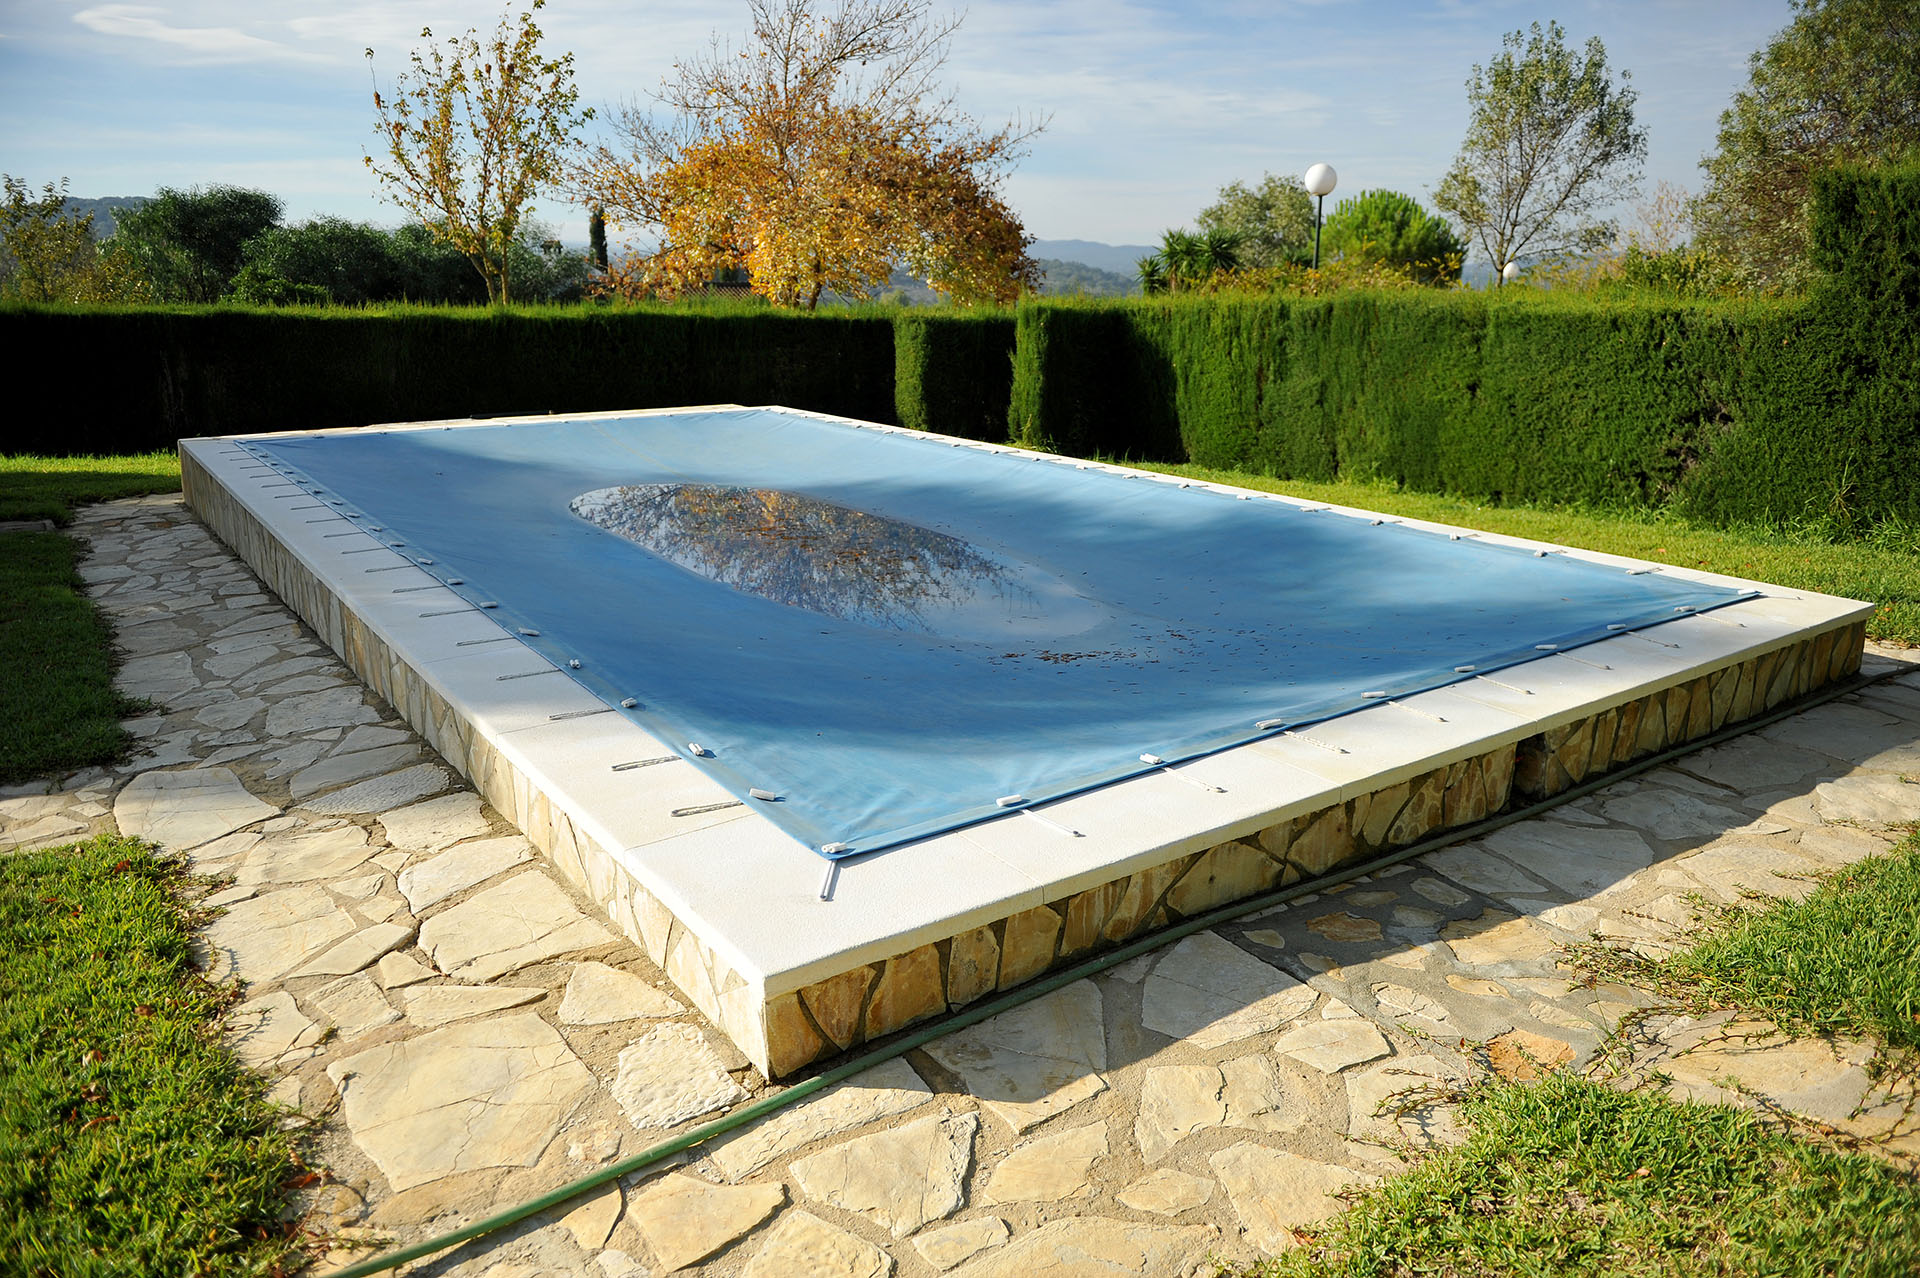
The first step for pool opening is to remove the pool cover. However, more than likely that pool cover is covered with water, leaves, branches, and other junk that you’re not going to want to allow into the pool. That stuff has to be removed. You can remove it by using your nylon broom to sweep away the leaves and debris that are on the pool’s cover. Once that’s done, you can then use your pool cover pump to remove the standing water from the pool.
Once you’ve removed the water and debris from your pool, it’s now time to remove the cover. This is the part where you’re going to need someone else to help. You and your friend should carefully remove the cover by holding it at opposite ends and then folding itself back on itself to move it to another location.
While you have the pool cover off, it’s a good time to inspect the cover and see if it’s going to be replaced. If it’s still in good shape, then clean the pool cover using a quality pool cover cleaner or car wash soap. Make sure that you thoroughly rinse the cover after it’s been cleaned and then allow it to dry. Once it’s dry, place the cover into a storage bag and then place it in a safe location where you can easily access it when you need to close up the pool.
Step 3: Pool Skimming
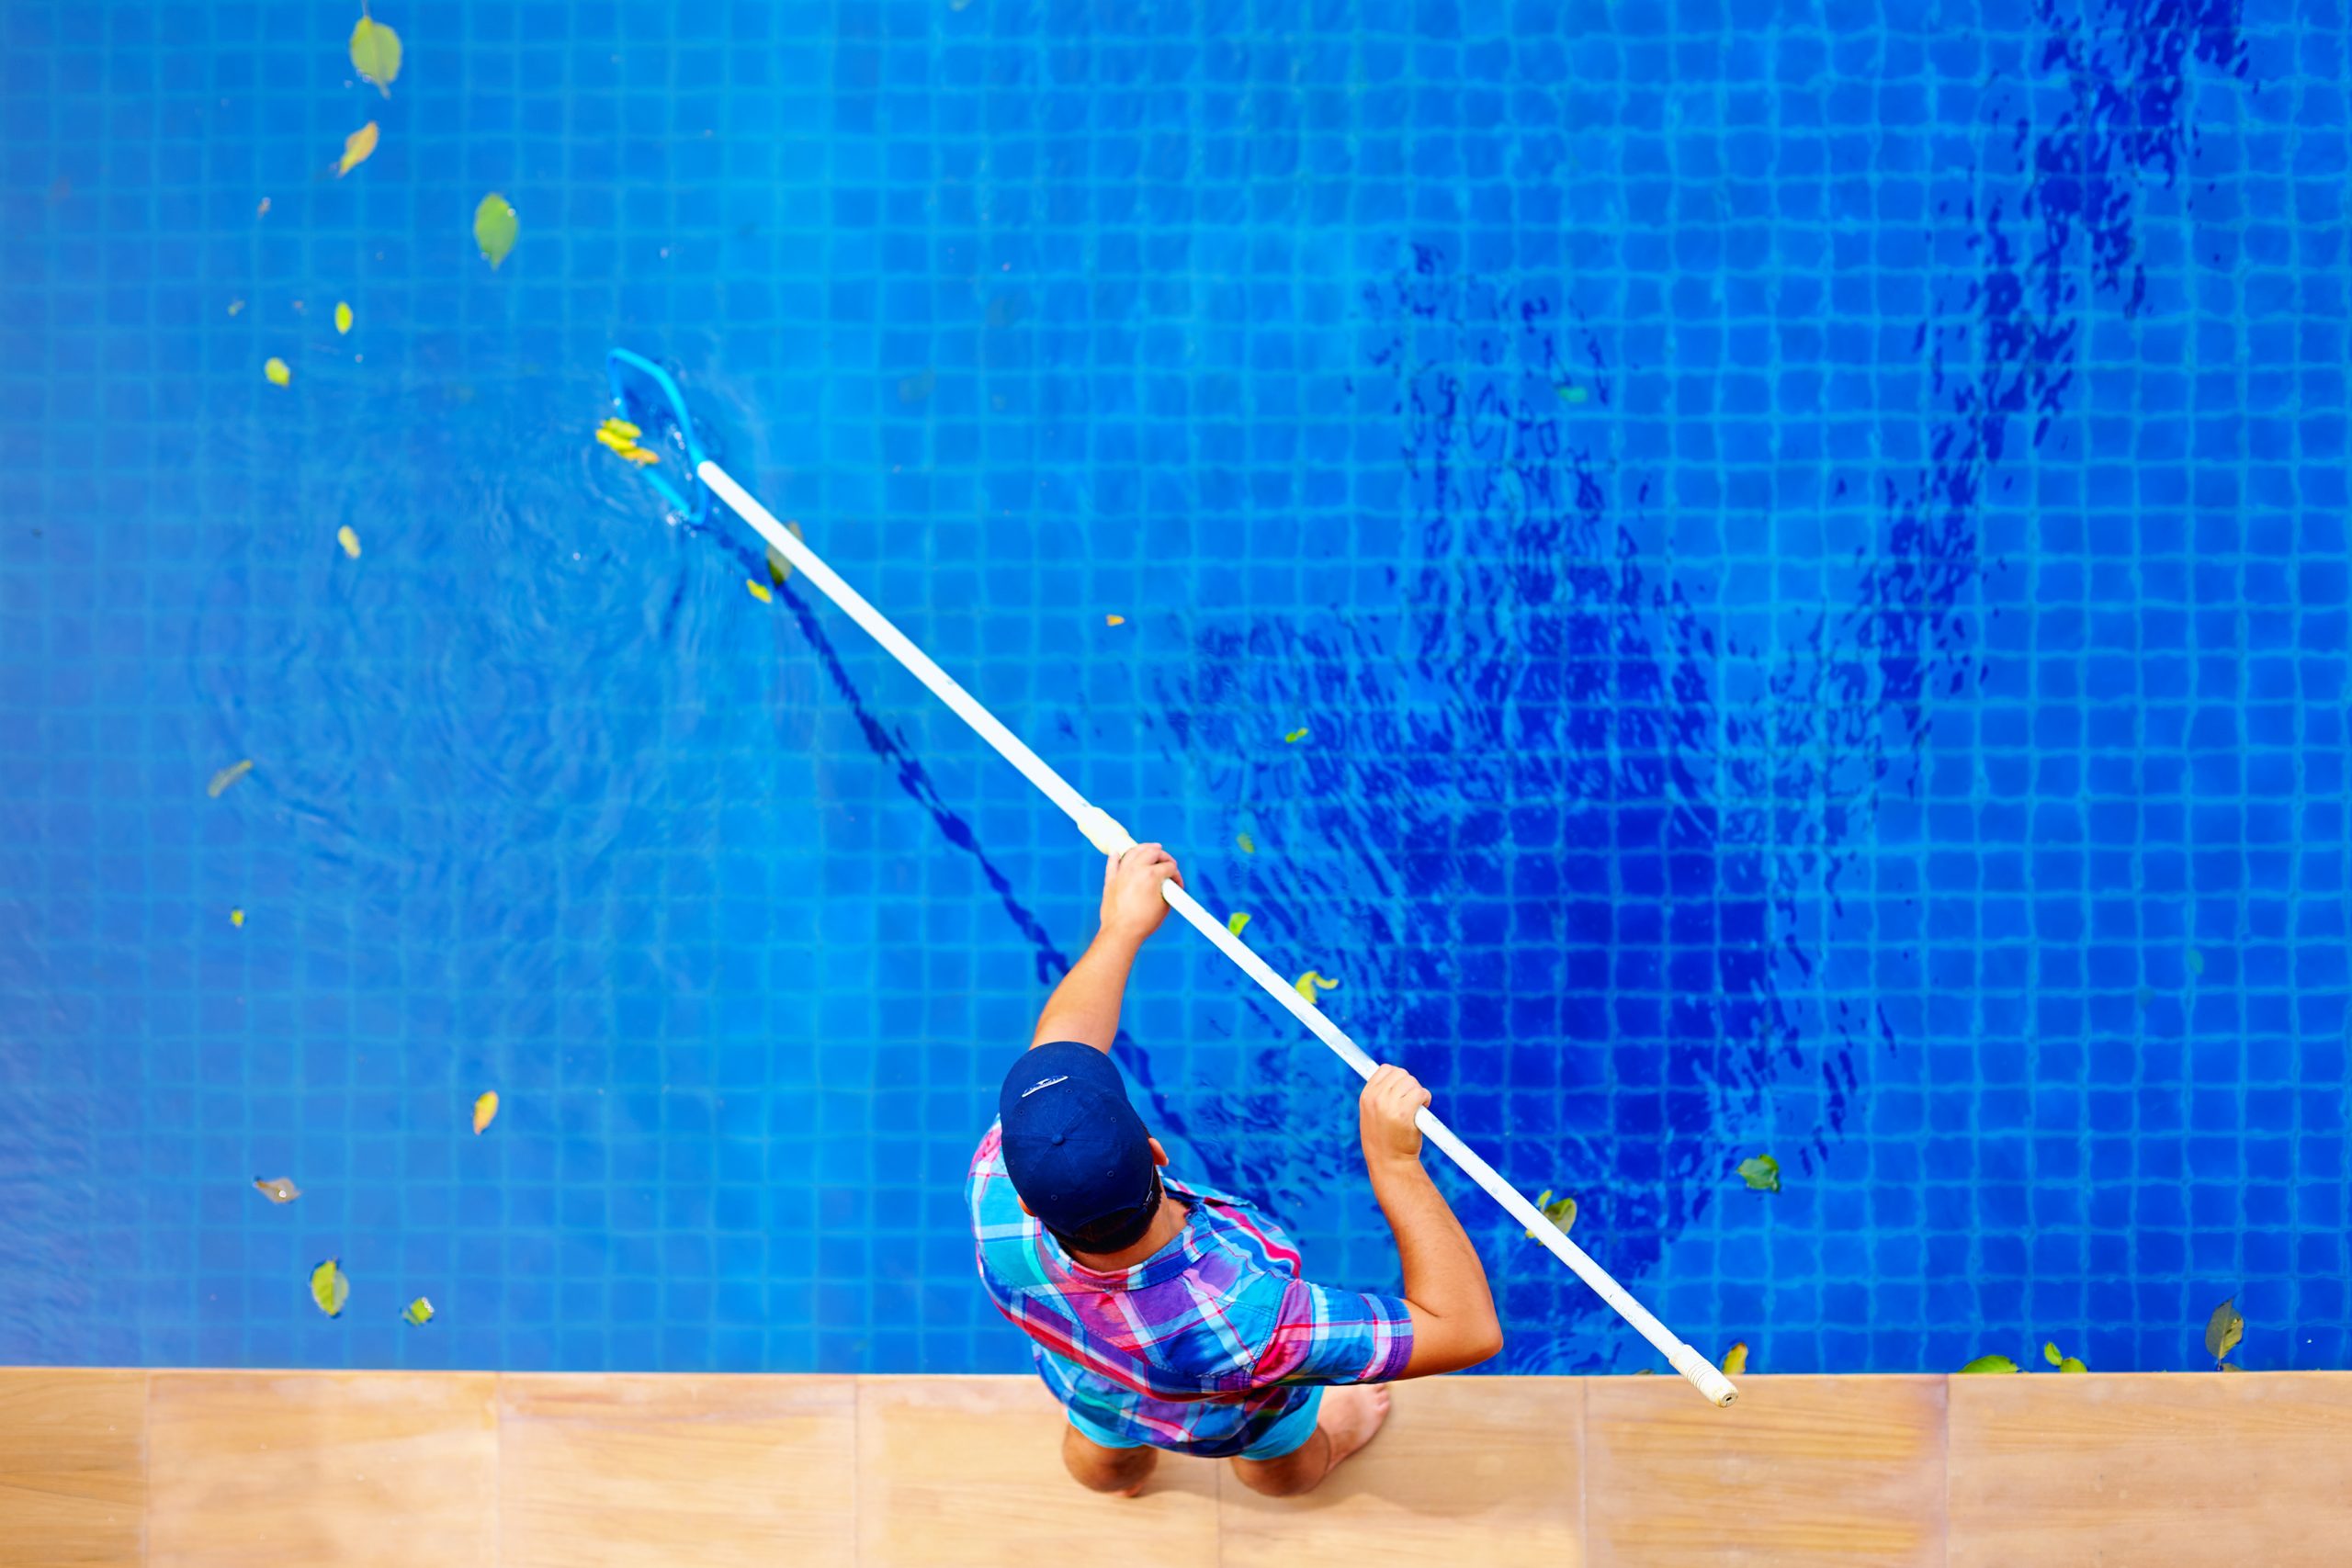
Okay, now it’s time to skim the pool’s water. Attach your skimmer to your telescopic pole and remove any of the large debris that might be in the pool’s water. You’ll want to make sure that you remove the debris that could potentially clog your pool’s filter. Don’t worry about the little stuff right now, just remove the big stuff.
Step 4: Steps for Inground Pool Owners – Opening an Inground Swimming
If you have an above-ground pool, then you can move to the next section. This section is for inground pool owners only. But if you’re opening an inground swimming pool, then pay attention to this section carefully. You’ll need to remove all of the winterizing plugs that you installed when you closed down the pool. If you’re still deciding between an above-ground vs. inground pool, understanding their maintenance requirements can help you make an informed choice.
Step 5: Add Water
Every pool will lose a few inches of water over the winter season and that water has to be replaced before you begin to adjust the water’s chemistry. Although some people adjust their pool’s chemistry and then add water to it, that’s just a waste of pool chemicals. Adding water and then adjusting the pool’s chemistry is the way to go.
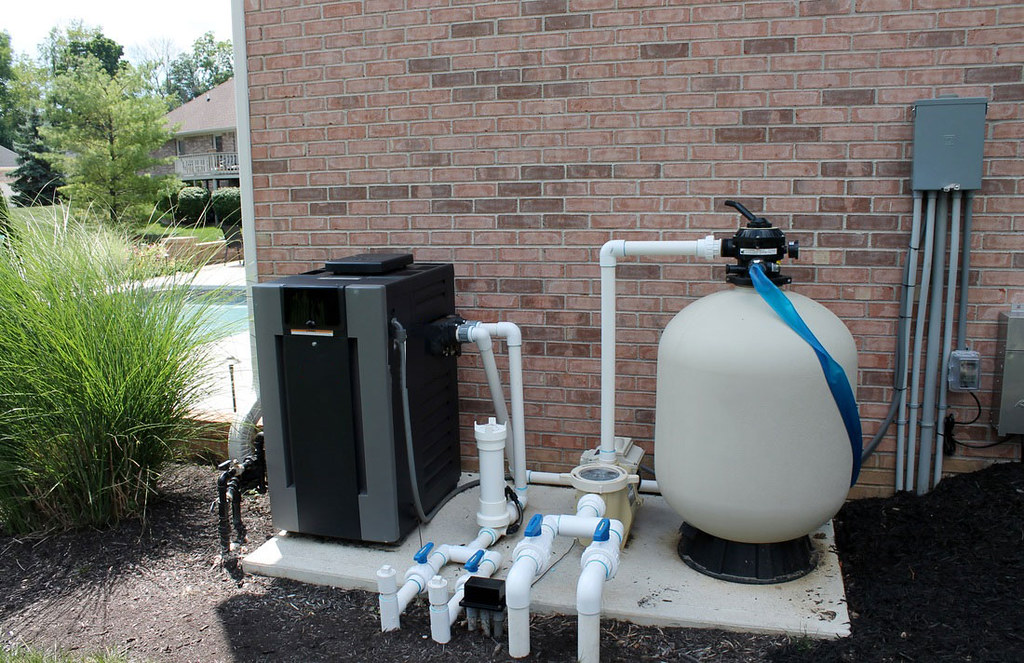
Step 6: Prepare the Filter & Pump

Now is the time that you’re going to want to reinstall your drain plugs and lubricate your pool’s O-rings. Use thread seal tape to reinstall the drain plugs in the pump and filter, and use a pool gasket lubricate for the O-rings. Also check your pump housing O-ring is in good condition and doesn’t need to be replaced. When everything checks out, turn on your pump and prime it. Check the filter and clean it or replace it, if necessary.
Step 7: Balance the Pool’s Chemistry
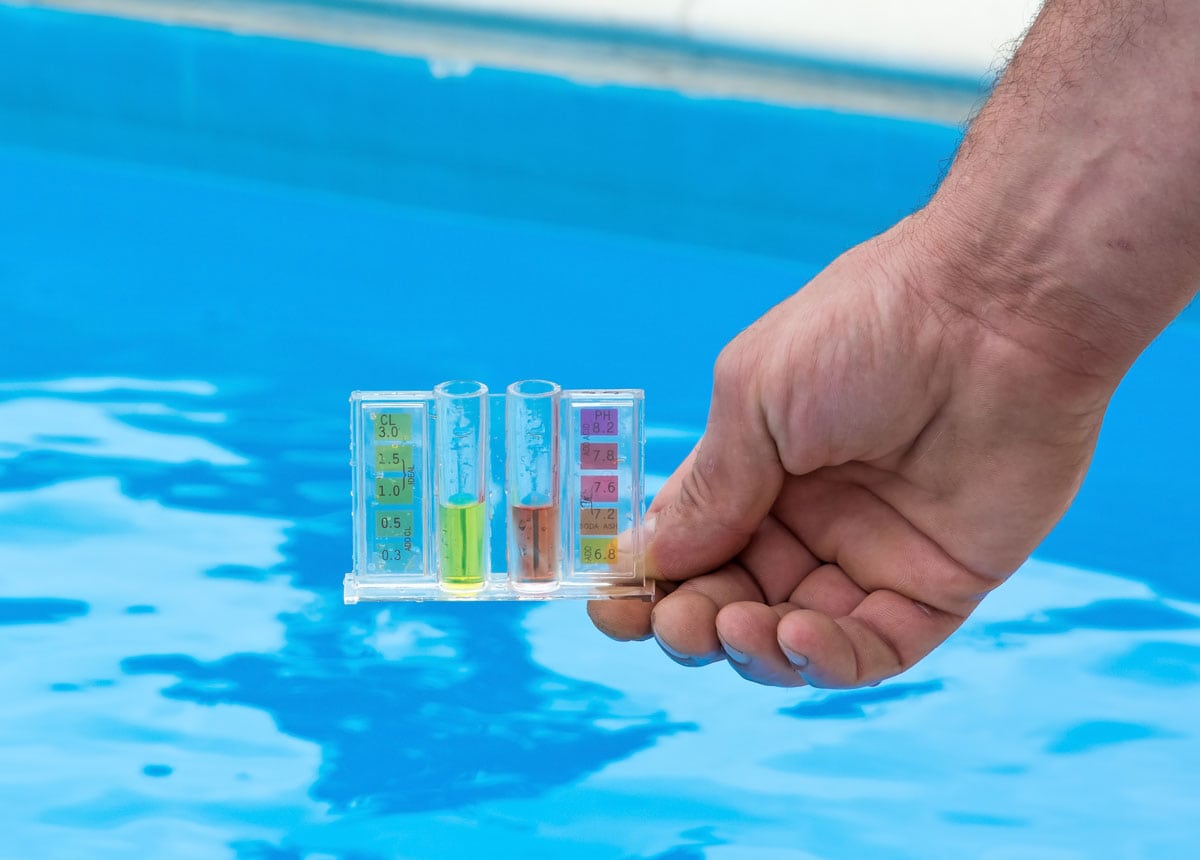
Using your test strips, take a sample of the pool’s water. This will give you your baseline to begin the process of adjusting the pool’s chemistry. Alkalinity should be adjusted first, followed by pH levels, and then calcium hardness.
Step 8: Clean & Shock the Pool
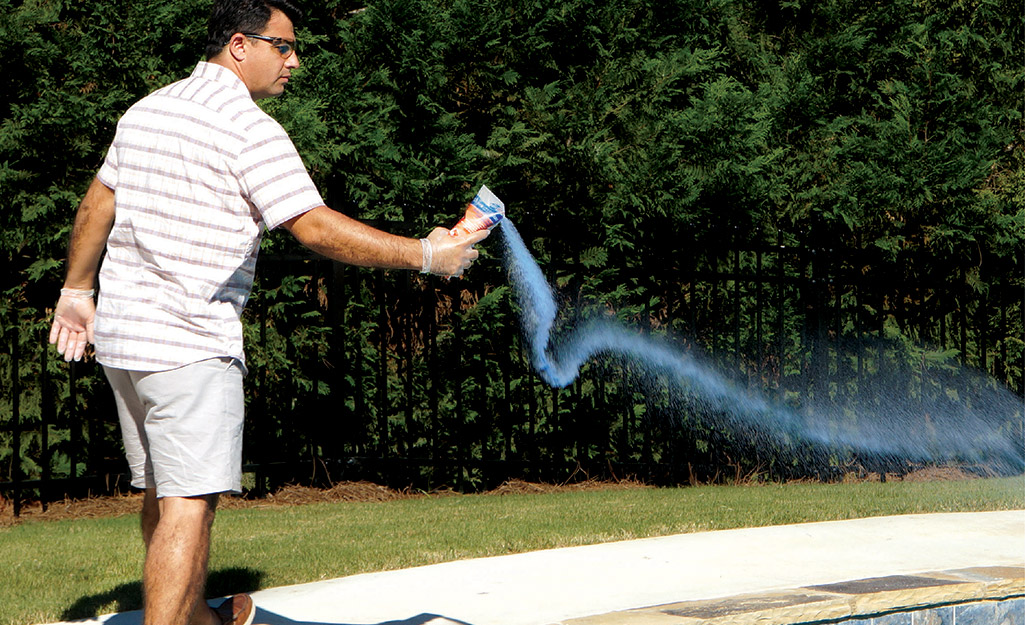
Brush all of your pool surfaces’ using your pool brush and then vacuum the pool. Remove as much sediment using the vacuum as possible. When that’s done, shock the pool, making sure to wear your safety equipment (goggles and gloves) while you’re doing so.
Step 9: Run the Pool’s Filtration System
The very last step is to run the pool’s filtration system for at least 24-hours. When that’s done, your pool should be ready to go. If not, then add some pool water clarifier to clear it up.
Conclusion
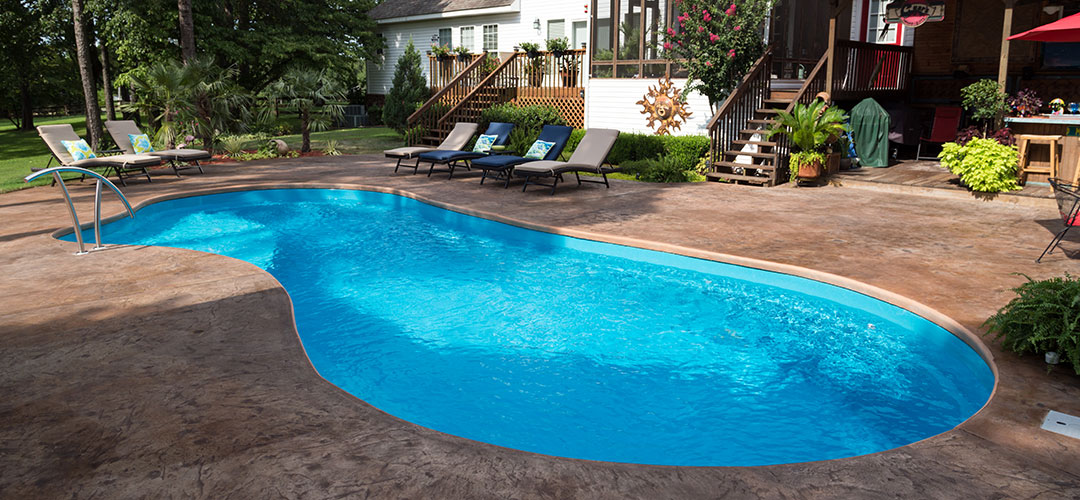
Congratulations! Your pool is now clean and ready to go. Just add your ladders and rails and the pool is now open for the season. Now put on your swimsuit and enjoy all of your hard work.
Must Read:
Draining Your Swimming Pool for Winters!
7 Qualities of a Swimming Pool Service You Need to Always Consider!
Image Courtesy: Image 2 (a), Image 2 (b), Image 2 (c), Image 2 (d), Image 2 (e), Image 2 (f), Image 3, Image 5, Image 7, Image 8


