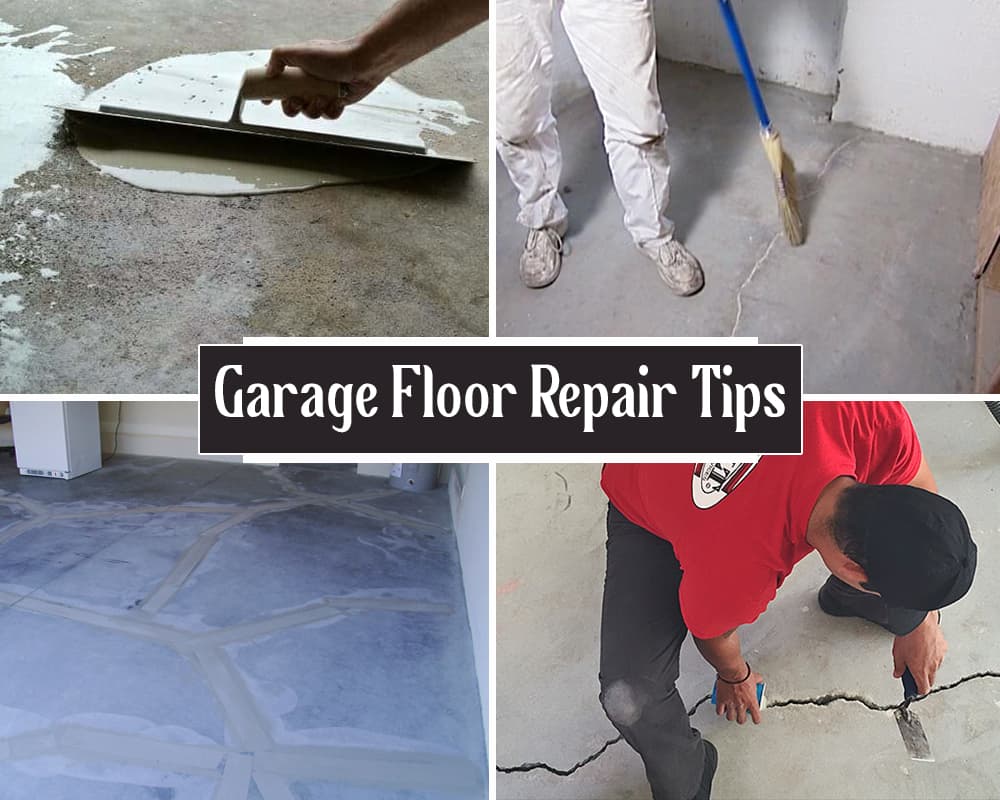
Looking for a way to fix your cracked and pitted garage floor? We’ve got you covered.
Concrete is one of the most durable and sturdy construction materials. This is why it is commonly used to make garage floors. However, concrete garage floors begin to pit due to various reasons like improper finishing techniques, natural aging, inadequate mixing, temperature valuation, improper subgrade below, and many more.
Garage floor cracks occur as a result of the contraction and expansion of the concrete on the floor in response to changes in temperature. This usually calls for immediate repair before the situation worsens.
Fortunately, you can easily repair garage floor cracks and pitting. All you need is the right tools and some tips we are going to give you.
Repairing Cracked and Pitted Garage Floors
Let’s find out more below.
01. Prepare the Surface to Repair Garage Floors
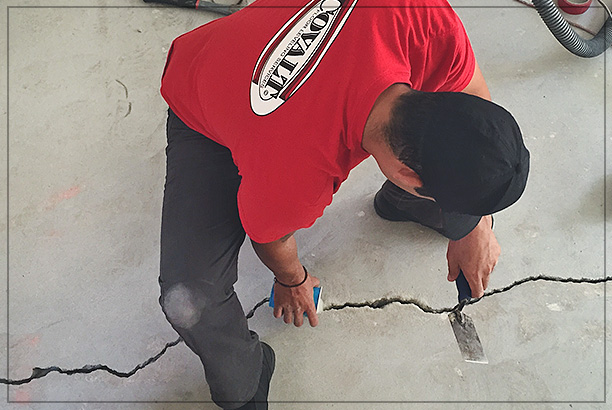
First things first, you need to prepare the concrete surface thoroughly. If you are dealing with cracked concrete, you’ll need to inspect the crack. You cannot do this with your eyes only; you’ll need to get a hammer and chisel to chase the crack.
Widening the crack on your concrete garage floor helps you discover the extent of the crack. Sometimes the crack may be so deep and could resurface if you do not chase it. However, do not widen it too much as it will consume more of the repair materials or products.
02. Clean the Surface of Garage Floor before your Start Repairing it
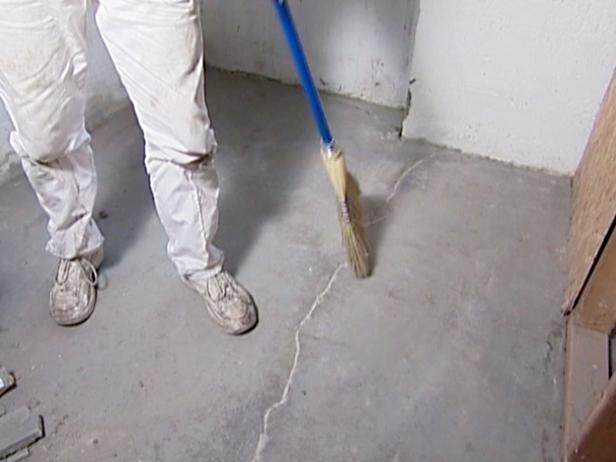
You won’t repair the crack when the surface is full of dirt and debris, especially after you’ve chased and widened the crack. You’ll need to clean your garage floor thoroughly before conducting the repair.
Here, you will need a shop vac and a stiff-bristled brush to get rid of all the dirt and debris. You’ll start by brushing away all the debris using the stiff-bristled brush. This will remove all the fragments that were chipped off from the crack. However, the brush won’t clean the surface thoroughly; it will only remove the large pieces, leaving behind small dirt particles. This is why you’ll need the shop vac.
When cleaning the cracked or pitted garage floor surface, make sure the dirt or debris doesn’t make its way back into the crack or pits. You should also clean the surface with a wire brush, soap, and water and allow some time to dry.
03. Lay the Mortar/Apply the Repair Solution
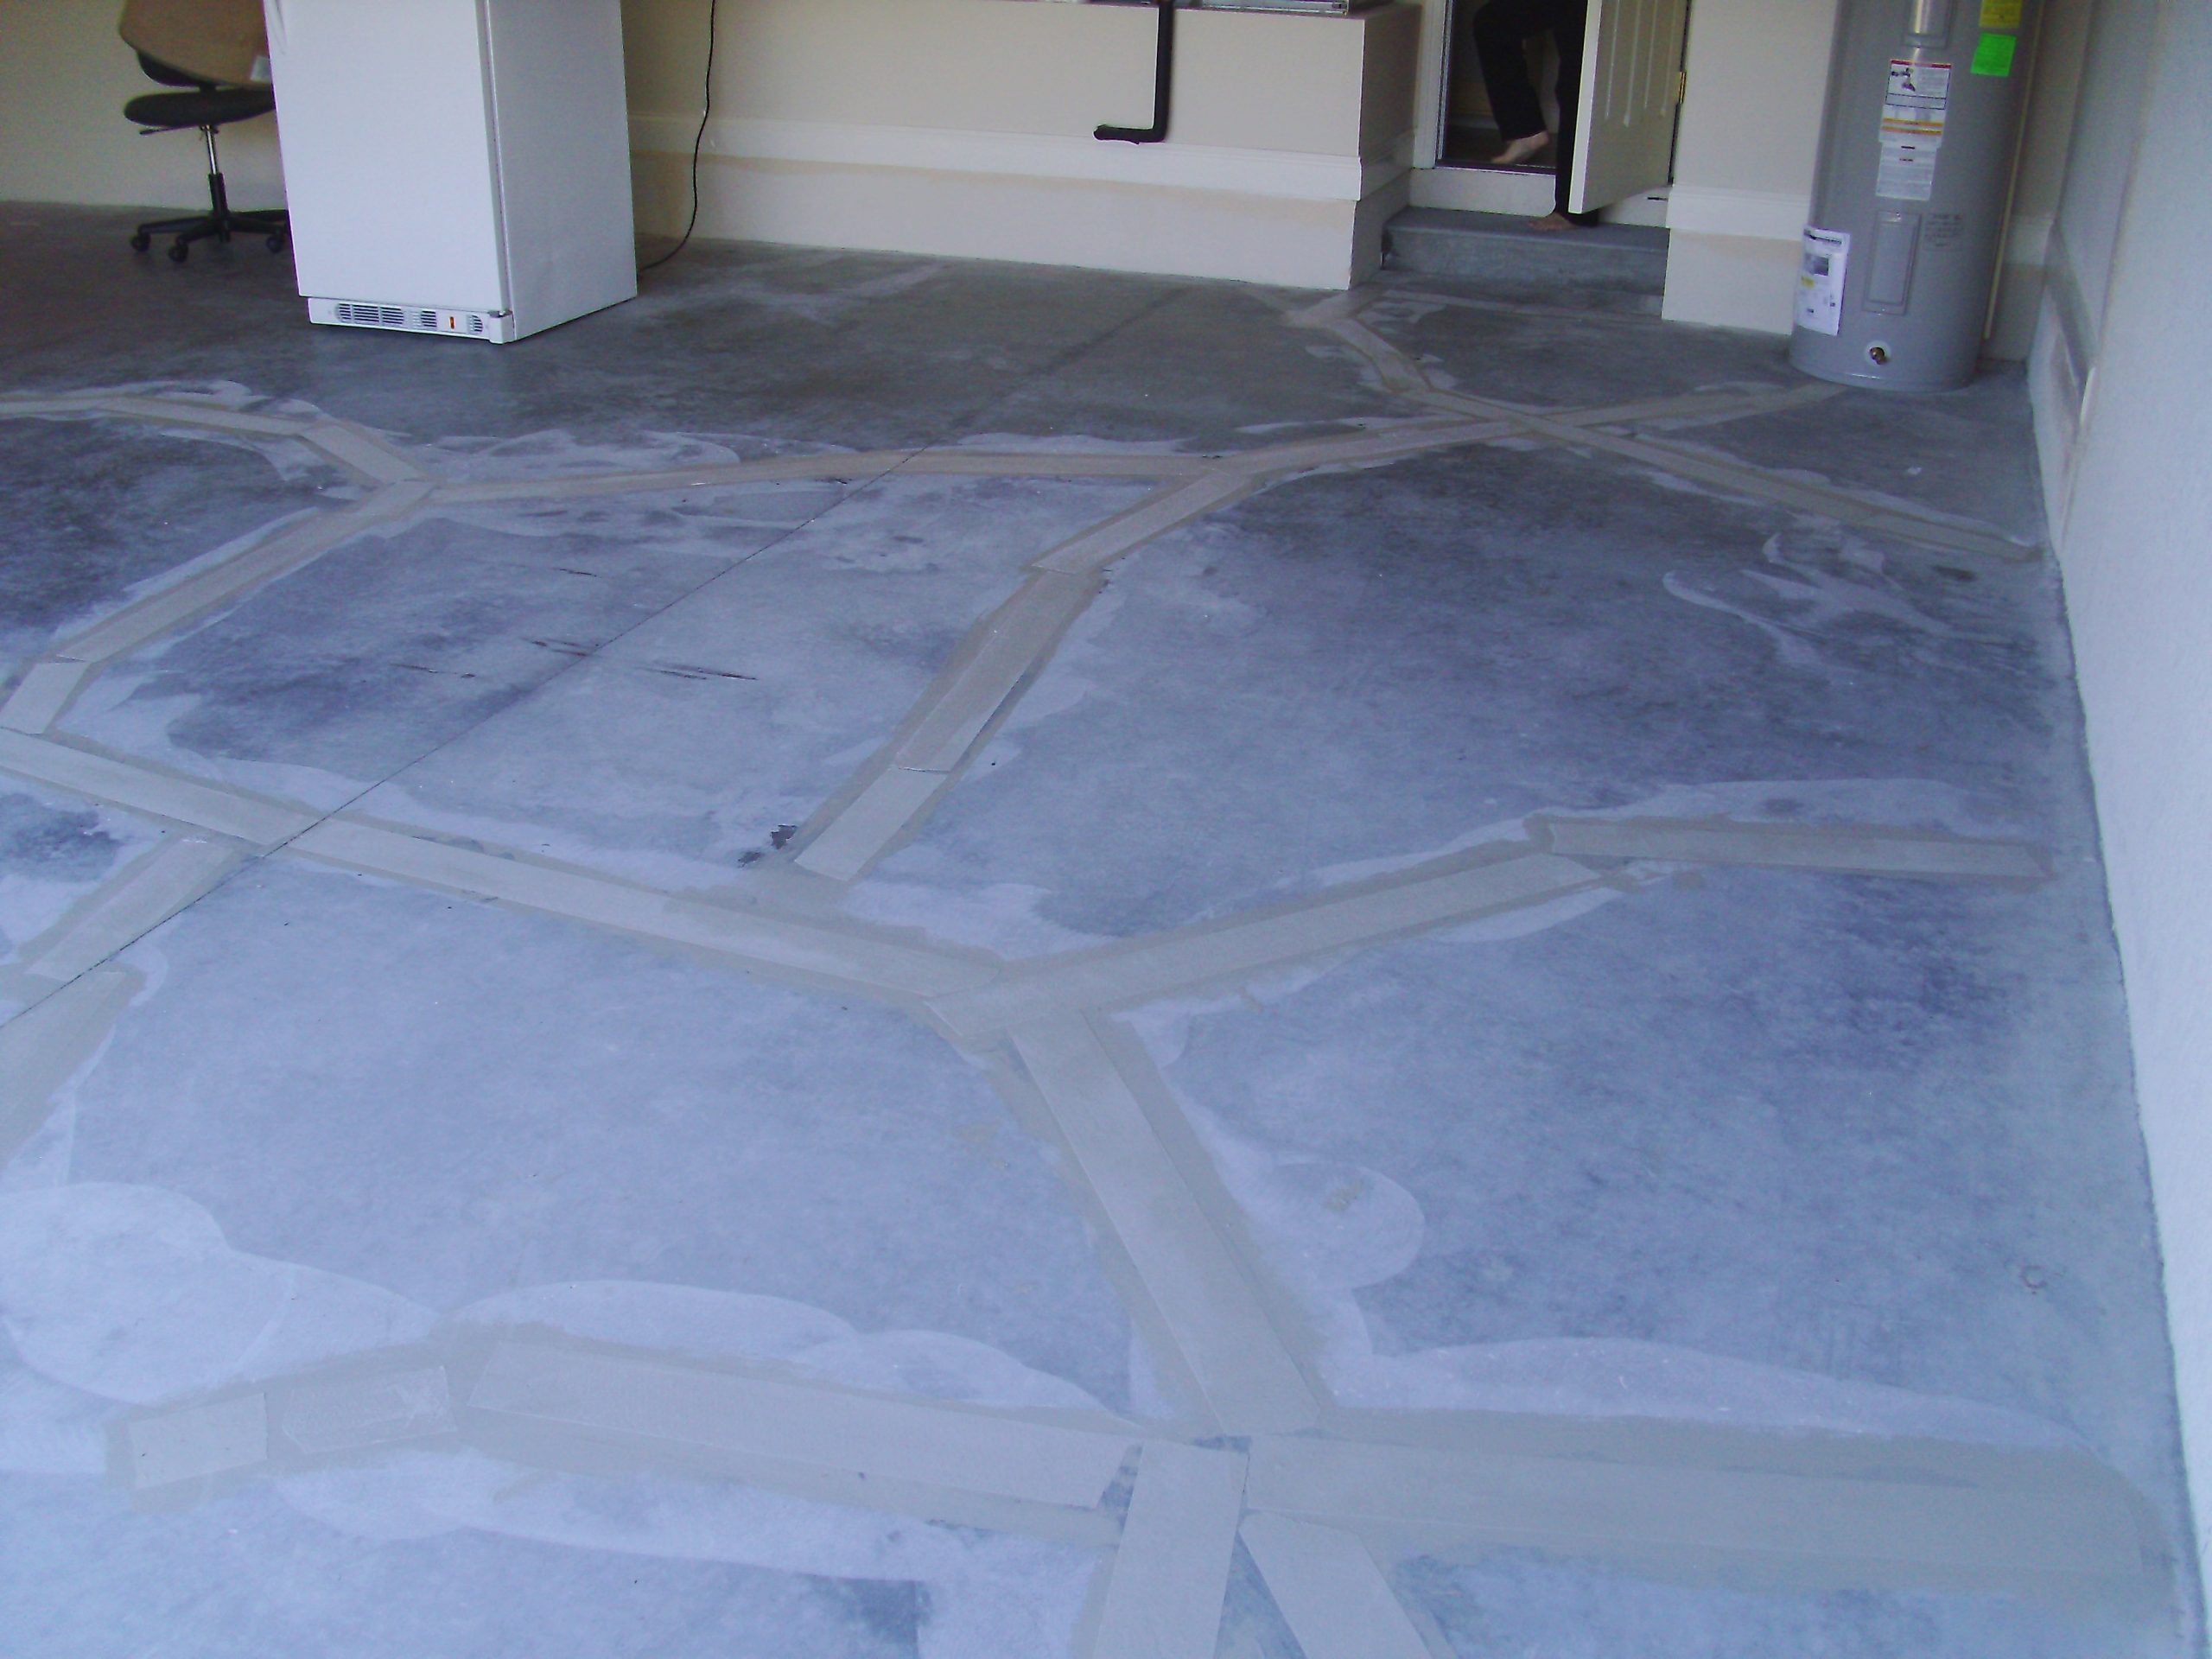
If you’re dealing with a crack, use a brush to apply the bonding adhesive into the crack. The mortar should be applied in layers and at intervals.
The patching material should reach the deepest end of the crack; otherwise, the crack will resurface. Once you’ve applied the first and second layer, level off the surface using a steel trowel. You should remove the excess filler.
Make sure the crack is filled with the mortar and that there is no space left.
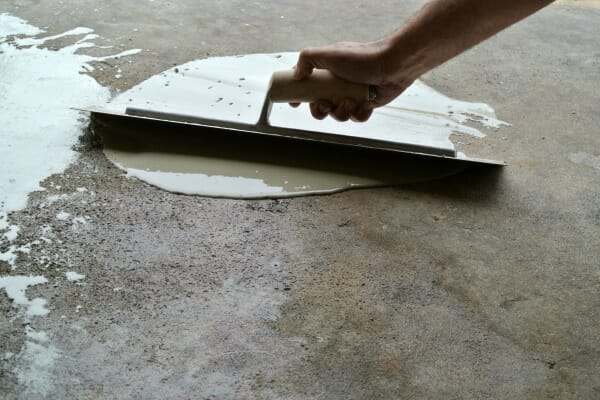
If it’s a pitted garage floor, you’ll need to apply a repair solution or resurfacer. This is only after you’ve filled all the cracks. Use a squeegee to spread the resurfacer over the concrete and to push it into the pits. Do this until the garage floor surface is even.
It’s worth noting that there are different types of garage floor resurfacers that work in different ways. You, therefore, need to read the instructions of the product before mixing and using it on your concrete garage floor. Epoxy-based products work best on concrete pitting repair. However, note that garage floor preparation for epoxy is mandatory for best results.
04. Let the Repaired Garage Floor Cure
After you’ve applied the mortar and leveled off the garage floor surface, you should cover the area and give it some time to cure. The surface should not be exposed to direct sunlight as it will cure speedily and will crack again.
You should not walk on your garage floor for at least one to two days. As for your vehicles, you’ll have to keep them away for about a week until your garage floor surface is fully cured.
In the end, repairing a cracked or pitted garage floor doesn’t need to worry you. The process is straightforward and doesn’t require professional skills. The primary concern is surface preparation. If you work your way through this, then your repair will be a success.
Also Read:
5 Things You Need to Know About Garage Door Spring Repair
Setting Up the Perfect Home Garage for Working on Your Car


