Do you know that at least 2500 people in India die in fire accidents each year? According to research, fire mostly occurs at night when people are asleep and hence goes undetected until it’s too late to escape. Breathing in toxic gases produced by the fire causes most deaths. It is estimated that fire only accounts for around 30% of fire-related injuries and deaths. If toxic gases and smoke cause the maximum number of deaths when a fire breaks out, the good news is that you can prevent fire deaths by installing smoke detectors in your home.
Smoke detectors remain alert all day and night, continually sensing the smallest evidence of fire and smoke. Therefore, it warns you to avoid smouldering fires, saving lives and property. . what is a smoke detector, smoke detector types, and most importantly, how to install a smoke detector and save your house from fire.
What Are the Two Types of Smoke Detectors?

Smoke detectors work with a continuous electrical charge from the home’s electrical system or a battery. Talking about smoke detector types, they come in two hardwired smoke detectors types: battery-only sensors powered by replaceable batteries and powered by household circuits. The hardwired smoke detectors also have internal backup batteries.
If you have a battery-only smoke detector in your home, make sure it is wired into your home’s electrical system. Doing so will ensure that your home will never lack a working smoke detector, as battery-only smoke detectors can fail due to a dead battery.
So, it would be advisable to go for a hardwired smoke detectorbecause they’re the most reliable due to the backup battery, which acts in case the power fails.
Advantages of a Hardwired Smoke Detector:

01. Secondary Power Source:
The key advantage of hardwired models is that they have two power sources. They not only run on batteries, but they also have an electrical connection to your home. Hardwired models are ready to inform you of a fire if there is electricity in your home. If the power goes out, the battery backup will come in handy.
02. Inter-connectivity:
If you have any hardwired smoke detectors in your house, they can all work in tandem to keep you safe. Normal fire smoke detectors function alone and do not receive feedback from other smoke detectors in your home. If a single hardwired detector goes off, all the others in your home will go off as well. If a fire starts anywhere in the house and spreads without anybody noticing, this can save you valuable minutes.
03. More Accurate:
While standard smoke detectors have improved their capacity to detect fires, hardwired models are still as effective. Many hardwired alarms have heat detectors integrated into them that will be activated only by heat and smoke. This can help reduce false warnings caused by things like burned meals. This makes hardwired alarms more accurate.
04. Longer Battery Life:
Battery-powered smoke detectors are constantly using their batteries. A hard-wired smoke detector works in the same way, but it does not use the battery for smoke detection. The battery is used only in emergencies. The sealed, non-removable batteries in many hard-wired smoke detectors are rated for 10 years. After ten years, you will have to replace the entire smoke detector.
05. Less Expensive:
Hardwired smoke detectors are less expensive per unit than battery-powered devices.
How To Install Smoke Detector Hardwired?

Installing a hardwired smoke detector in your home is not rocket science; it is an ABC thing. However, you’d need to understand electrical work well and be familiar with electrical circuits while installing wired smoke detectors. Otherwise, let a professional electrician do it for you.
What You’ll Need
Tools/ Equipment

- Wire stripper
- 6-foot step ladder
- Pencil
- Tape measure
- Drywall saw
- Stud finder
- Cordless drill
- Cable ripper
- Fish tape
- Voltage tester
Materials

- 3-wire NM cable
- 2-WIRE NM cable
- Hardwired smoke detector
- UL-approved wire connectors
- Old-work electrical boxes
Instructions For Installing Hard-Wired Smoke Detectors
Step 1. Mark the Location of the Smoke Detectors

Check for the best location to install the smoke detector. Since smoke rises, the ceiling would be the best place to install it. If you want to install it on a wall, do it within 12 inches of the ceiling.
You can also check your local building code or the manufacturer’s instructions, as they do have recommendations for where you should install the alarm. After deciding where to install it, use a stud finder to locate the wall studs or the ceiling joists.
Then, hold the electrical box backward and use its face perimeter as a template to draw a cut-out around the perimeter. Use an old-work box to ensure that you locate the boxes between studs or joists.
Step 2: Make Cut-outs

Cut openings using a drywall saw to hold the smoke detector’s electrical boxes on the drywall. You can drill a pilot hole to establish the saw’s starting point.
Step 3: Run NM Cable to the First Box

Run a 2-wire cable from the power source to the location of the first box and about ten inches to the hole. The source of the power can be from:
- The circuit breaker panel
- An existing wall outlet
- A wall switch
- Ceiling light fixture
Ensure that the power source that can be switched on or off is only the service panel. When routing the cable, ensure that the excess one extends through the drywall hole you’d cut.
Step 4: Run Cables to the Other Boxes

Starting with the location of the first smoke detector, run a 3-wire cable to every subsequent smoke detector. The extra wire in the cable lets the smoke detectors communicate with one another such that all the sensors would sound the alarm whenever any of them detects fire or smoke.
Step 5: Insert Cables into the Electrical Boxes

Cut away the extra cable at every box location so that about eight inches of wire would extend into every electrical box. Use a cable ripper to strip the outer sheathing away from the cables. Then insert the cables into the electrical boxes and leave ½ inch of cable insulation extending through the clamps and into the box.
Note: How you clamp the cables into the boxes would vary with the box type you are using; some metal boxes have internal clamps that hold the cables, while others require a cable clamp in the opening of the knockout on the box.
Step 6: Mount the Boxes

After securing the cables in every box, fit every old-work box into the drywall opening. Then into the box, tighten the screws that will draw the retentive tabs up against the drywall, securing it in place.
Step 7: Install Mounting Plates

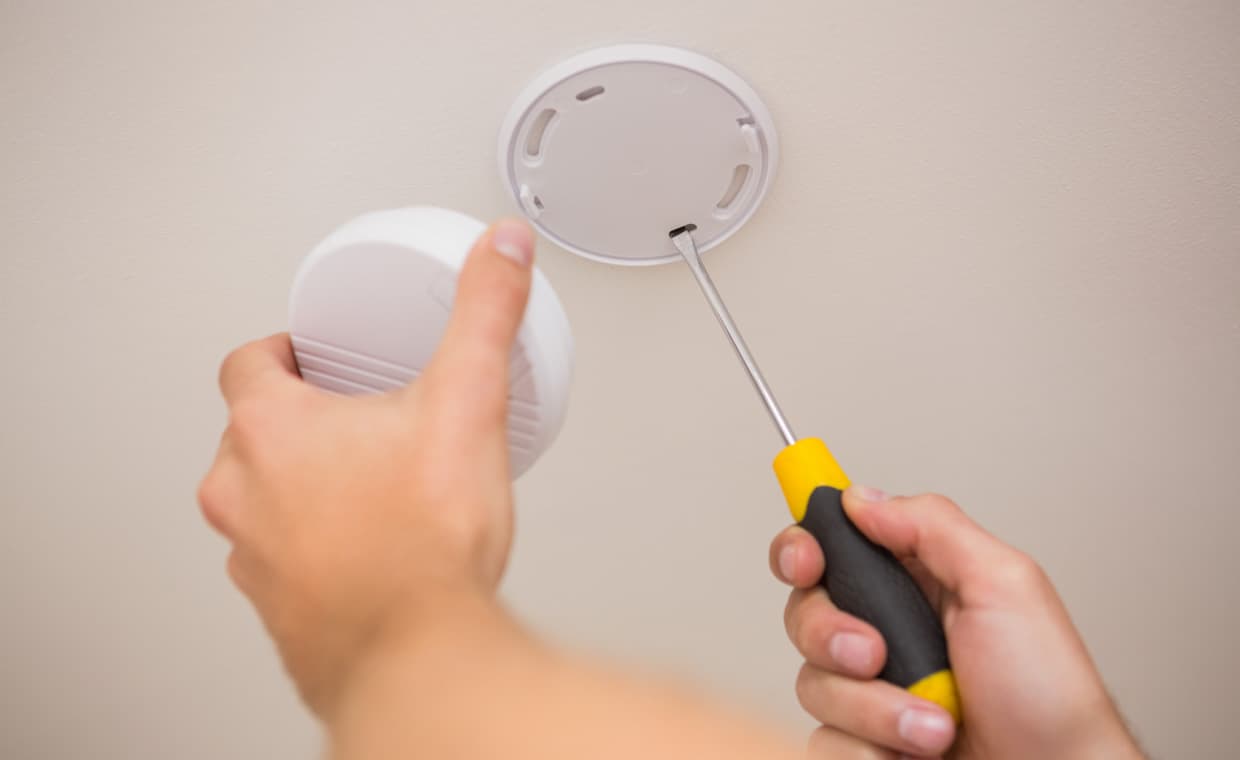
At every location of the fire smoke detector, feed the circuit wires via the mounting plate of the detector. Align the holes of the screw on the mounting plate with the electrical box holes, and then, using screws, secure the mounting plate to the box.
Step 8: Wire the Smoke Detector

Use wire nuts in the first box to attach the leads to your smoke detector:
- Connect the black circuit wire(s) with the black one on the smoke detector.
- Connect the white circuit wire that’s on the smoke detector with the white wire.
- Join all the bare copper ground wires together. In the box, connect the green copper-insulated wire.
- Attach the red circuit wire to the traveller (interconnect) wire from the smoke detector; it is marked with yellow.
Now, tuck the wires carefully via the mounting plate, and then onto the mounting plate, secure the smoke detector. Ensure that you follow the manufacturer’s directions.
Note: Smoke detector connection methods vary from one model to another, so ensure that you follow the manufacturer’s directions while doing a smoke detector connection.
Step 9: Install the Backup Smoke Detector Battery

Insert the battery, align the negative and positive terminals in the smoke detector, and then replace the cover.
Step 10: Connect to the Circuit

In the circuit, pigtail the wires and connect the cable of the smoke detector to the circuit. With the wires joined, reinstate power to the circuit and go through your new hardwired smoke alarm setup.
On every detector, push the test button one after the other; all the alarms should sound on pressing each test button. If they’re correctly operating, give yourself a pat on the back. You’ve successfully installed your hardwired detector.
A smoke detector is a must-have device in every household, and installing one in your home is a worthwhile investment, as they’re awesomely effective at protecting property and saving lives. Do you have one in your home? If yes, what is your experience? Kindly leave a comment in the box below.
Image Courtesy: Image 2(a), Image 2(b), Image 5(a), Image 5(b), Image 5(c), Image 6(a), Image 6(b), Image 7, Image 11, Image 12, Image 13, image 14, Image 15, Image 16
Author Bio
Andrea Noronha – Andrea Noronha is a content writer and editor with over 4 years of experience. Although she comes from a finance background, Andrea is passionate about blogging about interior design. Her other interests include travelling, baking, and digital marketing.


