


With more and more houses opting for match boarding paneling, learning how to do the same as a DIY project is the need of the hour. Gharpedia, through this blog, shares some DIY lower wall paneling ideas and their installation process in a simple and easy-to-understand way.
Lower wall paneling protects the lower portion of a wall, in an area of heavy human traffic. An easily cleaned wood panel finished with tough exterior varnish, is both visually attractive and practical. Utility rooms, hallways and landings are all suitable areas, although this finish, particularly if it is stained wood, will look good as a decorative scheme anywhere.
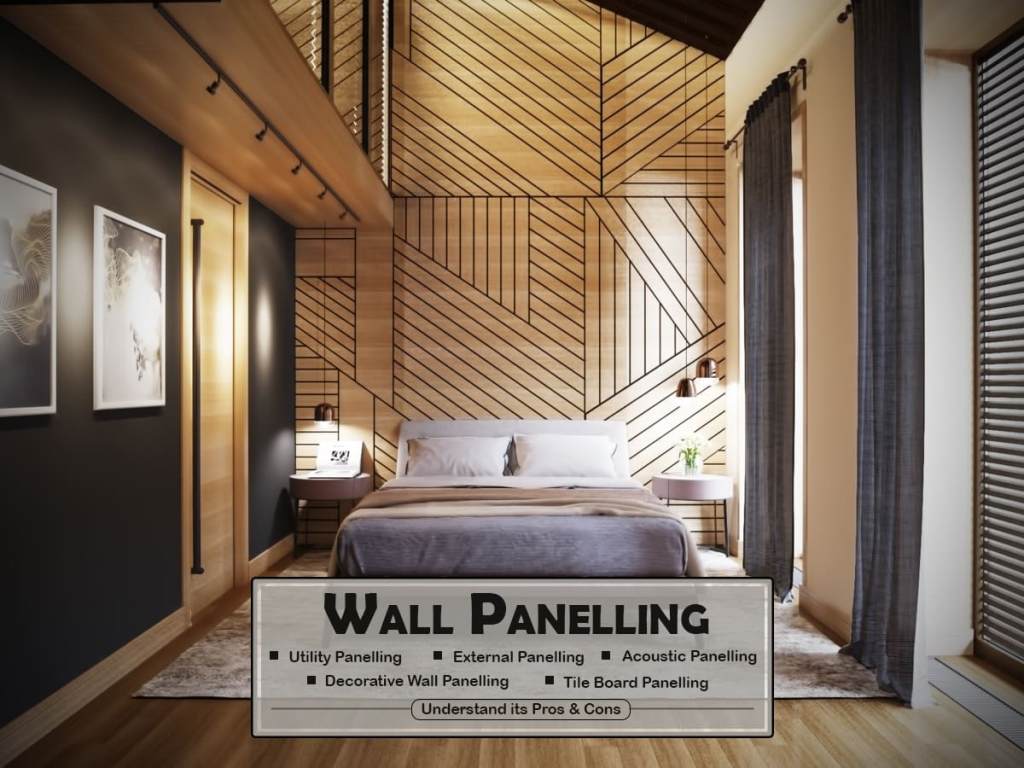
DIY superstores sell paneling kits, with all necessary parts, including dado rail and skirting, primed and ready to fix. If you intend a painted finish or a paint effect that uses a flat colour as a base, then this is an option worth considering. There are various types of wall paneling introduced in the market. You can opt for whatever you like. In case you want to know more about the types of wall paneling, check the link below-
Each type of wall paneling has its own pros, but here, Gharepedia brings a detailed blog on half wall paneling ideas for wood finishes. The real wood finishes however are worth constructing yourself, and two basic schemes for DIY wood paneling are described in this blog.
DIY Lower Wall Paneling
- DIY Lower Wall Paneling: TGV Matchboarding
- Things Required for Matchboarding Paneling
- The Process- How to Install Lower Wall Matchboarding Paneling
- DIY Wood Paneling
- Things Required to Install Wood Paneling
- The Process- How to Install Lower Wall Wood Paneling
Let’s have a detailed look-
DIY Lower Wall Paneling: TGV Matchboarding

Things Required for Matchboarding Paneling

The following things are required for matchboarding paneling –
- 5 cm X 2.5 cm Woodstock for horizontal battens
- 5 cm X 1.2 cm Woodstock for the top piece
- 5 cm number 8 screws/wall plugs
- 1.8 cm moulding pins
- 3.8 cm lost head nails
- 2.5 cm moulding pins
- Decorative moulding
- Hammer
- Skirting
- Spirit level
- Tape measure
- TGV cladding to fit
- Wood filler
The Process – How to Install Matchboarding Paneling

This type of paneling on walls is the best option for living room wall paneling or bedroom wall paneling. Here is one of the best half wall paneling DIY ideas for wood finishes, so, go thoroughly through the below process-
Mark out your wall area, using a spirit level to ensure verticals and horizontals are true. Fix two horizontal battens to the wall, parallel with the skirting, out of 5cm X 2.5cm woodstock, countersinking 5 cm number 8 screws into wall plugs.
Cut TGV cladding to fit, measuring from the floor to the top of the upper batten, and pin it to the skirting and the top and middle batten lengths. Start in the corner with the groove to the wall, and pin the first piece through the face; thereafter invisibly pin each piece through the tongue, covering the pin heads with the next groove. Use 1.8 cm moulding pins driven in at an angle. You can face pin the bottom fixing if preferred, as this will be concealed by a new skirting, itself nailed in place with 3.8 cm lost-head nails, with the heads counterpunched below the surface and filled. Cut a straight top piece from 5 cm X 1.2 cm woodstock and pin it on top using 2.5 cm moulding pins, covering the end grain of the TGV lengths. The top overlaps slightly, and a final piece of decorative moulding is pinned in a position directly underneath, again with 2.5 cm moulding pins, the heads being counterpunched and filled in the same manner as before.
Steps – Pro Tips
- For vertical boards, attach horizontal support battens to the wall above the skirting
- Invisibly pin the boards to the battens, using the existing skirting as the lower support
- Work along the wall, slotting the tongues and grooves of the boards together
- Finish off the top edge of the boards with decorative moulding and pin on a new skirting
DIY Lower Wall Paneling: Wood Paneling

Things Required to Install Wood Paneling

The following things are required to install wood paneling-
- 5 cm X 2.5 cm Woodstock for horizontal batten
- 5 cm number 8 screws/wall plugs
- 7.5 cm X 2.5 cm vertical battens
- 60.7 cm X 6 mm thick plywood panels
- 1.8 cm panel pins
- 10cm X 2.5 cm timber length
- 5 cm X 1.2 cm Woodstock for frame
- 2.5 cm moulding pins
- 5 cm X 1.2 cm Woodstock for top
- Decorative moulding for corners
- Hammer
- Mitring tool
- Skirting
- Spirit level
- Tape measure
- Wood filler
The Process- How to Install Lower Wall Wood Paneling

This DIY wood paneling is more difficult and time-consuming to construct. This paneling uses a top batten and the existing skirting as before, but has additional vertical battens equally spaced along the wall. These battens are wider, being 7.5 cm X 2.5 cm but are fixed in the same way.
Plywood panels are pinned to the battens with 1.8 cm panel pins, butting together on the vertical batten centre line. Plywood panels about 6 mm thickness can be bought from DIY superstores with a hardwood veneer facing, 60.7 cm wide requiring the batten centres to be this same distance apart. If this is too wide for your scheme, cut the panels to your preferred size and adjust the distances between the battens.
The panel height is from the bottom of the skirting to the top of the upper batten. Fix the skirting piece into position as before, but use a straight length of 10 cm X 2.5 cm in timber, as a top moulding is not needed.
Using 5 cm X 1.2 cm woodstock, frame each panel on the remaining three sides, using the centre line of the wall battens as your guide at the sides and sitting flush with the panel edge at the top. Pin with 2.5 cm moulding pins, countersink the heads and fill. To finish – measure and corner-mitre a moulding of your choice to fit inside the panel frame on all sides and add a top piece from 5 cm X 1.2 cm Woodstock. Pin in position and counterpunch the heads as before, and fill all holes with a wood filler.
Stain the softwood so that a match is achieved with the veneered panels, and seal the surfaces or apply any decorative paint finish that suits the remainder of the area.
Steps – Pro Tips
- Plywood paneling needs a grid of upright and horizontal support battens screwed to the wall
- The uprights must be placed so that each supports the edges of neighbouring panels
- Decorative mouldings are pinned in place to conceal the joints between neighbouring panels.
- Add a decorative moulding to each panel, mitring the ends for neat corners.
Some Interesting Facts about Paneling on Walls
- TGV cladding boards are suitable for a wide range of decorative jobs around the house. Use them in the bathroom to give a period feel to the room. However, make sure they are treated with yacht varnish to protect them from the steamy atmosphere
- Wooden wall paneling adds a touch of elegance to a dining room, especially when teamed with ornamental mouldings framing panels of hand-blocked wallpaper.
- This blog is dedicated only to lower wall paneling designs for the wood finish, but there are many types of materials used to make paneling on walls. If you want to know more about them, go through the article Best Materials of Wall Panels for Decorating your Rooms!
I hope you like this blog on lower wall paneling. Here’s wishing you luck with this interesting DIY Project…! One more thing, if you want to give your home a trendy and modern look through wall cladding, then our below-mentioned blog is going to help you with it…
Wall Cladding: Give Your Home Trendy and Modern Aesthetics!
Image courtesy: Image 3(a), Image 3(b), Image 4, Image 6(a), Image 6(b)
Author Bio
Huta Raval – An English Literature and Journalism Topper, Huta Raval has graduated from the L D Arts College, Ahmedabad. Post serving for 23 years in the NBFC and Public Library Sectors her desire for ‘writing the unwritten’ brought her to the creative field of content writing. Her clientele comprises of NGOs, Blogging Platforms, Newspapers, Academic Institutions, et al.


