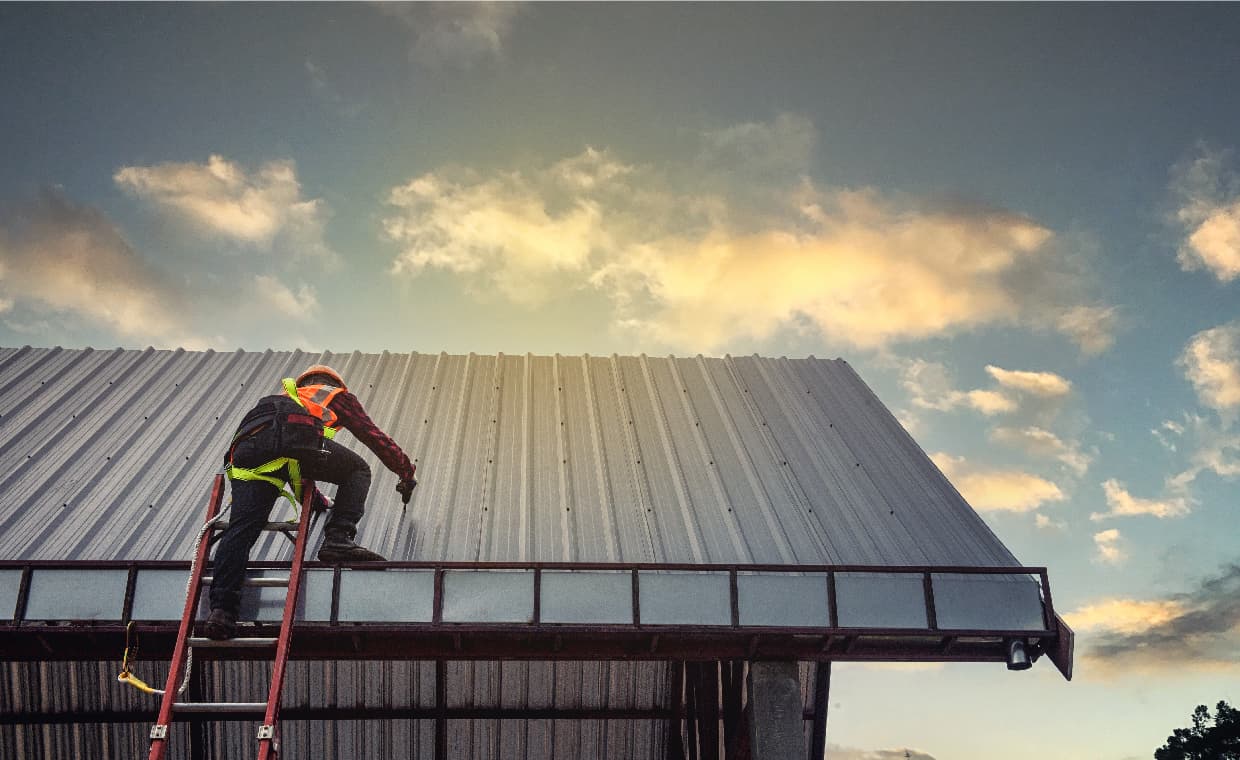
Metal roof installation can significantly enhance your home’s durability, energy efficiency, and aesthetic appeal. While this guide provides an overview of the installation process, it’s often best to hire a professional roof replacement company with a 5-star rating online to ensure the job is done correctly and safely.
Materials and Tools Used in a Metal Roof Installation

The installation of a metal roof involves several key materials and tools including:
- Metal roofing panels
- Metal trim pieces
- Metal screws and washers
- Sealant or caulking
- Roofing felt or underlayment
- Measuring tape
- Snips for cutting metal
- Power drill with screwdriver bit
- Ladder
Preparing the Roof Surface

A clean, dry, and structurally sound roof surface is crucial. This involves removing any old shingles, nails, and debris. Any damaged areas on the roof deck should be repaired before proceeding. Roofing felt or a synthetic underlayment is laid down over the entire roof surface to provide an extra layer of protection against moisture.
Measuring and Cutting Panels

Accurate measurements are crucial in determining the number of metal panels needed. It’s common practice to add a few extra inches to the measurements to account for overlapping. Panels are then cut to the appropriate size using metal snips, ensuring clean and straight cuts.
Installing the Starter Strip

A starter strip is installed along the edge of the roof. This strip acts as a guide for the first row of panels and helps secure them in place. The starter strip is attached using metal screws, ensuring it is level and straight.
Installing the Metal Panels

Starting at one end of the roof, the first metal panel is laid over the starter strip, overlapping the edge slightly. The panel is secured to the roof deck with metal screws, placed every 12 to 16 inches along the ridges of the panel. Subsequent panels are laid and secured, overlapping the edges to create a watertight seal.
Trim and Flashing

With all the panels in place, metal trim pieces are installed along the edges, ridges, and valleys of the roof. This includes ridge caps, gable trim, and valley flashing. These pieces not only enhance the appearance of the roof but also prevent water from seeping in at the joints and edges. Trim pieces are secured with screws and sealant.
Inspecting and Sealing

After installing all the panels and trim, the roof is inspected for any gaps or loose screws. A high-quality sealant or caulking is applied around the edges, seams, and screw heads to ensure a watertight seal. Special attention is paid to areas around vents, chimneys, and other protrusions.
Clean Up

Any debris, metal shavings, or unused materials are cleaned up from the roof and surrounding area. Proper disposal of any old roofing materials and packaging is essential.
Installing a metal roof is a complex task that enhances the durability and appearance of your home. By understanding the process and the materials involved, you can better appreciate the value of hiring professionals for the job. Hiring a seasoned professional will ensure that your metal roof is installed correctly and provides lasting protection for your home.
Conclusion
Metal roof installation can be a rewarding project that enhances both the durability and aesthetics of your home. Whether you choose to tackle it yourself or hire a professional, understanding the process and materials involved ensures a successful outcome. Also Read: Preparing Your Roof For Harsh Weather Conditions
Image Courtesy : Image 5


