Flooring is a one of the most important components of the house which is responsible for beauty and décor. Hence, different types of flooring are in demand and the building industry is actually over flooded with varieties of products for building materials. Out of them, there are various types of flooring materials used daily by the consumers, contractors, etc. Branded materials tend to be used more by the people as they have the ability to last for a longer period. And the Pergo floor laminate proves to be one of them.
What is Pergo Flooring?
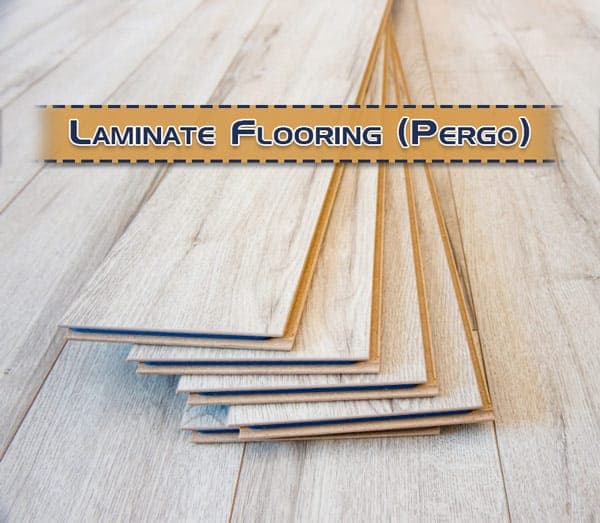
Pergo is Brand Name of Laminate Flooring.
Laminate flooring is a multilayered synthetic hard surface made from recycled hardwood. It is a floating floor and it splints together.
Pergo and its History
Pergo invented laminate flooring thirty-nine years ago. Today, it is successful in making beautiful, durable and practical floors. It has a story rooted in tradition. This story began with the idea of creating beautiful and durable floors to handle the real challenges of daily life and still look great after years of its usage. To be practical, they made them very easy to install and maintain. It has a wide variety of beautiful styles, all designed to withstand the loads.
The Story of Pergo Laminate
In the mid-1970s, the “Perstop Corporation” in Southern Sweden drastically faced declining sales for its well-known high-pressure laminates. In response to this declining sale, the company created a committee in 1977 to come up with new ideas regarding other applications. They compiled 100 ideas and finalized one of them in 1979 and called it the first Perstop laminate flooring. Its innovation marked the birth of a new product. This evolved over time and eventually named a separate company as Perstop Flooring AB, today known as Pergo.
Also Read:
Laminate: All You Would Like to Know
Solid vs Engineered vs Laminate Wood Flooring: Make the Right Choice
Manufacturing Process of Decorative Laminates
Characteristics of Pergo Flooring
The main features of Pergo flooring are as follows:
01. Wear Resistance: The multi-layered protective floor finish is the best in the market. It provides wear resistance that exceeds normal standards for commercial environments.
02. Scratch Resistance: It has an extra protective layer that provides the best scratch and scuff resistance. So, the Pergo floor retains its luster way longer than other laminate floors.
03. Impact Resistance: The unique multilayer of the Pergo surface together with a dense core material provides very high impact resistance. It can handle resistance to any dropped objects and high heels.
04. Life of Pergo: A Pergo laminate flooring provides the good lifetime span. It covers more than 25-33 years in the case of residential purposes.
05. Easier Cleaning: A Pergo floor is easier to clean than ordinary floors. The reason is that its surface is so tightly sealed that dirt simply does not take hold.
06. Hygienic: Pergo laminate increases maintenance as it is tightly sealed. It needs high level of hygiene so that bacteria do not flourish. However, it is easy to clean.
07. Water Resistance: It combines moisture resistant core materials with strong and tight click joint. There is a sealed surface which covers the entire board till the bevels which prevents water from penetrating the floor. This makes it the most moisture resistant floors.
08. High Fire Resistance: Its surface has a natural high fire resistance due to its multi-layer construction. This combined with core’s density allows heat to dissipate faster.
09. Anti-Static: Pergo laminate floors reduce static electricity. Electrostatic charges generated by these laminate floors are low. To reduce them, they have developed a technology which gives selected floors a permanent antistatic property throughout its life of the floor.
How is Pergo Laminate Flooring Constructed?
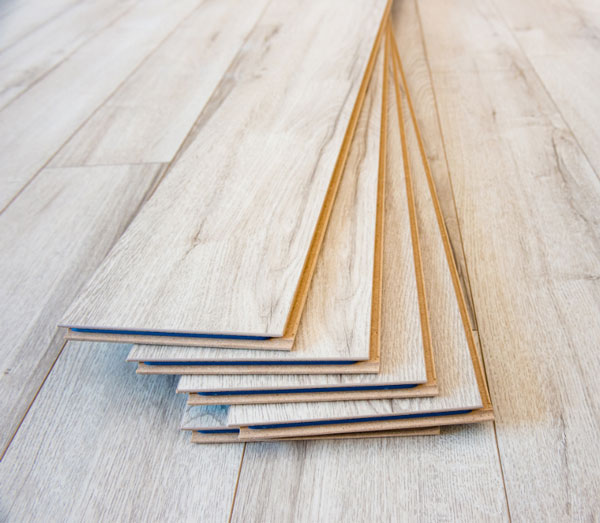
Pergo consists of multiple layers of materials bonded together under extreme heat and pressure. There are no harmful glues or toxic chemicals used in the bonding of products, ensuring health conscious flooring.
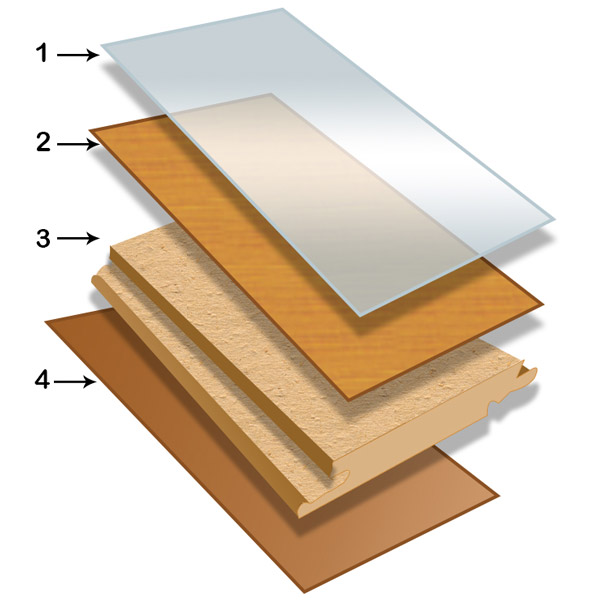
01. Transparent, Wear-Resistant Overlay:
A variety of textures that closely imitate real wood along with a wear layer and for superior and scuff resistance. It is comprised of aluminum oxide particles. This layer is created for the highly durable and wear-resistant surface.
02. Design Layer:
This layer is a decorative graphic sheet which includes real visuals and patterns of natural wood, stone, and ceramic. It is one of the few companies that use a four-color printing process while creating the designs, which results in increased color richness, depth, and realism.
03. Premium HDF Core Board:
The third layer is highly durable High-Density Fiber (HDF) board which provides superior strength. Patented click-joints for snap-together installation and a core of high-density fiber board gives stability and dent-resistance. It is made of recycled materials. The boards are engineered to meet the highest quality of standards and come from recycled woods, ensuring that no old grown trees or endangered wood species are used in their products.
04. Balancing Layer:
The final layer is a core backing material. Balancing layer for stability prevents bowing or collapsing. It also helps in quick installation and improved sound characteristics.
Pergo laminates are available in various thickness of 8mm, 10mm and 12mm. they provide They are made to withstand for many years and still look nice.
Pergo Waterproof Laminate
Unlike other laminate floors in the market, select Pergo laminate floors which completely features waterproof protection. This revolutionary technology withstands against splashes, spills and pet accidents to ensure minimum waterproof durability.
01. Hydroseal
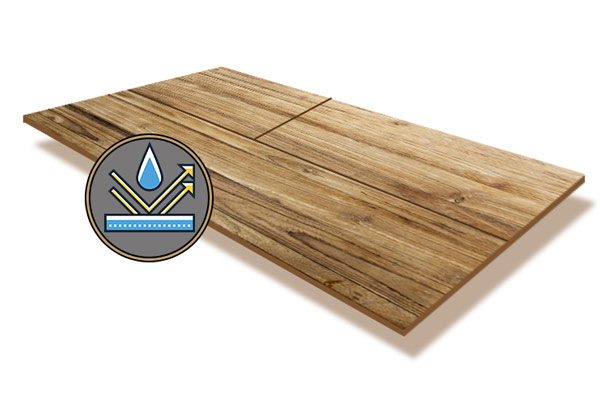
The perimeter of each plank is coated with Hydroseal to protect the floor. The hydrophobic coating repels water, so planks resist moisture from swelling.
02. Uniclic
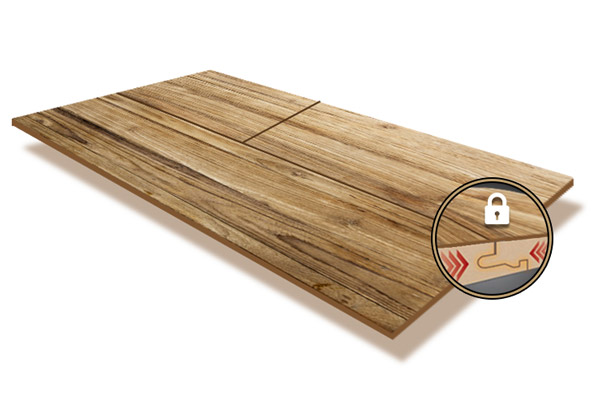
The industry’s top glueless locking system snaps together for fast and easy installation. The innovative system maintains constant tension between planks for tight joints that traps water on the surface, thus protecting the floor and subfloor. There is a floating floor, which floats on the subfloor. This floor connects with the tongue and groove system. The tongue and groove joint help in locking the planks together when the whole things lock properly.
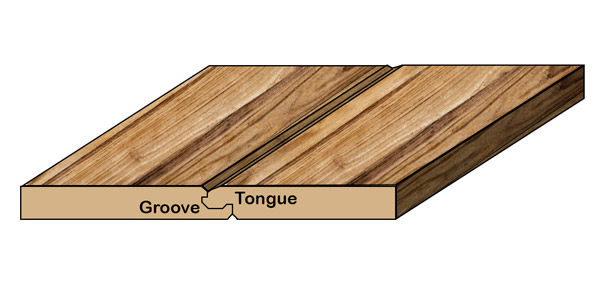
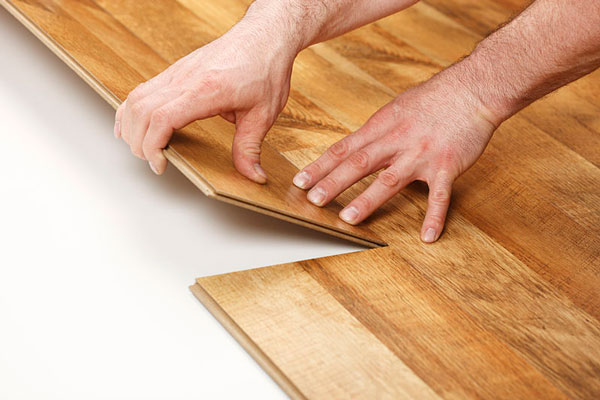
To lock the planks together, you tilt one plank up slightly and insert the tongue over or into the groove and then rotate the plank down, hence locking the joint. This system of tongue and groove joint differentiates the Pergo laminate from other laminates.
03. GenuEdge
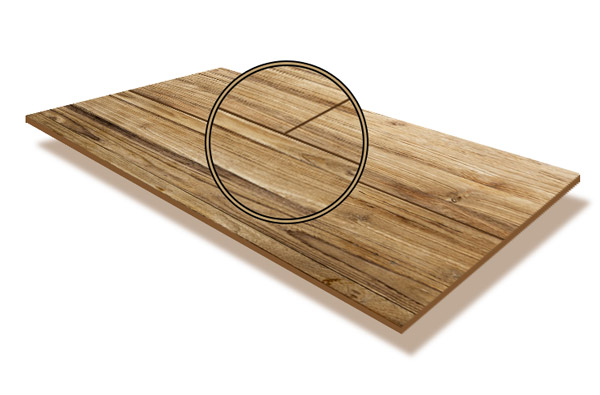
Pressed bevels allow the surface visual and protective coating to wrap over the edges, thus enhancing the hardwood realism while protecting the core from moisture.
The Pros and Cons of Using Pergo Flooring
Pros of Pergo Flooring
01. Easy Installation: It has its patented installation system which is faster and easier as it simply folds the floor into place. While carrying out the flooring activity, it becomes too clumsy and uncomfortable for the people living in the same house while, in the case of Pergo laminates, it becomes very easy to install as it involves very easy method mentioned in the article below. It just takes 2-4 hours to install the Pergo floor laminates.
02. Easy Cleaning: It is easy to clean by using a vacuum or broom. Mopping with a slightly damp mop or with laminate floor cleaner can be done. No floor wax is required for the floors.
03. Durable: It does not dent like wood. It is impervious to scratches also. It has a wear layer to protect the flooring.
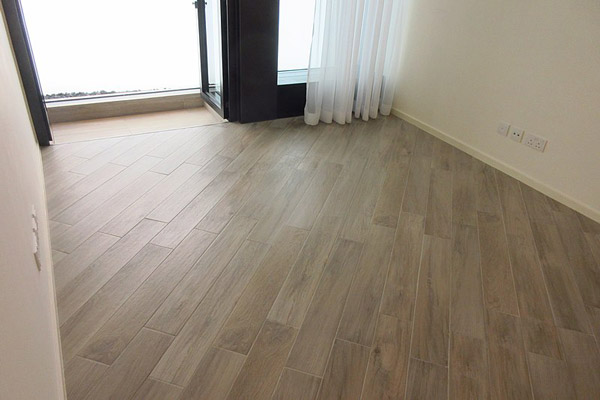
04. Maintenance: The laminate flooring’s tough surface resists stains. And if it gets a stain, it can be easily cleaned.
05. Functionality: Laminate feels hard underfoot so the underlayment should be included which gives flooring a slightly springy feeling. This makes it easier to stand on the floors for a longer period.
06. Appearance: Laminate flooring replicates the look of wood, stone and other natural materials. There are no defects of laminate flooring. Every board is of consistent quality and appearance. Also, applying on the existing floor does not disturb the existing appearance of the rooms. As the thickness is around 8-10mm, so it also prevents popping of the laminates. The aesthetic beauty of the doors is also not lost while applying the Pergo laminates as it only involves cutting of the bottom rail of the doors.
07. Also, the main advantage is that it can also be laid on the existing floors.
Cons of Pergo Flooring
01. Installation: While designed to be easy, the lock design should not work well as it should. Sides of the boards can be especially difficult to join the adjoining sides. Also, if you force the boards into place, you risk the cutting up the top wear layer, compromising the floor’s ability to resist moisture.
02. Moisture: The flooring will not tolerate standing pools of water, especially in the case of kitchens and bathrooms where there are water leaks.
03. Repair Issues: The repairing or refinishing of wood costs half the expense of the laminate flooring This is because wood can regain its luster and appearance. Conversely, laminates are very difficult to repair. Also, hardwood can be replaced thus controlling the costs.
How to Install Pergo Flooring?
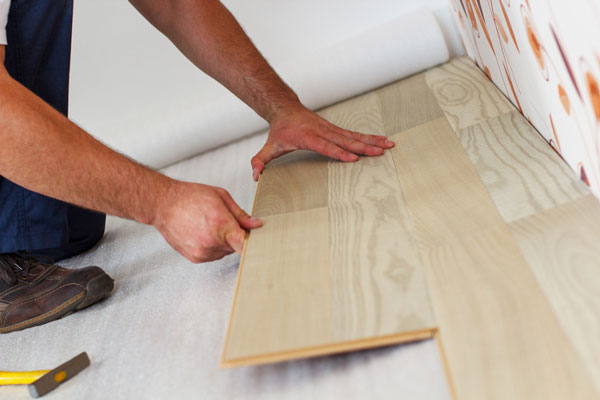
Pergo can be easily installed directly over most hard surface flooring. A Pergo laminate and locking arranged plank simply clicks together. There is no need for glue or nails. Some Pergo laminate products feature attached underlayment. It can be installed at any level of the home.
Just Install Pergo Hardwood Above the Grade
Step : 1 – Prepare the Floor:
- Floor leveling is usually done on the concrete floors. Before laying Pergo, smooth out the concrete to make sure that the surface is flat for a new installation.
Step : 2 – Mix a Batch of Concrete Leveler:
- For an uneven surface, it has to be smoothed with the concrete leveler.
Step : 3 – Install Vapor Barrier when the Concrete Gets Dried:
- Wait atleast for 48 hours before installing a vapor barrier over the fresh concrete. Cover the floor entirely with the sheets, to cover the floor completely. Make it big enough on the sides so any vapor coming up will end up behind the baseboard.
Step : 4 – Pick a Corner to Start Laying the Pergo:
- For most projects, start with the corner and then towards the door. If started from the middle, cuts have to be made towards the edges to make the tiles To install the tiles, remove the tongue from the first part. Place the tongue on the second plank into the groove of the first, be it starting from an angle. When the tongue is in the groove, press downwards until the joint clicks in its place. Work in the rows. When done with the first row, start with the next.
Step : 5 – Start the Next Row:
- Stagger the length of the planks in the second and following rows so that none of the planks end at the same place.
Step : 6 – Continue Laying Rows Until you’ve Filled the Room:
- The joints of the long side of the starter piece should be connected with the groove of the last row laid. Press the plank down till it gets locked into the place. The piece should be secure enough to place using a tapping block near the plank’s end. Knock the piece gently and continue tapping block downwards as you place the plank.
To sum up, the Pergo laminates help to make a room look spectacular. The Pergo laminate consists of tongue and groove joint which helps in locking the planks together. This is a unique feature of Pergo laminate which differentiates it from rest of the laminate type of floorings. The main advantage is that it takes less time for installation and can also be laid on the existing floors. It combines floor with beautiful design and long-lasting durability.
Also Read:
Vitrified Tiles vs Laminate Wood Flooring: Make the Right Choice
Different Types of Laminates & Their Uses
Advantages & Disadvantages of Laminates


