Table of Contents
Quick Review
- This blog highlights the sewer conversion process of switching to a public sewer system.
- Septic tanks are outdated and require constant maintenance, whereas sewer lines offer better performance and fewer maintenance.
- Sewer lines are safer and help prevent groundwater contamination.
- To get sewer line connection, ensure you obtain all necessary permits in advance.
- A contractor will inspect your property to plan the new line route. In the meantime, empty your old septic tank and safely decommission it.
- The sewer conversion process takes up to 3 days.
- In the battle of septic vs sewer, clearly sewer system is the winner.
Switching to a public sewer system is a long-term investment in safety and cleanliness. But for many homeowners, the process sounds confusing and disruptive, even with the assistance of experts in sewer repair in Seattle, WA.
Here, we will walk you through the processes involved with making the switch.
Why More Homeowners Are Switching to Sewer

Septic tanks require constant attention. Between regular pumping, managing what goes down your drains, and worrying about system failure, they’re a hands-on burden. Connecting to a city sewer line, on the other hand, offloads much of the responsibility to local infrastructure and can boost your property value.
“Public sewer systems offer consistency and peace of mind, especially in areas with growing populations and limited space,” says a sewer line repair technician in Pennsylvania.
Should You Convert to a Sewer?
Better performance and fewer maintenance headaches await homeowners who switch to a sewer system. Proper installation coupled with regular monitoring results in fewer problems for the homeowner and a lower environmental impact.
Key advantages:
- No more scheduling or paying for septic pumping
- Less risk of groundwater contamination
- Increased resale value in sewer-connected neighborhoods
The Permitting Process: Untangling the Red Tape

Before anything gets dug up, you’ll need permits. Your municipality may require detailed applications, including property plans, proof of sewer access, and utility coordination. The approval timeline can vary, but most projects move forward in 2–6 weeks after submission.
Before the conversion, contact your local sewer authority first. Your contractor of choice should also be licensed and familiar with local code.
- Make sure your contractor is licensed and knows your town’s code
- Keep all documents for warranty and inspection purposes
Site Inspection and Tank Decommissioning

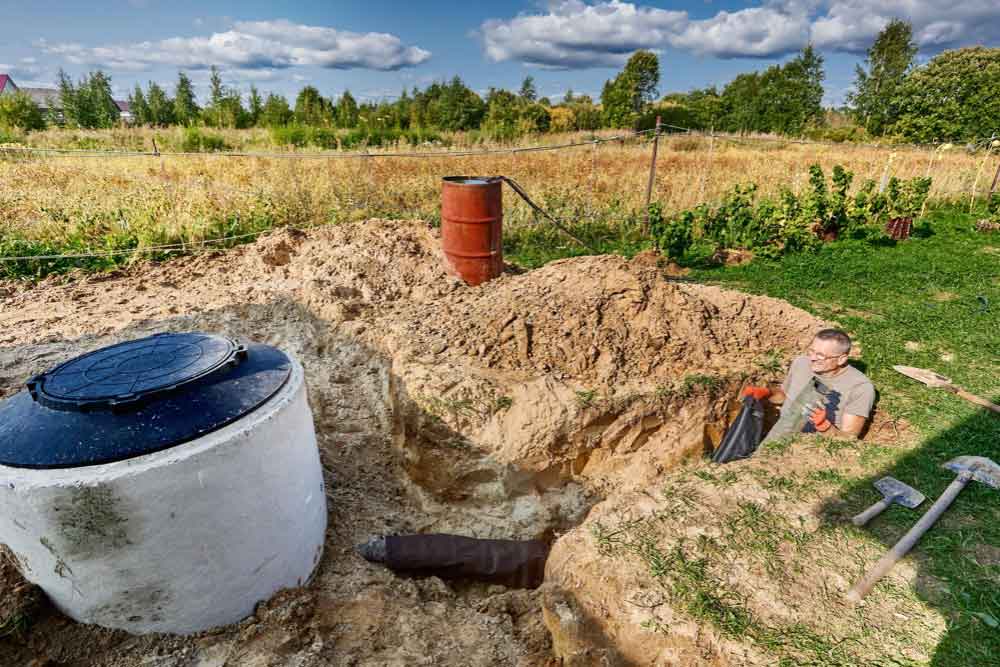
Once permits are approved, a contractor will inspect your property to plan the new line route. From there, your old septic tank must be emptied, cleaned, and safely decommissioned. In most cases, this means the tank is either crushed and backfilled or removed entirely to prevent soil collapse or contamination.
“Leaving an inactive septic tank untreated is a serious hazard,” warns a project foreman. “We’ve seen yards sink years later because the tank was never filled properly.”
What to Expect During Construction
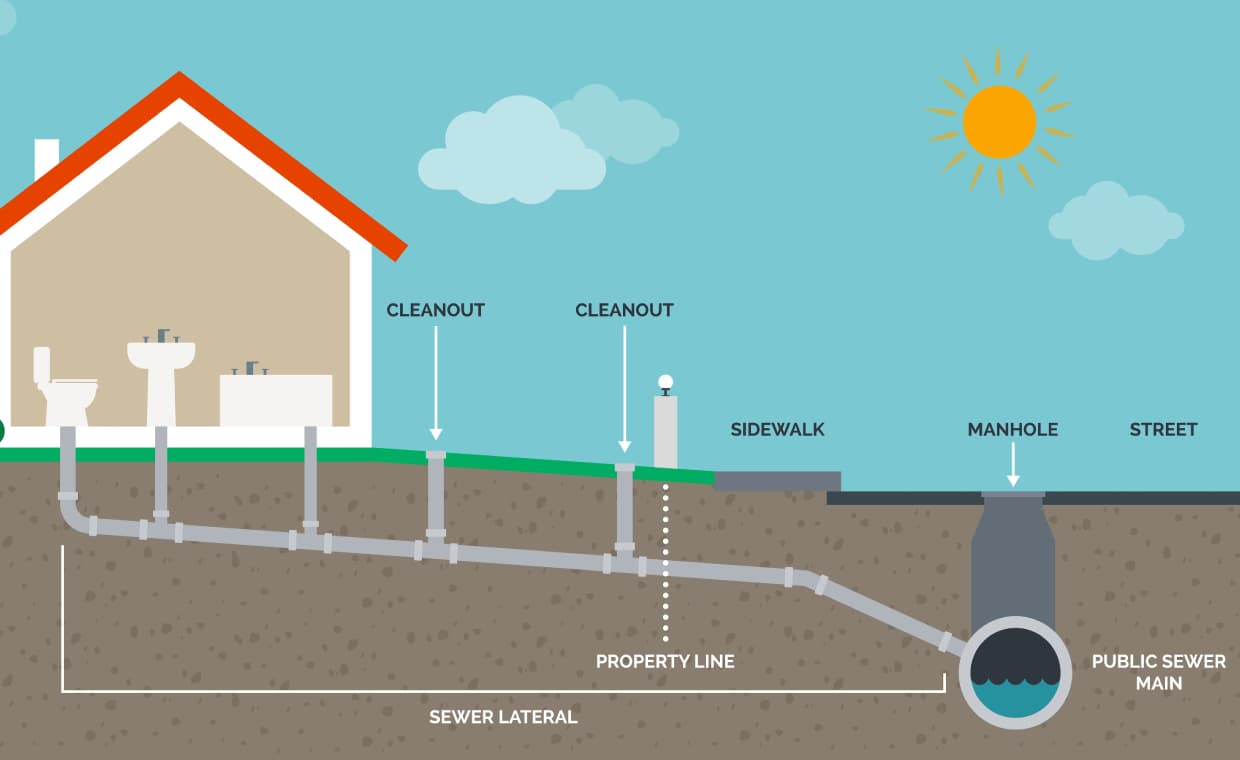
The actual conversion work can take 1to 3 days. During this time, crews will connect your home to the city’s main. The team will excavate a trench and install sewer piping at the correct slope. Once laid, the system undergoes pressure testing, inspection, and official sign-off by the city.
Expect some lawn disruption, especially while the trench is dug. You’ll also have limited water use during final connection and while landscaping is being restored.
What Happens to the Old Septic Area?
The surrounding land will need time to settle after the tank is sealed or removed. Some homeowners reseed the area with grass, while others use the space for non-structural landscaping. Be aware that old drain fields may still hold moisture for months, so avoid planting anything deep-rooted right away.
Septic vs. Sewer: A Day in the Life
There’s less second-guessing involved in what line you have connected to the city’s sewer system. One homeowner described the switch this way: “I used to hold off on doing multiple loads of laundry, just in case. Now I don’t even think about it.”
When Things Don’t Go Smoothly
Unexpected challenges include rocky soil, hidden utility lines, or poorly mapped sewer mains. Sewer line replacement teams will anticipate these and offer contingencies. If your project hits a snag, communication is key. Be sure to stay in touch with your contractor and city inspector to keep things moving.
Common Questions You Didn’t Know to Ask
- Can I use my yard during the install? (Usually yes, except for trench zones)
- Will it raise my water bill? (Only slightly, if the city combines water/sewer charges)
- What if I sell my home mid-project? (Permit transfers are usually possible)
Converting from septic to sewer is a big decision and a smart one. When done correctly, it means fewer headaches, lower risks, and more reliable plumbing for years to come. Work with a licensed contractor familiar with your local process and codes to make the switch safe and smooth.
Also Read: Residential Plumbing System: All You Need to Know!
Sewer Conversion Process FAQs
1. Why should I convert from a septic tank to a public sewer system?
Public sewer systems offer better performance, require less maintenance, and reduce the risk of groundwater contamination compared to septic tanks.
2. How long does the sewer conversion process take?
Once permits are approved, the actual installation usually takes 1 to 3 days, depending on property conditions.
3. Will converting to sewer increase my property value?
Yes. Homes connected to a public sewer often have higher resale value, especially in urban and suburban neighborhoods.
4. Do I need permits for a sewer conversion?
Yes. Municipalities typically require permits, property plans, and proof of sewer access before work begins.


