


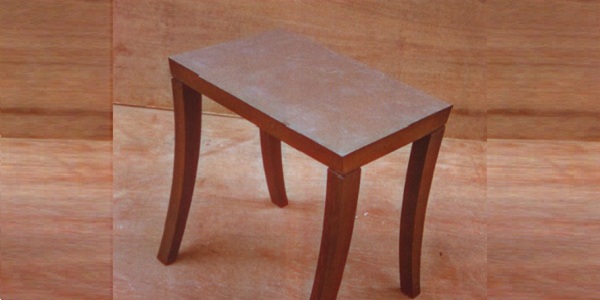
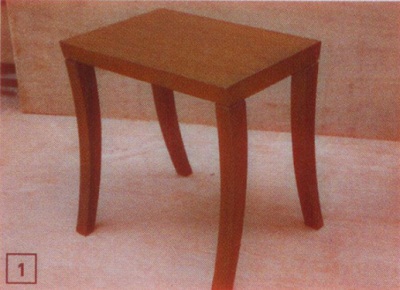
For enhancing the look of your interior, the furniture plays an important role. Any tabletop you use for the display & show areas such as center or side table / end table of your house, you can easily remodel it’s look in silvery or golden finish. Yes, now it is simple & you can do it by yourself!
It is very common that people get bored of using the old furniture even though it is precious. People always want the newness with the trend! Here we have tried the idea to add uniqueness to your room by remodeling your tabletop in simple given steps.
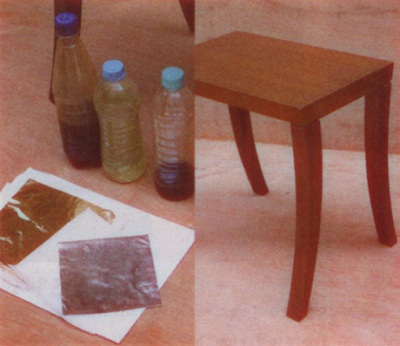
You’ll need the following things before to start remodeling your wooden tabletop (side table / end table):
| Wooden table | Primer or a grey latex base coat (used as base for Duco paint) | Metallic leaf – sizing liquid (or spray) to fix the leaves |
| Metallic leaves or Silver foil | Fine cotton fabric | Soft goat hair flat brush |
| Clear polyurethane or varnish for coating | Sandpaper of 220 number |
Procedure
Here are steps which you can follow to get the silver finish of your tabletop:
Step – 1
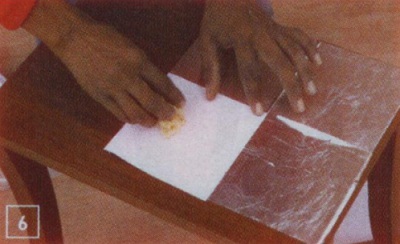
First you should make sure that the furniture surface or tabletop you are leafing or silvering is smooth enough otherwise rub it with sandpaper of 220 number (if required).
Step – 2
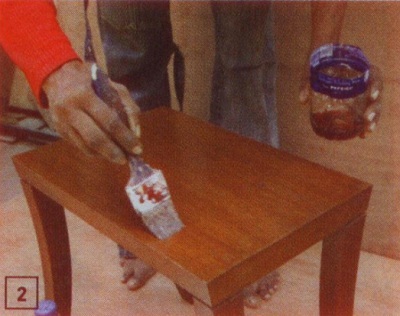
Now apply a coat of transparent primer over tabletop to ensure a smoother finish. Let it dry & then add a coat of metallic leaf – sizing liquid (clear liquid used for silver /gold leaf or foil).
Step – 3
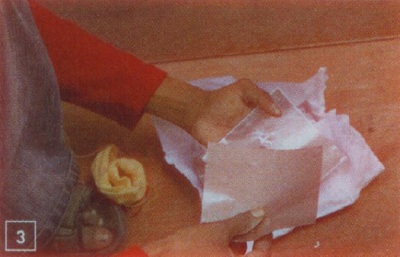
The silver leaves are delicate so work in a protected area. The sizing should be soft & sticky (gooey) and not wet when you start applying the leaves!
Step – 4
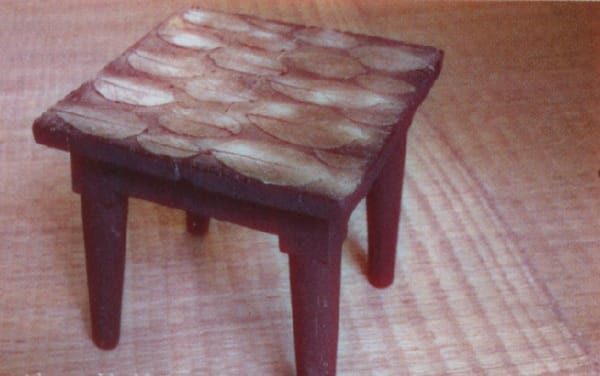
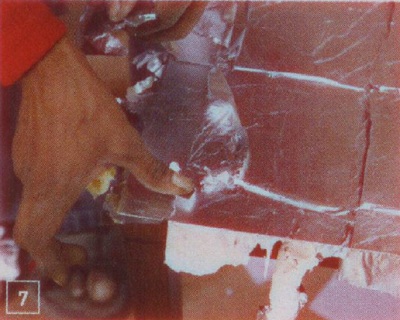
Now, how to apply the delicate silver leaf?…don’t worry it’s a simple technique. Remove the single sheet of leaf. Transfer the paper as shown in figure and gently apply with your fingers or flat brush edge to edge!
Step – 5
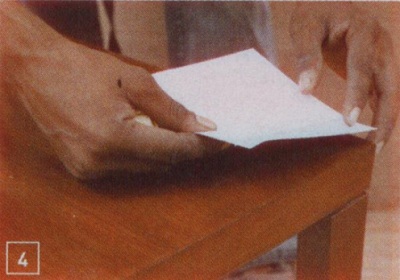
Simply peel the back paper carefully to leave the leaf adhered to the tabletop surface.
Step – 6
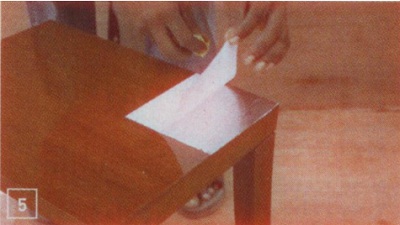
Now repeat the above two steps till the entire surface is covered.
Note: You can also overlap the sheets for even coverage.
Step – 7
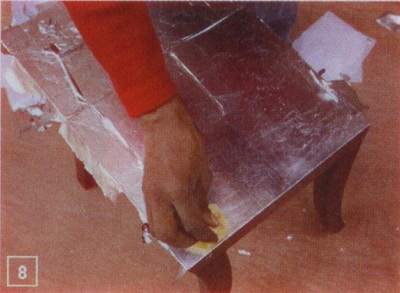
Touch up the areas where the leaves are torn.
Step – 8
Gently loose the flakes with a soft brush or a soft cloth as shown in figure.
Step – 9
Once the tabletop surface is covered with silver leaf, now it’s time to add a protective coat.
Step – 10
Now apply the two layers of clear polyurethane (PU) with a flat brush as shown in figure.
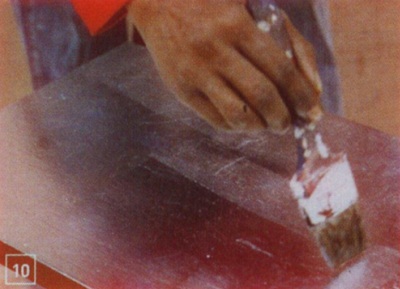
Step – 11
Allow adequate time to dry for each coat – few hours are enough!
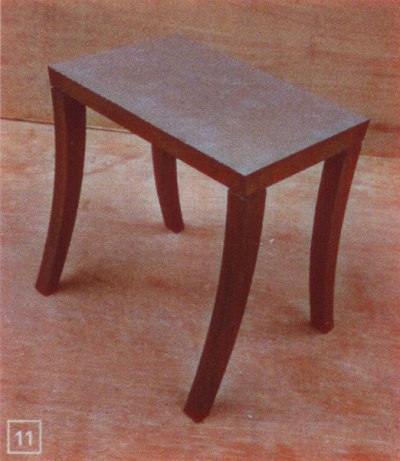
Image Courtesy – Amrita Shah & Shiresh R Karrale
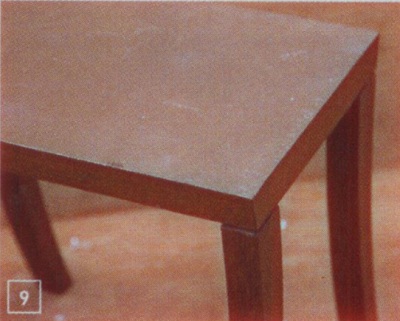
Following these steps, you can get a fresh new look of your wooden table, which is very easy & can boost the look of your interiors!


