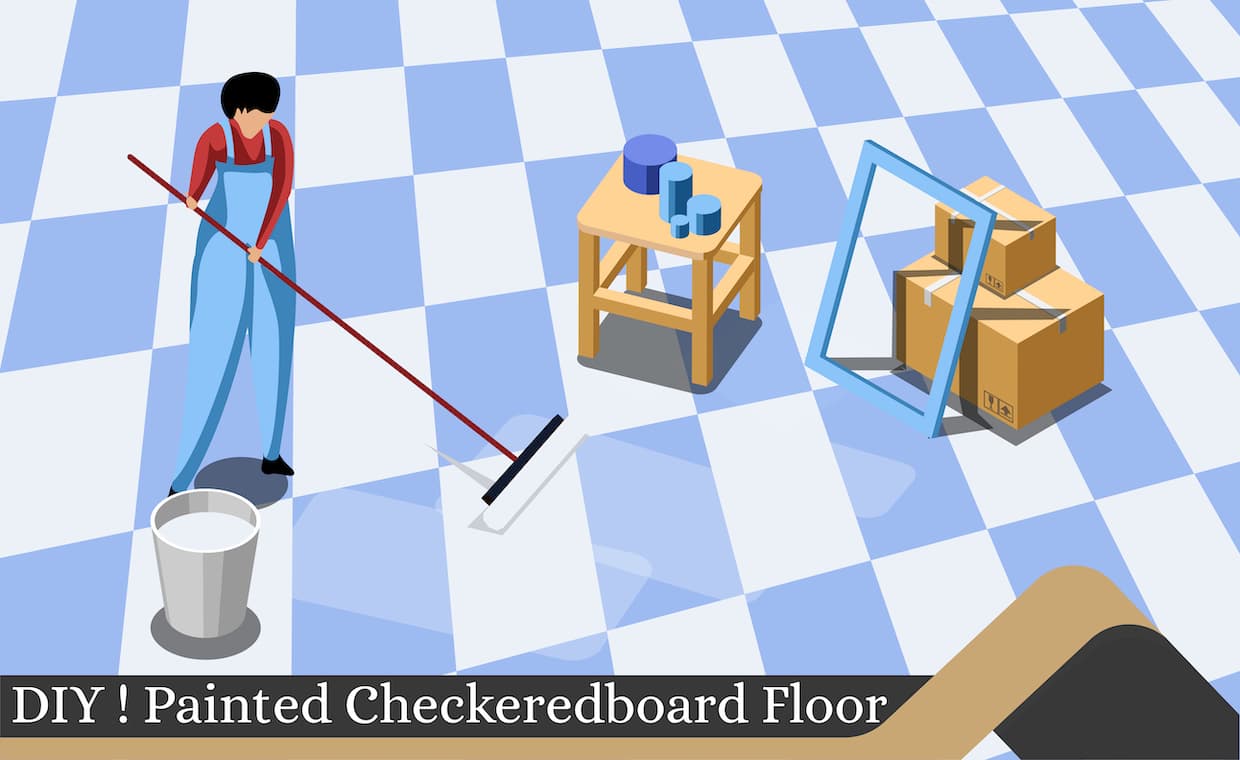
The chequered floor pattern is a timeless style from Egyptian times till today. Minimalist design, sophisticated look, retro feel and stark contrast are the pros of using this floor pattern that never goes out of fashion. And also, if you like to paint a bit here and there, then a DIY checkerboard floor would be child’s play for you!
As per ‘Fiona, B’[386] Editor of “The House Book”, these are the features that stamp the timelessness of the floor pattern. If you’re a soul who likes geometry and is enamoured by squares and rectangles, then a painted chequerboard floor should be your go-to option. If geometrical patterns excite you, check out interior decoration geometry role. And also, if you like to paint a bit here and there, then a DIY chequerboard floor would be child’s play for you! Gharpedia shares the steps involved in this entire process.
How to Paint A Checkerboard Floor?
As the name suggests, a chequerboard floor means we require two colours, and the usual trend is to use contrasting colours. But sometimes, one might want to go ahead with one colour with a light and dark tone. So, the first step is to analyse the room area and decide on the chequered floor pattern. Then, we need to make sure that all the accessories required for it are available. This is when you are ready to follow the step-by-step process of how to paint a checkerboard floor is provided here. Finally, you will accomplish your mission of DIY chequerboard flooring.
Approaching Chequerboard Floor
There are several different approaches to painting chequerboard floors depending on the size and shape of the room. The chequerboard painting ideas are appropriate as per the details given below.
Regular Rectangular

If the room is a standard rectangle, it is critical to centre the pattern, dividing the room into quarters and beginning the pattern with a block of four squares in the centre of the room.
Small Room or Irregular Hallway

Suppose you are painting an irregular hallway or a small room. In that case, the design can be arranged as a horizontal grid or on a diagonal.
Integrated Look

To create an integrated look, it is a good idea to paint the skirting boards and any other woodwork in one of the floor colours. It is impossible to always have a perfect room, but an ideal room can be created by using the colour guide as per the room’s aspect and mood.
Things Required For A DIY Chequerboard Floor

The following is the list provided of the objects required to create a painted chequerboard floor:
- Carpenter’s pencil or a chalk/pencil
- Floor paint or wood wash in two colours of your choice.
- Masking tape
- Primer or undercoat
- Ruler
- Craft knife to cut out the template
- String
- 30 cm X 30 cm thick cardboard for a template
- 1.2 cm square-tipped brush or artist’s brush for edges
The Step-By-Step Process Of Painting Chequerboard Floor
In this blog, we’ve considered an irregular room, so we will be doing a chequerboard in a diagonal pattern. The effect is charming and must look like it was deliberately painted. So don’t be tempted to fill gaps between old floorboards. John P H[400], the Editor of ’Decorating 1 2 3’ has broken down the whole process DIY checkerboard floor into points, as shown.

1. Draw a square onto a piece of stiff cardboard (the width of two floorboards for a large square or one for a small pattern) and cut it out with a strong craft knife.

2. If using a primer or undercoat, apply this to the floor first. Leave it to dry.

3. Apply the lightest colour to the whole floor surface next and leave it to dry.
4. Find the room’s centre point by running two pieces of string between the opposite corners. Draw the shapes at the intersection using the template, a square set, and a pencil.

5. First, paint the edges of the square using the small square-tipped brush.
6. Use the broader brush to fill the square and continue the same way. If you are using a protective varnish, apply it with a large foam roller when the squares are dry.
Final Polish

This sounds pretty simple and easy, doesn’t it? So how about lining up this DIY Checkerboard Floor and pepping up your weekend?
At times, it’s challenging to maintain the floor, so make sure to check this out:
Maintenance | Caring Tips to Floor YOU!
Image Courtesy: Image 2(a), Image 2(b), Image 3(a), Image 3(b), Image 4(a), Image 4(b), Image 7, Image 8, Image 9, Image 10
Author Bio
Huta Raval – An English Literature and Journalism Topper, Huta Raval has graduated from the L D Arts College, Ahmedabad. Post serving for 23 years in the NBFC and Public Library Sectors her desire for ‘writing the unwritten’ brought her to the creative field of content writing. Her clientele comprises of NGOs, Blogging Platforms, Newspapers, Academic Institutions, et al.


