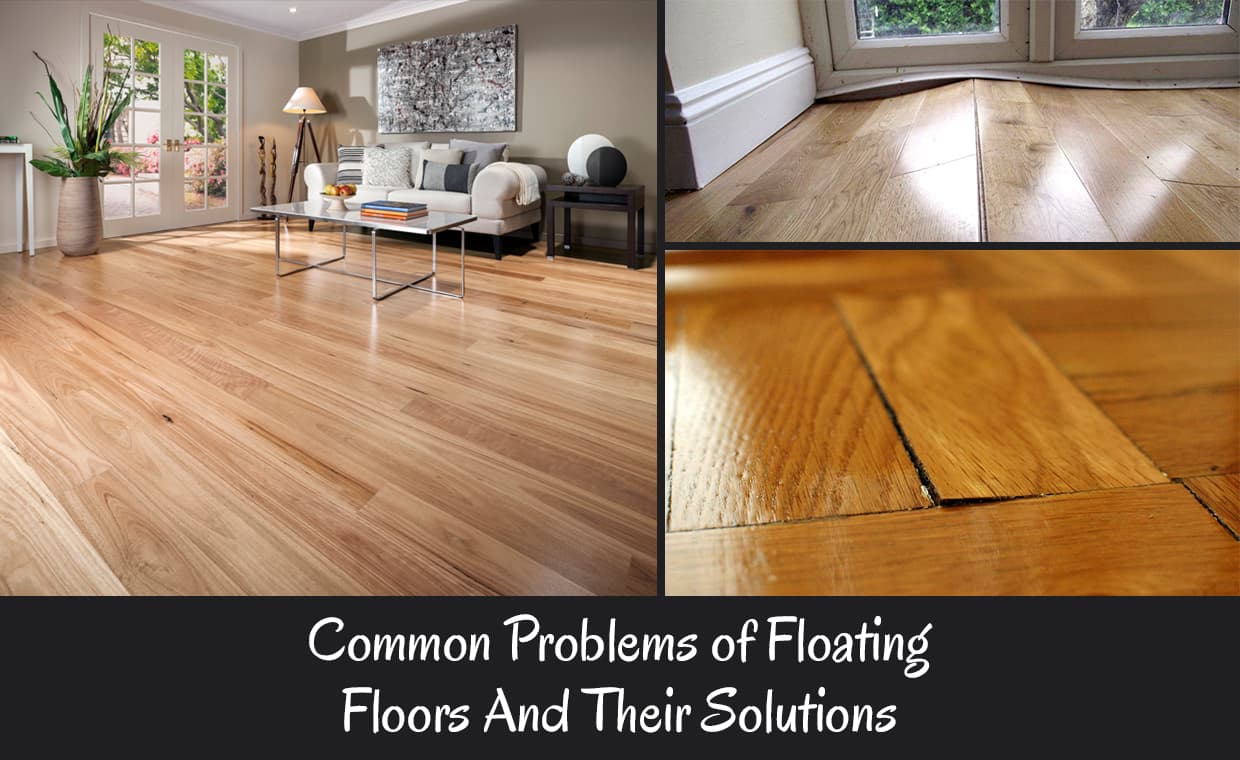
Floating timber floors references the method of installation, which entails a “click-lock” technique or “tongue-groove” enabling the floating of the material on top of the existing either subfloor or old flooring. The option is unlike a traditional timber alternative or tiles that require glue or nails to be held in place.
While their only security method is locking themselves together, like a puzzle, these are much stronger flooring than one would imagine without the fear of breakage or moving under pressure. The suggestion is that the “weight, joinery, confinement, and friction of the boards” keeps them aligned and in place.
The trend is growing in popularity due to ease of floating floor installation. Homeowners have the freedom to DIY with no issues depending on the type of material.
Even with assistance from professional installers, the straightforward process means the bottom line will remain low with little labor involvement. That means little costs compared to other flooring options making the choice ideal for almost any budget. Look at most common floating floor installation problems and prevention.
Typical Problems Faced With Floating Floor Installations
For enthusiastic DIYers, floating timber floorboards are growing to be a trend due to the simplicity of installation and affordability. Even for professional installation, the straightforward process makes labor seamless, so costs remain budget-friendly. Go here for guidance on DIY floating floor installation.
With any type of timber floor installation, the floating floorboard can produce issues that need resolving. Some more common floating floor issues that you can face and ways to resolve the problem follow:
01. Wood Floor Peaking
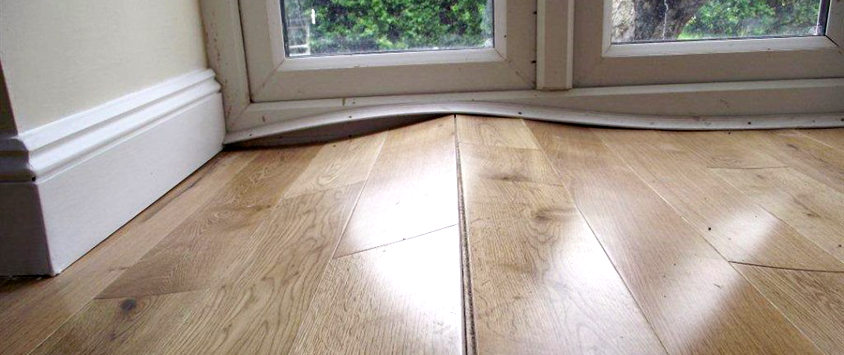
Peaking is when the floor expands at the joints after being pushed together. The pressure reacts by creating “high points” in these places. The suggestion is that these are easily corrected.
One reason for the result is that the molding surrounding the perimeter of the space is nailed to the flooring disallowing the floor to expand into the area. Floating timber floorboards will not be glued or nailed to the existing material or the moldings.
The timber planks are flexible, allowing them to naturally contract/expand depending on the humidity and the weather in the space. If these do not have the freedom to do this, the high points result in the joints. The solution is to find the obstacle creating the problem and try to fix it so the timbers can even out.
02. Wood Floor Buckling/ Warping
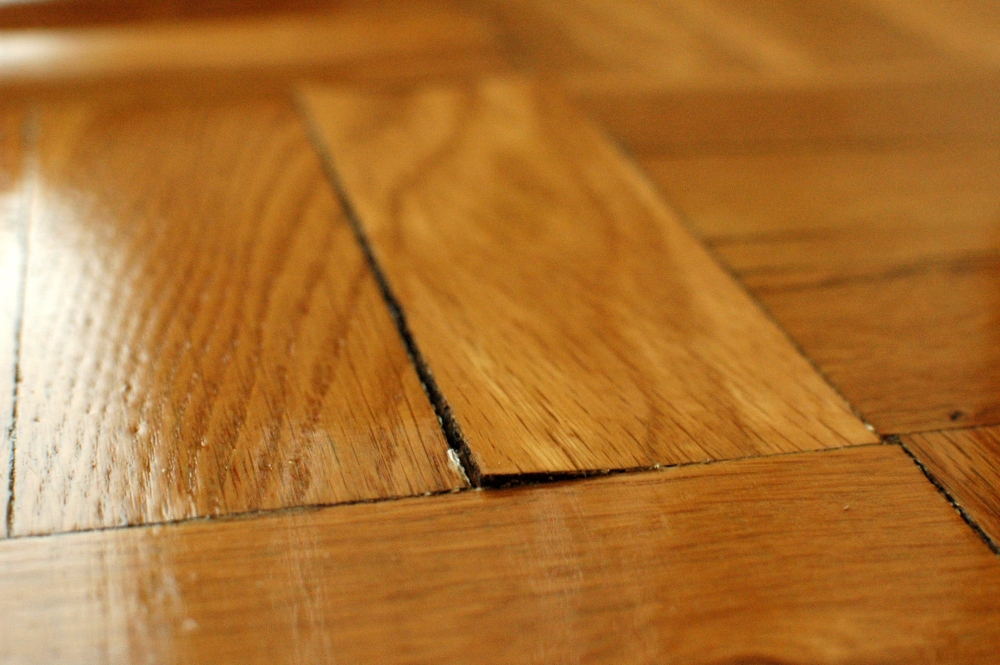
Buckling/warping can develop if the subfloor is holding an excess of moisture, or the atmosphere is carrying a high level of humidity. Instructions indicate not to wet mob timber floorboards to avoid the potential for this reaction. If it does occur, a solution is to place a heavy piece of furniture or another weighted object over the area to even it out.
Claims suggest this problem is challenging to fix with some cases where the only option is to replace those planks affected instead of trying to smooth them back to normal.
03. Mildew/Mold On Wood Floor
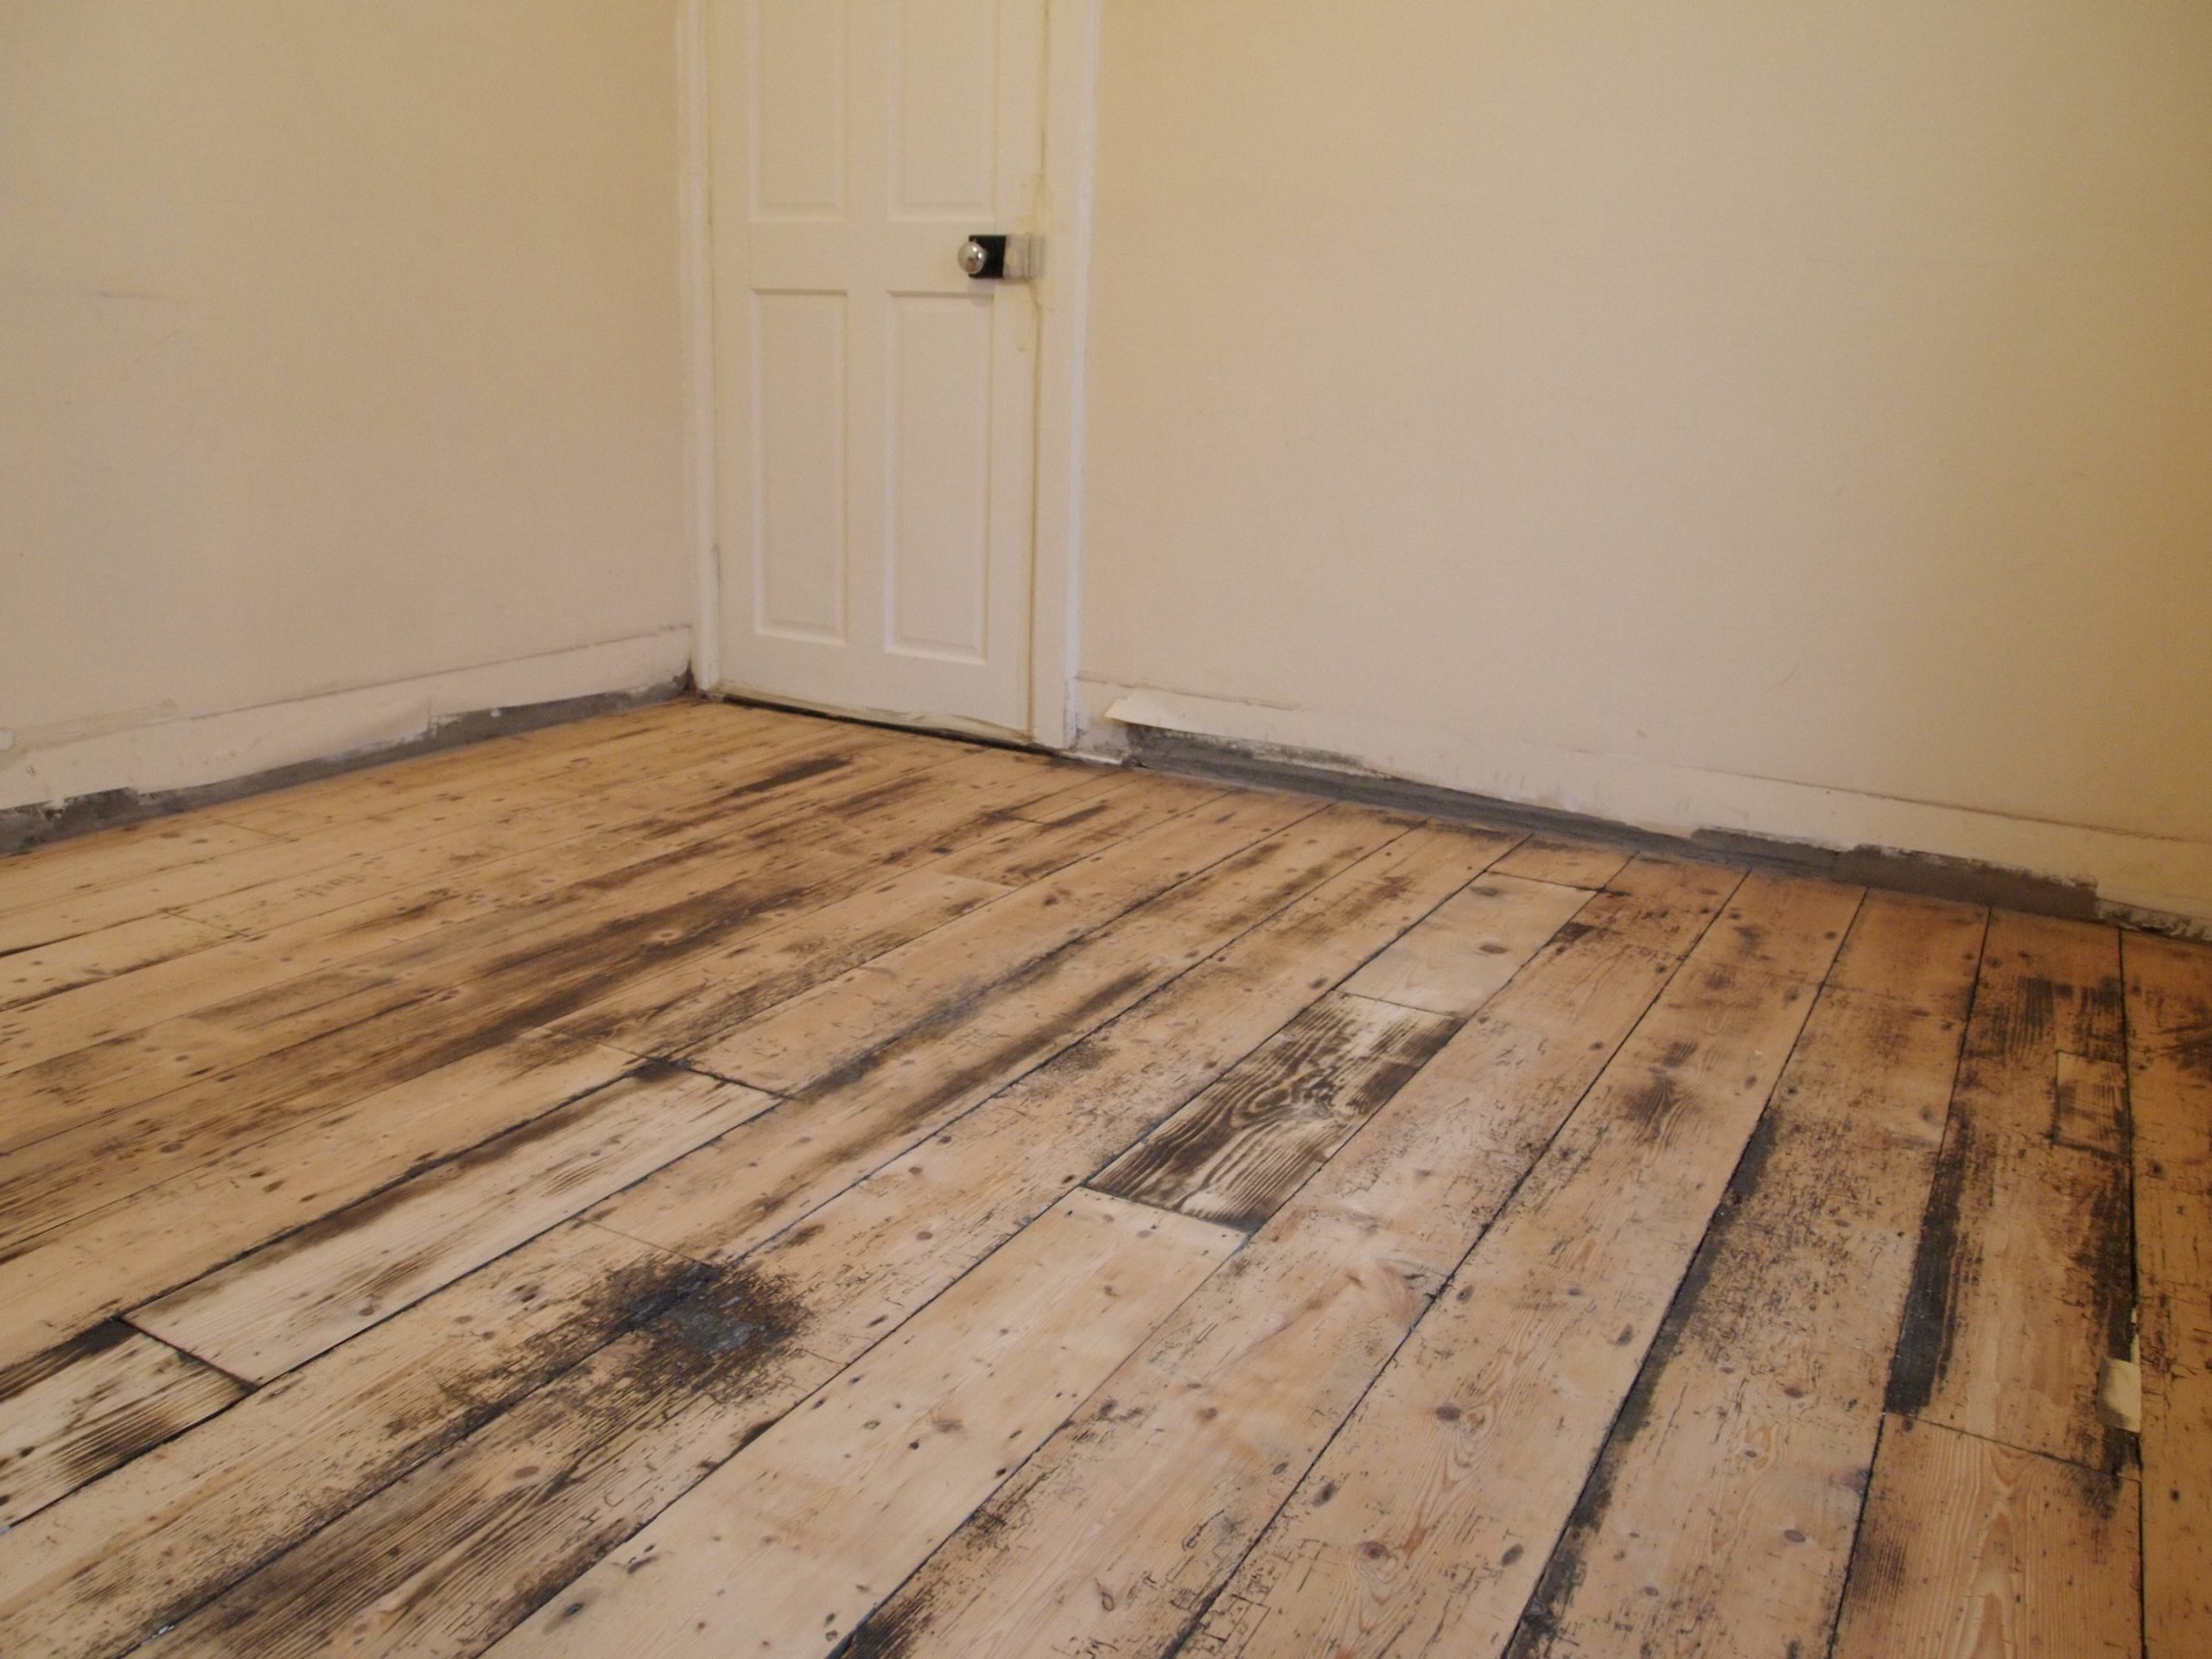
If you notice mold developing, there is a moisture issue. With timber floors, basic problems that develop include bacteria, mildew, molds, fungal spores, or other visible unpleasantries that degrade the material causing it to look awful. These materials are not the kind that you can refinish; these would need to be taken up and replaced.
Before taking that step, the underlying cause of the floating floor problem needs to be determined for a resolution. If you do not take care of what is causing the fungal issue, it will continue with the new flooring, with you installing new planks repeatedly until the root cause is remedied.
04. Wood Floor Chipping
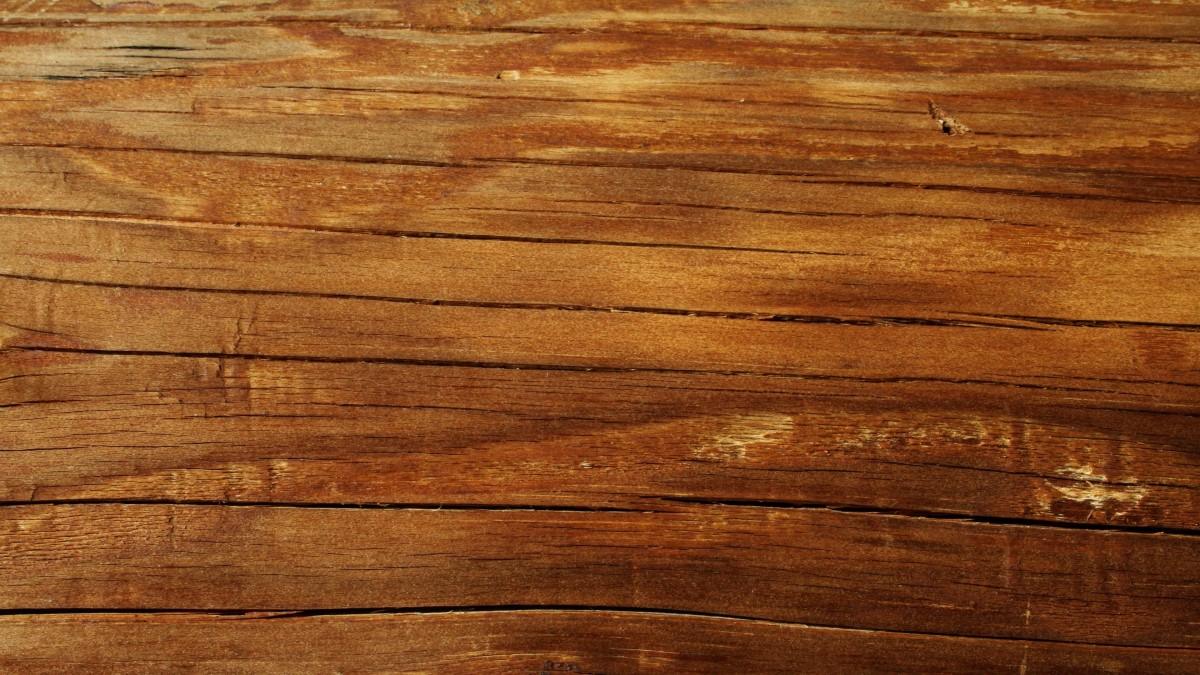
When you notice the chipping or cracking of planks, the most common cause for this is poor floating floor installation. Something to consider before opting to DIY an install is to watch tutorials and speak with professionals on steps to take before initiating the process, so the approach is optimum. If not, poor floating floor installation could result in one of many problems, resulting in higher costs, leading to an expert taking over.
These floorboards will easily crack if a mallet and tapping block is implemented in the installation process because these are a much thinner process than nail/glue materials. It would be beneficial to inquire about proper cleaning techniques. Several methods dissuaded for these planks include wet mops, “beater bar attachments” on vacuums.
With wet mops, you will have the mold and mildew issue discussed earlier, and the beater bar will quickly create chipping and breakage in the planks around the corners.
The best way to avoid chips and cracks is to ensure you have knowledge of the floating floor installation process and gain a thorough understanding of the care and maintenance of these floorboards’ different types of materials.
Preventing Floating Floor Problems With The Floating Timber Floorboards
The ideal fix to any floating timber floorboard problem is prevention. It is essential to take the necessary steps to ensure you have adequate floating floor installation knowledge, whether through tutorials or guidance from an expert in the industry.
It is also essential to learn proper care and maintenance techniques for the varied materials. If you do not feel comfortable with your knowledge, you should use the services of a professional for the floating floor installation.
The suggestion is that these are sturdy, durable, and strong once in place. Still, the materials suited to these techniques are a much thinner alternative to standard nail/glue options requiring completely different maintenance and upkeep.
All the common floating floor installation problems mentioned here are relatively easy to remedy generally. Still, you want to avoid floating floor issues out of the gate as a preference. If you do experience one of the issues, advice is to contact an expert to assess the situation to determine if repairs are an ideal way to go and, if not, move forward with replacement.
The reason for using a service provider for floating floor problems is to ultimately save yourself considerable time, effort, and perhaps more expense in the long run. There could be an issue making the installation process in your home a bit trickier, requiring assistance from a trusted pro.
Final Thought
Floating timber floorboards are growing in popularity. It is not a material but instead the method for installing the flooring. The technique can be used with laminate, vinyl, engineered hardwoods with individual planks forming together by interlocking the edges together to the point it merely lies flat on the underlayment. There is no gluing or nailing with the method, but instead, the planks are left to “float.”
Because of the simplicity, many people choose to DIY the process, saving much cost in labor at the same time. Albeit the subfloor must be relatively impeccable for it to turn out ideally. The suggestion is to invest in an exceptional foam underlayment to minimize what could feel somewhat hollow under your feet compared to nail/glue installation.
As a DIY project and for those hoping to renovate on a budget, these are the perfect project. The idea is to take the opportunity to watch the tutorials, perhaps speak with a professional in the industry who will generally supply and install floating timber floorboards to get a feel for proper floating floor installation as well as learning adequate care and maintenance of the different materials suited to the technique. Once you feel prepared, it’s a matter of “clicking and locking” your way to a beautiful floor.
If you’re a proficient, do-it-yourselfer and have the appropriate materials and preparation, installing a wood floor is doable. Before you begin, follow our step-by-step instructions –
Image Courtesy: Image 2


