
You will perform your best when you are sitting in the most comfortable position. Similarly, any machine will perform the best on installing it accurately. If not, the machine will cry out for maintenance more frequently. Similarly, the AC installation needs to be accurate!
You will select a AC with the best configuration, and decide the best location in your room, but your job is not over there. It is necessary to get the AC units properly installed to achieve the optimum performance. The performance of an AC unit installation depends on its accuracy!
So, acknowledge yourself with the technicalities of AC installation. Go through the following checkpoints before paying off all the money to the technician:

Window AC Unit Installation:
Window AC installation is like cooking a ready-to-make food, as it compromises of a single unit that is just fixed in the window.
Install the window AC unit in the symmetry of the window.
Install the window AC unit with a proper padding to absorb the vibrations. You can use at least 2-inch (50mm) wooden frame for padding the AC unit.
Caution: If the window AC installation is in an aluminium window, it will create unnecessary noises.
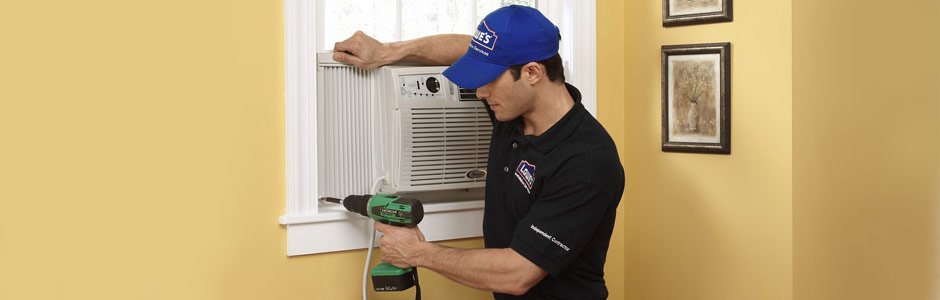
Courtesy – Lowes
Split AC Unit Installation:
Split AC has two parts: Indoor AC unit and Outdoor AC unit.
Indoor AC Unit:
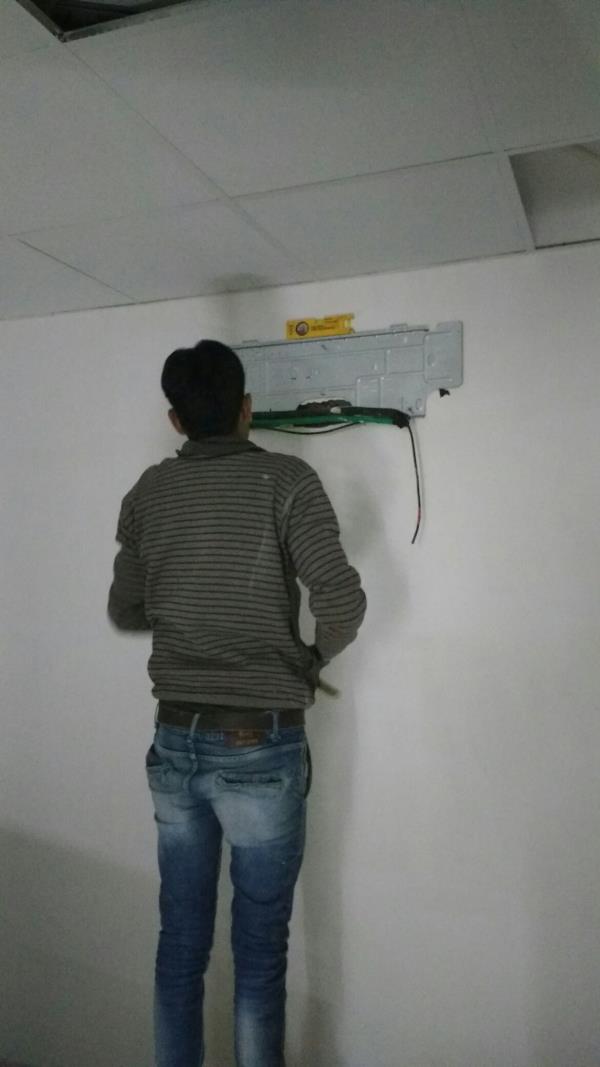
Courtesy – bizimages.withfloats
The indoor AC unit hangs on the base plate. We recommend screwing the base plate on the wall like sturdy surface. It is necessary for the plate to be in a true horizontal position for uninterrupted flow of water and coolant in the unit. You can check the Indoor AC installation horizontality by using a spirit level.
Caution: If the indoor AC unit installation is in a tilt position, the condensed water will not drain properly.
Fixing the Base Plate of Indoor AC Unit using Spirit Level

Drainpipes:
We know, water finds its own way. The condensed water from the indoor AC unit drains out through drainpipes. The routing of these drainpipes is very crucial.
It is very important to provide a vertical drop of 1feet immediately near the output of the indoor AC unit, to avoid reverse flow of water into the unit. A sloping drainpipe will also help to route the water to the drains.
Usually, technicians or AC installer conceal the drainpipes in the wall surface or furniture. So, always check the leakage before concealing the drainpipes.
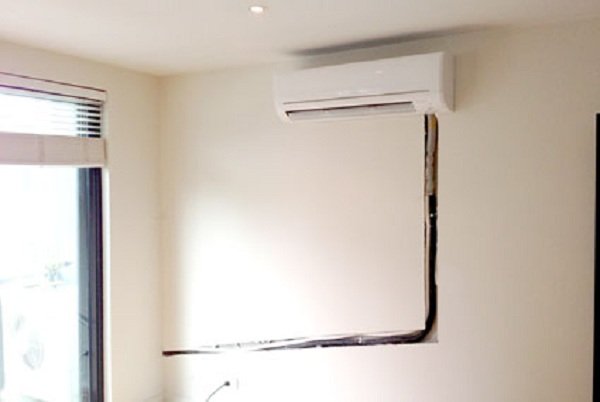
Providing Vertical Drop in Water Pipes
Courtesy – Current force
Caution: If there is no use of gravity by giving the water a vertical drop, then there are chances for condensed water to enter the indoor AC unit and resulting a continuous water dropping from the indoor unit.

Providing a Sloping Route for Water Drain Pipes
Courtesy – Current force
Copper Pipes:
The coolant from the outdoor AC unit travels in the indoor units through copper pipes. Copper pipes have to be short as far as possible. Make sure there are fewer bends and no leakage in the pipes.
All copper pipes should have adequate foam insulation. There should be no cuts or tears in the foam insulation.
If the length of copper pipes increases by 4feet (1200mm), then provide a support at every 4 feet (1200mm) distance to avoid sagging of pipes. Sagging of pipes can accumulate oil needed for lubricating the compressor.
Caution: AC copper pipe is the heart line on which cooling is dependent. Thus, any fault in these pipes will result in no cooling or bad cooling issues.
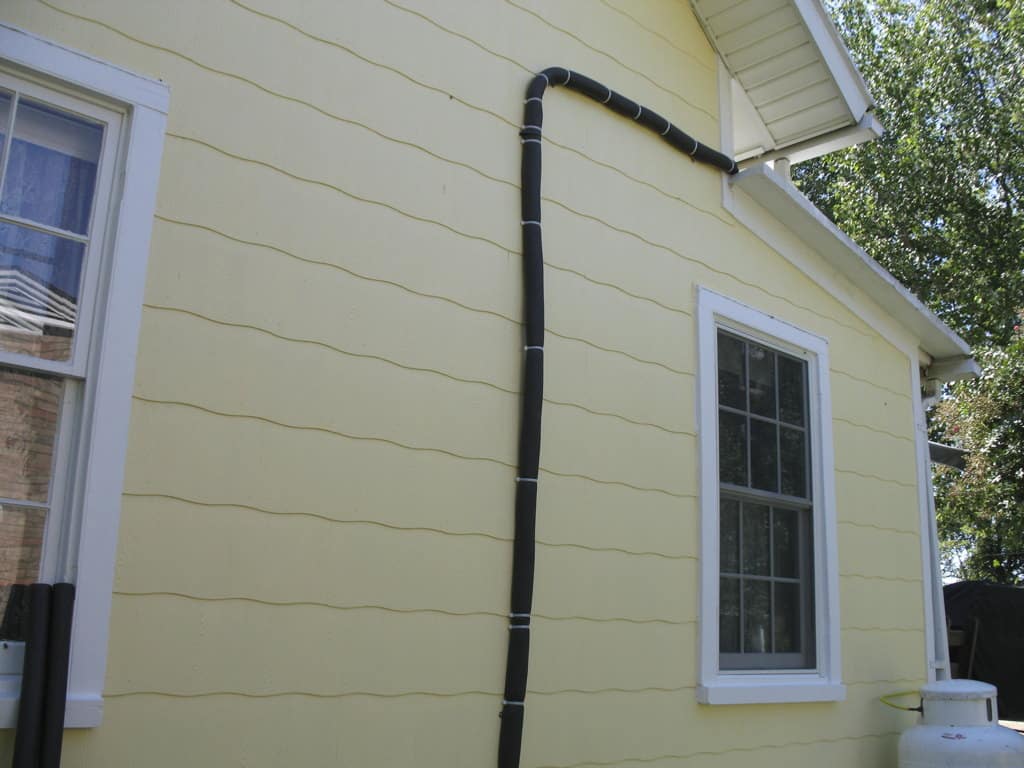
A Copper Pipe with Foam Insulation with Supports at a Very Small Interval
Courtesy- mye28
Outdoor AC Units:
AC installation also include the outdoor AC units and are noisy and generate vibrations. It is essential to place the units away from the internal spaces. It is helpful to fix the outdoor AC units with some padding and on sturdy brackets to absorb vibrations.
It is important to level the outdoor AC unit for uniformly distributing the oil to the compressor.
The outdoor AC units release hot air. Make sure there is no obstruction immediately at a distance of 2feet (600mm) from the front and 1feet (300mm) from the back for the proper circulation of air.
Caution: If you cover the outdoor AC unit, the heat will not be able to escape, resulting in heating up the compressor and early wear and tear of the AC unit.

Fixing an outdoor AC unit with a Bracket
Important Tip: Always document the routing layout of the AC unit. For example – It can happen that we drill into wall for any other purpose, we may encounter the concealed pipes of water. You can therefore avoid damaging the pipe and still drill in the wall if you have a photograph showing the exact location of piping.
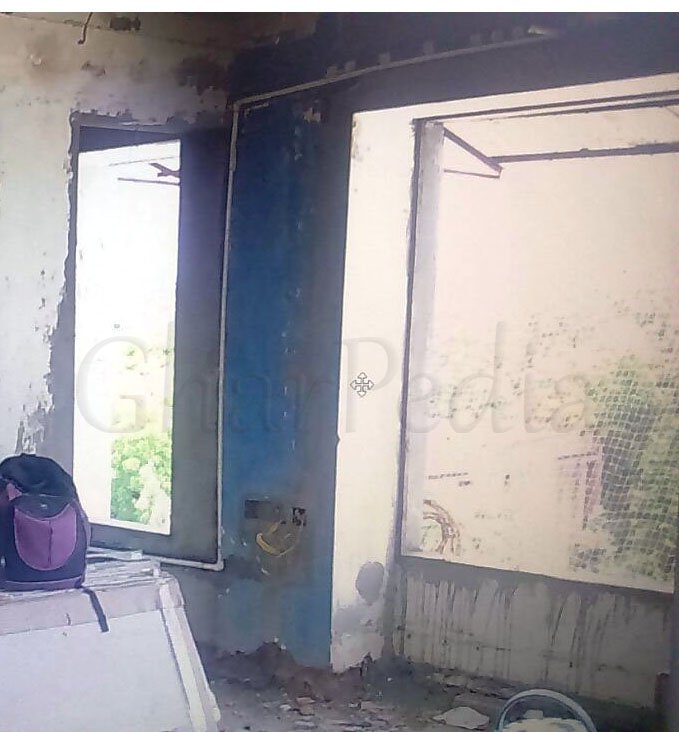
Documenting Pipe Routing Before Panelling and Fixing Furniture
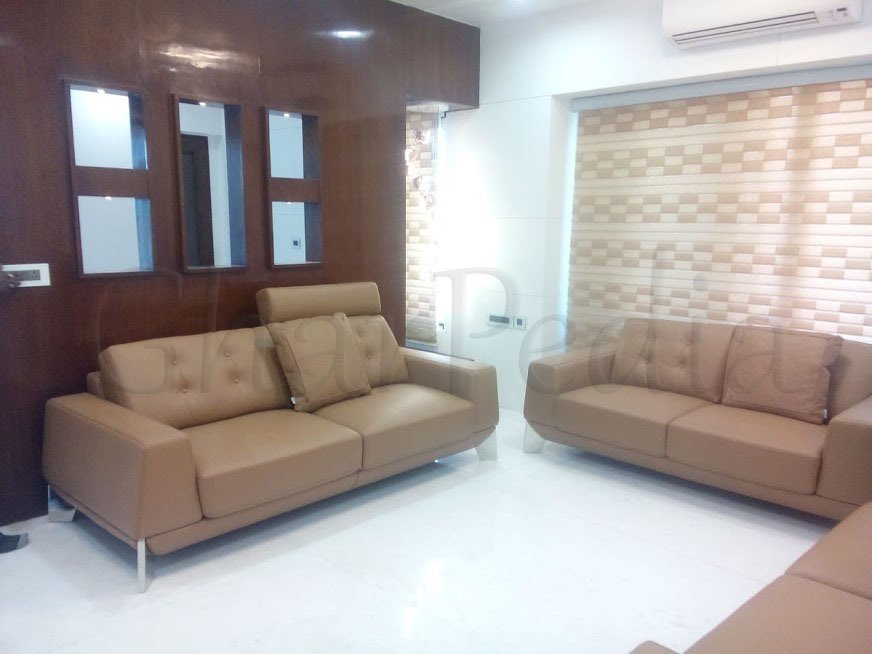
Same Space after Panelling the Wall with Screws without Damaging the AC Pipes
The AC installer or technician’s job is to install the AC as per the AC installation guidebook. However, while supervising him, go through these checks to assure proper AC installation.
Before saying the AC installer or technician a bye, run the AC to ensure if it works efficiently. Your smart supervision will give you a less maintenance demanding AC unit.
Also Read:
16 Tips To Keep House Cool without AC in Summer
Importance of Fresh Air in Your Home & Life!
Author Bio
Urnit Kaur – Urnit Kaur is an Architect based in Ahmedabad. She loves Design challenges and it helps her client’s to bring their thoughts into reality. She has been passionately involved in Architecture from designing projects to managing them on site since 2014. She has been part of Ahmedabad Heritage Dossier project, designing ISRO Bopal campus and currently working on other varied scale projects with Aakruti Architects. With her rich experience in field work, she shares tips and facts in her blogs about Architecture, Interior and MEP services. She believes learning should never stop, so she has developed a hobby of creating colorful home décor items by experimenting different materials and aesthetics.


