


Are you looking to upgrade your home’s insulation and boost energy efficiency? Well, Structured Insulated Panels (SIPs) could be the answer. These high-performance panels offer superior insulation, strength, and durability, making them an excellent choice for residential and light commercial buildings. In this blog, we will discuss tips for structural insulated panels installation for effective insulation in your home.
Installing SIPs might seem daunting for beginners, but with the right strategies and techniques, even DIY (do-it-yourself) enthusiasts can tackle this task like professionals.
Structural Insulated Panels Installation Tips
Read on to ensure a seamless and successful structural insulated panels installation project from start to finish!
01. Proper Planning and Design to Install SIP

Before embarking on your SIP installation project, collaborate closely with your SIP manufacturer and design team. They’ll help you create plans that integrate SIP panels seamlessly into your home. Imagine a cozy living room with perfectly aligned roof panels or a kitchen where every nook and cranny is optimized for energy savings.
SIP-friendly designs ensure dimensions and layouts align with standard panel sizes, minimizing waste and extra costs. It’s like having a custom-tailored suit – everything fits just right. Precise planning also accounts for windows, doors, and mechanical systems, eliminating the need for on-site cutting and potential hiccups.
While you can install the SIP yourself, it’s crucial to seek professional help in your area. Consider visiting raycore.com to check out their SIP supply and services. These experts have the knowledge and experience to handle your SIP project with precision, ensuring every panel is installed correctly for optimal performance. You wouldn’t want to invest a considerable amount on those SIP materials only to throw it away with poor installation.
02. Monitor Weather Conditions for Structural Insulation Panel Installation

When it comes to SIP panel installation, keeping a close eye on the weather forecast is a must. Ideally, you’ll want to schedule the project during a stretch of dry, mild days – think sunny skies and gentle breezes. Why? Wet conditions like rain or high humidity can wreak havoc on SIPs if you don’t take the proper precautions.
Imagine you’re mid-installation when an unexpected downpour hits. Without proper protection, moisture can seep into panel joints and cores, compromising insulation and even structural integrity down the road.
To be on the safe side, use thick tarps or temporary shelters to shield SIPs from precipitation during construction. Exposed edges are particularly vulnerable, so seal them up tight. Extreme temperatures are another consideration whether scorching heat or bone-chilling cold, unbearable conditions can degrade sealants and adhesives.
Work hand-in-hand with contractors to closely monitor forecasts and plan installations accordingly. A little weather flexibility goes a long way in ensuring your SIP system performs flawlessly.
03. Prepare the Site Adequately for SIP Construction

Proper site preparation is essential for a smooth-sailing structural insulated panel installation. Think of your foundation as the rock-solid base supporting your ultra-insulated dream home – any unlevel or off-square areas can throw a serious wrench in the works down the line.
For starters, take precise measurements before you start building the foundation. SIP manufacturers cut those energy-efficient panels to fit your specifications seamlessly. Therefore, even the slightest deviations can cause misalignments, gaps, and lots of headaches.
Next, clear the SIP construction zone of debris or clutter. SIPs are big, beefy components that require ample maneuvering space. Having a tidy, obstacle-free site is key for crews to ferry building materials and position those high-performance panels just right. With a laser-level foundation and prepped space ready to go, your SIP installation can progress smoothly.
04. Ensure Proper Handling and Storage of Structural Insulated Panels

The structural insulated panels are durable but must be handled with care to prevent damage. When storing them before installation, keep them in a dry, flat area elevated off the ground. If storing them for an extended period, cover them with a waterproof tarp. Moisture and warping can ruin SIPs if they aren’t properly protected.
During handling, use appropriate lifting equipment like forklifts or cranes to move the building materials. Never drag the panels across rough surfaces, as this can damage the exterior facings. Always lift them by their edges to avoid compromising the structural integrity of the insulating foam core inside.
Careless handling can easily scuff, dent, or puncture the panels. This creates air leaks and compromises the SIPs’ insulating ability. Taking simple precautions during storage and installation preparation ensures your investment in SIPs pays off with an airtight, well-insulated building envelope.
05. Seal Joints of Structural Insulated Panels Properly

Sealing joints is crucial for maximizing the energy efficiency of your structural insulated panel. Imagine trying to heat your living room with the window open; that’s what unsealed joints can feel like. Properly sealed connections prevent air leaks and moisture issues, ensuring continuous insulation performs at its best.
When joining panels, use high-quality sealants designed specifically for SIPs. Generously apply the sealant, filling each area, especially the tricky corners and intersections where gaps love to hide. And don’t forget about the exterior joints-where the panels meet the foundation, roof, or windows.
Thoroughly sealing these potential leak spots creates an airtight, moisture-resistant envelope around your cozy abode. With a little extra effort during SIP construction, you’ll enjoy unbeatable comfort and energy savings for years to come.
06. Check and Verify Panel Alignment

When constructing SIPs, precision alignment is non-negotiable. You’ll want those airtight wall panels and roof sections lining up correctly. Sloppy gaps between panels spell drafty disasters and a sky-high heating bill.
Before raising the first piece, mark the exact panel locations on your foundation or floor deck. Use a chalk line or laser level to strike a straight, accurate line – no guesswork is allowed when it comes to SIP alignment. As you install the panels, constantly cross-check to ensure that they follow your layout plans.
The tiniest misalignment compounds with each new section; soon enough, those troublesome gaps start forming, leaving plenty of space for cold outdoor air to sneak inside. When that happens, the final construction won’t be the cozy, energy-efficient, sealed castle you were hoping for.
07. Utilize Appropriate Fasteners for Efficient SIP Installation
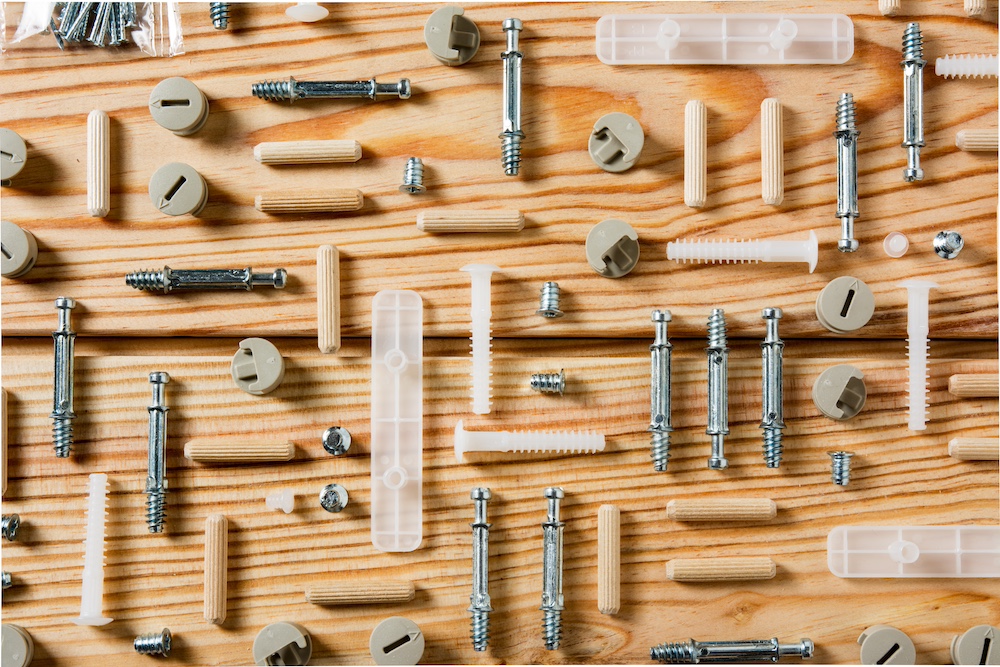
Securing your SIPs with the right fasteners is also crucial for a sturdy, energy-efficient home. Don’t just grab any old nails or screws – using the manufacturer’s recommended fasteners is vital. These specialized components, like unique screws, nails, and splines, are engineered to work seamlessly with SIP construction.
When installing fasteners, follow spacing and placement guidelines to the letter. Overtightening can crush the insulating foam core, reducing energy savings. On the other hand, under-tightening leaves loose connections, compromising structural strength. It’s a delicate balance! With fasteners, precise depth and angle make all the difference in preserving your SIP system’s full potential.
08. Incorporate Electrical and Plumbing Services

Making room for electrical wiring, plumbing pipes, and (Heating, Ventilation, and Air Conditioning) HVAC systems in your SIP home takes some strategic planning. But don’t sweat it – with a bit of foresight, you can easily incorporate these vital services without compromising energy efficiency.
Many SIP manufacturers offer panels pre-cut with chases – built-in channels running through the insulating foam core. These handy pathways provide a seamless way for electricians and plumbers to run wires and pipes while maintaining the panel’s insulative properties.
If chases aren’t pre-cut, map out utility routings with your contractors ahead of construction. With their input, you can plan precise chase locations to avoid unnecessary cuts that could create air leaks. When strategic cuts are required, use the right tools and seal any openings with caulk or foam to preserve the home’s airtight envelope.
Close coordination with electricians, plumbers, and HVAC technicians is also essential. These experienced professionals understand unique SIP requirements. They’ll help you install your SIP panels without disrupting the insulation and structure of your home or commercial building. Their know-how, combined with your thoughtful planning, paves the way for a comfortable, ultra-efficient SIP sanctuary.
09. Conduct Thorough Inspections of Structural Insulated Panel Installation

Once you complete your structural insulated panel installation project, don’t just move your furniture in and call it a day. Taking time for a thorough inspection is an absolute must for ensuring your new home delivers maximum energy efficiency and comfort.
Examine every joint, corner, and connection point for even the slightest gaps or misalignments. These areas are prime culprits for air leaks that can undermine your SIP system’s insulating power. Proper sealant application is also crucial, so double-check that to ensure you don’t miss any spots.
However, visual inspections alone won’t cut it. To really assess airtightness, schedule a blower door test with professionals. This diagnostic tool quite literally sucks the air out of your home to pinpoint any drafty leak points. Identifying and sealing up any envelope openings will guarantee your SIP investment operates at peak performance for decades of energy-saving and cozy living.
10. Adhere to SIPs Manufacturer Guidelines

Sticking to the manufacturer’s guidelines is an absolute must. These tips aren’t generic; the manufacturers design the instructions based on extensive research and testing. They’ve cracked the code for optimizing airtightness, ensuring continuous insulation and structural integrity. Every specification, from fastener patterns to sealing methods, plays a crucial role in unlocking your home’s full high-performance potential.
In addition to the installation guidelines, the manufacturers provide technical resources for handling curveballs during SIP construction. Whether it’s navigating tricky corner framing or troubleshooting moisture barriers, following these guidelines ensures your investment delivers maximum comfort and savings year after year.
Conclusion
Successful installation of SIPs enhances the energy efficiency, durability, and overall performance of your home. The above comprehensive tips aim to provide the knowledge you need to ensure your Structural Insulated Panels (SIP) Installation project meets the highest industry standards of quality and functionality. With careful planning and adherence to manufacturer’s guidelines, you can transform your dream into a home reality. Remember, while you can install the SIPs yourself, it’s always a good idea to recruit professional help for better results. This cozy, comfortable haven will save you money on energy bills for years to come!
You may also love to read the following blog:
Home Insulation: A Comprehensive Guide to Climate Controlled Comfort


