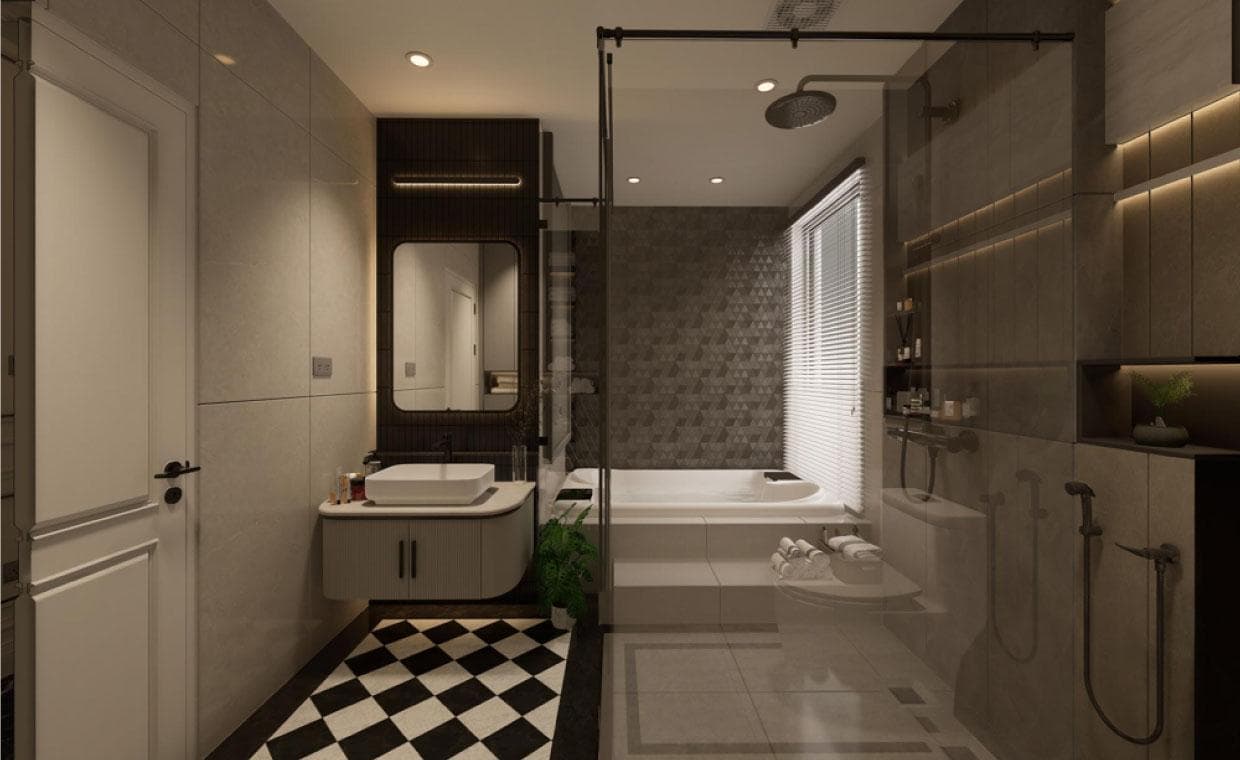
Designing a small, functional, stylish bathroom is like solving a jigsaw puzzle. Small spaces have unique challenges – limited storage, restricted layout options, and fitting essential fixtures without overcrowding. Fortunately, technology has transformed how we approach these projects. With bathroom rendering, homeowners and designers can now use 3D visualization tools to experiment with layouts, test design choices, and plan spaces with precision before any actual work begins. Let’s explore how to transform a small bathroom using 3D visualization.
Understanding the Constraints of Small Bathrooms
I. Common Challenges
Small bathrooms come with their own set of hurdles. Limited space means finding creative solutions to fit essentials without overcrowding the room. Often, small bathrooms need more storage space, leading to cluttered countertops and cramped spaces. Additionally, fixtures like sinks, toilets, and showers must be carefully positioned to allow comfortable movement. Finally, lighting and ventilation are typically limited in small bathrooms, making the space feel even more confined and less inviting.
II. Importance of Efficient Space Utilization
Every inch must be used efficiently to make the most of a small bathroom. Efficient space utilization is the cornerstone of functional small bathroom design. For instance, installing wall-mounted storage instead of floor-based cabinets frees up floor space. Similarly, selecting fixtures that save space and serve multiple functions can create a sense of openness and practicality. When every element is carefully placed, even the smallest bathroom can become both functional and visually appealing.
Role of 3D Visualization in Bathroom Design
I. What is 3D Visualization?

3D visualization is a design technique where software creates realistic, three-dimensional models of spaces, showing exactly how different elements will look and fit together. This technology allows designers and homeowners to view various layouts, colors, textures, and fixtures in a virtual space for bathroom renovations. 3D bathroom rendering brings ideas to life in a digital model, providing the chance to try out different arrangements and aesthetics without making a single physical change to the space.
II. Benefits of Using 3D Visualization Tools
- Accurate Space Planning: 3D visualization tools help you accurately arrange fixtures, cabinets, and other elements, making sure each piece fits perfectly.
- Visualization of Design Elements: By experimenting with colors, materials, and finishes, you can see precisely how different design choices will look in your space before committing to them.
- Facilitates Communication: Whether working with a contractor or designer or sharing your vision with family members, a 3D model can convey ideas clearly, reducing misunderstandings and ensuring everyone shares the same vision for the project.
Steps to Transform a Small Bathroom Using 3D Visualization
I. Assess the Current Space
Start by taking accurate measurements of the bathroom. This includes the width and height of each wall and the location of any existing windows, doors, and plumbing. These dimensions form the basis of your digital model, ensuring that the 3D representation is as close to reality as possible. Don’t forget to make note of elements that may need to stay in place, like pipes or built-in fixtures.
II. Define Functional Requirements
Think about what the bathroom needs to include to serve its purpose effectively. You’ll likely need a sink, toilet, shower, or bathtub. However, you may also want storage solutions, extra lighting, or decorative features. Listing these needs will help you prioritize when space gets tight. For example, if storage is a major priority, you might consider shelving solutions or under-sink cabinets that don’t take up floor space.
III. Create a Digital Model

Using the 3D visualization software of your choice, input your bathroom’s measurements to create a digital model. This step brings your space to life, allowing you to experiment with layouts, fixture placement, and storage solutions. You can try different options without moving a single item, giving you flexibility and confidence in your design decisions.
IV. Experiment with Layouts
Here’s where the real fun begins. The software lets you move fixtures, cabinets, and decor elements around to test various layouts. Try a few different configurations to see which feels most comfortable and functional. For example, consider placing the sink near the entrance for easy access or see if a corner shower frees up more floor space. Play around with layouts until you find one that provides good flow and meets your needs.
Also read: 6 Common Types of Bathroom Layouts to Consider for Your New Home
V. Select Materials and Finishes
Once the layout is set, use the 3D software to test materials, colors, and finishes for your walls, floor, and fixtures. Visualizing these choices digitally helps you understand how different materials and colors interact, enabling you to make confident choices without committing to costly changes. You might discover that light-colored tiles make the room feel bigger or that a textured wall adds visual interest without overcrowding.
VI. Review and Refine the Design

Finally, take a step back and evaluate your digital model. Check for practical concerns, like ease of movement and accessibility, as well as aesthetics. Make any necessary adjustments to the layout or finishes until you’re happy with the result. When satisfied, you’ll have a complete plan ready to guide your renovation, giving you peace of mind and a clear roadmap for success.
Practical Tips for Small Bathroom Design
To make the most of your small bathroom, consider these practical tips:
- Utilize Vertical Space: Install shelves, cabinets, or hooks higher up on the walls to keep floor space clear. Vertical storage greatly uses unused wall areas, creating extra room without impacting movement.
- Opt for Space-Saving Fixtures: Compact or wall-mounted fixtures can open up much space. For example, a wall-mounted toilet or a floating sink can make the floor more spacious.
- Incorporate Light Colors: Light colors make a room feel larger and more open. When selecting tile, paint, or other materials, consider whites, creams, or pastel shades that reflect light and create an airy atmosphere.
- Use Mirrors Strategically: Mirrors reflect light and add depth, helping to create an illusion of a larger space. Place a mirror above the sink, or add another on a nearby wall for maximum effect.
Conclusion
Transforming a small bathroom into a functional, appealing space is no small feat, but it’s achievable with the right tools and approach. Using 3D bathroom visualization, you can experiment digitally with layouts, materials, and fixtures, avoiding costly mistakes and making confident design decisions. By following the outlined steps and applying these practical tips, you’ll be well on your way to creating a small bathroom that doesn’t just work – it shines.
Also Read: Green Upgrade: 20 Eco-Friendly Bathroom Ideas to Transform Your Space


