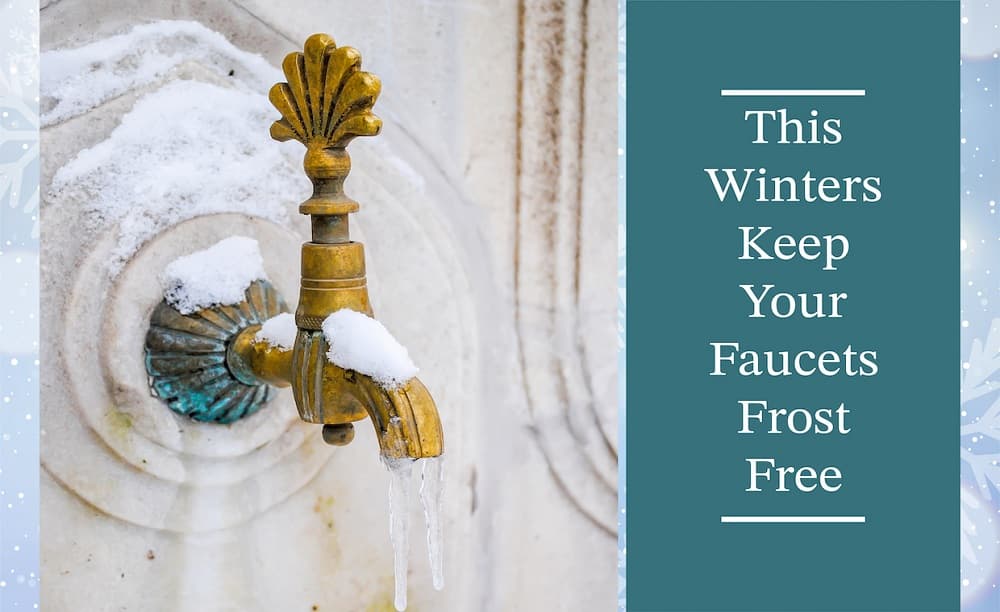
“Winterize outdoor faucets” is a warning not to be taken for granted. A frozen outdoor faucet is the worst nightmare.
Winters come with beautiful and scenic views and to enjoy the same, one has to winterize his or her house well in advance. One of the most important elements here is to winterize your plumbing.
Do you know that cold temperatures during the winter season can lead to the bursting or breaking of pipes in your home? Yes, temperatures of a frigid winter cause frozen pipes outside, leading to severe damage to your home due to a burst pipe or a broken joint. However, the good news is that you can prevent all these predicaments by either winterizing your outdoor faucets (taps) or replacing your outdoor water faucet with a frost-proof spout.
Yvonne Jeffery (2004) in his book ‘The Everything Fix-it Book’ agrees that, “The easiest way to deal with frozen pipes is to prevent them. Before the cold season, inspect all of the plumbing pipes that lead into and through the house.”
How? and I’m not a plumber? Is that what you are asking? Don’t fret; you’re at the right place. After reading this article by Gharpedia (ghar=house), you’ll have all you need to know about outdoor frozen faucets, including;
- The temperatures at which faucets freeze
- Why you should winterize your outdoor faucets
- How to winterize your outdoor faucet
- How to know if your faucet is freeze-proof and,
- How to fix a frost-proof faucet
Before we jump right in here’s an article you must have a look at to be clear with all the terms used further.
At What Temperatures Do Outdoor Faucets Freeze?
Unlike the interior pipes, which are safe at cold temperatures as low as 21˚F (-7˚c), outdoor faucets freeze even when the temperatures are at 32˚F (0 ˚c) or below for about six hours. They’re more prone to freezing because they don’t receive radiant heat from the house.
Why Should You Winterize Your Outdoor Faucets?
In most cases, pipes in the home get heat from the HVAC system and are also insulated from cold, whereas the line connected to the outside water faucet is susceptible to freezing conditions.
Whenever the temperature outside drops below the freezing point, the water in the pipes freezes and expands, resulting in a pipe burst. And that’s why winterizing outdoor faucets come in handy.
How Do You Winterize Outdoor Faucets?
Winterizing outdoor faucets is not rocket science. With the right tools, materials, and the guide below, you’re set to go. Here is how to winterize outdoor faucets like a pro.
What Do You Need?
- Channel-lock pliers
- Bucket
- Insulated faucet cover

If you are not familiar with the tools and their names, check out the below article:
Steps to Winterize Outdoor Faucets
Firstly, Take off The Hose Pipe
- Remove the garden hose attached to the outdoor spigot (if there is one) and drain the water in the hose.

- Then, coil the hose up and keep it in a dry place.

Secondly, Disconnect The Flow of Water
- Check for the outdoor faucet shut-off valve on the water pipeline connecting to the outdoor faucet.
- Once you locate the outdoor faucet valve, turn it off to further prevent any flow of water in the outdoor faucet pipe.

Thirdly, Drain the Spigot and Valve
- Open the outdoor spigot to let the residual water drain out from the pipe.

Note: If the water continues to trickle without stopping, it is an indication that your indoor shutoff valve is defective and needs to be replaced.
- You need to open the valve to drain it. Hold a bucket under the shutoff valve, and use pliers to take out the bleeder lid on the valve.

- Drain all the residue water from the pipe into the bucket, and then install the bleeder cap, ensuring that you snugly tighten it.
Lastly, Shield the Faucet with an Insulated Faucet Cover
- Onto the faucet, add a faucet cover or insulated faucet sock. Even though the covers don’t produce their heat, they trap the heat radiating from your house; that’s enough to prevent freezing and bursting of the faucet, especially if you’ve followed the steps recommended for draining the pipes.
How to winterize outdoor faucets, concludes here. However, have you wondered about a permanent solution to this problem of winterizing faucets? You can prevent your outside faucet from freezing by installing a frost-proof faucet instead of the standard one. David Griffin (2006) in his book, ‘Black and Decker Plumbing 101 suggests, ‘If you live in a part of the world where sub-freezing temperatures occur for extended periods of time, consider replacing your old sillcock (outdoor faucet) with a frost-proof model.’

Wondering how it’s done? Don’t fret; below are the steps for installing a frost-proof faucet like a veteran.
How Do You Know If Your Faucet is Freeze-Proof?
Freeze-proof faucets are nearly identical to conventional faucets, except that they have a longer pipe connecting the shutoff valve and spout. The longer pipe extends inside the house, where the temperature is higher than the outer temperature, preventing water from freezing. Thomas J. Elpel. (2005) in his book Living Homes – Integrated Design & Construction, defines frost-free faucets as faucet that has a handle outside the building, but the valve is inside the building, safe from freezing.

Additionally, a frost-free outside faucet is installed at a downward angle so that water drains off easily and does not freeze inside.
If you want a freeze-proof faucet to solve the freezing issue, here’s a step-by-step guide. However, if DIY is not your thing, then seek professional help.
Things Required for Installing a Frost-Proof Faucet
Tools/ Equipment
- Screwdriver
- Hacksaw or Tubbing cutter
- Channel-lock pliers
- Tape measure
- Caulk gun

Materials
- Corrosion resist screws
- Frost-proof faucet
- Emery cloth or sandpaper
- Exterior caulk

Step-by-Step Guide for Fixing a Frost-Free Faucet
Step 1: Shut the Water Flow
- Turn the water off in the pipe extending to the outdoor faucet by turning off the control valve.
- If the pipe doesn’t have its control valve, you’ll have to turn off the main water supply to the whole house.
- Then, turn on the outdoor faucet and drain the remaining water from the supply pipe.
Step 2: Remove the Old Faucet
- To take out the old outdoor faucet, you’d need to remove the screws first.
- Then unscrew the spout from the pipe’s end by turning it counterclockwise. A pair of channel-lock pliers would come in handy to twist the faucet’s spout.
- Now, from the exterior side, pull out the faucet from the wall.
- Check whether the new frost-free faucet is the same size as the old one; the diameter and length of the pipe should match the new faucet.
Step 3: Prepare the Pipe for Firm Connection
- Since the frost-proof faucet has a long valve stem on it, you need to cut the pipe where it would connect with the faucet’s tube. Use a hacksaw for PVC, galvanized steel, or a tubing cutter for copper pipe.
- Remove and dispose of the cut-off piece of the pipe leading to the outside of your house.
- Using emery cloth or sandpaper, deburr the outside and inside of the water supply pipe’s cut end.
- Ensure that the pipe is smooth and clean to allow for a firm connection between the pipe and the new frost-proof faucet.
- At the push-in distance stated by the manufacturer, mark the pipe’s end; it is usually an inch from the pipe’s cut end.
Step 4: Connect Pipe and The Faucet
- Insert the frost-proof faucet from the outside through the hole, and then place the spout right-side-up.
- Push the end of the faucet’s fitting from inside onto the pipe. Push it until it reaches its push-in mark. Doing so would ensure that the pipe is inserted fully into the fitting.
- Are you using the standard threaded-type faucet? If yes is your answer, then first, you need to screw on the transition fitting of the push-fit to the faucet tube before you attach it to the water supply pipe.
- Then, use corrosion-resistant screws, which usually come with the faucet, to secure the faucet flange on the wall surface from the outside.
Step 5: Test the Faucet
- Now, test the faucet by allowing water to run out of the faucet’s spigot freely.
- Close and open the faucet spigot several times to confirm if it is properly working.
- Also, check the connections where the water pipe connects to the faucet tube for any leaks.
- After confirming that the faucet is correctly working, use exterior caulk to seal the joint between the house wall and the faucet flange.
Overall, winterizing your outdoor spigots is a must to keep your pipes from bursting. It is up to you whether you want to do the winterizing procedure every year or switch to a frost-free faucet.
There is no other option than to winterize your outdoor faucets well in advance. It is not rocket science. One can easily do it by following the steps given in the article. Hence, it is in your best interest to winterize outdoor faucets before it starts snowing and then enjoy the scenic view with a cup of hot chocolate.
Image Courtesy: Image 2, Image 7, Image 8, Image 9, Image 11
Author Bio
Jennifer Kiminza – Jennifer Kiminza is a content writer and content marketing professional at Hub Spot, an inbound marketing and sales platform that helps companies attract visitors, convert leads, and close customers. Previously, Jennifer worked as a marketing manager for a tech software startup. She graduated with honors from Nairobi University with a dual degree in Business Administration and Creative Writing.


