


Tiles play an important role in the interior as well as the feel of the house. Nowadays, tiles are not only used on the floor but also used on the wall. Normally, wall tiles are used in the kitchen, bathroom, etc. as they give aesthetic look to your home and protection against dampness in the house and of course they are easy to clean and maintain.
What do you mean by Dado?
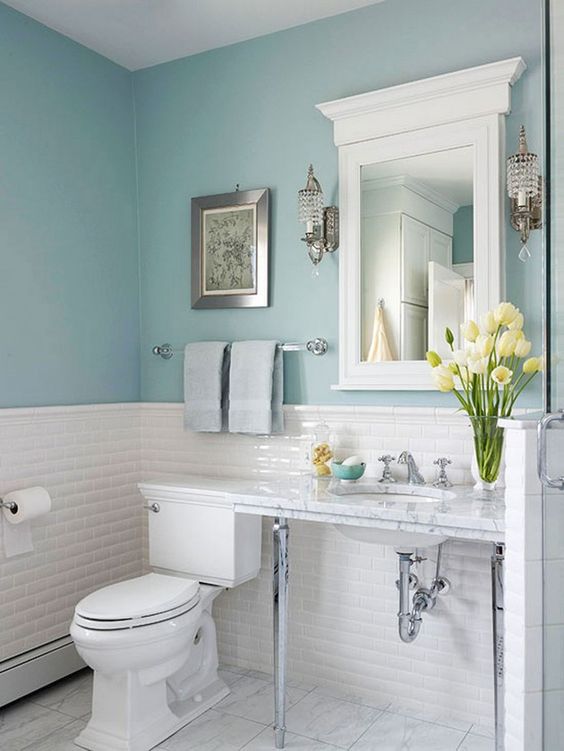
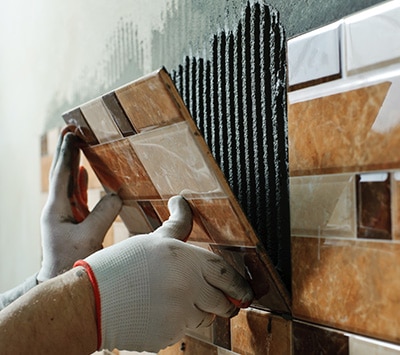
When the tiles are laid on the lower portion of walls of the room, especially decorated differently from the upper portion, it is called dado. Dado tiles are mainly provided in kitchen and bathroom areas. These wall tiles protect the walls from frequent human touches and in bathroom, it protects the painted or plastered walls from water splashes during washing and bathing. Sometimes it is also used in bedroom and living room, as it prevents the wall from being damaged by the furniture. Ceramic tiles, vitrified tiles, glazed tiles, etc. are commonly used as dado or wall tiles apart from some natural stones. Generally, they are applied at a height upto 3 to 7 ft (0.9 to 2.1m) on the wall and sometimes for full height.

Here we have given a few Important Points which you Need to Keep in Mind while doing Dado Tiles Work
Do’s
- Before you start the dado tiles work, make sure that the vertical surface for dado work is rough, fairly in plumb and cross walls are at right angles with each other.
- Complete all the plumbing and electrical works before starting the dado tiles installation.
- Mark the position of taps, bottle traps, soap holder, etc. before starting the dado tiles work.
- Before starting the tile installation, mark and draw the tiles with chalk on the wall.
- The tiles should be soaked in water at least 2 hours before the tile installation.
- Make sure that the surfaces on which you are planning to install wall tiles, are thoroughly dry before fixing and are free from all defects.
- All wall substrate must be rigid. Excessive movement in the substrate may crack or loosen the tile and grout as dado tiles are not flexible.
- First, lay dado tiles than on the walls.
- First, lay the upper tiles (i.e. start from top) and adjust the height in the bottom most layer if levels are varying due to the slope in the floor.
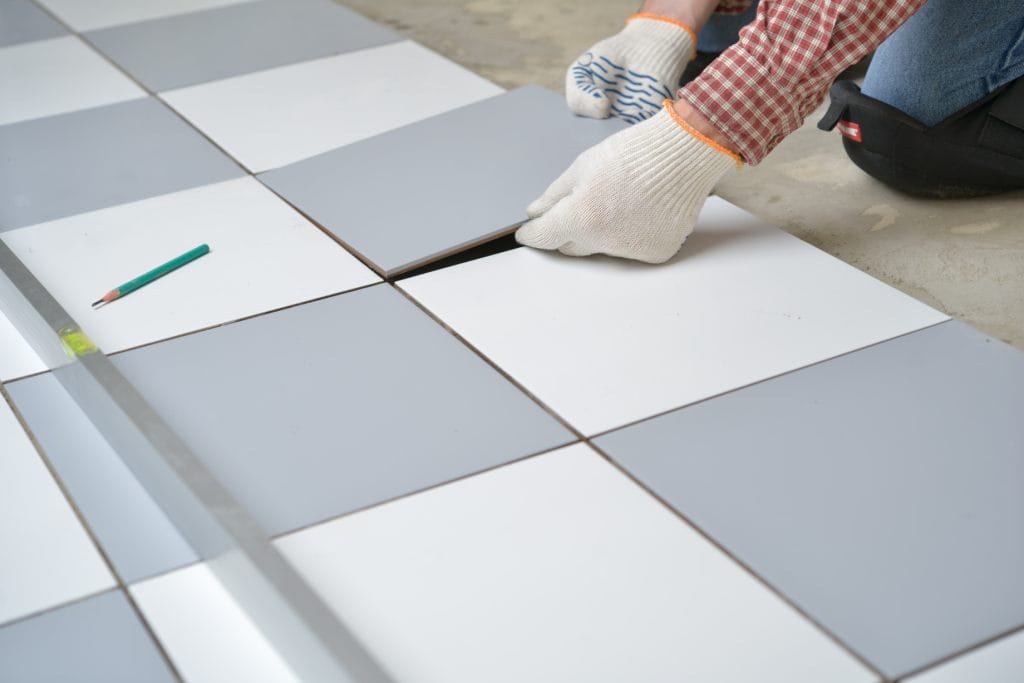
- Always spread all the tiles in the room, to check whether all the wall tiles have the same colour, pattern, and shade. If they are different, change it or make sure that you use only those who look one and same.
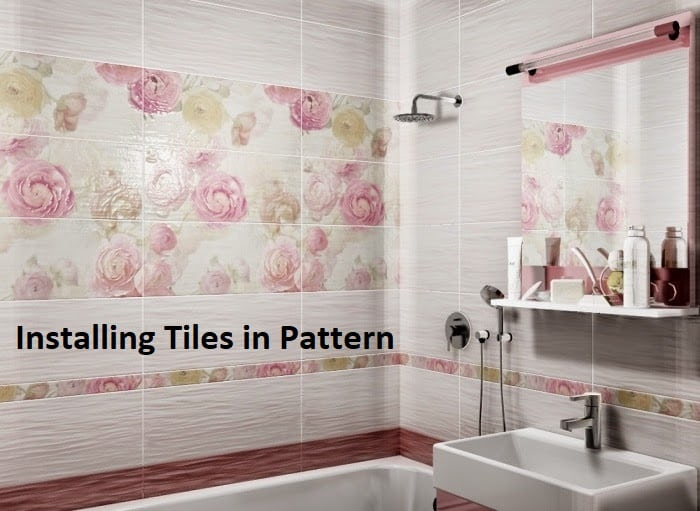
- If tiles have a pattern in design, lay them properly as per design before fixing so that the design is achieved.
- Always match the lines of tiles vertically and horizontally.
- At the joints of two surface, chamfer diagonally otherwise the thickness appearing at the meeting point of two tiles will not give a good look.
- Use diamond cutter for cutting the tiles.
- Install the tiles on the wall as per level of the wall.
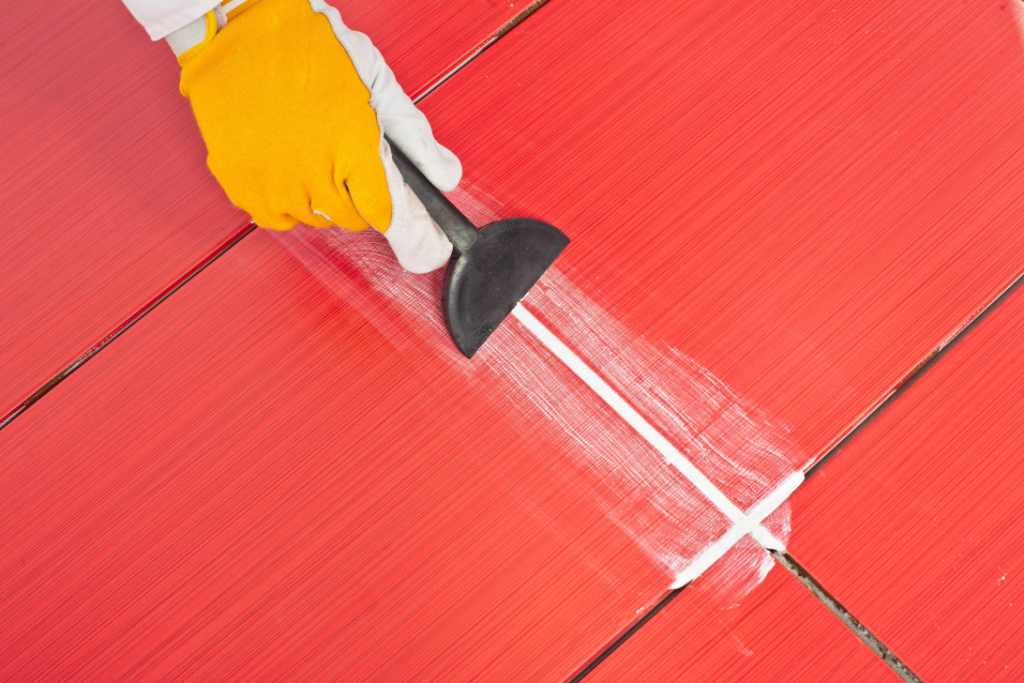
- The joints between two tiles should be minimum. Remove the excess cement from joints and refill the joints with white cement.
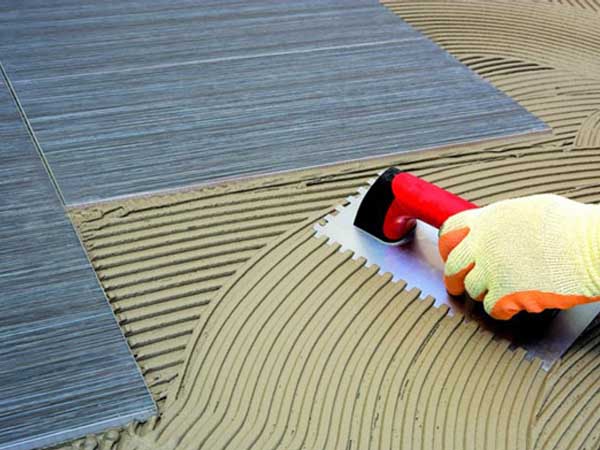
- The mortar bedding should be compacted properly to avoid voids.
- If you have to cut tiles due to wall size, which is not in proportion of tiles sizes, decide where to fix the irregular size.
- Provide dado height upto 3 to 7 ft (0.9 to 2.1m) ) i.e. up to lintel level on the wall or you may fix full height, too.
- In case of window portion, if the sill is not provided on the bottom side, ensure that the tiling has an equal slope and overlaps on vertical tiles.
- If you are planning to fix the vitrified tiles on the wall you need to use cementitious adhesives. Cement grout may not work, if not done skillfully.
Don’ts
- Do not accept any material on site without checking.
- Do not use the tiles of more thickness as it may get popped up or fall due to weight.
- Do not use too large size tiles for dado work.
- Don’t use a metal hammer for tapping the tiles otherwise, it may get crack.
- Do not use tiles with damaged corners.
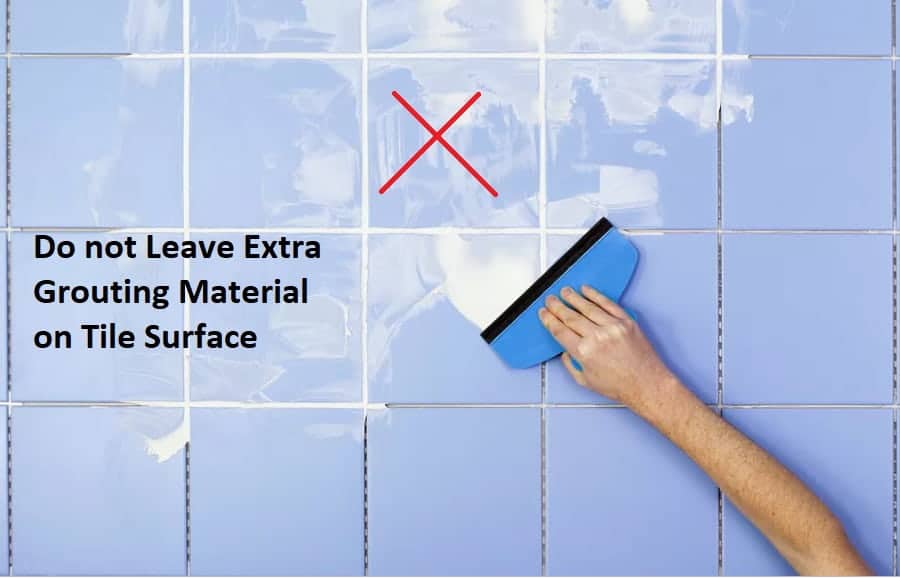
- Don’t leave extra grouting material on the surface of the tiles. It must be wiped off with a wet sponge.
- Do not use grout which has already set. Hence do not prepare grout more than needed for a part of day’s work.
Care therefore should be taken while installing tiles; otherwise it may cost you in the future.
Always buy and store some extra tiles as incase of any emergency in future, the same batch and design may not be available, if you want to replace some tiles due to repairs in plumbing lines.
Also Read:
Precautions and Repairs of Buckled Tiles
Expansion Joints in Tiles: Reasons & Consequences!


