


Drywall is the ceiling and wall material used for about 90% of all new home interiors. It is also used frequently for repair or remodeling of plaster walls. Drywall is made from gypsum and comes in sheets with a paper coating on both sides.
Drywall is a high-performance and light-weight partition system consisting of GI Steel frame encased with gypsum Plaster– boards on either side attached, through self- drilling drywall’s screw. The joints are then taped and finished with gypsum jointing compounds.
DIY: Drywall installation is bit complicated, but that doesn’t have to be the case. Following some steps may consider that, if you follow these step- by- step of instructions then your installation will go smoothly. Let’s see how to install drywall?
The Basics about Drywall:
Building codes specify thickness and type of drywall, but it can also be used as per thumb-rule. Hence before using, the following local codes should be checked;
* Standard ¼- in.: It covers cracks.
* Standard ½- in.: It covers walls and ceilings framed on 16-in. centers.
* Standard 5/8-in.: It covers walls and ceilings framed on 24-in. centers.
* Fire-Resistant 5/8- in.: It covers walls and ceilings in an attached garage or the room above.
* Water-Resistant ½- in.: It serves as a tile backer on bathroom walls.
* Water Resistant 5/8- in.: This serves as a backer on bathroom ceilings
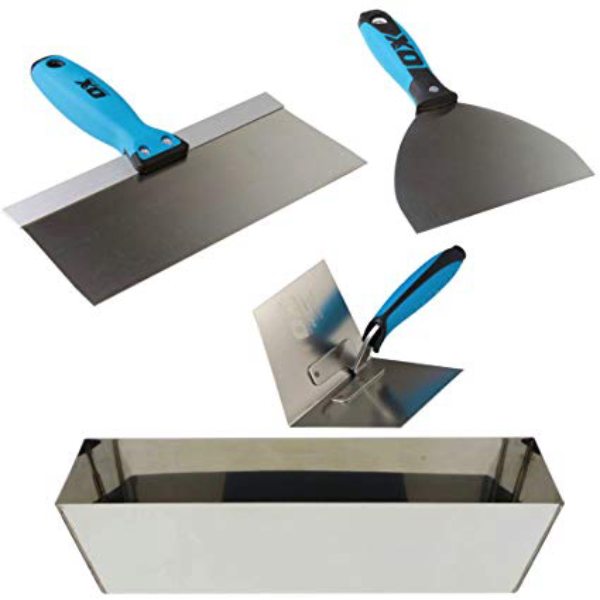
Tools for the Drywall
- According to the ‘Jean-Pierre Clavel’ and ‘Philippe Eymery’ (Author of Drywall Jointing & Finishing Surface Quality Level Classification), The following steps you should follow for the installation of Drywall.
Drywall Installation Steps
Step 1: Make a Plan
- Most of the drywall sheets come in 4ft wide and 8 ft long panels. You can hang them either horizontally or vertically. If your room’s size is 12ft x 18ft, you are going to have to make some cuts, no matter how you hang the drywall. Make as few cuts as possible with drywall sheet and make them incompatible places.
Step 2: Mark Locations based on your plan
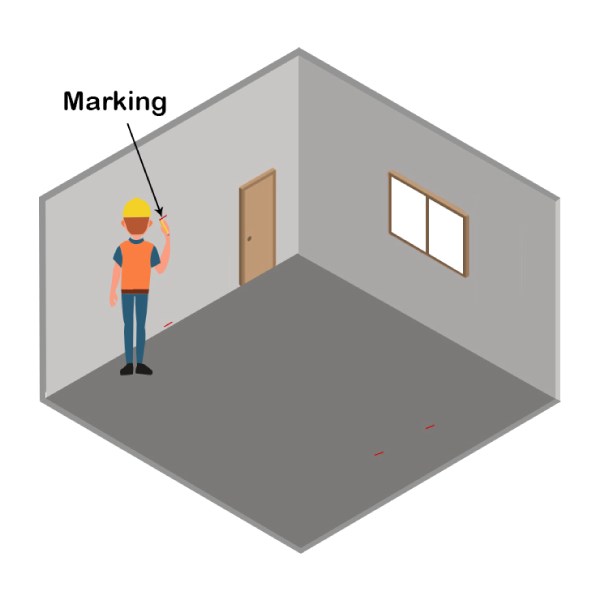
Marking the Location
- Mark a location on the wall and ceiling and door for placing all the studs with the help of pencil or chalk line. Remember one thing when you mark, it should be visible enough so that, it won’t get entirely covered by the new drywall sheet.
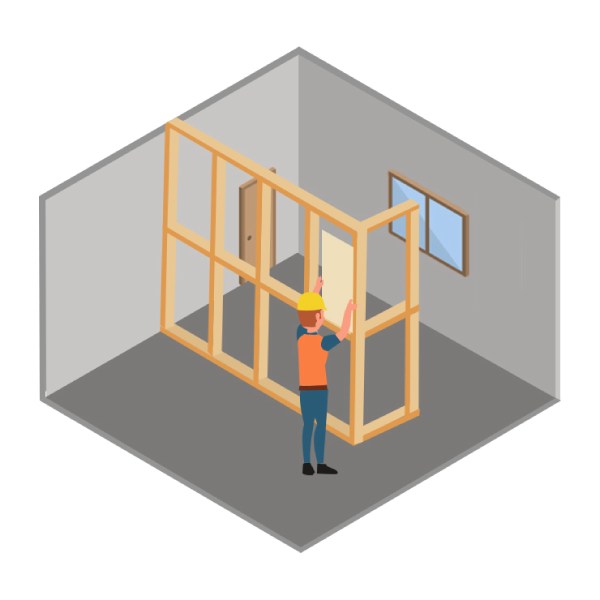
Step 3: Making a Ledge (Framing)
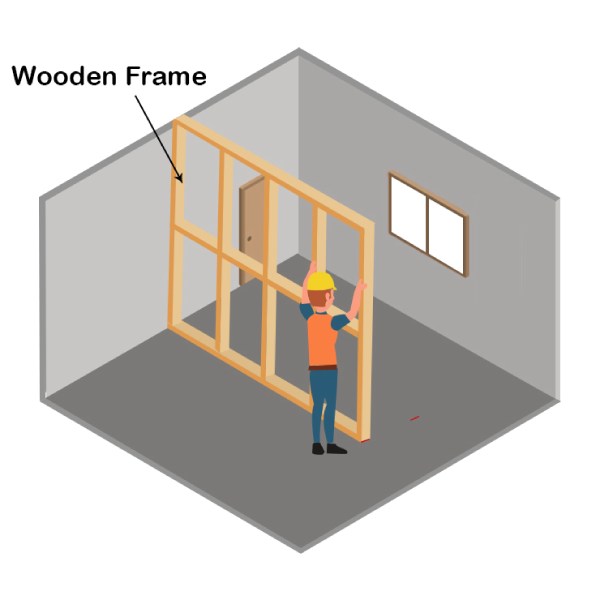
Making a Frame
- If you want to hang the sheets horizontally, you need to measure down height from the ceiling and place a mark on two studs, hold your one drywall and screw deep enough into each stud, so it retains your wallboard pieces. Essentially, you are making a ledge to rest a larger part of the wallboard.

Step 4: Get Your Measurements

Take Measurements
- Before cutting the drywall board, Measure where your wallboard needs to be trimmed. The most common size of drywall board is 4 feet wide and 8 feet long.

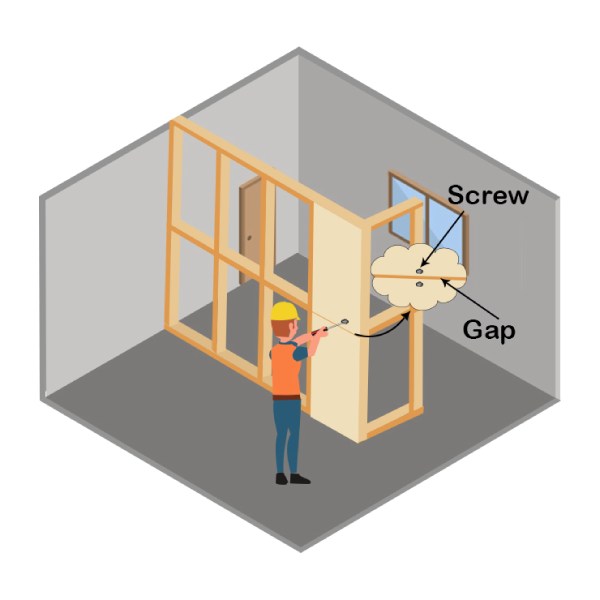
Step 5: Cut Wallboard

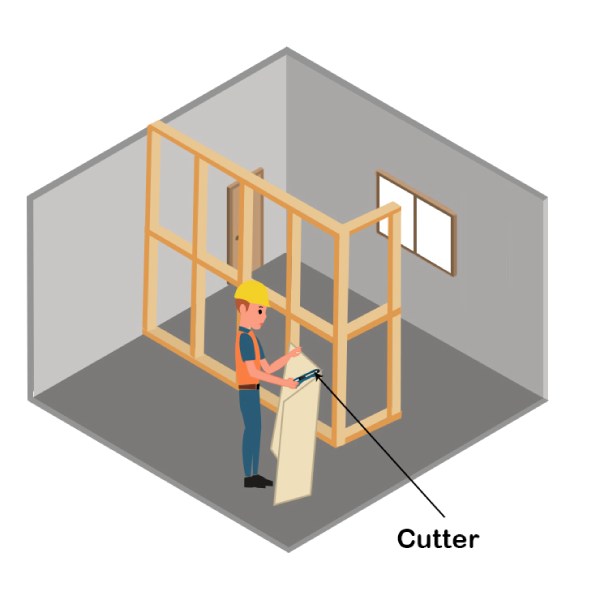
Cut Wallboard using T-Square
- Unless you have got a perfectly sized room, you will be cutting into serval pieces to fit correctly. So, properly mark the location of your cut and use T-Square or other straight tools then cut the wallboard using a sharp utility knife.
- When you make the cuts, you need to leave not more than ¼” gap along each edge. We can fill anything up to a one-inch gap, but ideally, you need to make the difference as small as possible.
- Take measurements at the top and bottom of the empty section. Grab a fresh sheet of drywall, or a scrap section with enough area, to make the cuts.
Step 6: Cut Wallboard Paper
- Once you are satisfied with the measurements, it’s time to cut.
- On the front side of the drywall sheet, make a deep incision into the drywall, but don’t cut through the paper backing.
- We want to make the cut just so thick enough that we can fold the sheet along the line as you see below.
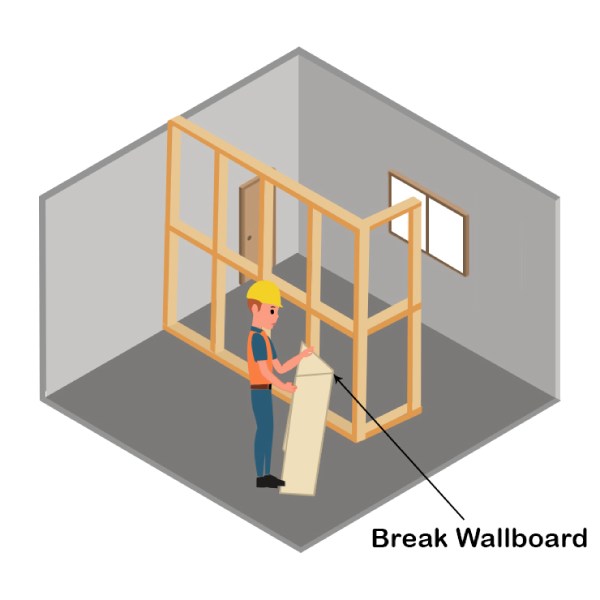
Break Wallboard
- The cut doesn’t have to be perfectly clean, but the straighter it is, the better it will fit with the pieces next to it. With the sheet folded along the line, you can cut through the paper backing and pretty quickly with your knife.
Cutting Drywall Paper
- Once you’ve got the piece cut, test the fitness and make any minor adjustments, before you screw it into place. Repeat the process until you’ve mounted all of the drywall sheets.
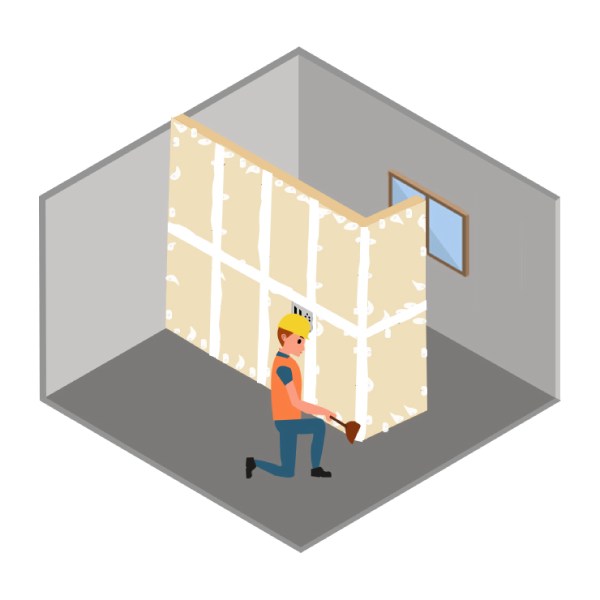
Step 7: Apply Adhesive on Stud
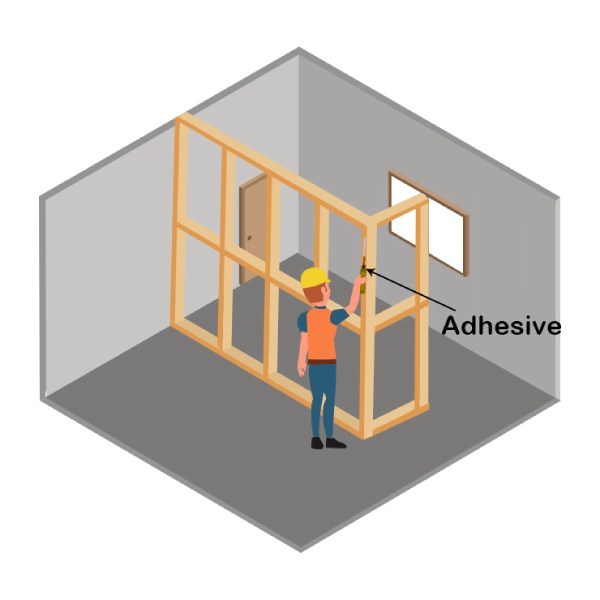
Use Adhesive
- According to the ‘Charles Wardell’ (Author of Installing Drywall), Once you’ve trimmed your board to size and are ready to install, run a bead of adhesive down each stud.
- It will reduce the number of screws and provide additional sound muffling, and results in a stronger, flatter wall.
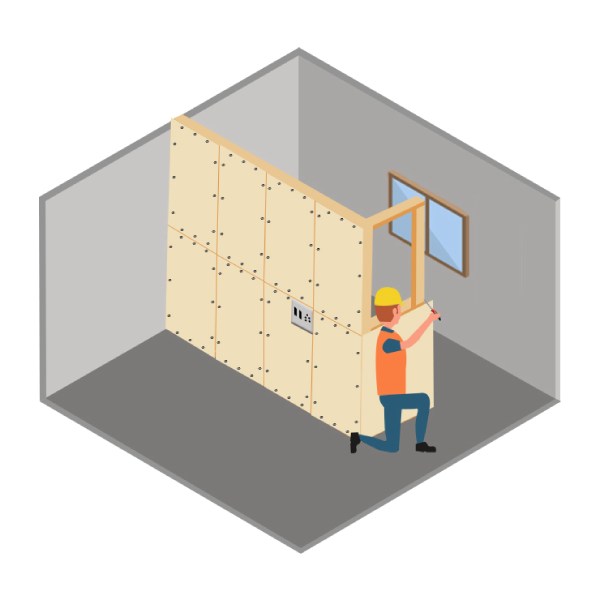
Step 8: Put Wallboard into Place
Place Wallboard
- Lift your wallboard and rest the bottom edge on your ledge screws and press it into the proper place.
Step 9: Fix Your Wallboard

Fix Wallboard
- Using your ceiling and floor marks, drive three screws through the wallboard into the studs, to secure it in position.

Step 10: Detect Screwheads Edges
Feel the Edges
- Drywall screws should be effectively “dimpled” into the wallboard so, that they should not be visible. Using a screw gun for more extensive jobs will save time and brings a clean result.
- For the smaller jobs, we recommend a drywall screw-setter that will properly dimple your screw heads using a standard drill.
- The main objective is to ensure that no screw heads are sticking out above the surface. You should be able to run your hands over the wallboard and not be able to feel the edges of the screw heads.
Step 11: Three Screw Format
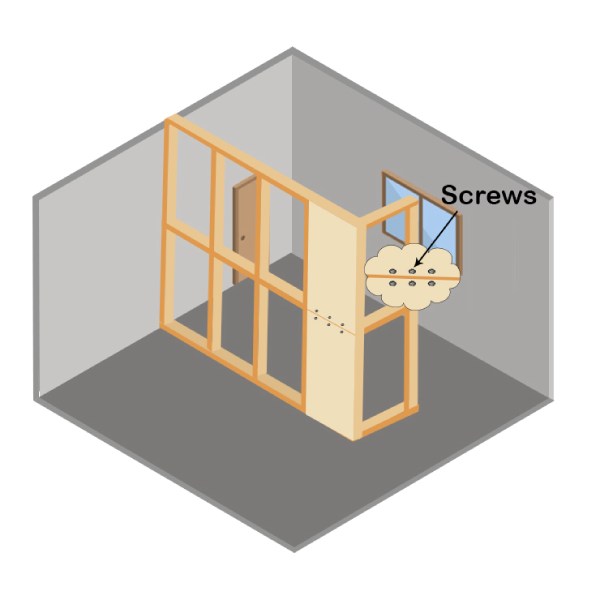
Three Courses of Screws
- Place three courses of evenly-spaced screws in your newly installed wallboard – one course across the top and bottom edges and one course through the center.
- Use your ceiling marks as a guide to ensure that each screw hits a stud.
- You should end up with three screws in every stud per piece of wallboard (Top, Middle and Bottom).
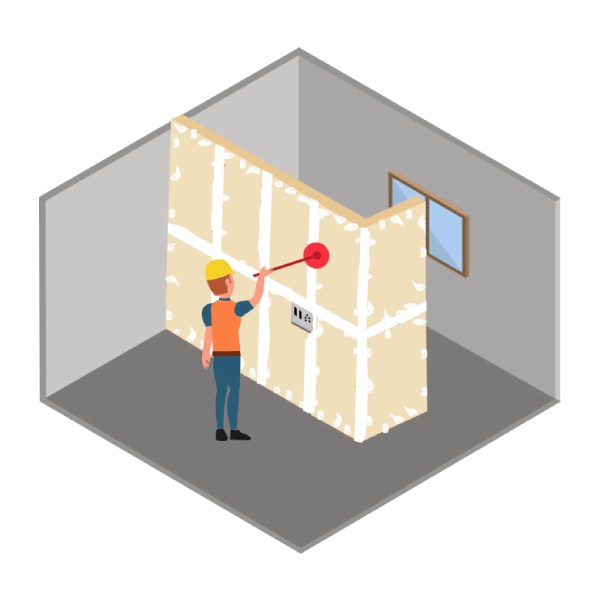
Step 12: Plan Outlets and Switches

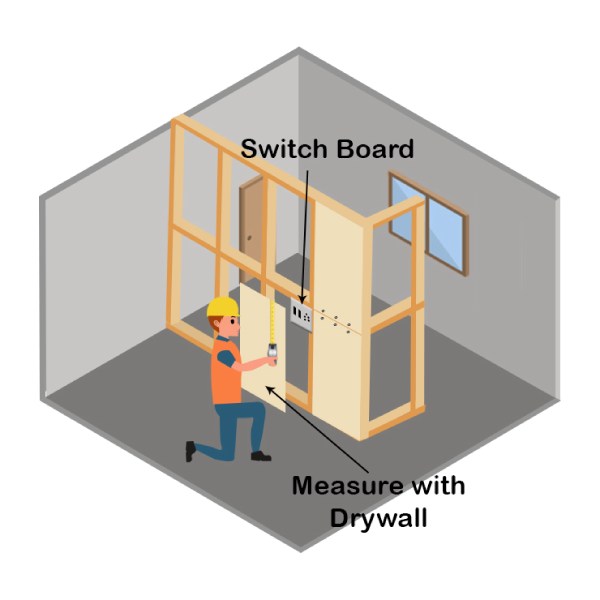
Fit Wallboard over Outlets and Switches
- When working around outlet boxes, you need to cut holes so that the wallboard fits securely over all of your outlets and switches.
- Always make sure that the power is turned off to all electrical outlets and switches and that any unsecured wires are safely capped and pushed into the back of the box.
- Measure from the top of the outlet box to the bottom edge of the wallboard above. Write your measurement on the wall directly above the outlet box.
- Then, mark the width of the outlet box using lines on the left and the right sides of the outlet box.
Step 13: Mark the Outlets
Mark the Outlets
- Transfer your measurements to the new bottom piece of wallboard, so you will know where to cut around the outlet box.
- Make sure to accurately define where the top edge of the outlet box should begin, on your new piece of wallboard.
Step 14: Cuts Holes for Outlets
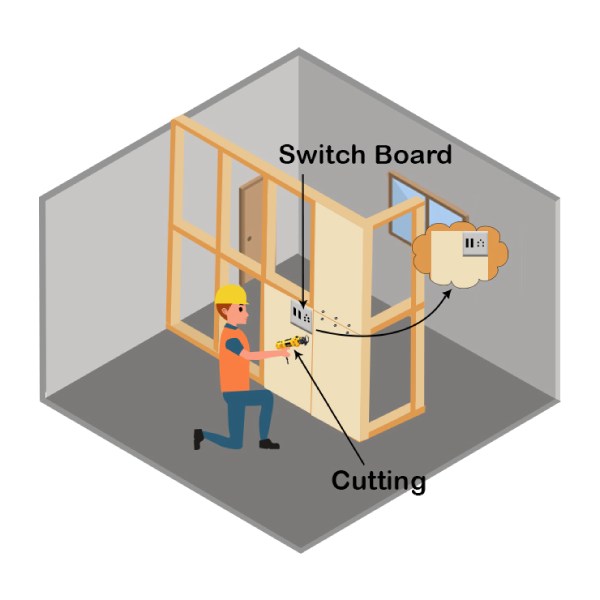
Cut Holes for Outlets
- Use a drywall router with a drywall bit installed or a keyhole saw to neatly cut the hole for the outlet box.
- The drywall router is handy for larger jobs where there are numerous outlet holes, windows and doors to cut.
- Keyhole saws are great for smaller projects and hard to reach areas where there isn’t much material cut out.
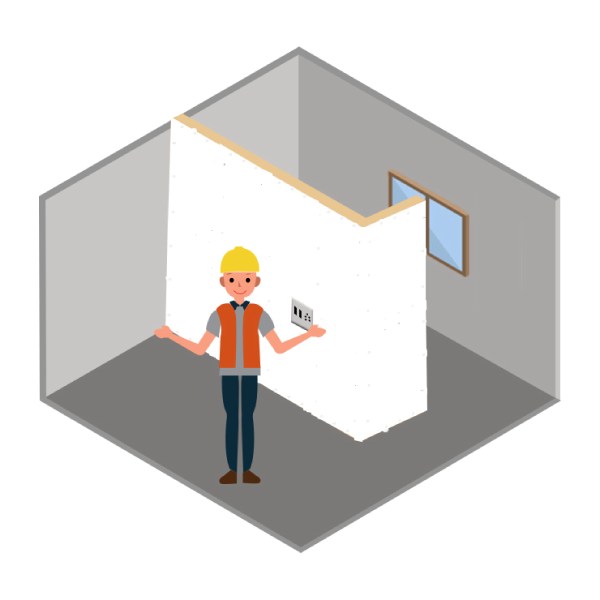
Step 15: Fit Your Wallboards Together
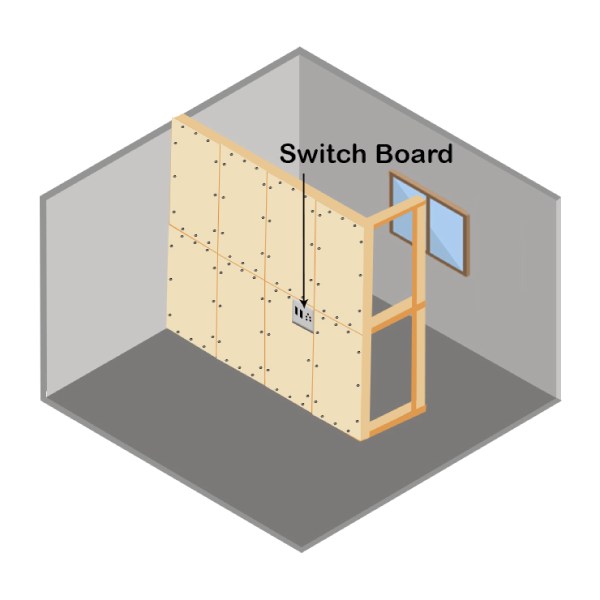
Fasten Wallboard
- Fasten your lower piece in place using the same techniques as before, making sure that your outlet, switch boxes and all cut out are seated properly.
Step 16: Form a Sharp Edge
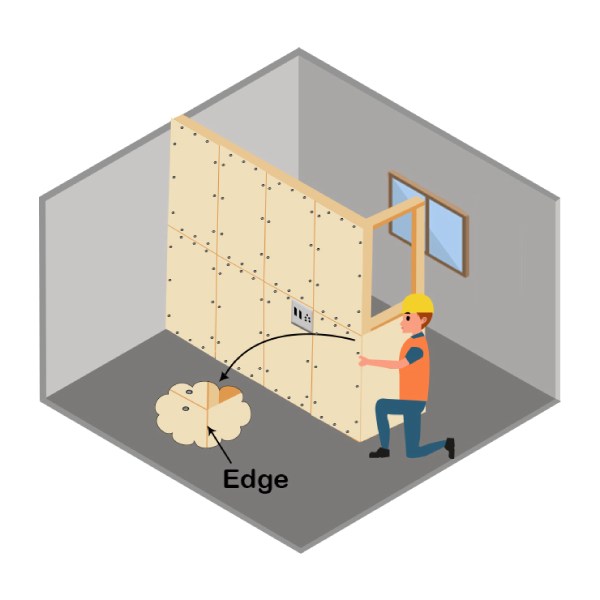
Form a Sharp Edge
- Make sure that when two pieces of the wallboard meet at a corner, they overlap to form a sharp edge.
- This is essential for the reinforcing corner bead that you’ll need to install along the entire length of the corner joints.
Step 17: Drywall Router (If Necessary)
Trimmed With Drywall Router
- Any large openings for the doors, entryways or windows can be trimmed out by using the drywall router.
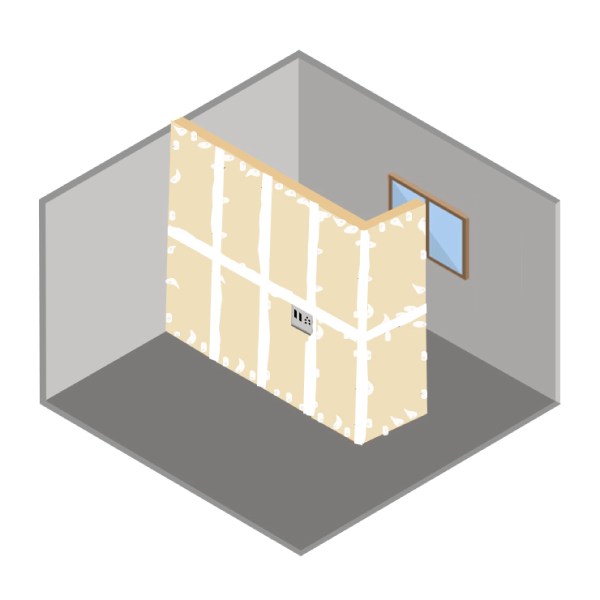
Step 18: Finishing Work
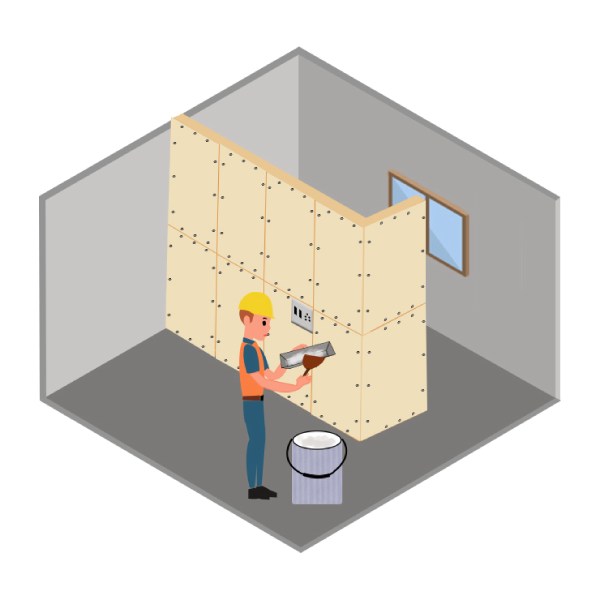
Finishing Work of Drywall
- For filling joints, a bucket of pre-mixed, all-purpose drywall compound is recommended. Stir the bucket for a smooth consistency and fill a mud pan with enough joint compound, to make one full coat over the joint you’ll be working on. The method for finishing horizontal and vertical seams are identical. It’s usually best to start with the horizontal seams.
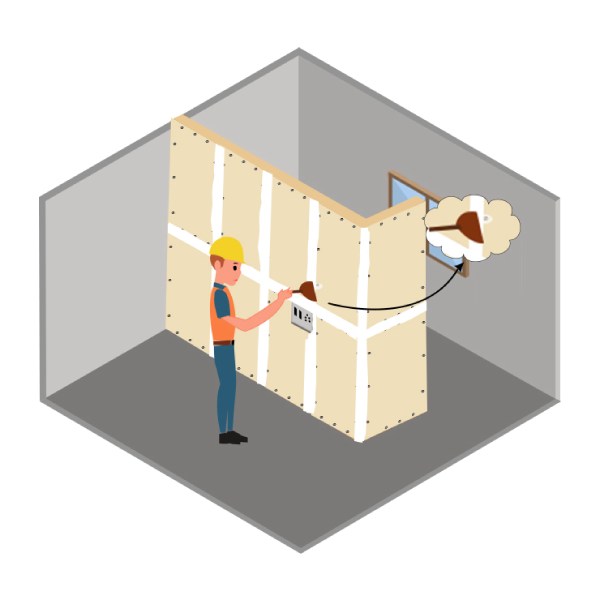
Step 19: Fill the Drywall Seam
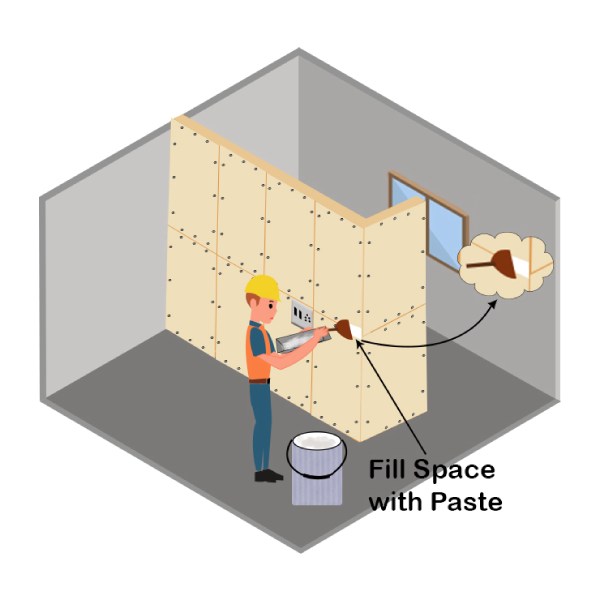
Fill the Drywall Seam
- Fill the entire length of the drywall seam from one end to another with the help of your putty knife.
- Make sure your final product is levelled with neatly feathered edges.
- While using drywall compound, the key is to work in thin level coats.
- The main objective is to fill the cracks and make them as level as possible with the wallboard on both sides of the seams.
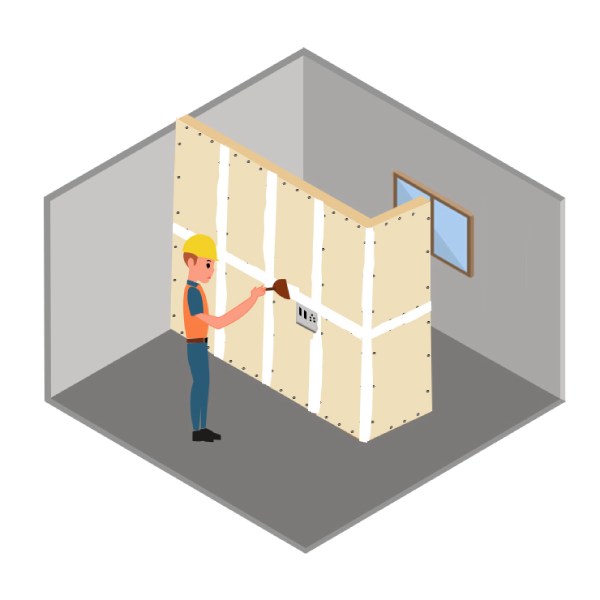
Step 20: Use the Joint Tape
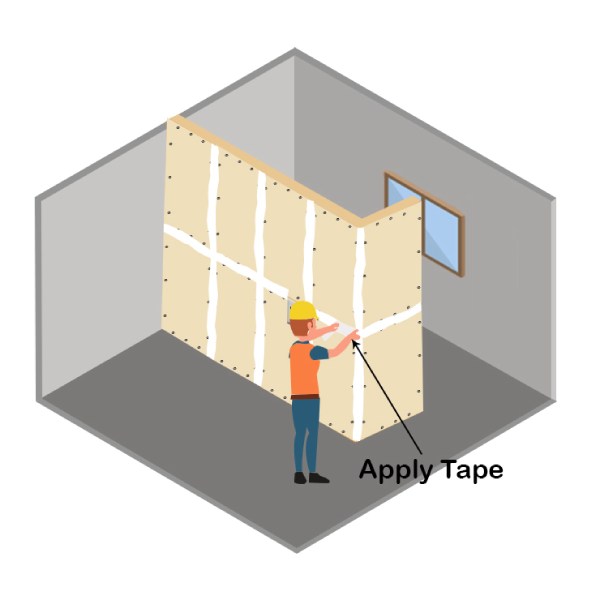
Lay the Joint Tape
- Place your joint tape into the wet drywall compound and smoothly lay it into your freshly mudded joint.
- Slightly wetting the tape will hold it for binding and ease the application process. Use one piece of tape for the per seam.
- Leave some space, where two pieces of the tape meet in any areas.
Step 21: Apply Joint Compound
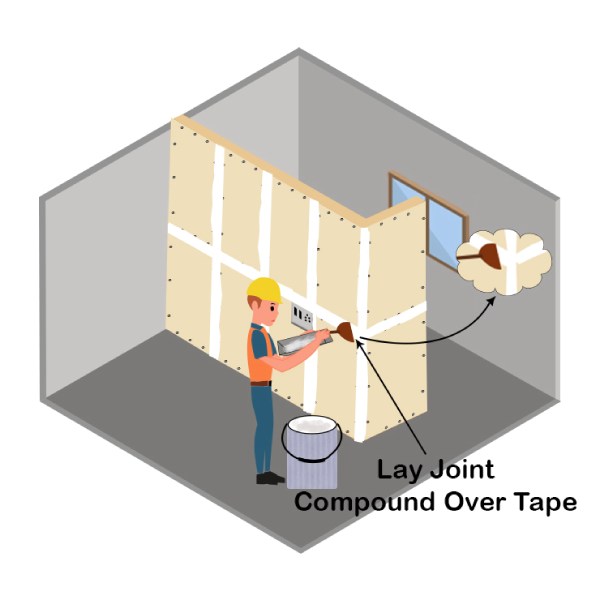
Add Joint Compound
- With your tape in place, take your 6” drywall knife and add a layer of joint compound over the tape and surrounding areas.
- Make sure to completely cover the tape and make sure that you continue the process of laying smooth, thin coats that are to level with the wall.
- The objective is to bed the tape into the first layer of the joint compound while covering it with the second.
Step 22: Primary and Secondary Coat
Primary and Secondary Coat
- For outside corners, you’ll use a pre-fabricated corner bead instead of tape. These can be made either from fiberboard or metal.
- This is a low traffic area so we’re using a fiberboard corner bead. Press it into your first coat securely and then lay your second coat over it just like you did for the tape.
Step 23: Remove Screw Dimple
Fill Screw Dimple
- Allow the taped seams to dry for the recommended time as per the instructions on the joint compound container.
- While the large joints are drying, fill all the screw dimples and any other imperfections in the wallboard. You need one smooth even coat.
- Drive or gently hammer down any screw heads that are protruding from the wall and then cover those as well.
Step 24: Ready for Next Coat

Ready for Next Coat
- Wait a full 12 hours for all the joints to dry. You’ll able to see that all the drywall compound has turned white.
- At this stage, you’re ready for your next coat.
Step 25: Finishing Coat
Finishing Coat
- Using your putty knife, apply a thin finishing coat to every seam and every corner.
- This is also a good opportunity to put a second coat on every screw dimple as well.
Step 26: Fill Any Low Spots
Fill Spot
- Make sure that all your joints are leveled with your wallboard.
- You should be able to place the edge of a putty knife over any joints without seeing any light gaps underneath.
- Fill any low spots with another layer of drywall compound.
Step 27: Sand the Joints
Sand the Joints
- Wait for another 12 hours for your finishing coat to dry completely.
- Once that’s done, you’re ready to sand your joints.
- Use a circular sanding pad for larger jobs, or a smaller hand-held sanding block, for small areas.
- Sand gently until you do not feel any joints, screws or imperfections with your hands.
Step 28: Primer and Paints
Primer and Paints on Drywall
- Once you’ve finished sanding and touching up, your wallboards are ready for primer and paint.
Drywall installation is a popular DIY project for homeowners because it’s easy to learn and doesn’t require any expensive specialty tools. One big advantage of drywall is that it’s easier and faster to install than traditional drywall plaster. It’s more stable and easy to repair too.
We hope that the article on DIY: DRYWALL would have provided you the knowledge of, how to install step by step drywall easily.
If you think some points have been missed out or you want to share your ideas on DIY: DRYWALL, then please do so by commenting in the box given below.
Must Read:
Home Interior: False Ceiling Types!
False Ceiling Cleaning Tips!
30+ Popular Types of Flooring Materials for Your House!


