

Keeping the apple-of-their-eyes safe is a priority for every parent. Gharpedia through this blog shares the steps for installing a fleece bed surround to keep your tiny tot safe, cosy and cushioned-in.
This fleece bed surround project is an extension of the cot bumper, and is intended to create a wall softening transition zone for toddlers when they make the move from sleeping in a cot to a proper bed pushed up against a wall. Fleece is made in a wide range of bright colours and is very easy to work with because the edges do not fray and will not need to be hemmed. Just remember to
- Choose the fabric and braid in a contrasting colour to the wall, or go for a deeper shade of the wall colour, perhaps with a contrasting edging braid.
- Keep the trimming simple if the child is very young because fringe or baubles will not withstand very much tugging!
Pluses of Fleece Bed Surround

- Makes the bed area warm and cosy
- Protects a child’s head from accidental bumps against the wall
- Eases the transition from cot to bed
Project – Fleece Bed Surround

Things Required
- Braid
- Fabric adhesive
- Fleece to suit bed surround in microfiber or acrylic
- Hardwood or plywood if required
- Paintbrush
- Pencil
- PVA adhesive
- Scissors
- Straight-edge with spirit level
- Tape-measure
The Step-by-Step Process

The fleece is attached to the wall using PVA adhesive. If you prefer not to glue the fabric directly onto the wall, glue the fabric to a sheet of hardboard or 6 mm plywood first and fix it onto the wall with screws.

1. Measure the area to be covered and cut the fleece to an average of 1 m X 1.5 m – depending on the size of the child’s bed. You need to cover the wall area approximately 50 cm up from the mattress height. Trim the fleece to the same size.

2. Draw the shape on the wall in pencil, checking the vertical and horizontal lines with the spirit level.

3. Spread an even coating of PVA adhesive onto the wall, starting in the middle of the shape and working outwards. Pay special attention to the edges. The PVA dries fast so aim to work quickly.

4. Smooth the fleece onto the PVA with the flat of your hand, keeping pressure light and even so that the fabric does not stretch and distort the shape.

5. Measure and cut the lengths of braid or trimming ribbon needed for the edging.

6. Apply fabric adhesive to the back of the braid then run it around the edge of the fleece so that it overlaps slightly onto the wall and completely conceals the raw edge of the fleece.
Congratulations! You’ve successfully completed the Fleece Bed Surround DIY Project and your baby is now protected from bumping his/her head against the wall!
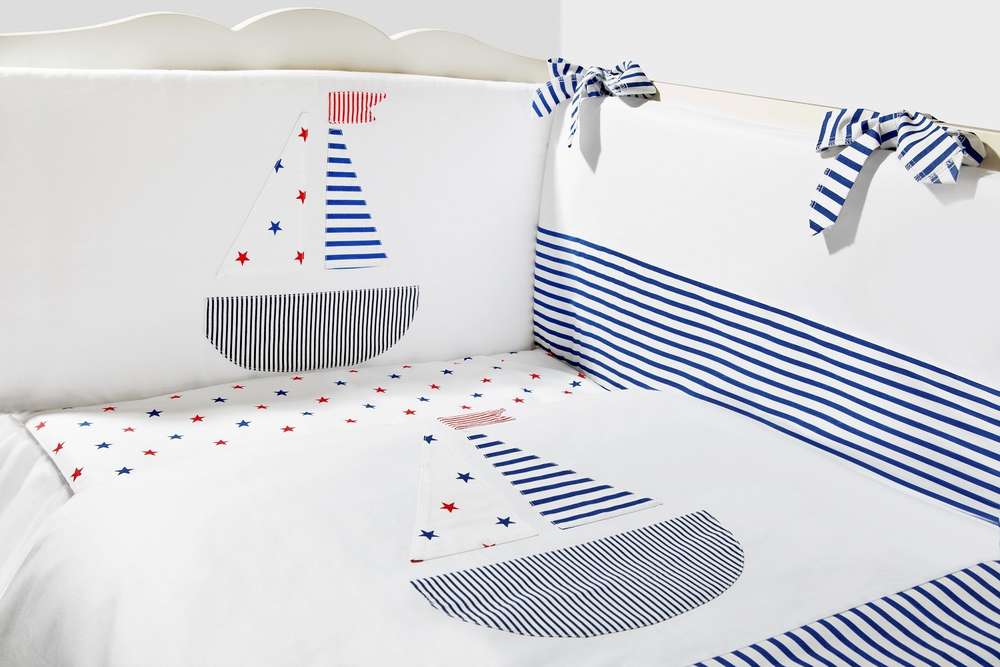
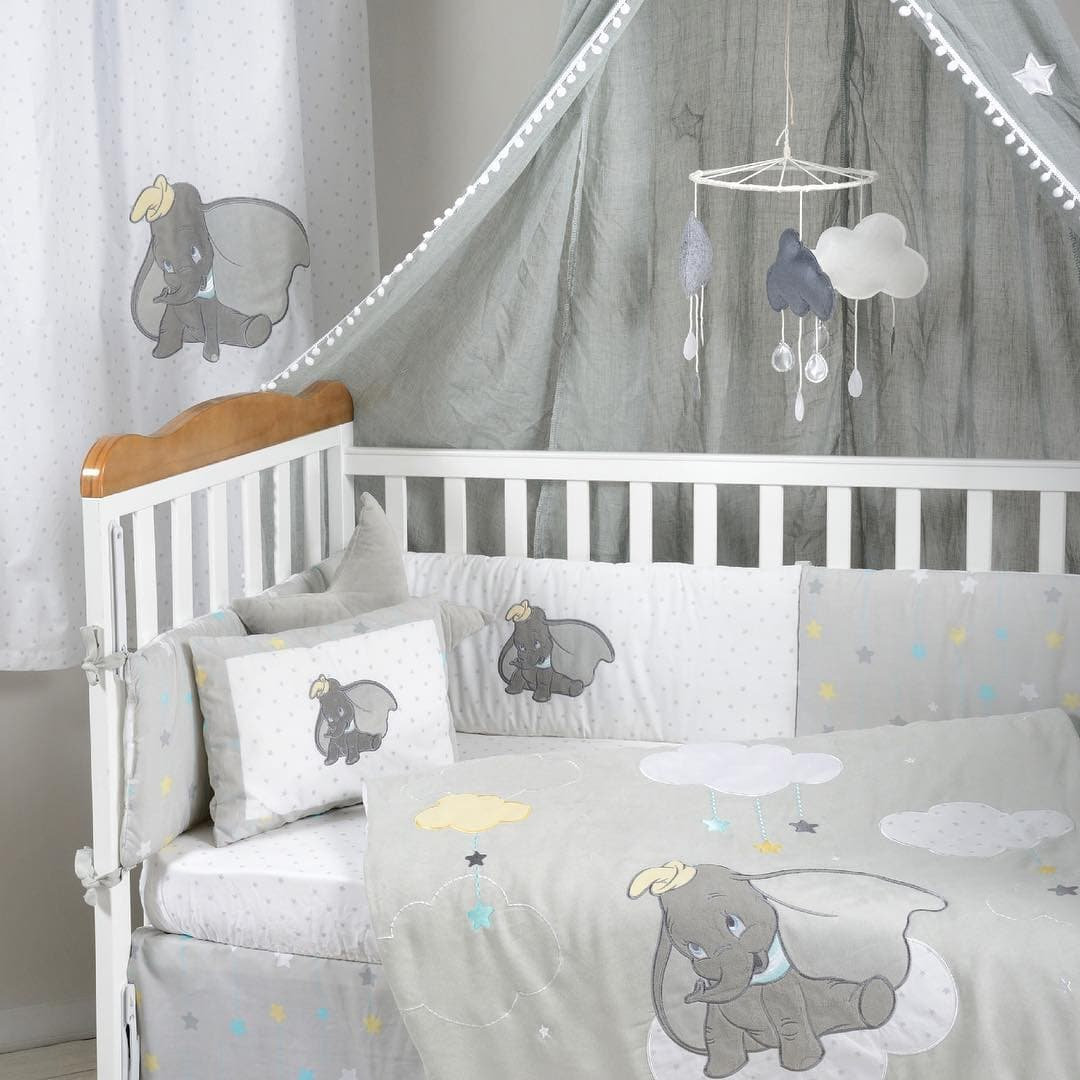
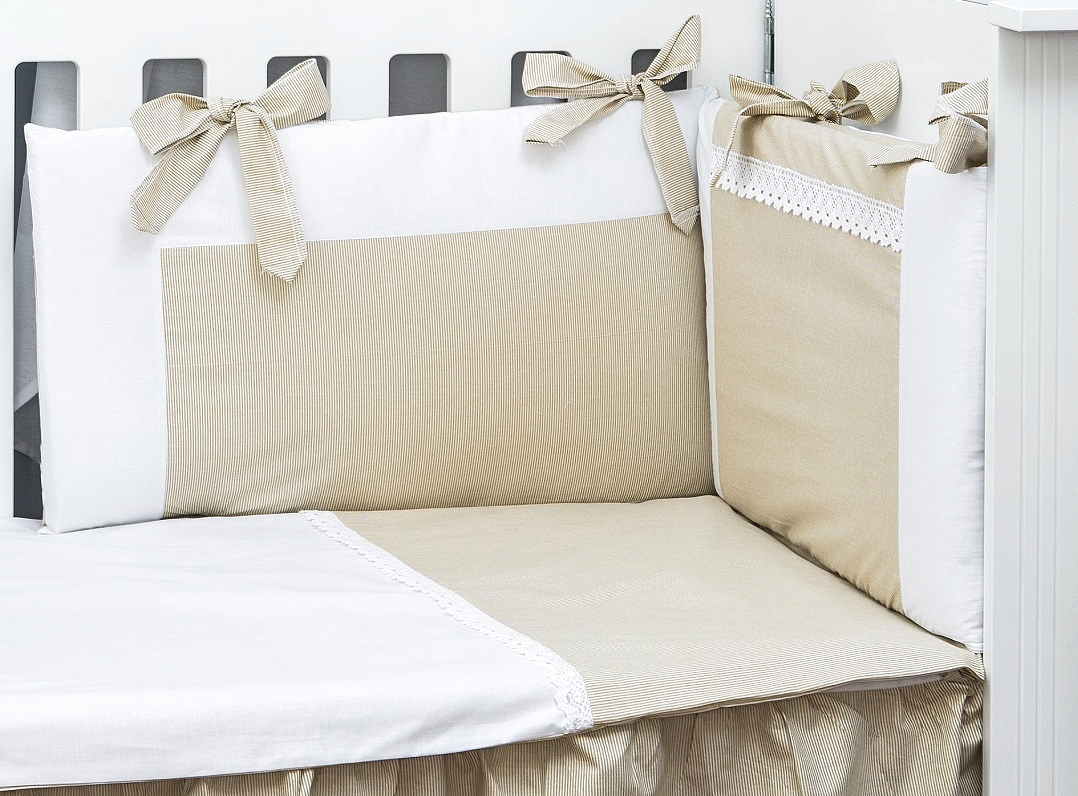
Check out these creative Fleece bed ideas which you would definitely want to try.

Besides fleece bed surround, there are other bed options like bunk bed for your kiddo if you want to explore. Here is a blog for the same:
Bunk Beds for Your Kids: All You Need to Know
Additionally, there are ideas for your kids’ playroom as well that you might want to consider:
A Playroom for the Apple of your Eye!
Courtesy – Image 1, Image 2, Image 3, Image 4
Author Bio
Huta Raval – An English Literature and Journalism Topper, Huta Raval has graduated from the L D Arts College, Ahmedabad. Post serving for 23 years in the NBFC and Public Library Sectors her desire for ‘writing the unwritten’ brought her to the creative field of content writing. Her clientele comprises of NGOs, Blogging Platforms, Newspapers, Academic Institutions, et al.


