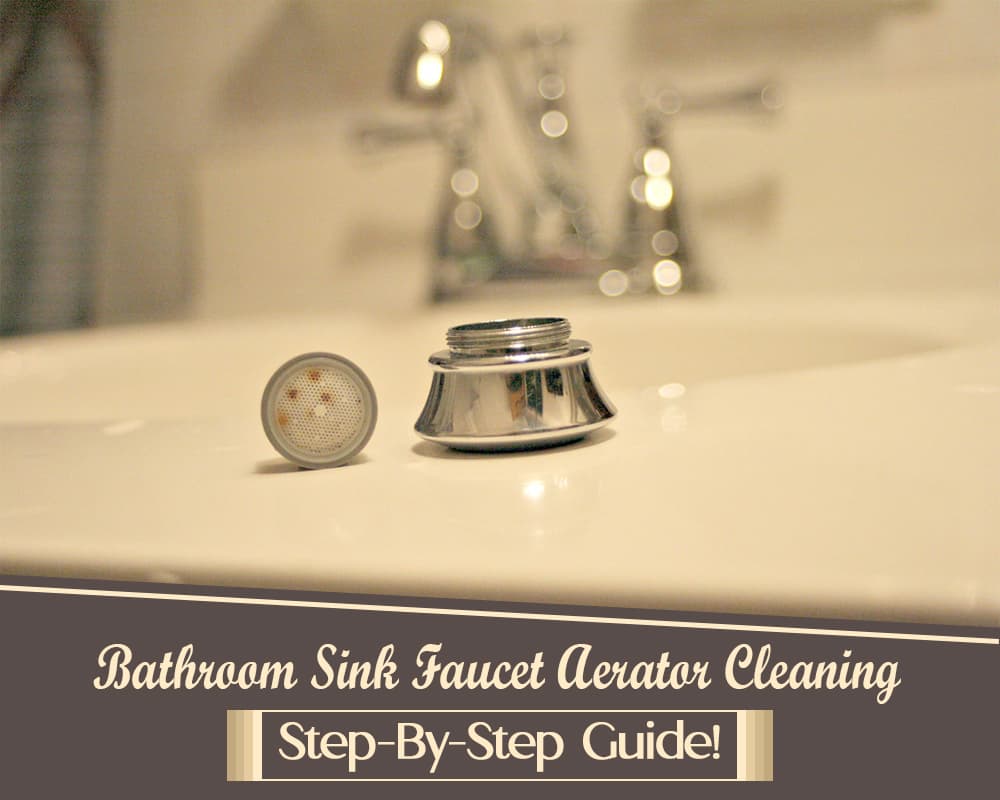
Have you thought of the havoc a dirty bathroom sink faucet aerator can cause you? The faucet head sometimes becomes stained and grimy in a short period after cleaning.
Soap, toothpaste, and general grime can quickly leave the faucet aerator in the need of a serious cleaning.
6 Easy Steps on How to Clean Bathroom Sink Faucet’s Aerator
- Tools and Materials Required for Cleaning Faucet’s Aerator:

Step 1: Remove the Aerator
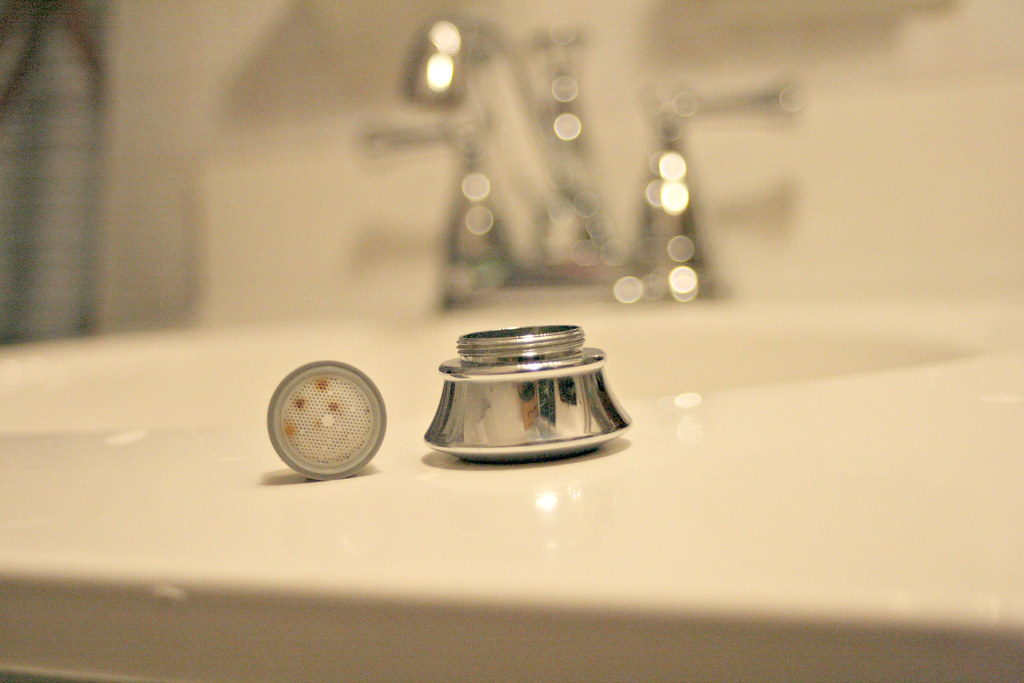
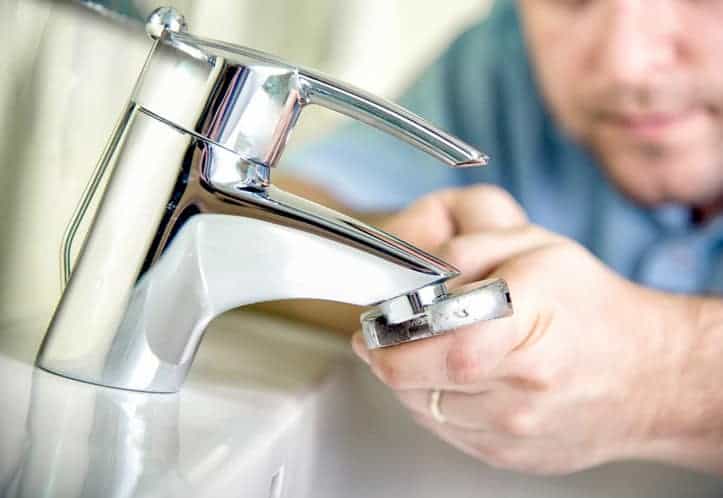
Get the aerator from the spout end by gripping it with your hand as you unthread it anti-clockwise. Employ your pliers to carefully loosen it if it is stuck and can’t turn by hand.
You also consider wrapping the pliers’ jaws using a masking tape to protect your aerator’s finish from scratches.
Since some aerators are made of plastic material, it is recommended not to apply force in squeezing the pliers to avoid damaging the aerator.
Step 2: Clean the Inner Part of the Spout
Start by checking for limescale and any parts that could have stuck on the spout’s inner walls using a screwdriver. If you notice any part stuck with the debris, pry it out using the screwdriver.
Then clear out the limescale using the same screwdriver.
Step 3: Clean the Aerator Parts
Carefully disassemble the aerator with a toothpick noting the order of each part as you remove them. You can take images of them at every step as the order must remain the same when reassembling the aerator.
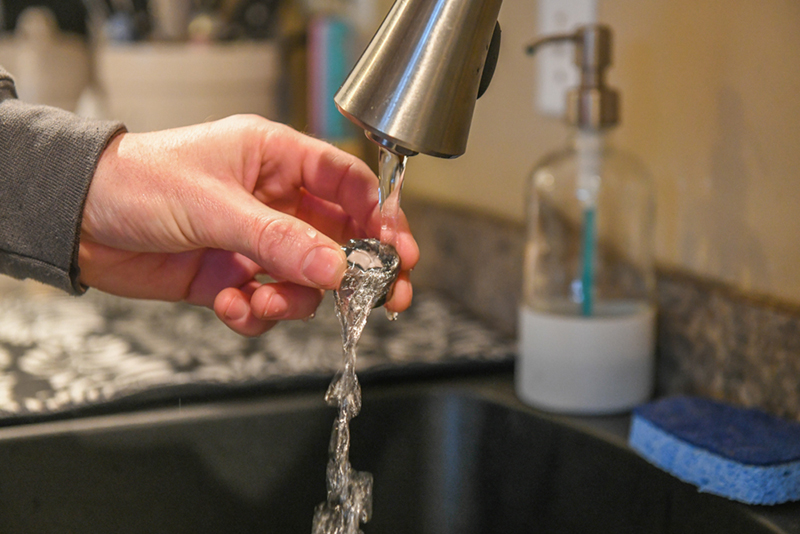
Flush the parts under running water to rinse off any visible sediment from the surfaces.
If you notice any hardy scales on the screen holes and other parts that you cannot rinse with water, use your sewing needle to clean them off.
Step 4: Soak the Parts in Vinegar for Cleaning Faucet’s Aerator
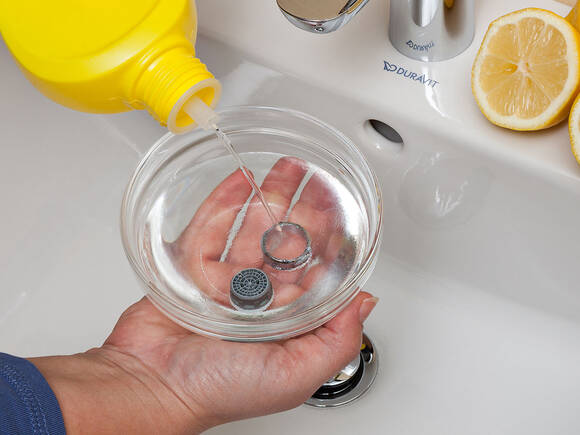
Mix warm water with vinegar in a ratio of 1:1 in a bowl. Place the aerator parts in the solution for at least one hour.
It is recommended to soak them even longer for the deposits to soften enough so that they can be removed easily using a toothbrush.
Step 5: Rinse Again to Clean Faucet Head
After the deposits have softened enough, rinse the aerator parts with running water as you gently scrub them using a toothbrush.
Step 6: Reassemble the Aerator and Reattach it
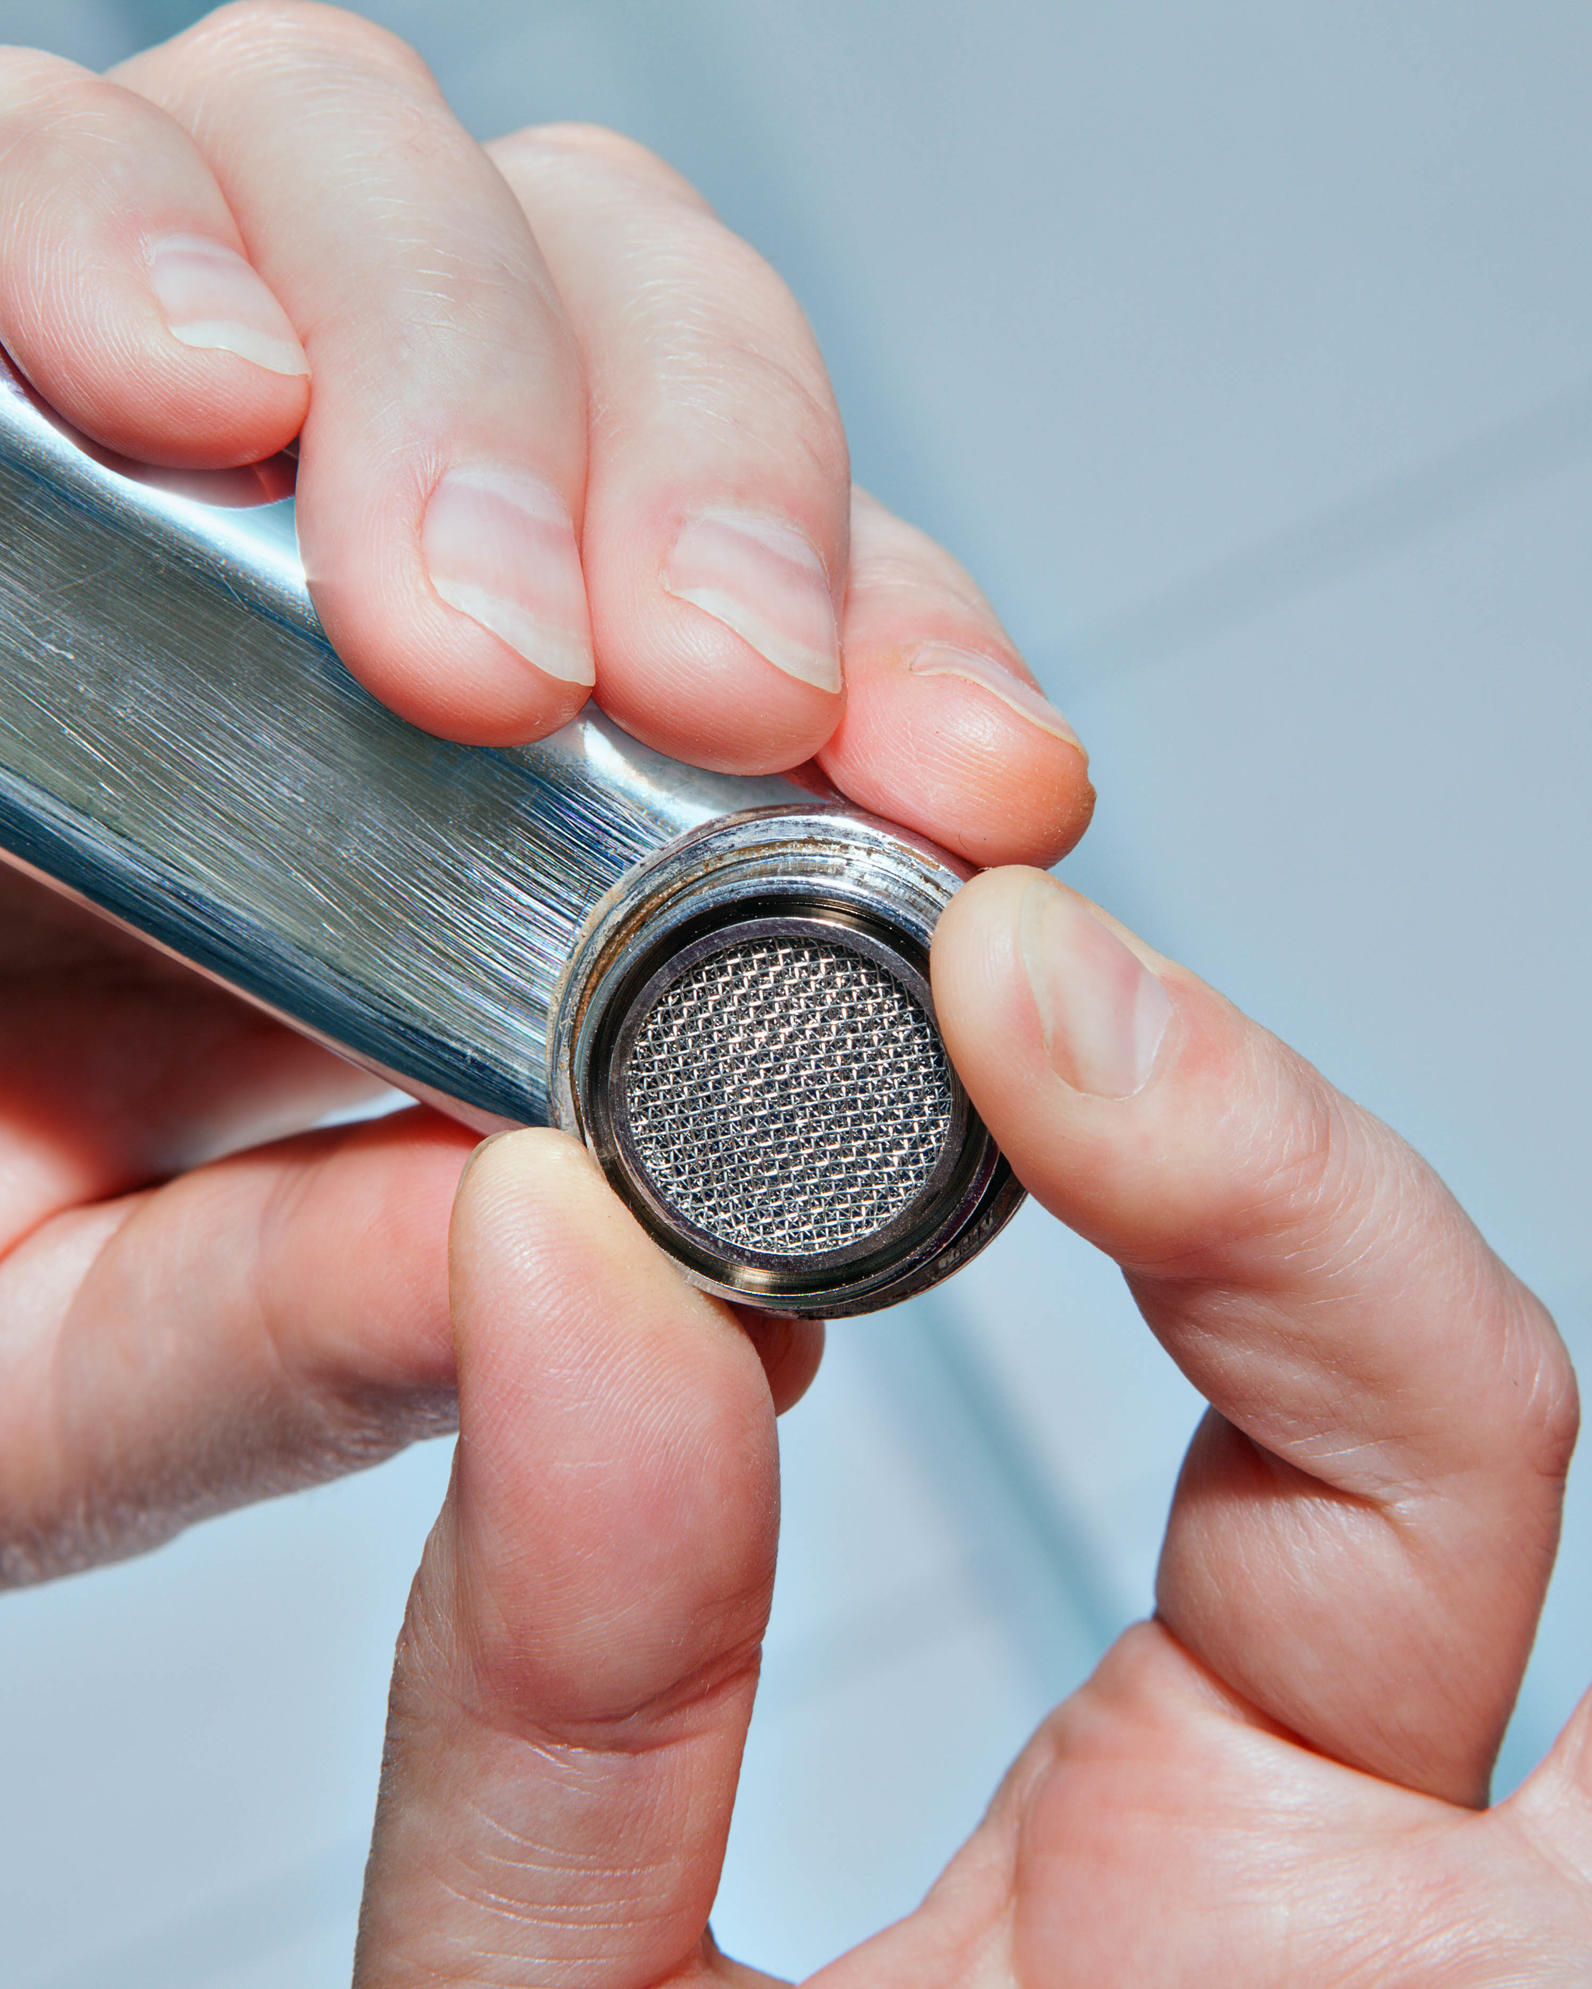
Using the same order as you disassembled the aerator, reassemble it and reattach it to the spout. Tighten it carefully using your hand by turning it clockwise.
Then run water through the faucet to check for leaks. Ensure the water is not streaming out over the outer parts of the aerator. If it flows over the fitting, use pliers to tighten it a bit more.
How to Clean Bathroom Faucet?
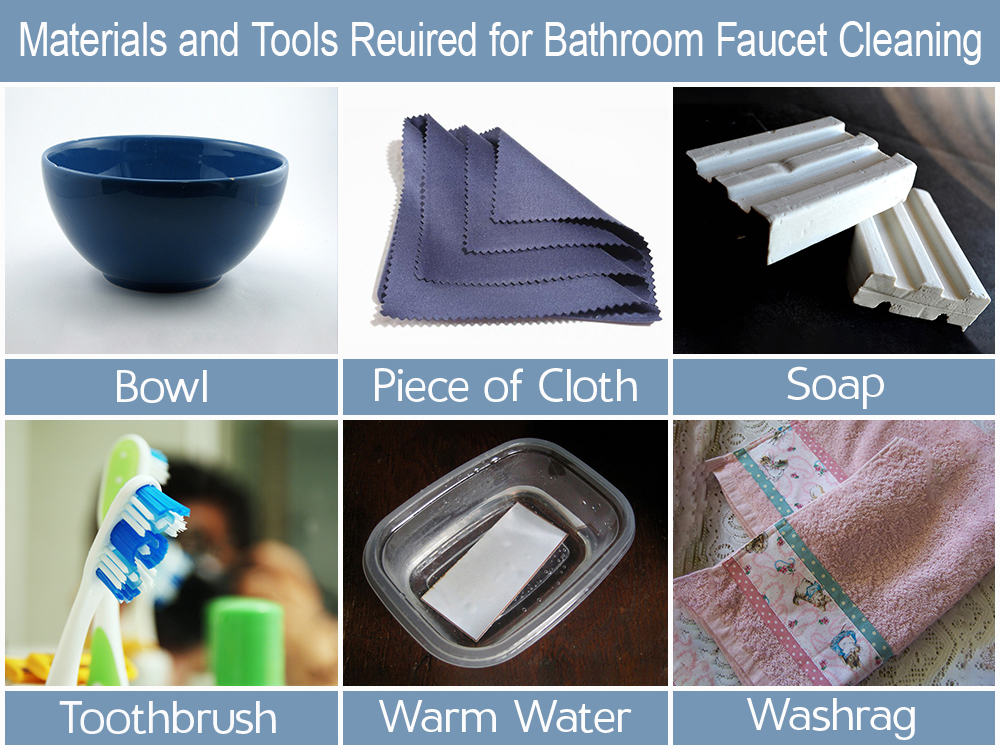
You could probably be cleaning the faucet’s outer parts regularly, but you realize water spots on the surfaces. This is how you can effectively clean the exterior parts of your faucet. Remember to do it regularly.What you need:
Step 1: Prepare Dish Soap and Water Solution
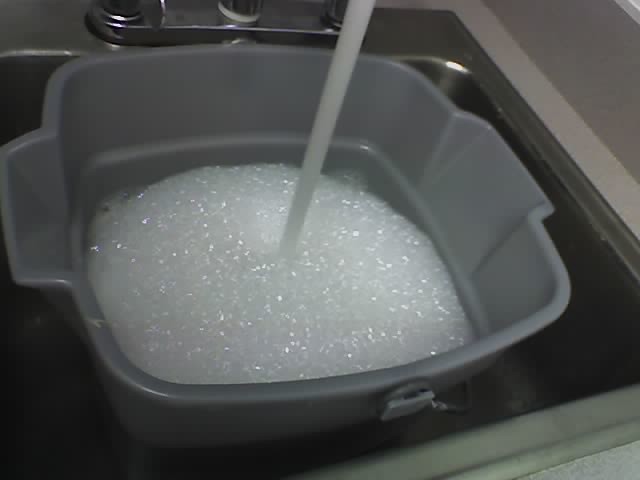
Using your bowl, add 2 tablespoons full of soap to water and mix thoroughly. Ensure you do not include harsh cleaning agents that can destroy your faucet finish.
Step 2: Clean the Faucet
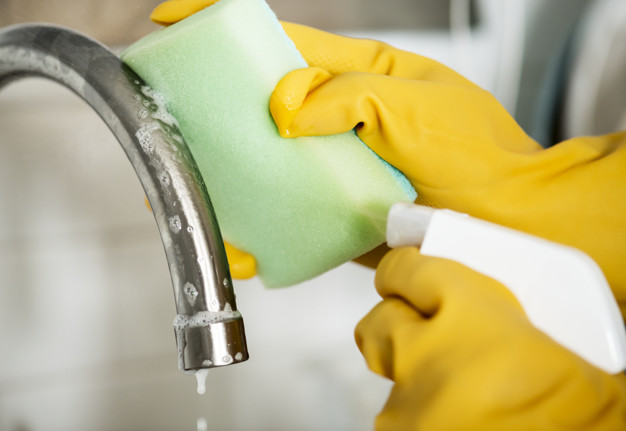
Soak a washrag into the solution and use it to clean the fixture. To ensure that you deal with any dirt on the surface, scrub the fixture with circular motions and dip the rug back after a few scrubs.
If your faucet contains stubborn grime, add a few tablespoons of baking soda to a separate bowl and add water to make a paste.
Then get a toothbrush to gently clean the grimy parts. This is the best way of dealing with the grimy details without damaging the fixture’s finish.
Step 3: Rinse the Faucet
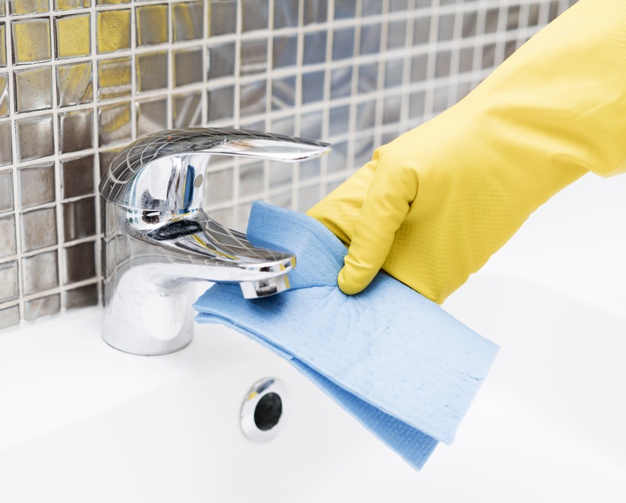
To a clean bowl, fill cold water and get a new piece of cloth. Deep the fabric in water to make it dump. Rinse the fixture’s exteriors until it appears clear and shiny without the soap residue and grime.
Step 4: Dry the Faucet
Use a dry piece of cloth to wipe off your fixture. Do it gently, ensuring that all water spots are gone.
Why Should You Clean the Faucet?
We can assume that the faucets give way to clean water that we regularly use at home. Little do we know that there are a few elements that can compromise the quality of this water and the faucet itself? These elements include
Water Spots:
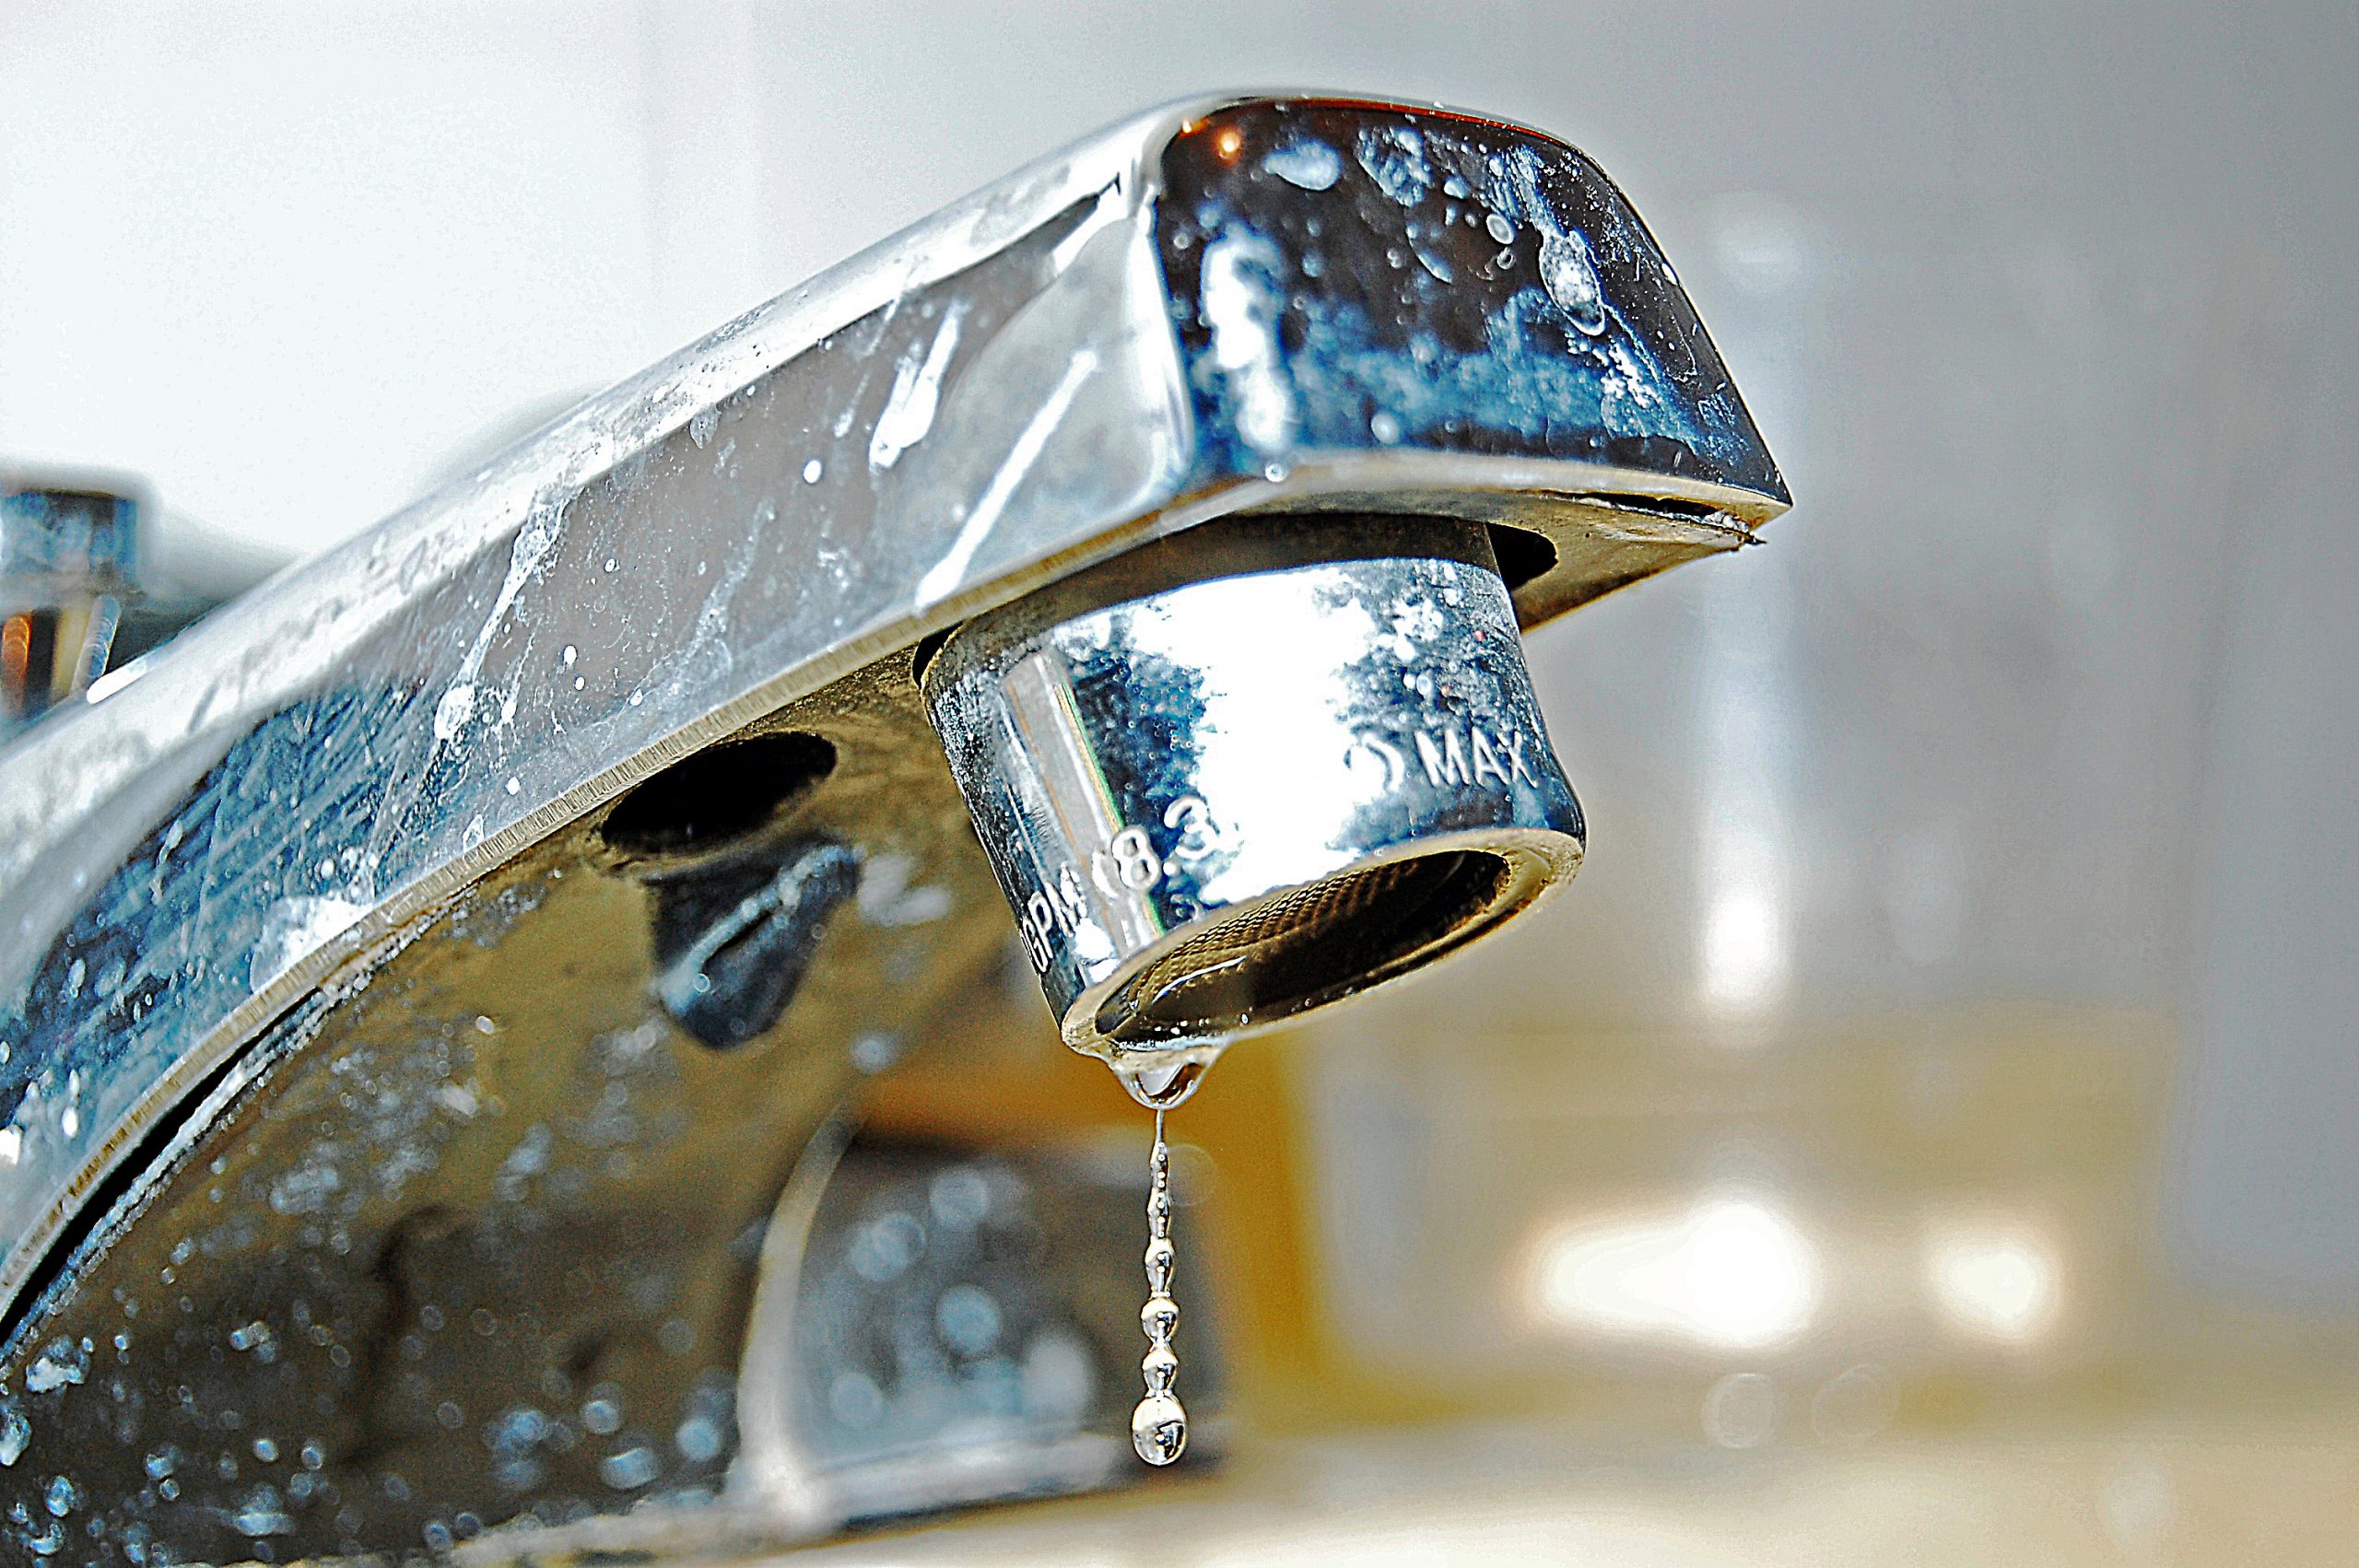
If your faucet is made from stainless steel or has a chrome coat, be sure of the water spots’ appearance. If they are left dirty, it may cause rust and eventually damage your faucet head.
However, if your fixture is made from matte black or oil-rubbed bronze, you may not experience these spots. Nevertheless, it is worth it to regularly clean the faucet head.
Limescale Build-Up:
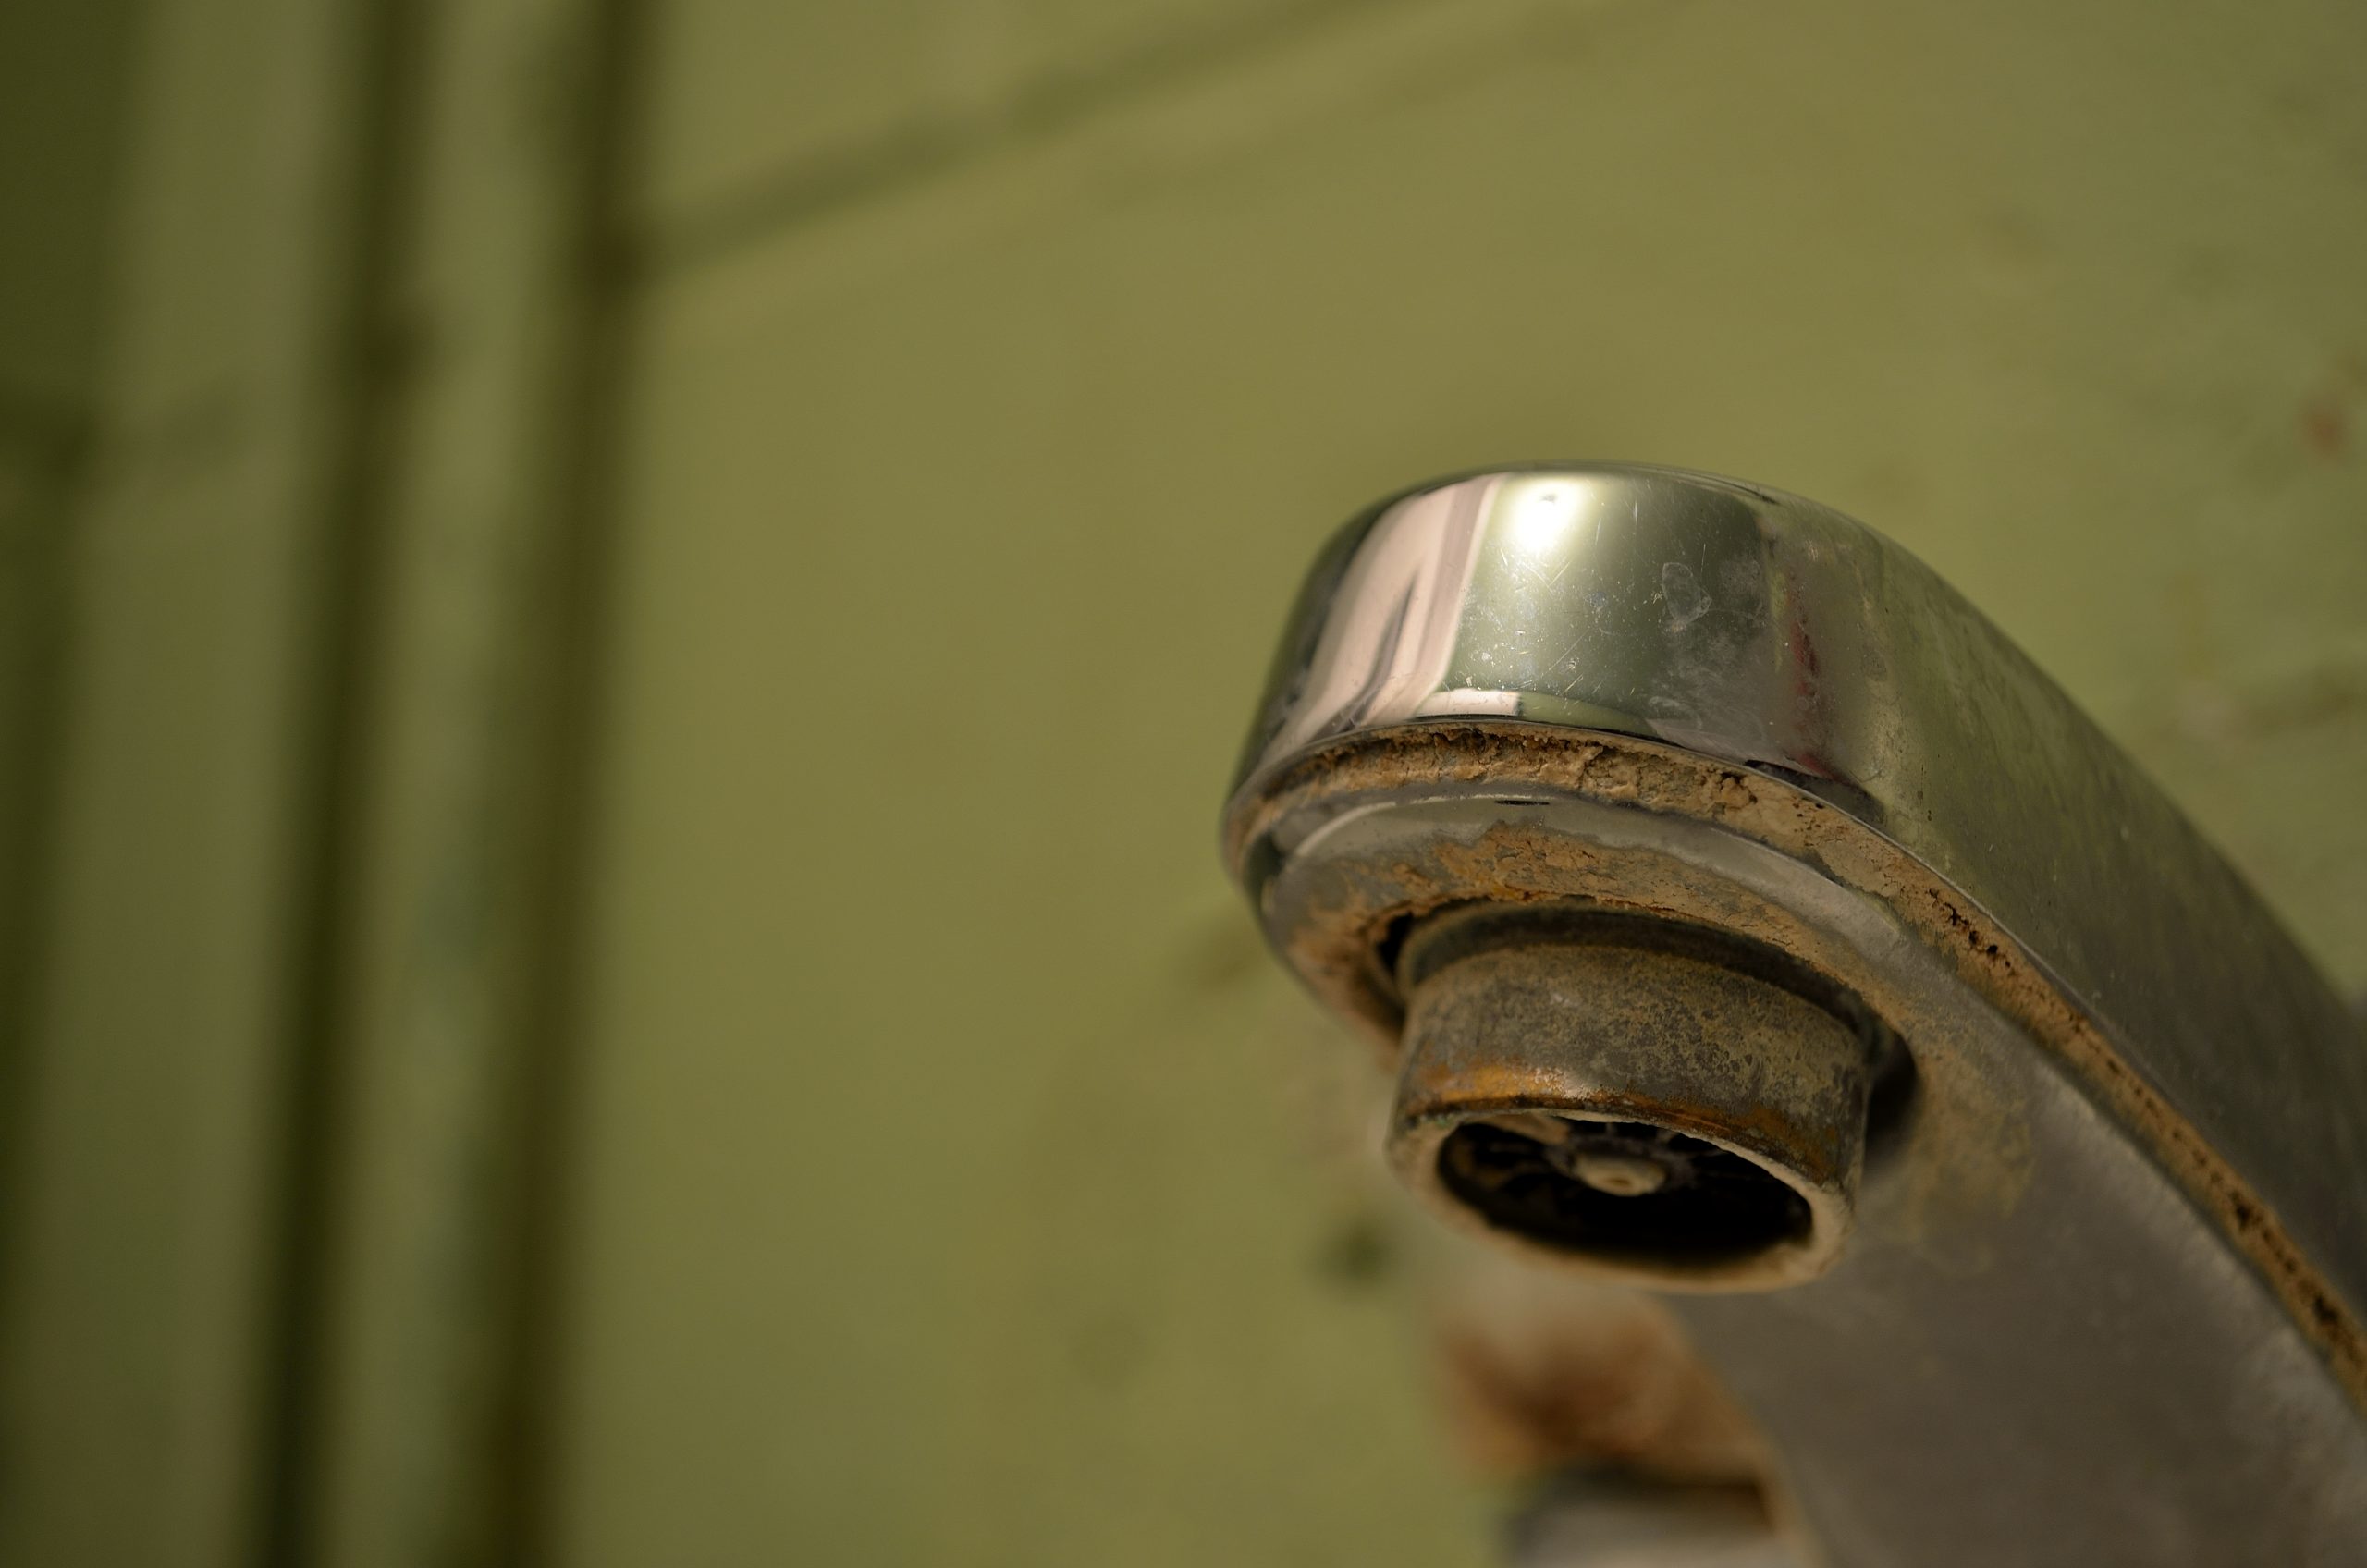
Limescale build-up is another reason why you need to check-up your faucet head and do the necessary clean-up. These deposits pile up day by day as water flows through the faucet.
Most faucets have aerators, which serves as a sieve, holding larger mineral particles from exiting the faucet.
These minerals, such as salts of magnesium and calcium, will remain in the aerator surfaces as water evaporates, eventually creating hard scale deposits. If your faucet’s water pressure matters to you, you might find it worth cleaning your aerator.
Corrosion:
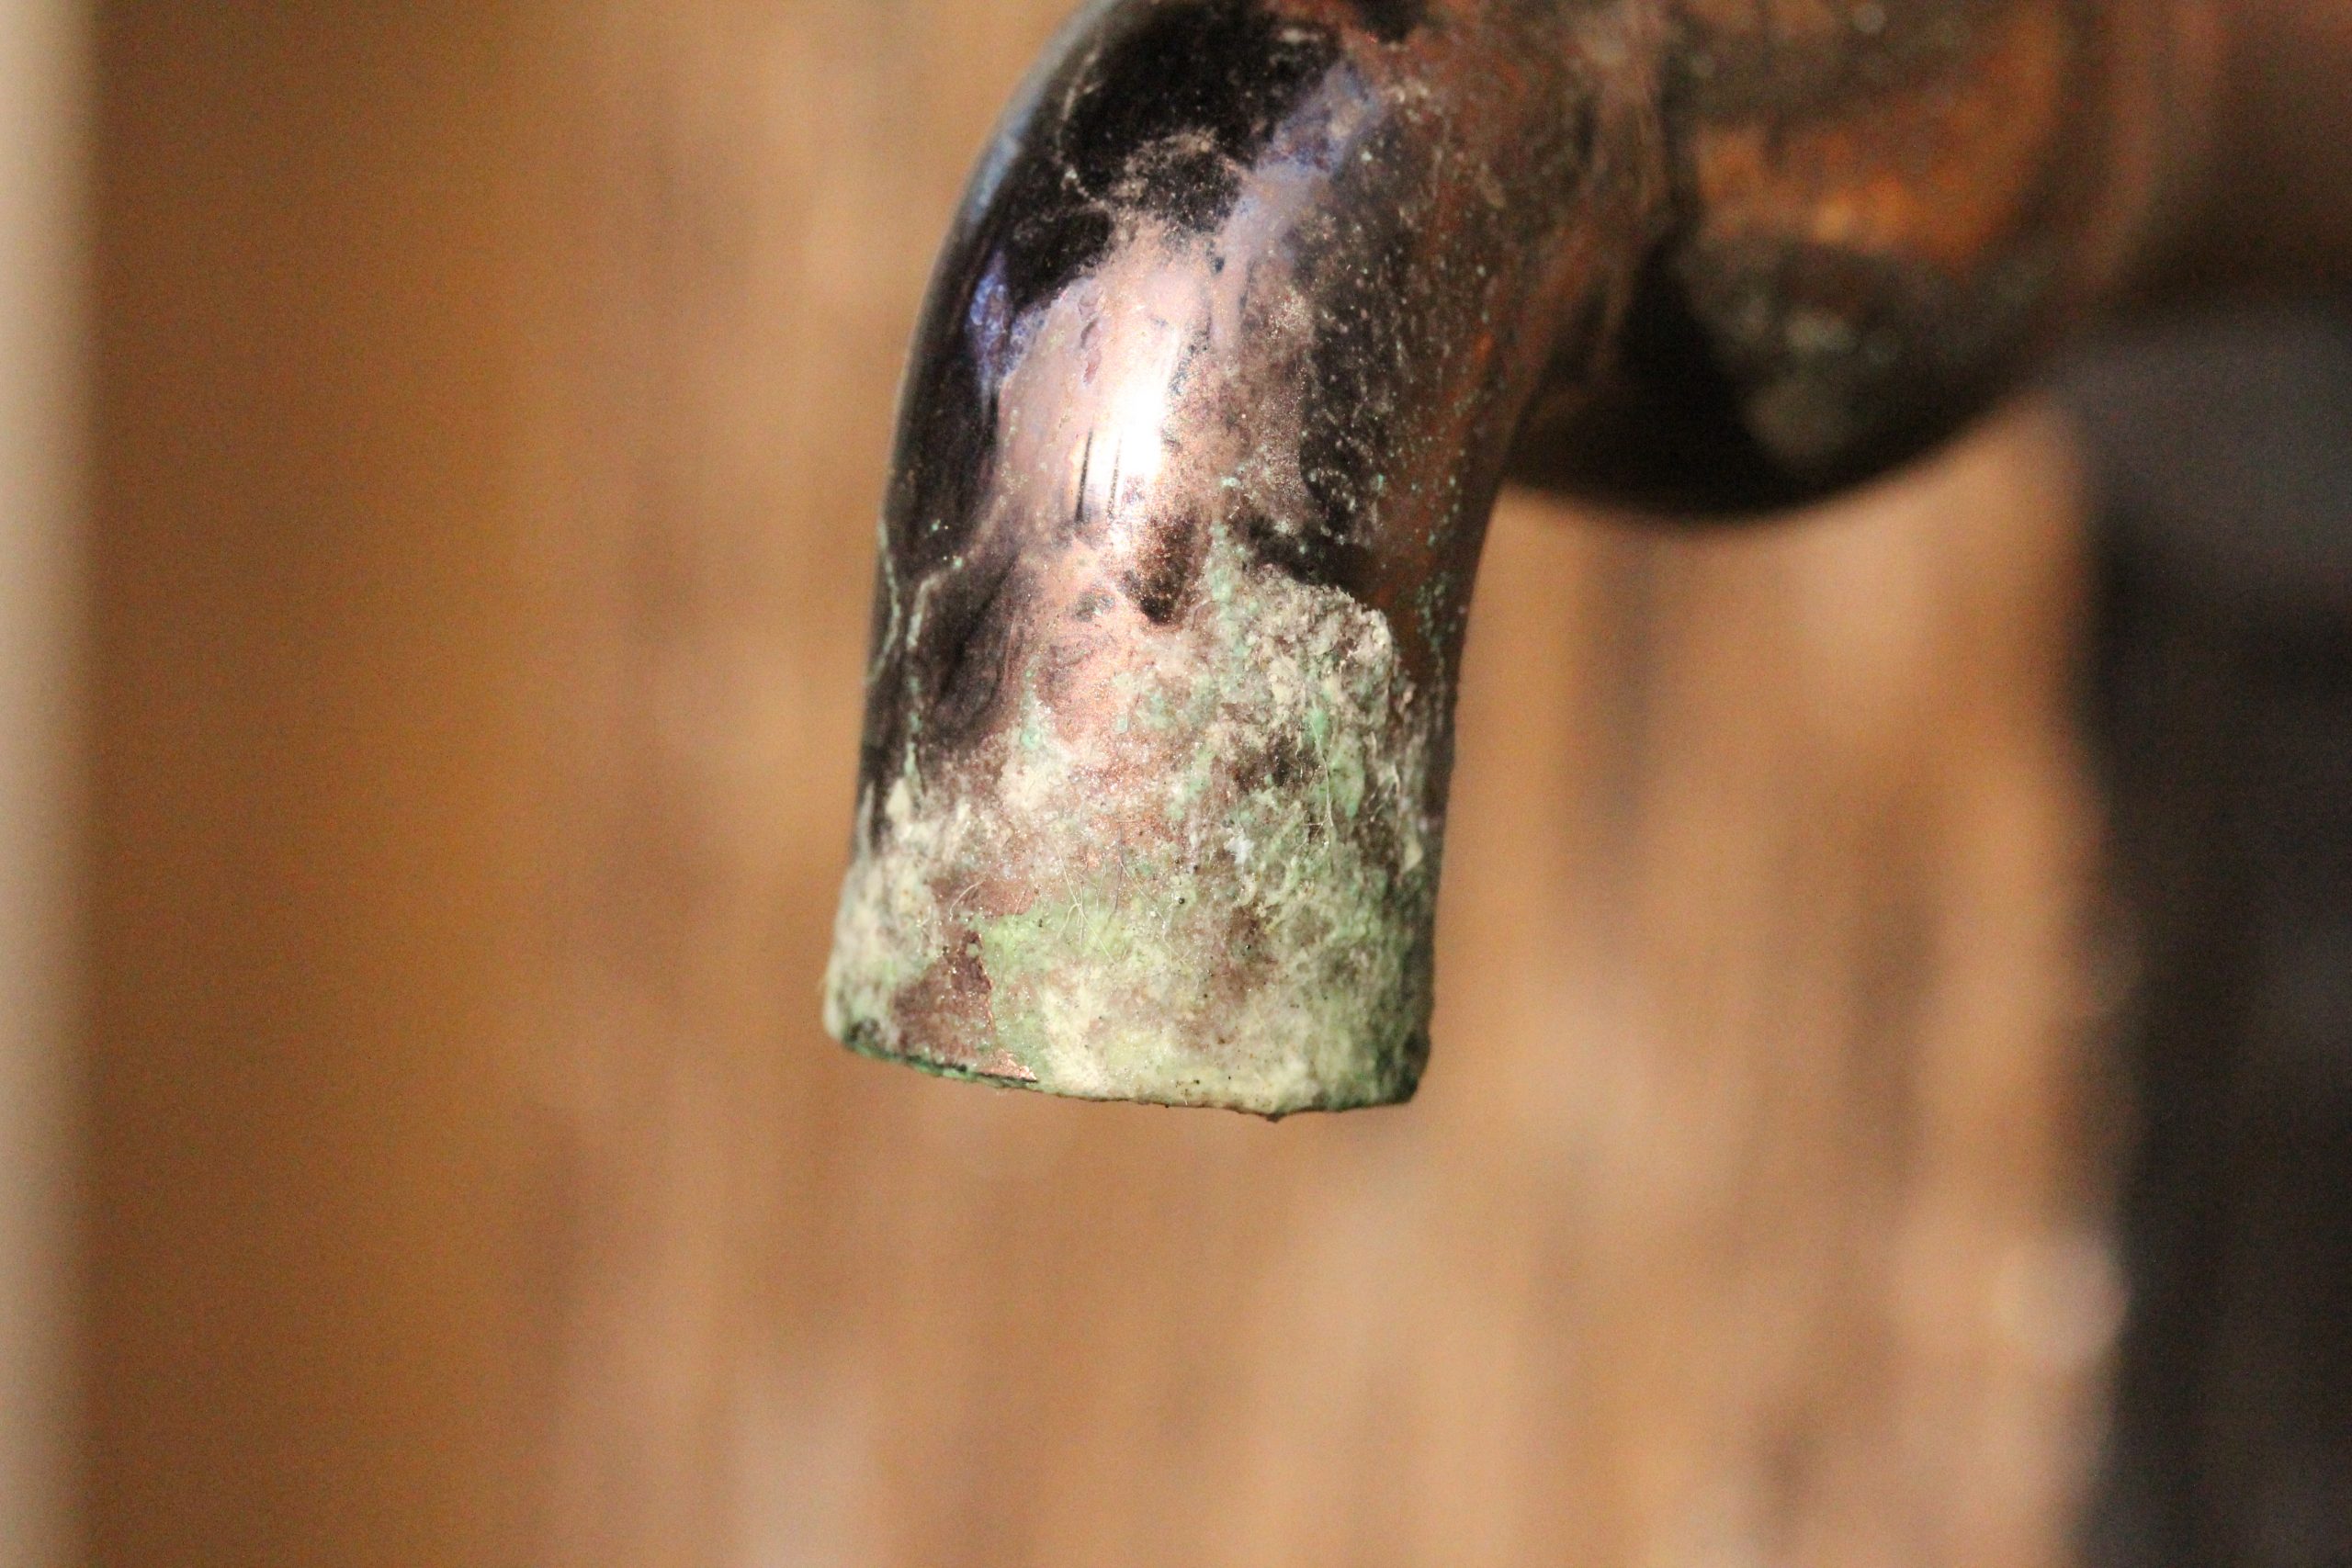
Corrosion is the last thing you will want to expect from your faucet head. Most metals are prone to corrosion if left unattended for long.
The same applies to your faucet head. When you fail to clean up limescale, you will have to deal with this nasty element.
You can tell your faucet head is corroded when you see water spurting out rather than flowing. Once you realize this problem, you will have to replace your faucet.
Conclusion
Cleaning a bathroom sink faucet head is easy. Using the right cleaning agent like vinegar and regular dish soap with water is all you need to keep your fixture new with a fresh feel.
As we have seen above, with all these techniques, you will be able to complete your task in a few hours and your faucet will be clean.
And before you leave, don’t forget to read following articles:
Tips to Choose Bathroom Accessories, Fixtures & Wares!
Types of Bathroom Accessories


