


Most of the houses have plaster walls, so it would become essentials to learn how to fix cracks in plaster walls on your own. Also, it can help you maintain the aesthetics of your house. So let’s get you started …!
Prior to commencing working on your walls, you need to first determine what they’re made of. If you live in a house constructed before 1940 chances are that you have plaster walls. How to figure out the material? Well, it’s pretty easy… They sound solid when you knock on them; while their surface can be wired, stippled (speckled with small touches during application) or smooth.
GharPedia brings you a simple guide on how to repair wall cracks or how to fill cracks in walls?
- Advantages of Plaster
- Disadvantages of Plaster
- The DIY “How to Fix Cracks in Plaster Walls” Project
Advantages and Disadvantages of Plaster
Plaster has been one of the most common forms of interior wall finishing since times immemorial. According to Anil Kumar Mishra (Author of book – Building materials and Construction), the plaster work done on the pyramids of Egypt is 4,000 years old, but it is still hard and durable. With changing times – pressed gypsum boards – known as drywall have flooded the market. Vis-à-vis drywall archaic plaster offers a plethora of benefits in modern applications.

So, here’s presenting a quick look at both the advantages and disadvantages of plaster to enable you to make a well-informed decision when it comes to building or remodelling your structure –
Advantages of Plaster:
- Plaster is renowned for its durability primarily owing to the chemical reaction that takes place when water evaporates out of the plaster mixture, leading to sturdy bonds in the mixture. According to G C Sahu and Joygoapal Jena (Authors of book – Building materials and Construction), good plaster adheres to the background during seasonal atmospheric variations and is durable as well as economical. Moreover, this material is more dent-resistant…and last but definitely not the least the lath, or backing, deployed behind the plaster lends immense sturdiness to the plaster.

- Plastering of walls require less time and is less messy, when compared with installation of drywall.
- Plaster adds a ‘Wow’ factor to your rooms as it allows you to play around with theme, colours, size and design. A slight tweak here and there can step up the aesthetics quotient of your room and lend it a stylish look.
- Plaster provides a plethora of design opportunities for your drab room, a few among which are – acoustic ceiling tiles and acoustic panels, architectural columns, archways, ceiling domes, decorative corbels, decorative plaster ceilings, decorative vents, plaster ceiling panels, plaster cornices, plaster fireplaces, et al. The best advantage of plaster is that it can easily be cast into any imaginable shape.

- Plaster is one of the most preferred mediums because it’s extremely easy and comfortable to install. It doesn’t engender any kind of dust barring a minimal amount, which is released when water is initially added to the powder. Then again, it doesn’t call for any sanding and plastering can be wrapped up in a relatively shorter timeframe.
- One of the biggest advantages of plaster is that it absorbs noise, thanks to its density.
- The carbonated lime in plaster spreads fire slower than drywall; and the minimal space between the layers of the wall and ceiling end up with less oxygen for fire to work with – hence traditional lime plaster is renowned for its fire resistance properties.
Disadvantages of Plaster:
- Compared to drywall, plastering of walls calls for skill and practice, so perhaps it may prove to be challenging for amateurs.
- It’s a tad tricky to repair plaster walls whose plaster pops or caves in due to shifting foundations or a strong blow to the wall. Moreover, post repair the entire wall needs to be painted as ageing plaster changes colour, so in case you skip painting the full wall then the new patches grotesquely stand out brighter.

- Vis-à-vis drywall, plastering is slightly expensive, as workers who are trained in the art of plaster application charge more for their time owing to their specialized skills.
- You have to wait for plaster to completely dry, before starting the painting of walls. If the plaster is not allowed to dry, the paint will peel off. Drying of plaster takes time as curing is also a factor that we need to keep in consideration.
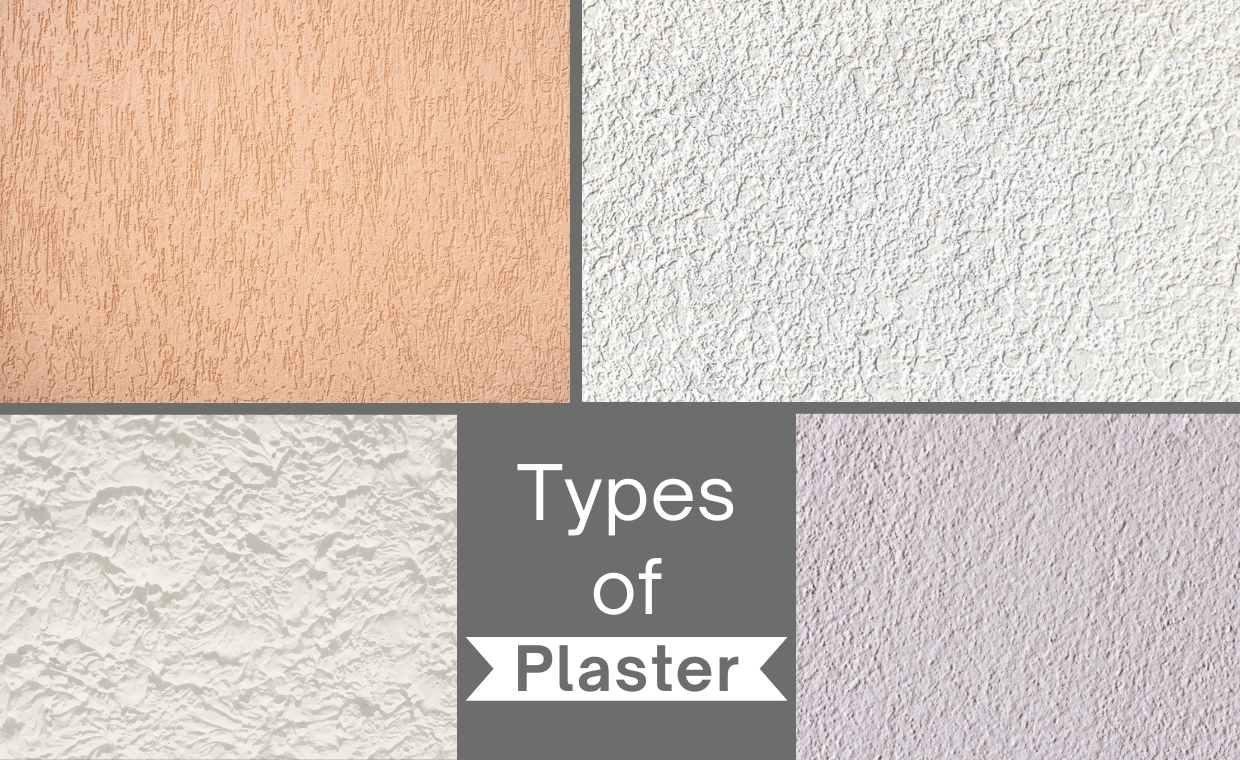
After learning the advantages and disadvantages of plaster, make sure to check our detailed article on types of plaster:
So let’s dive deep into how to fix crack in wall in easy steps.
The DIY “How to Fix Cracks in Plaster Walls” Project
Wondering how to fix crack in wall or how to patch plaster walls? The answer lies in the below section.
If your plaster wall looks like something out of a horror movie owing to many jagged cracks and missing chunks then well sorry, but you can’t probably patch the plaster yourself. That’s because plaster is built up with three applications of a wet lime or gypsum mixture and it requires artistry and skill to match it to the existing surface. But you can cut out a larger hole around the damaged area and fill it in with a piece of drywall. To repair small holes and cracks in plaster walls, it’s best to use joint compound rather than traditional plaster because it’s readily available and easy to work with.

It seems counterintuitive, but to get the best results you might need to do a little more damage to plaster cracks and holes before filling them in. You also need to ensure that the damaged area is completely free of any debris or dust particles, or the patching compound will plop out.
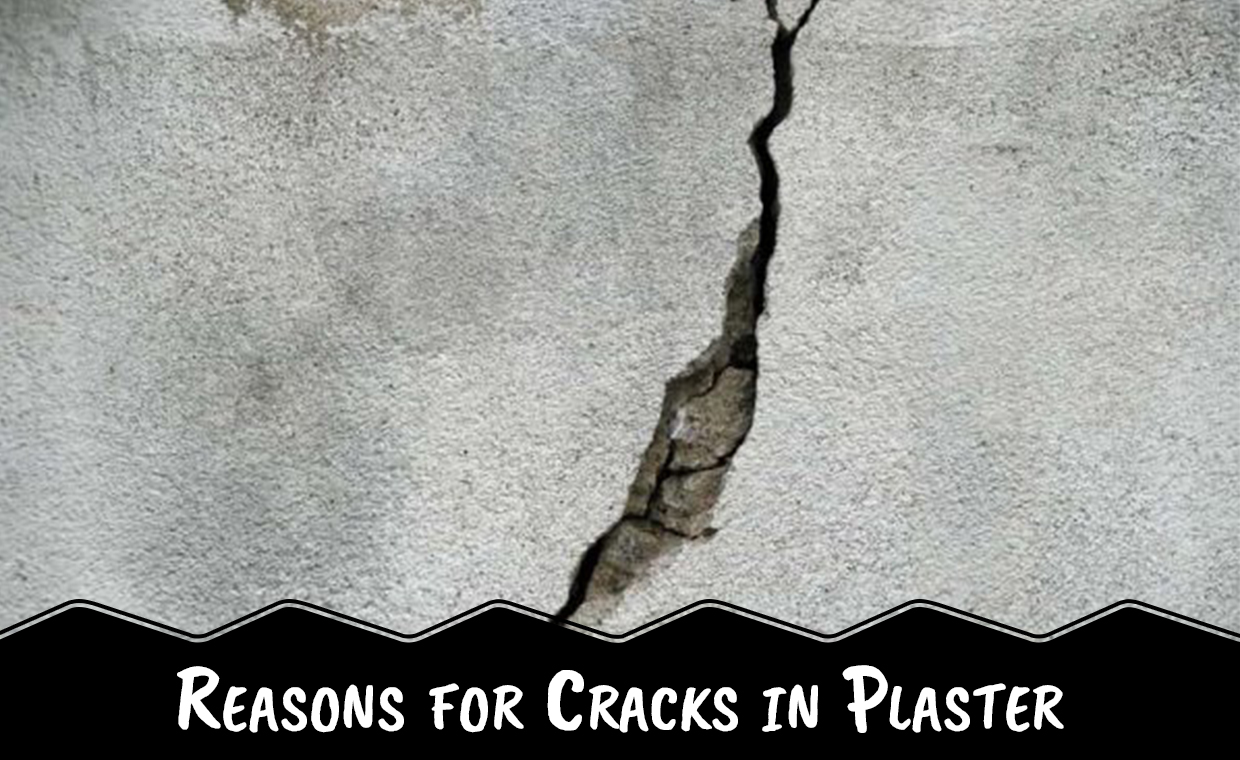
Before we dive into this DIY project of plaster crack repair, make sure to check out what are the causes of cracks in plaster:
Tools Required to Repair crack in Plaster Walls:

The DIY how to patch plaster walls project is incomplete without these tools.
- Can opener with a sharp triangular point
- Clean rag
- Drop cloth
- Paint
- Paintbrush
- Premixed joint compound
- Primer
- Small brush
- Taping knife
- 220-grit sandpaper or drywall sanding sponge and bucket of water
Duration of Task of Plaster Crack Repair:
It should only take about 15 minutes to patch plaster; then you’ll have to return to this task the next day to sand the area after it dries. Don’t let the plaster scare you; trust us, this task is as easy as it can get!
After gathering the tools, let’s go through the process of how to fix cracks in plaster walls.
The Process: How to Patch Plaster Walls:
Step – 1: The first step in the task of repair wall cracks is to widen and clean the existing crack. Spread out the drop cloth to protect the floor. If you have a crack, use the sharp triangular point of the can opener to gouge out a V-shaped channel in it. Remove the loose material thoroughly with the brush. If you have a hole, scrape the edges with the triangular point of the opener and then brush out the loose material.

Step – 2: Dampen the plaster around the damaged portion with the small spray bottle. This helps the patching material adhere in a better manner.

Step – 3: You may be wondering as to how to fill cracks in walls. Fill the crack or small hole with joint compound with the help of the taping knife. Spread it in an X pattern to ensure that it fills the recessed area. Feather the edges in such a way that the patch blends with the surrounding surface.

Step – 4: When the joint compound is dry, lightly sand the repaired area until the surface is flush with the rest of the wall. You can either use 220-grit sandpaper or a drywall sanding sponge (the latter will not kick up any dust) for this task. In case you decide to use the sponge then dip it in a bucket of water, squeeze out the excess and rub the area until its smooth.

Step – 5: Wipe off the dust with a clean rag (in case you have used sandpaper) or let the area dry (in case you have used the sponge). Prime and then paint the area.

Did you see how easy it is to repair wall crack and restore it to its pristine glory…? Hope this guide on how to fix cracks in plaster walls has proved beneficial to you.
Make sure to read our articles:
Is My Plastered Wall Ready to Receive Paint?
Home Repairs You Can Manage With A DIY Approach
FAQs
1. Are plaster cracks a sign of a serious problem?
Usually, small cracks are just cosmetic. However, wide, deep, or recurring cracks could indicate structural issues and should be evaluated by a professional.
2. Can I use caulk to fix plaster wall cracks?
While caulk is flexible and useful for some gaps, it’s not ideal for plaster cracks. Joint compound or plaster patching material provides a better, longer-lasting repair.
3. Is it necessary to prime a repaired plaster wall before painting?
Yes, priming seals the patch and prevents uneven absorption of the paint, ensuring a consistent finish across the wall.
4. How do I prevent new cracks from forming?
Maintain consistent humidity levels in your home, fix leaks promptly, and ensure good structural stability to minimise stress on plaster walls.
5. What type of paint works best on plaster walls?
Breathable paints such as mineral-based paints, or high-quality matt emulsions, work best. These allow the plaster to “breathe” and prevent moisture build-up.
Image Courtesy: Image 7


