


There’s nothing quite like a day of cooking on the deck with music blaring under the sun.
Or perhaps merely relaxing outdoors with a few friends could uplift your mood and rejuvenate your spirits…
A deck adds living space at a quarter of the price paid for the installation of an enclosed living area. In addition to boosting outdoors, decks are also an asset while selling a house.
The $25-$40 cost per foot is affordable for all pocket sizes. But if you are looking for something luxurious, then the upscale options for $100-$250 per foot would be the right thing for you.
Since nothing adds character and warmth to your place like an elegantly stained deck, we are sure that you, too, must have felt the dread of maintaining the deck and its stain.
The key here is to keep colour the same. Despite the impacts of exposure, climate, quality of material, and application technique, it is the usage that matters for the longevity of stain on your deck.
I understand that the installation and maintenance of deck is a significant investment, and people need more straightforward options.
Here is an affordable route on how to re-stain a deck to revamp the look. Just apply a new shade of deck stain over old stain, and you are good to go!
Steps for Staining a Previously Stained Deck
Step 1: Preparation and Assessment of Old Stained Deck
As the logic goes, the first step tore-stain a deck is the assessment of your deck’s existing condition.
- Look for spots that need to be repaired.
- Replace rotten and splintered plank at the earliest because a new stain would not affect the rot.
- The replacement is necessary for all twisted, warped or cupped planks.
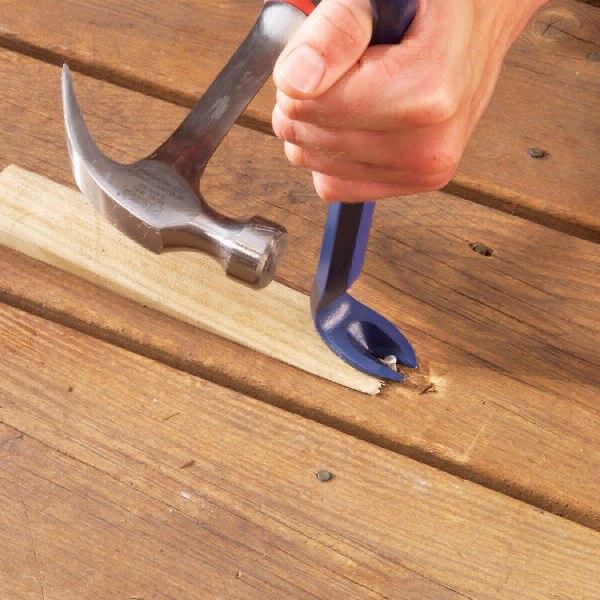
- Similarly, try to hammer down the popping nail heads for not only aesthetic but also practical purposes. If you want to know more about tools required for deck, read basic tools required for carpentry work.
The assessment is the stage where you can consider changing the colour of your stain. You will need adequate preparations regardless of going a tint lighter or a shade darker.
You can scrub or power-wash according to the size of your deck. You can remove the existing shade by using a paint stripper or even a sander. It is crucial to have a uniform shade of your deck after the removal of colour so that there are no patches.
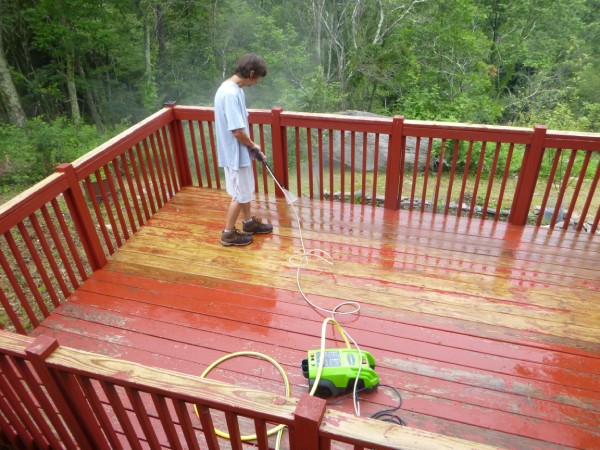
Step 2: Cleaning of Previously Stained Deck
This step is all about rinsing the surface. You can use a diluted cleaning solution with a power washing device following the instruction given with the cleaner. This thorough cleanse will melt all of the dirt and mildew off the deck and get rid of all the chemicals used previously.
If you are staining after a long time, perhaps 15 or so years, then you might need a second treatment.
Don’t blast water directly as it would rough up the surface. It would require much sanding to smoothen it up.
You have the option of manual clean up as well. All you need is a stiff brush, water, and cleaning liquid. Work in reasonable portions and rinse regularly. Voila! You are ready for the next step.
Step 3: Stain Selection
This is where the creativity begins. There are two main categories of exterior stain deck for wood available in the market.

You can get the solid finish or the semi-transparent one depending on the deck. The solid stain would cover up the deck and hide its patches and grain. However, the latter only adds colour while showing the beauty of the natural grain on the wood.
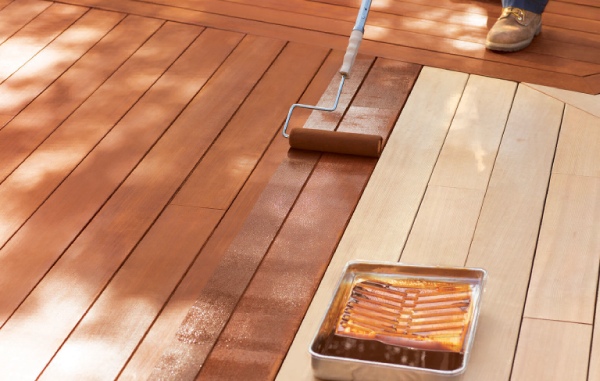
Step 4: Application of New Stain
The procedure of application begins with a test in the small, hidden passages for adhesion. If a solid finish protects your deck, then the new stain would not adhere until the finish is removed.
You can use paint pads, rollers, or brushes for smoother, longer strokes. It is suggested to divide the deck into manageable sections that expand outwards.
You can continue on wet edges to main a uniform shade on overlapping corners. If any of the parts get a second coat, the deck will look blotchy and unfinished. Remember to use a small amount of stain to avoid pooling.
Once the first coat deck stain dries completely, only then you should opt for a second coat. Let the planks dry for 48 hours so that they are ready to absorb the next layer of stain. After completing these steps, you can wait for a couple of months to let the stain mature and settle. You can reseal the deck later for prolonging the life of a new stain.
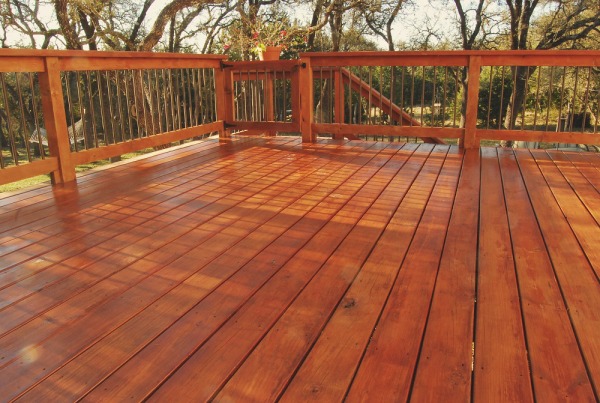
Partying Thoughts
Spending a little time and energy on your home would help you feel accomplished and also add more value to your home. Hope that this step by step procedure of changing deck stain shades would help you upgrade your deck at a lower price point.
Nowadays, WPC board is more popular as a deck flooring as it is an eco-friendly alternative to wood. To know more information about WPC board, read WPC Board (Wood Plastic Composite) – Things You Need To know
We have also written other articles related to renovate old wooden furniture:
Rescue Mission: 9 Steps to Rejuvenate Old Wooden Stool
6 Steps to Rejuvenate Old Wooden Chair & Give a New Fresh Look


