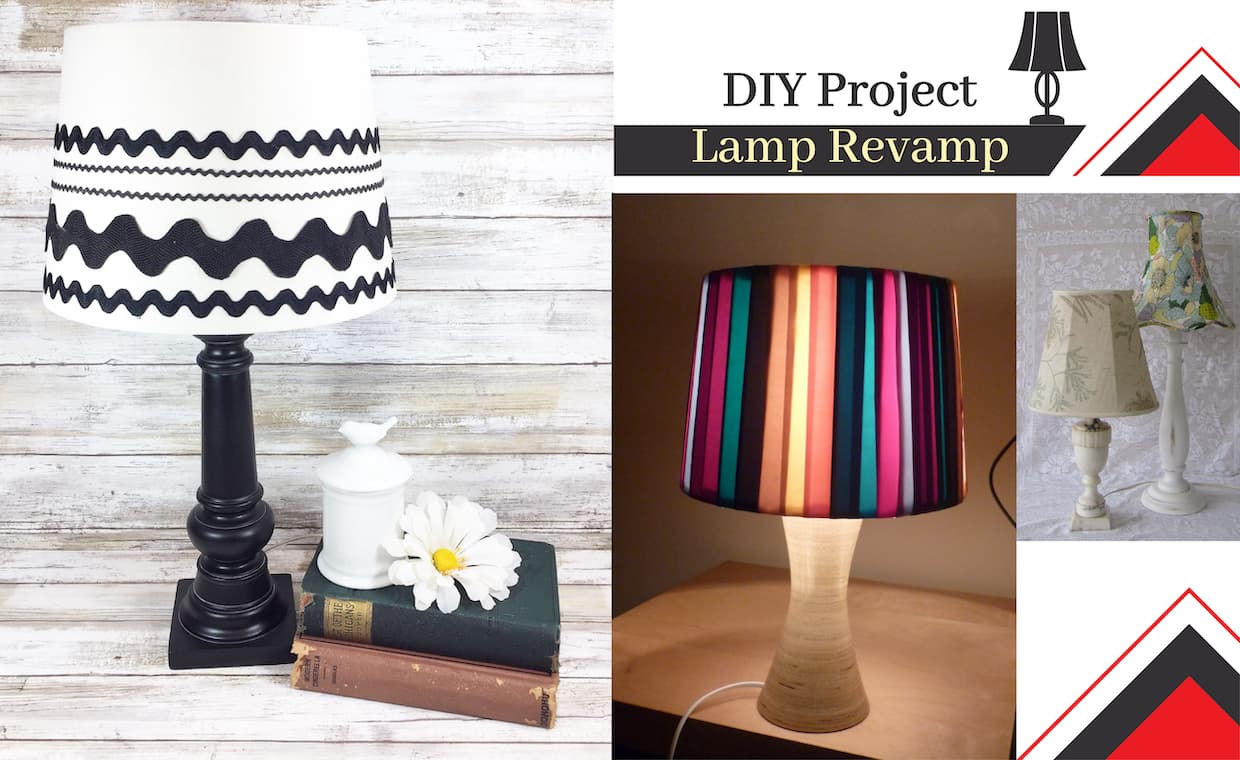
An interesting DIY Project for bonding with your family this weekend could be revamping an old lamp…an additional bonus is the gasps of admiration that the transformed lamp will attract from your guests!
Pick up an old lamp spray finished in black that hides the wood grain and sports a plain cream basic shade… give it a stylish makeover targeted to emphasize, not disguise its character. Create coloured stripes and add a simple symbol designed to complement the wood grain exposed on the base. So, let’s learn how to revamp a lamp.

Things Required for for Revamping a Lamp
- Artist’s acrylic paint (diluted)
- Clear gloss varnish
- Electrician’s screwdriver
- Emulsion
- Flat artist’s brush
- Marker pen
- Masking tape
- Round artist’s brush
- Silicon carbide paper (wet-and-dry)
- Small brush
- Stamp
- String
- 2.5 cm brush
The Step-by-step Process to Revamp a Lamp
The following is a step by step process depicting how to revamp a lamp shade, old lamp makeover:

1. Separate all the parts of lampshade to allow access to the base. Disconnect the electrical components. Remove and store them carefully.
2. Remove the original finish with medium and fine abrasives.
3. Emphasise the grain pattern on the base stem with a pale orange wash.
4. Sand down the outer base and give the first coat of emulsion in bright orange.
5. Apply black emulsion to the outside of the distressed orange base, matching the original finish left in the grooves.

6. Remove the black top coat with a fine abrasive. When dry, it remains in the grain structure and the orange shows through.
7. When the distressed finish is satisfactorily completed, protect the entire base by brushing on clear gloss varnish.
8. Divide the shade into equal segments using string as a measure and mask off.
9. Apply a diluted pale yellow wash to alternate segments of the lampshade. This will bleed at the edges.
10. Add an orange stripe and use a number 6 flat brush dipped in water to vignette.
11. Wash the colour to achieve a smooth gradation.
12. Test the tree symbol stamp and green colour on scrap paper.
13. Press the stamp firmly onto the (supported) shade in the centre bottom of alternate segments.
14. Ensure that the symbol is in position. If the pressure applied is insufficient, you will need to retouch with a small brush.

DIY Projects for Revamp an Old Lamp
Listed below are the DIY lamp shade ideas, lamp ideas DIY, DIY floor lamp makeover, DIY lamp base makeover and table lamp makeover:
01. Revamping an old Lamp by Reusing Leftover Ribbon

You can reuse the extra ribbon left from craft projects to simply add colour to your lampshade. For a subtle addition of colour, attach ribbon simply to the shade’s rims. For a more dramatic impact, cover the entire shade in a single colour of ribbon. The ribbon can be wrapped in a crisscross, vertical, or horizontal pattern around the entire shade.
02. DIY Lamp makeover by Covering Lamp with Leftover Wallpaper

If you want a cheap floor lamp makeover, you can reuse the left out wallpaper. Sometimes, it is hard to find the uses of leftover wallpaper. Instead of throwing it away, use it to cover your lampshade. Select a wallpaper pattern that complements the style of the room, then use craft glue or spray adhesive to affix it to the lampshade. It also works with temporary wall decals or peel-and-stick wallpaper. To avoid messes, don’t forget to wait until the glue or adhesive is entirely dry before replacing the lamp shade.
03. DIY Lamp Revamp

There are many lamp makeover ideas but there is nothing easier than using this spray paint hack to add a unique geometric pattern on the shade. Mark a pattern on the shade with painter’s tape by looping the ends of the tape around the top and bottom edges. Spray-paint the shade in a well-ventilated area with a broad, sweeping stroke. Paint till desired coverage is attained. Let it dry. You will be really be pleased with this redone lamps and DIY lamp makeover and don’t forget to mark the before and after lamp makeover.
Final Takeaway
On a final note, revamping an old lamp can really be a great lamp makeover. It will surely attract your guest’s attention.
We hope you loved reading the DIYs for revamping a lamp. These were different ways to revamp that old lamp. But if you want to know varied types of lamps, we have a detailed blog for it:
Types of Lamps You Can Use: Make Your Home Bright and Beautiful
Image Courtesy: Image 2, Image 3, Image 4, Image 5, Image 6, Image 7, Image 8
Author Bio
Huta Raval – An English Literature and Journalism Topper, Huta Raval has graduated from the L D Arts College, Ahmedabad. Post serving for 23 years in the NBFC and Public Library Sectors her desire for ‘writing the unwritten’ brought her to the creative field of content writing. Her clientele comprises of NGOs, Blogging Platforms, Newspapers, Academic Institutions, et al.


