


Wood veneer is a thin slice of real wood that is glued on to different types of engineered woods such as plywood, MDF, blockboard, particle board, etc. to give a finishing look. Many carpenters use wood veneer to improve aesthetics of kitchen cabinets. The standard thickness of the wood veneer is generally between 1mm to 4mm. Wood veneer is available in different types, based on types of wood species, based on matches, based on cut, etc. Applying wood veneer sheets is an easy task if done properly.
Here we have given simple steps on how to apply wood veneer sheets:
Step – 1: Preparation
Inspect the wood veneer sheets properly for any impurity or deformation. Select a section of the veneer that is free from any cracks or defects as this could interfere with the overall finish. Allow these sheets to acclimate in your environment for 48 to 72 hours. This is been done so that the sheets may change their dimensions slightly depending upon the temperature and humidity.
Step – 2: Setting the Dimensions
Before veneer application, you need to cut the wood veneer sheets according to the dimensions of the substrate. Place the substrate over the desired section of the veneer sheet and mark the required size on the sheet accounting half an inch extra on each side.

Step – 3: Applying the Adhesive
Figure out the bottom side of the wood veneer, and apply adhesive recommended by wood veneer manufacturers. Generally contact cement which is a type of liquid glue is used for veneer application. Mark sheets with a pencil to avoid any confusion. Now, apply the adhesive on the top side of the substrate and using a spreader, spread out the adhesive nicely and evenly all over it.
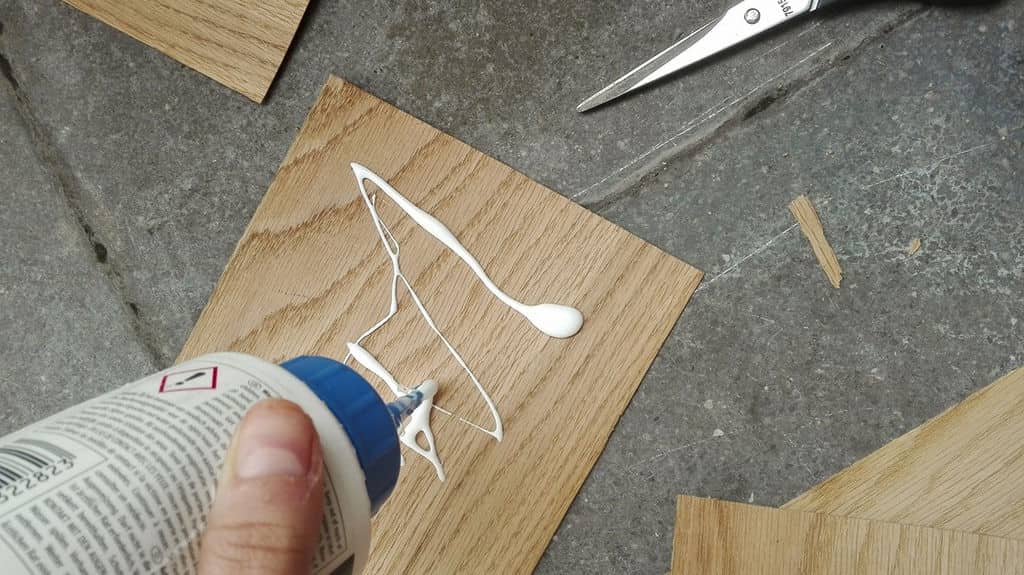
Courtesy – Instructables
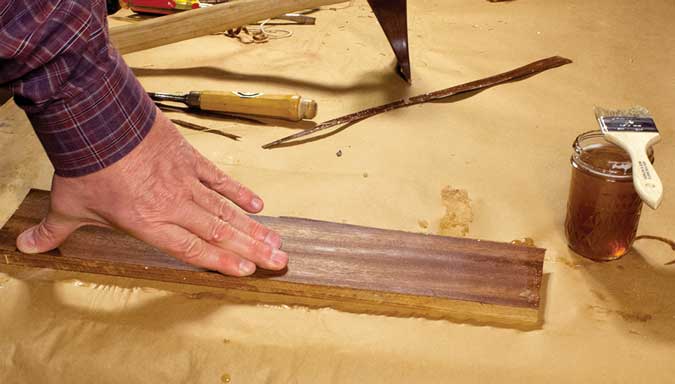
Step – 4: Veneer Application
Align the wood veneer sheets and the substrate and stick the sheets carefully on the surface of a substrate. Take extra caution while positioning the two elements so that you can get a proper alignment. Press the sheet to ensure it has stuck properly. Use lacquer thinner to remove excess glue.
Step – 5: Apply Pressure
Now roll over a J – roller on wood veneer sheet and apply maximum pressure. It is recommended that you start from the center and work your way out towards the edges. This is done so as to remove any air bubbles formed if any and also extra glue is also removed. Now using a smoothing blade, smoothen the veneer surface and verify that the wood veneer is completely adhered.
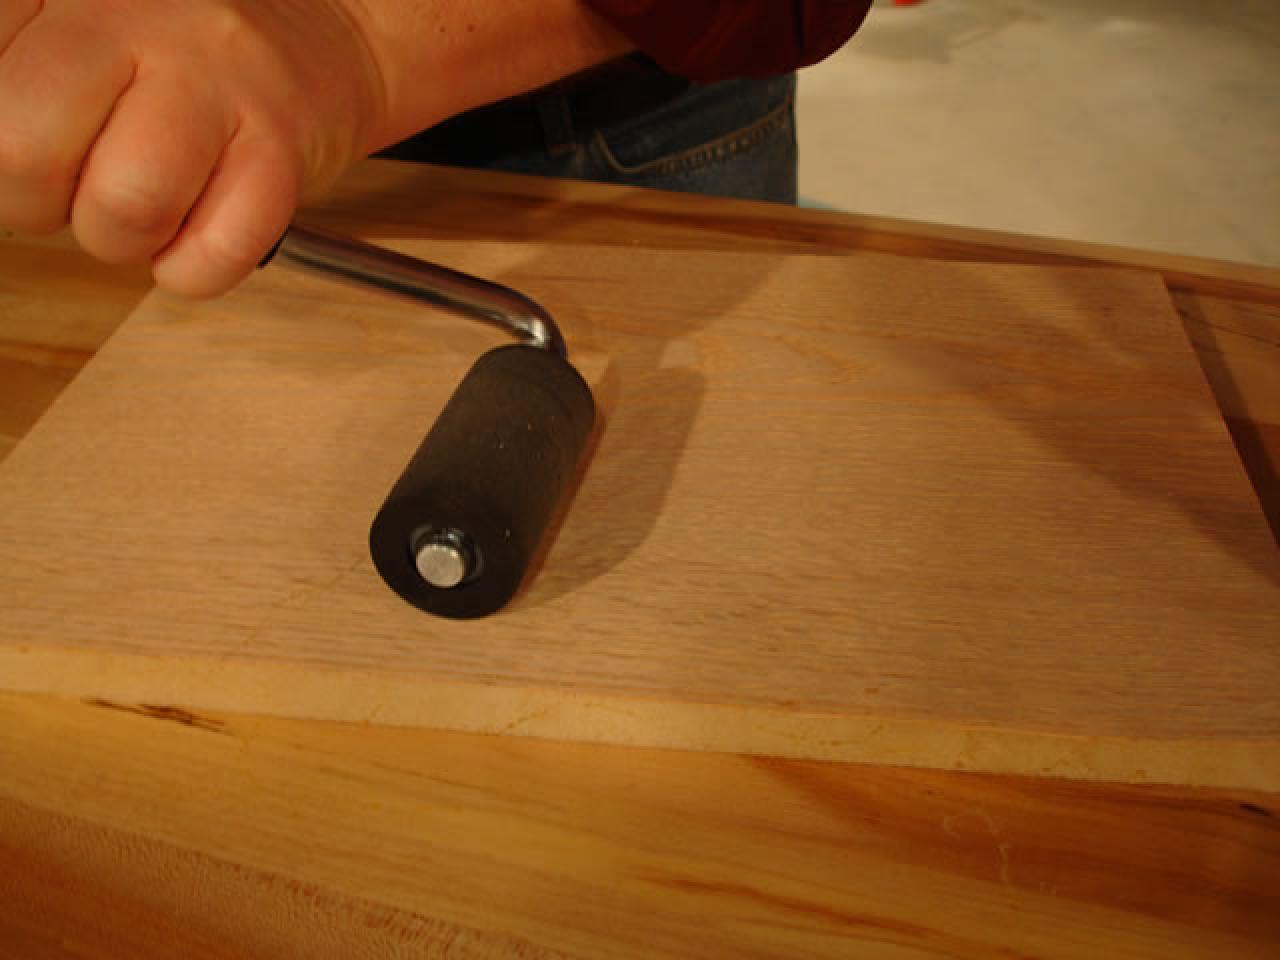
Courtesy – DIYnetwork
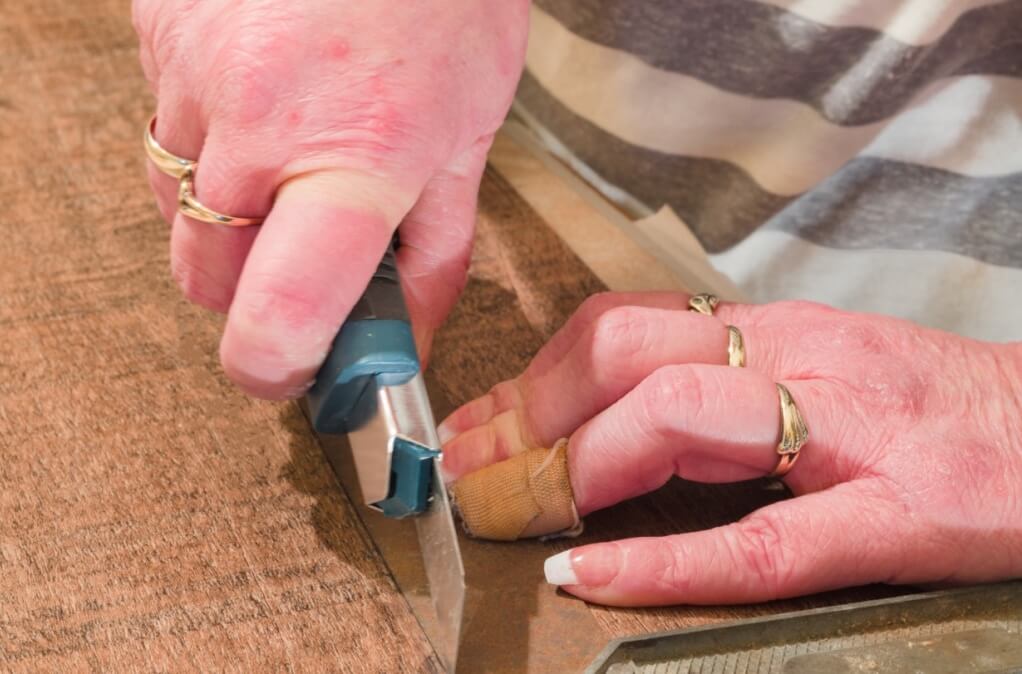
Step – 6: Cutting the Excess Veneer
Excess wood veneer must be trimmed off using a razor knife.
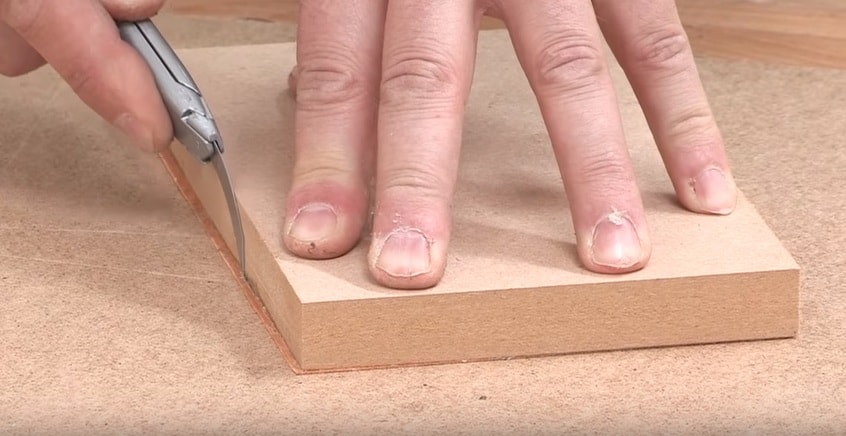
Courtesy – Official North Nottinghamshire College Channel
Step – 7: Finishing
Allow the piece to dry completely for 24 hours before finishing it. For perfect finish it is necessary to sand the wood veneer. Sandpaper must be used to refine the surface and veins of veneer. You can stain the veneer using different types of wood finishes. For a final check, run your hands over the area to make sure that the area is free from any defects.

Courtesy – Official North Nottinghamshire College Channel
Once the wood veneer sheets are applied to the substrate properly, you can polish them to make them shiny and improve the durability. The aforementioned steps provide a simple guide on how to apply wood veneer sheets. For a perfect finish, it is recommended to contact an expert carpenters.
Also Read:
Different Types of Veneer Matching
Advantages & Disadvantages of Wood Veneers
Types of Wood and Their Uses
Manufacturing Process of Wood Veneer


