


The manufacturing of wood veneer includes all the processes from the time when the tree log enters the yard to the time when veneer sheets are packed and ready to be transported. The image below explains the entire manufacturing process of wood veneer in a simplified manner.
The steps involved in veneer manufacturing are as follows:
Step 1 – Log Yard:
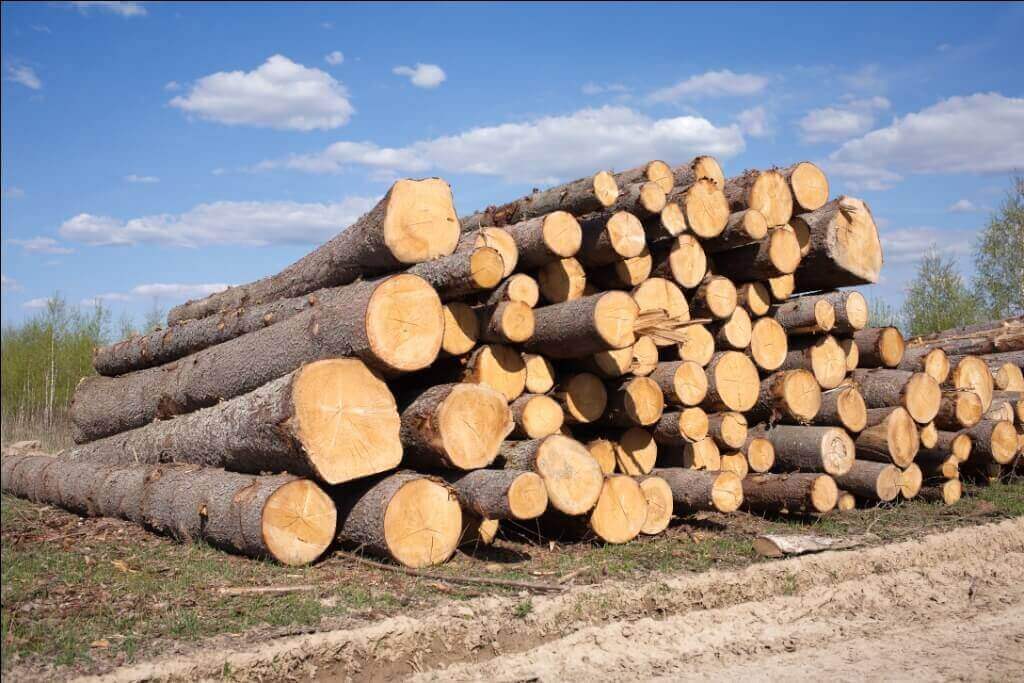
As soon as the tree log arrives from the forest, they are classified by species and kept under conditions of optimal humidity by spraying water or by soaking in water ponds. This is done to prevent the tree log from degrading which usually occurs as a result of drying.
Step 2 – Debarking:
The next step is debarking. Taking great care not to damage the tree log the bark is peeled off with evenness.
Step 3 – Soaking of Logs:

The next step involves soaking the log to soften the fiber. It is necessary for uniform slicing. The logs are put into steamers and completely submerged at temperatures ranging from 80°C to 100°C for a period of 18 to 72 hours. For maximum efficiency, the tree log should be cut within an hour after soaking.
Step 4 – Cutting the Logs:
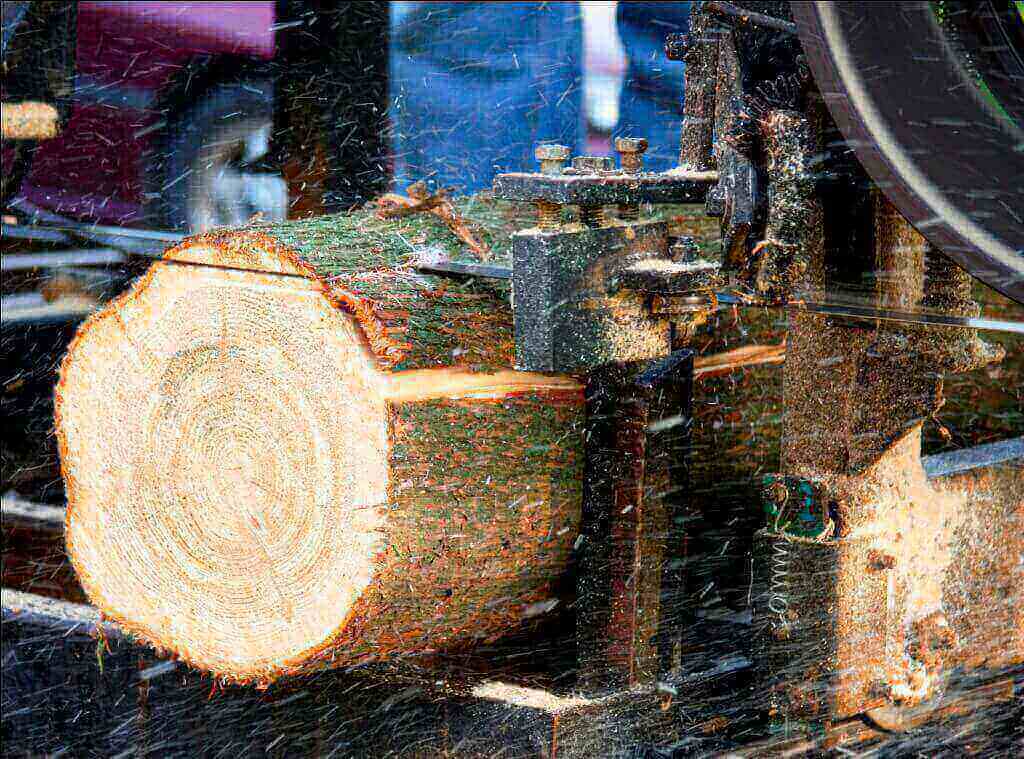
The key operation of how and where a tree log should be cut depends on the slicing method used to produce veneer. Each log, already identified has its own barcode. This enables the various cuts to be identified any time. For peeling, the tree log will be cut in half or quarters part. These logs are called peeler blocks or peeler billets.
Step 5 – Peeling:
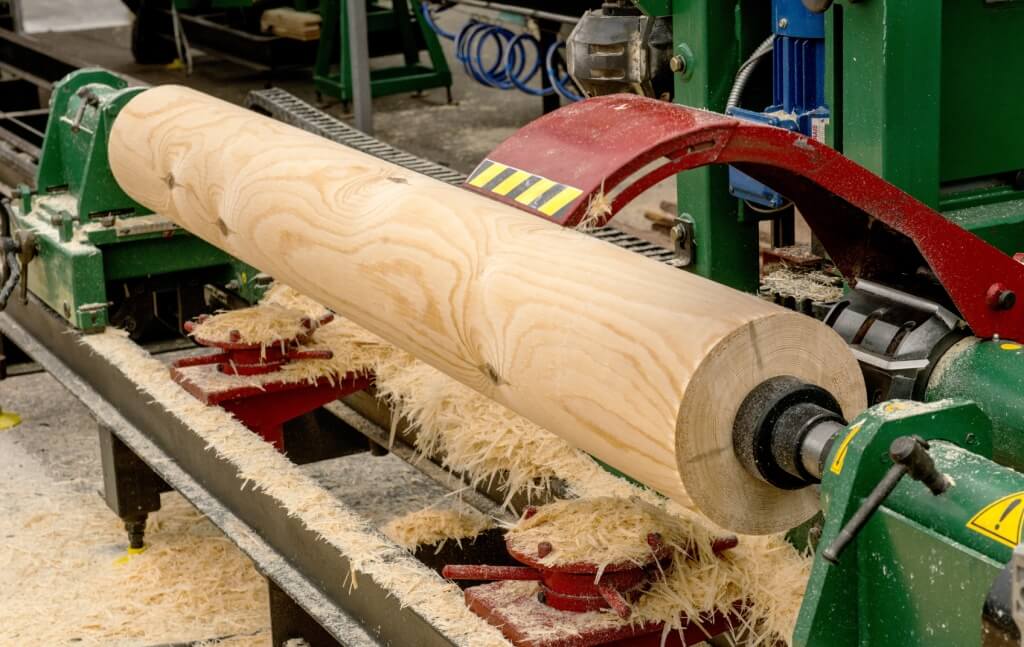
Ensure that the veneer logs of the same tree are not separate tags corresponding to logs barcode are carefully attached and verified at each step. In this step, the tree logs are sliced to veneer sheets. There are distinct methods to slice a veneer from hardwood logs.
Let’s take a look at each method:
(a) Flat Slicing:

It is the most common veneer cutting method. The half log is placed with the heart side against the flitch table. Slicing is parallel to a line through its center. This cut produces a light multicoloured and a distinctive pattern. The slices obtained by this method are always uniform.
Courtesy – CabinetParts
(b) Rotary Cut:
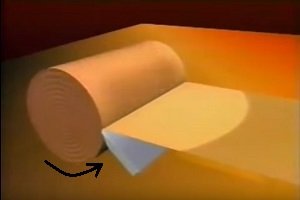
The log is centrally mounted on the lathe and turned against a sharp blade, just like unwinding a roll of paper. The cut follows the logs annual growth rings. A bold multicoloured grain marking is produced. The veneer sheets produce exceptionally wide.
Courtesy – CabinetParts
(c) Quarter Slicing:

This method produces a series of straight lines. The quarter log is mounted on the flitch table such that the logs growth rigs hit the blade at the right angle.
Courtesy – CabinetParts
(d) Rift Slicing:
In this veneer cutting method, the rotation speed of the tree log is determined by the log size, particular features of the species of wood, its natural shape, and the thickness of the veneer. The cut is done at a slide angle from the position of the quarter log. This method results in a comb or rift grain effect.
Courtesy – CabinetParts
(e) Half Round Slicing :
This cut is a variation of rotary cut. The grain effect produced by this cut has characteristics of both rift cut and flat slice veneer. The cut slightly crosses the annual growth rings.
Step 6 – Drying:
The veneer sheets always remain in the natural order as they emerge such that all parts of the original log are kept together. One by one the slices of veneer carefully enter the dryer, where they are dried evenly within a few minutes. Air temperature of up to 320°F at high velocity is blasted on the surface. The veneer must be dried in such a way that it has at least 8-12% of moisture content.
Step 7 – Quality Check:
As veneer slices leave the dryer, they are again reassembled to reconstruct the log which never separates. The identification is subjected to several verifications. It involves examining and classifying the wood veneer. An expert carefully inspects each log to make sure customers receive quality veneers having strict standards.
Step 8 – Clipping:
It is the initial step in the splicing process. They are cut with clipper to obtain sheets that are even in length. A similar clipping or cutting process is performed to acquire sheets of a proper width. The quality of the veneer panel depends on the precision and angle of the cut. Panels are then headed to the glue machine, which bonds the edges of the veneer sheets.
Step 9 – Splicing:
Here the veneer sheets are assembled to produce a match. The pressure exerted and the heat used ensures a solid, consistent match. A wide range of veneer matching available as follows:
- Book match
- Slip Match
- Reverse Slip Match
- Running Match
- Balance Match
- Random Match
- End Match
Step 10 – Packing:
The veneer sheets are finally measured, packed and labels are stuck with an indication of length, width, etc. Ready flitches are put into pallets. Each pallet is packed into protective polyethylene and is tightened with a packing tape. They are now ready to be transported.


