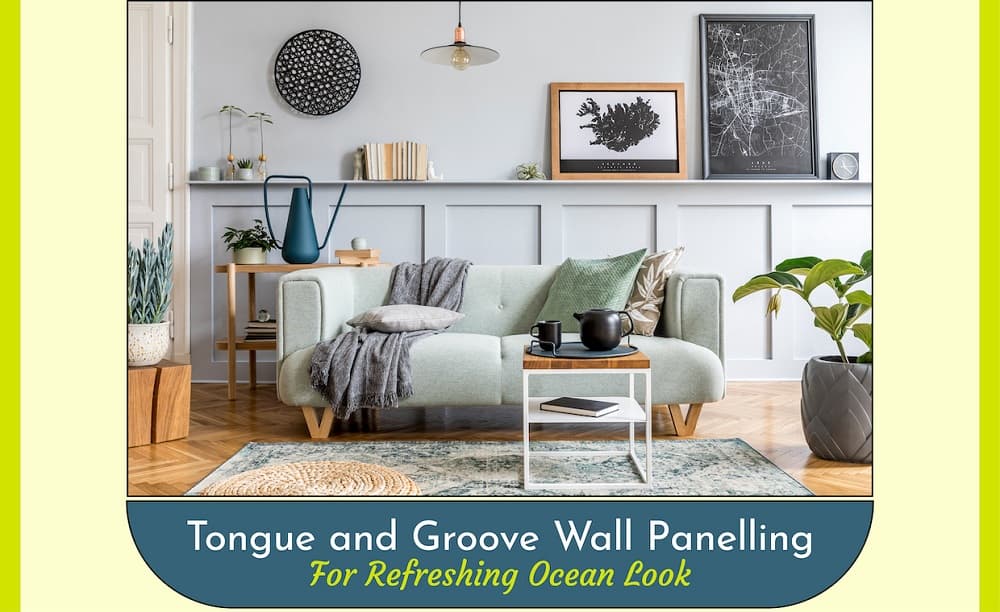
Something as simple as wall panelling can change the feel of even a mundane room and instantly give it a beachy look. Confused as to how to do this? Read on to know how to create magic with tongue and groove wall panelling.
Wood panelling is very much a part of a beach house, whether the home is in the Outer Hebrides or Montego Bay. The panels are light, easily transportable, and simple to fit, besides covering a multitude of sins! The best thing about DIY tongue and groove panelling is the instant beach style they bring along with them. Tongue and groove are available in kit form or as long lengths from a timber merchant, which you can then cut down to a size to suit your room. The panelling can be fitted from floor to ceiling or as described in the project in this blog, on part of the wall topped off with a shelf to display your best beach-combing finds.
Things Required for Tongue and Groove Wall Paneling

Following is a list of things needed for DIY wood paneling:
- Box of 5cm number 6 screws
- Box of 2.5cm panel pin8=2
- Drill with 6mm and 3mm pilot bits
- Fine nail punch
- Gloss or emulsion sealed with a marine-quality varnish
- Mitre saw or block with a handsaw
- Pencil
- Screwdriver
- Shelf 7.5cmX2.5cm planed softwood to fit around the room (measure the length required)
- Small hammer
- Spare piece of wood
- Straight edge with a spirit level
- Support brackets for shelf – to be spaced 60cm apart
- Tongue and groove paneling to fit around the walls (we’ve used beaded paneling in this blog)
- 3 lengths of 2.5 cmX1.2cm battens for each wall length
- 6mm wall plugs
How Much Wood is Required for Tongue and Groove Wood Paneling?

There are various materials for wall panels, such as veneer, gypsum, MDF, PVC etc. To find out how much wood you will need for tongue and groove panelling, you can either measure the width of one plank and divide this by the length of the wall area to be covered, multiply this figure by the height of the paneling to find out how much wood you will need, or buy made-up panelling kits to fit the length required.
DIY Tongue And Groove Panelling- The Step-By-Step Process
Once the battens are up, the panelling grows fast. Finish it off with a shelf to hide the raw edges and display your seaside finds.
Finally, on a parting note, tongue and groove wall panelling with wood looks great with a shelf above it; you don’t necessarily need to panel the whole room to achieve the effect.
Hope you liked the blog on tongue and groove wall panelling and are ready to give your home a makeover. If you wish to know more about how to install lower wall panelling, don’t miss our blog
How to Install Lower Wall Paneling – The Ultimate Guide
Author Bio
Huta Raval – An English Literature and Journalism Topper, Huta Raval has graduated from the L D Arts College, Ahmedabad. Post serving for 23 years in the NBFC and Public Library Sectors her desire for ‘writing the unwritten’ brought her to the creative field of content writing. Her clientele comprises of NGOs, Blogging Platforms, Newspapers, Academic Institutions, et al.


