The kitchen worktop is more than just a functional surface. It’s also a hub of culinary creativity and the centrepiece of your kitchen, which is a major factor to keep in mind when installing it yourself.
The worktop greatly influences the functionality and aesthetics of the space, so the installation has to be flawless. In that case, you’re at the right place. Even if you’ve never DIYed such a project before, our guide has tips for a successful kitchen worktop installation to guarantee success every time.
Here’s everything you should know about a successful kitchen worktops installation.
Planning and Preparation

The most important step in installing a kitchen worktop yourself is the preparation. Without the right planning, you’re setting your DIY up for failure. Here are some prep tips to keep in mind.
Measure Accurately
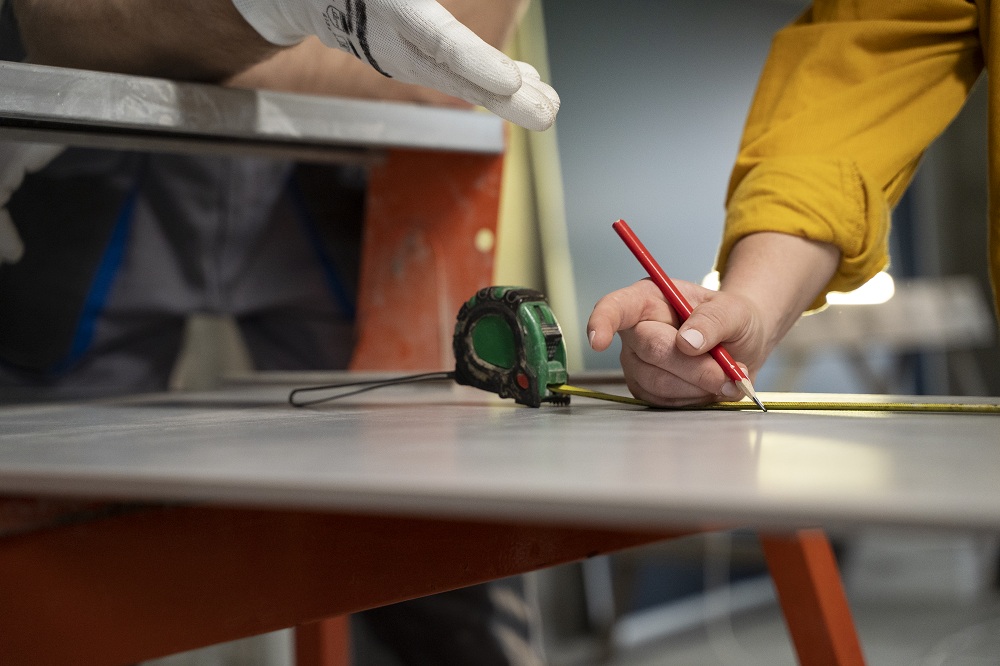
A successful kitchen worktop installation is impossible with inaccurate measurements. Use a tape measure, carpenter’s square, digital calliper, and laser to ensure each measurement is precise. Don’t forget to double-check each number before you begin working on the installation.
Choose the Right Material

Picking the right worktop material isn’t just about affordability and style. You also need to consider factors like durability, heat resistance, versatility, low maintenance, and repairability. Granite, quartz, laminate, and stainless steel are a few materials that meet these demands.
Design Considerations

The last step of your preparation is considering design options like edges and overhands, which come in various styles. You should also consider where the sink will be installed and if there’s enough space around appliances for safe operation.
Materials and Tools
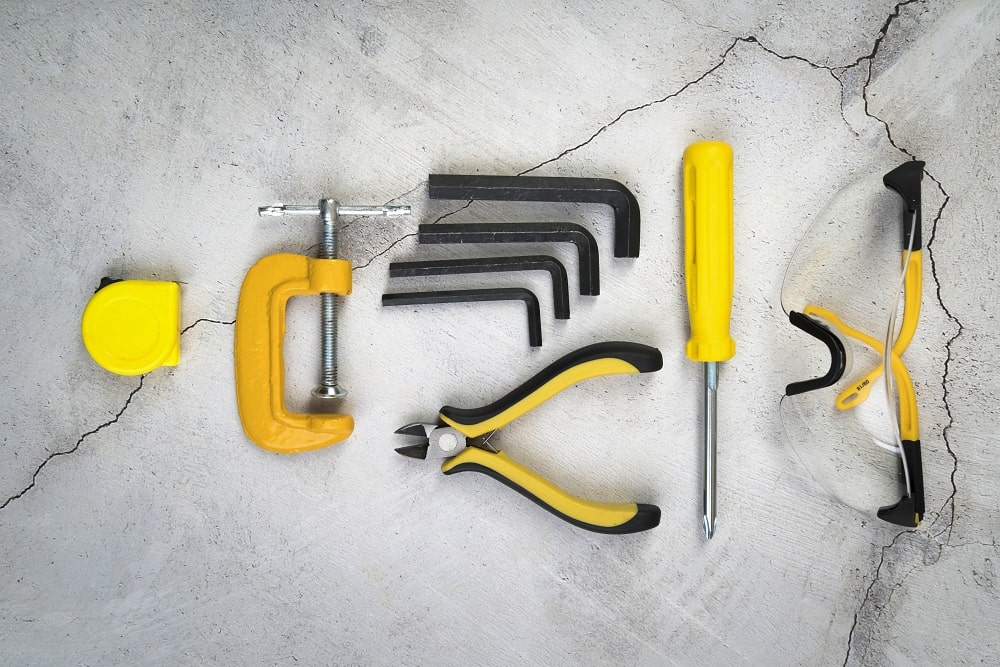
First-time DIYers will probably have to make a trip to the store before they start the project. Here’s a list of materials you’ll need.
- Your choice of worktop material
- Epoxy or construction adhesive
- High-quality sealant
- Support brackets
You’ll also need tools and equipment, including:
- Circular saw
- Router
- Sandpaper
- Clamps
- Measuring tools
- Safety gear (Safety glasses, hearing protection, dust mask, work gloves, etc.)
Installation Steps
Finally, you can start your DIY kitchen worktop installation. Follow each step with care to ensure successful results.
01. Clearing the Workspace
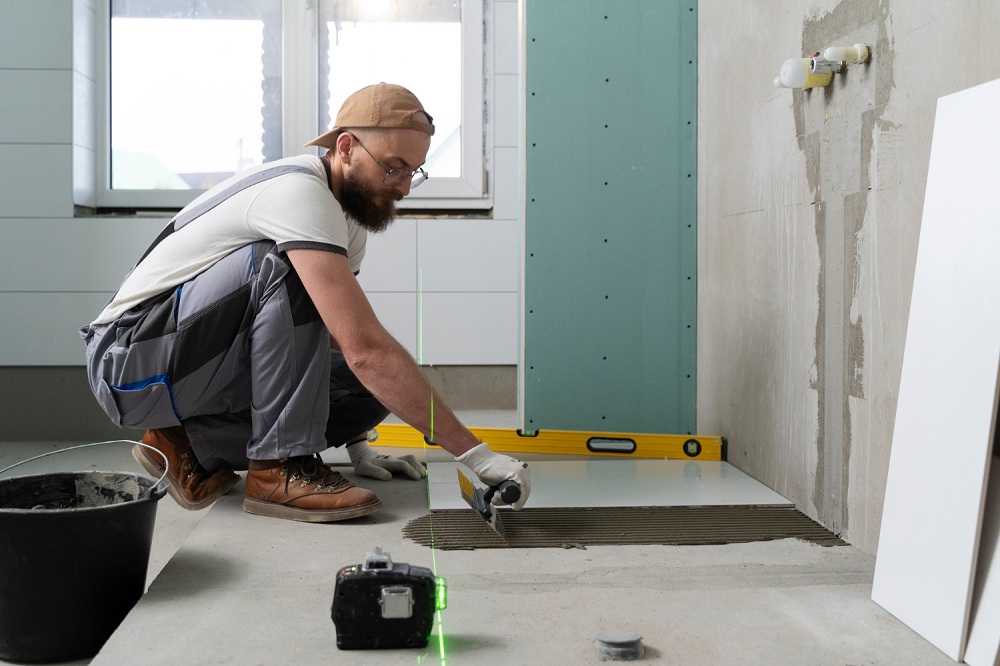
Before you begin the installation, make sure your workspace is clean and clutter-free. Remove anything from the kitchen at a risk of damage or contamination. If you’re working near appliances or plumbing fixtures, make sure the gas and electricity are disconnected.
02. Protecting Surrounding Surfaces and Cabinets

Cover all surrounding services and kitchen cabinets with a cloth or plastic sheet. Otherwise, you’ll have to go through a deep cleaning session after completing your project. This also protects the surfaces from potential scratches.
03. Ensuring Proper Ventilation
Kitchen worktop installation can result in a ton of dust and debris circulating the area. Make sure your kitchen has proper ventilation to ensure the air doesn’t remain contaminated for long. You should also wear a dust mask for better breathability.
04. Cutting and Shaping the Worktop

Finally, it’s time for you to cut and shape the worktop material. Measure and mark the sink and appliance cutouts before using the right cutting tool for each material. A wet saw can cut stone and quartz, while laminate or solid surfaces require a jigsaw.
05. Test Fitting
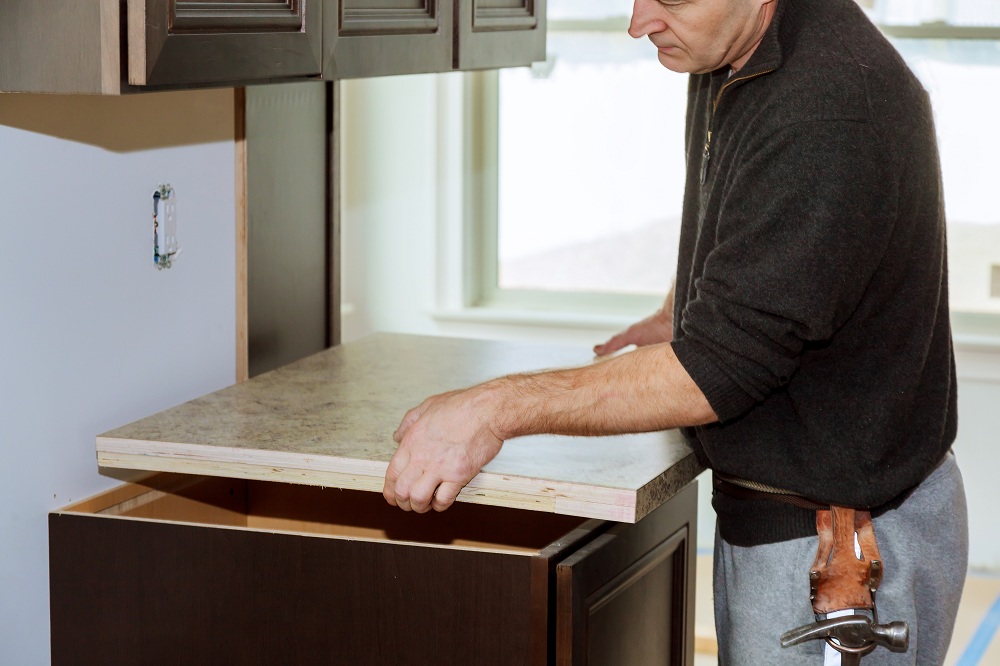
To make sure your measurements and cuts are accurate, run a simple test fitting. Place the worktop in its designated spot to check the fit and alignment. If it doesn’t fit, sand it down to the right measurements.
06. Applying Adhesive
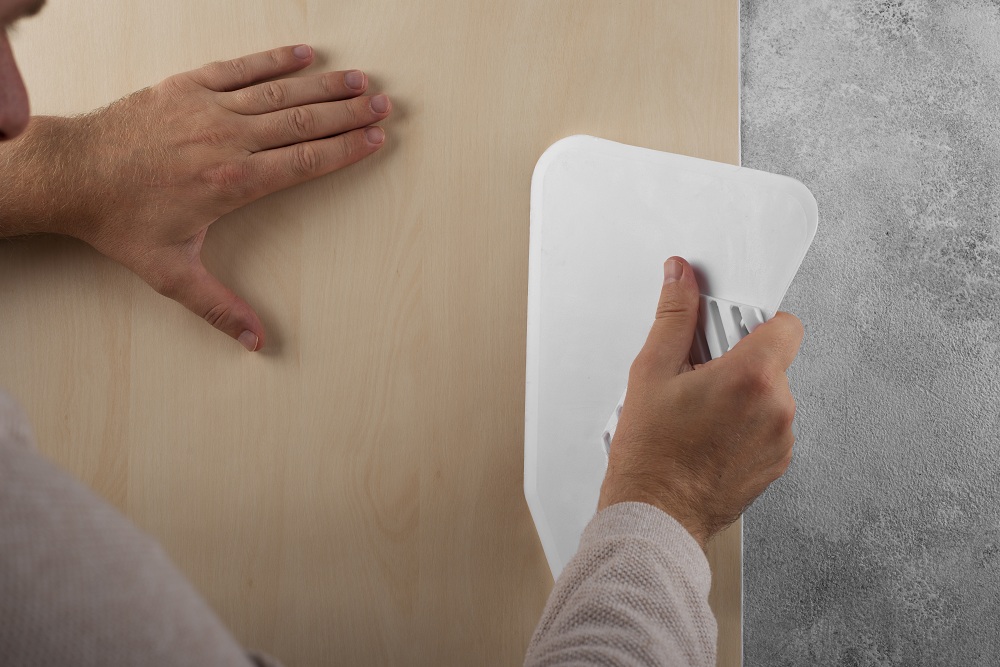
Once your worktop is cut and fitted perfectly, you can mount it to the cabinets. Use a material-specific and waterproof adhesive according to the manufacturer’s guide. You can use a squeegee to spread the adhesive thinly and evenly across the surface.
07. Sealing Seams and Edges
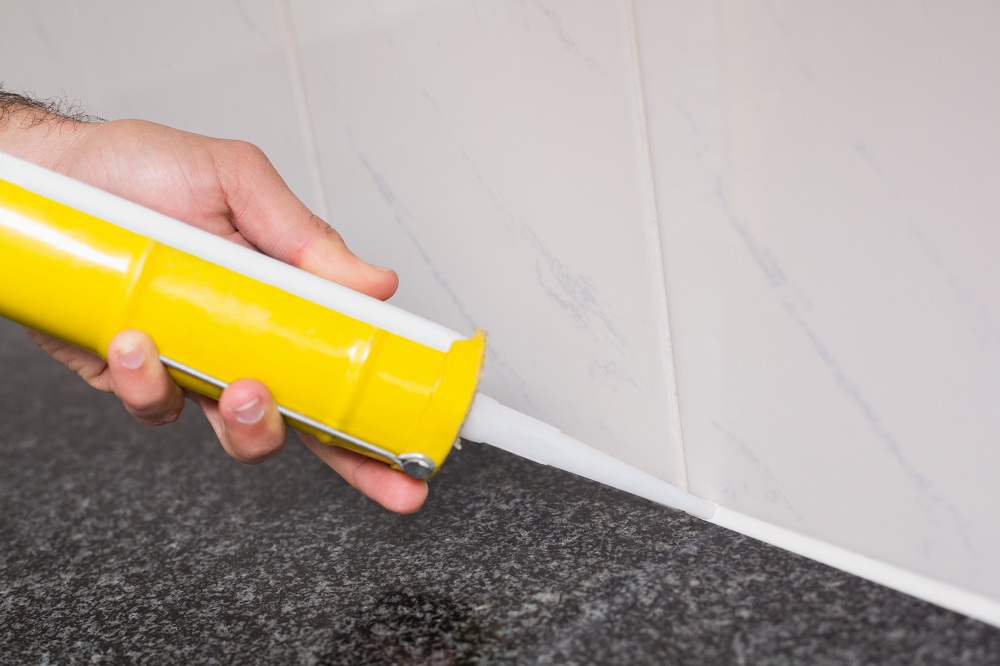
Finally, it’s no secret that some worktop materials need to be sealed. This helps prevent moisture penetration and mould growth in the long run. You can seal the seams and edges with a high-quality, waterproof sealant, such as silicone.
08. Attaching Support Brackets
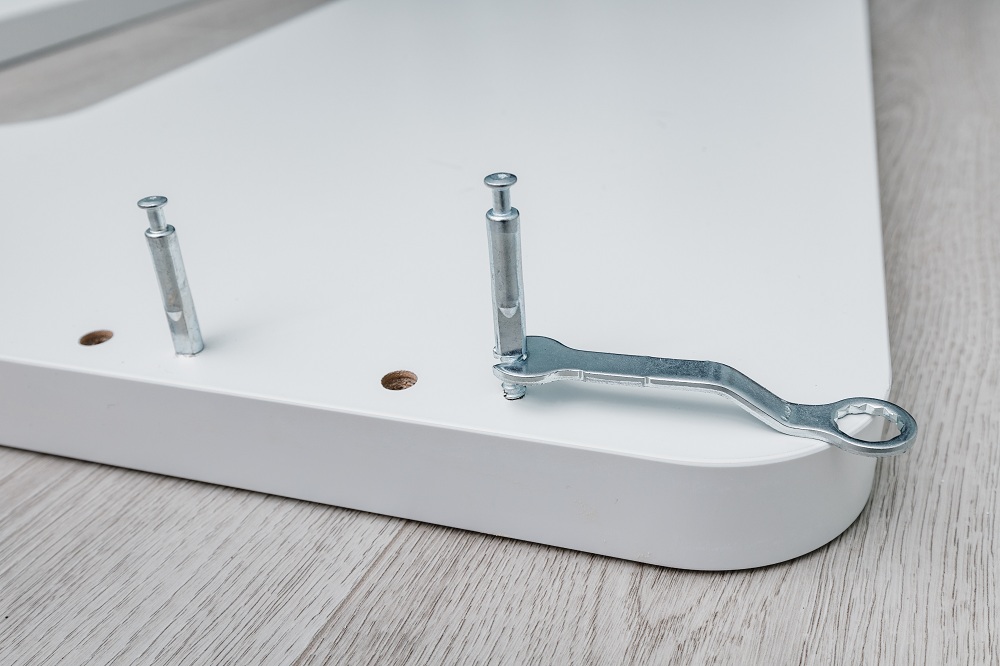
In some cases, you’ll need to attach support brackets under the cabinets. That’s especially true if the worktops are made from heavy natural stone or concrete. These support brackets will distribute the weight evenly and ensure the cabinet top doesn’t cave in.
09. Securing the Worktop in Place
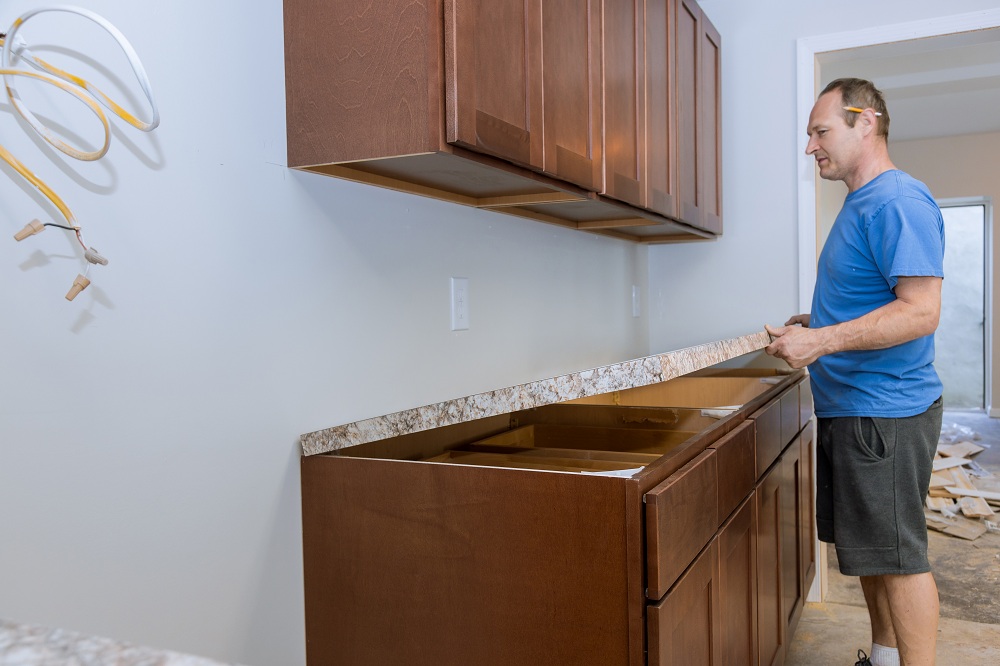
Now, the last and most important step. Place the worktop on top of the adhesive and allow them to bond. You can also attach clamps to the worktop and leave them on for 24 hours to guarantee proper sealing.
Finishing Touches

Of course, your installation isn’t complete without a few finishing touches. These last few steps will ensure your worktop is in prime condition and ready to use!
Cleaning and Polishing
If any adhesive or sealant has squeezed out of the gap, use a putty knife or plastic scraper to remove them. Remember to do this once both materials have been set but are still pliable. It’s the key to creating a clean and sleek finish.
Reconnecting Appliances and Plumbing
You can reinstall the sink and plumbing once the worktop is fully bonded to the adhesive. You can also put the faucets, stovetops, and appliances back into place. Make sure there’s no more moisture before you reconnect the electricity.
Inspecting for Imperfections
Examine the seams between worktop sections, edges, and corners for any imperfections. If you find unevenness or gaps, address the issues as soon as you can. You may need to sand down the edges, apply more sealant, or adjust the fasteners.
Avoiding Damage
Finally, remember some tips to keep your worktop last long and avoid damage. For example, you should avoid cleaning it with harsh chemicals, abrasive scrubbers, or scouring pads. Unless you have a butcher’s block, your worktop also shouldn’t be used as a cutting board.
Conclusion
From precise measurements to material selection, the installation of a kitchen worktop is an intricate process. There’s little room for error, but the tips from our guide can help you ensure a successful project. So, what are you waiting for? Grab your toolbox and DIY the installation!
Image Courtesy: Image 8