


Washbasins are an age-old tradition in the list of fashionable bathroom accessory that looks good, works well, and are easier to maintain. Many types of sink are available in the market, but the vessel sink or bowl sink is the all-time favorite for homeowners.
A vessel sink is convenient to use and helps you create a truly attractive look. Nowadays, it is one popular bathroom trend with multiple utilities, and the lower cost of installation will justify your choice. Sounding interesting enough? It’s the true and time-tested formula of a bathroom makeover.
Do you know that by installing a simple vessel sink, you can modify the face of your bathroom just like a game turner? A good quality, colour-coordinated bowl sink can give your bathroom the unique polished look that you’ve always opted for. It looks awesome, and you will be happy to know that, with a bowl sink installed, you can convert a dresser into a stylish sink vanity without spending much.
Have you checked already the product, or you are already aware of the product itself? Let’s take a quick look at what a vessel sink is in case you are not that familiar with this sink model.

What is a Vessel Sink?
A vessel sink is a sink commonly installed in a bathroom and sits on a vanity countertop, unlike the under-mount sinks installed underneath the counter. It is also known as a bowl sink, above counter sink and counter top sink and table top sink. The bowl sinks are only suitable for bathrooms and for a common open basin area because their style is not practically suitable for the kitchen environment.
Are you also looking for a sink for your kitchen along with the bathroom? Then you are at the right place; read our article Kitchen Sink for anything you want to know.
Pros and Cons of Vessel Sinks
Here, we describe all the pros and cons of vessel sinks for your better understanding and to help you choose a sink for your home.

Vessel Sink Gives A Truly Attractive Look
Pros:
01. More countertop space: Having the sink mounted on top, you gain more counter space.
02. Style: Adding a counter top sink in the bathroom is unique as it has a wow factor in terms of its look and functionality. It comes in varieties of styles and shapes.
03. Easy to install & Change: Vanity vessels are easy to install and would be a simple task to change whenever you feel like doing it.
04. Available in many varieties of material: The above counter sinks are available in many materials like ceramic, glass, marble, natural stone, concrete, copper, stainless steel, wood, and more.
05. Versatility and Customizability: Most commonly, counter top sink is available in a bowl shape. Still, there are many varieties in its shape, like boxy rectangles, rectangles with flared edges, nature-inspired shapes and swooping figures. With its shape, you can also modify the sinks depth as well as width as per your choice.
Cons:
01. Durability: With vanity vessels, you may face few durability and sustainability issues, and this happens due to the exposed edges of the sink. It’s prone to get damaged or may attract the risk of cracking. It happens more when the sink is used day in day out.
02. Cleaning: Dirt and water mostly get to stick between the countertop and the vessel sink Cleaning the grime is quite challenging. This is one of the factors that you should consider before installing it.
A Vessel Sink Installation Kit, You’d Need
Followings tools are required for the installation of a vessel sink –

Plumbing Tools for Vessel Sink Installation
- Hole saw
- Sponge
- Wrench
- Jigsaw
- Trowel
- Drill
- Pliers
- Safety glasses
- Fixtures
- Sink and faucet assembly
- Chrome faucet
- Drain kit
- Light fixture
- Caulk
- Vessel sink
- Chrome sink fixture
How to Install A Vessel Sink?
If you have never installed a counter top sink before, at first, it might seem to be a daunting task; however, after breaking the task into small steps, it becomes as easy as A-B-C. Below is a step-by-step guide on how to install a vessel sink.
Step 1: Mark the Faucet Placement
- Secure the vessel sink vanity on the wall floor and choose a suitable place for the faucet and the sink.
- Use a template to mark the screws and drain holes.
- Mark the scheduled placement of the faucet handles and the faucet.
Step 2: Make the Opening for The Cut and Attach the Mounting Ring

Vessel Sink Mounting Ring Installation
- For all openings, use a hole saw and a jigsaw to make cuts and then pre-drill the holes for the screws.
- For correct fit, check the openings, the holes and, apply the caulk.
- Now, attach the mounting ring and position it in the place the sink.
- Using warm water, clean the sink to remove any excess caulk.
Step 3: Position the Sink
- Before you put the sink in place, ensure that you have turned off the water supply source.
- Through the correct pre-drilled openings, insert the sink faucets and the drain insert through the vessel sink.
- On the drain flange, add the tapered gasket and the flat washer.
- Next, add the lock nut and the tube.
Step 4: Insert the Tailpiece and Drain Flange

Insert the Tailpiece and Drain Flange
- Along the drain flange bottom surface on the drain fitting, apply a plumber’s putty bead.
- In the sink drain opening, insert the drain fitting end to pass through the countertop cut out.
- If there’s some lettering on the drain flange, position it in such a way that the lettering leads upright when looking at the sink from the front.
Step 5: Secure the Tailpiece
In this step, you need a helper to place the counter top sink as you attach the drain fittings. However, hold the vessel carefully with one hand as you can attempt connecting the drain fittings. Apply the pipe joint compound on the rubber seal.
- Working under the sink, slide the seal around the drain’s tailpiece up and into the cut-out of the countertop as far as you can.
- Thread the friction ring and the mounting nut onto the tailpiece. Using hands, tighten the mounting nut until it stops moving easily. Then use tongue-and-groove pliers to tighten it a bit more – Avoid overtightening as it can damage the sink.
- Once again, check the drain fitting alignment and lettering to ensure that it is straight.
- Using a rag, wipe the excess plumber putty away around the drain flange.
Step 6: Complete the Drain Assembly

Complete the Drain Assembly
- Using a slip nut washer, connect the P-trap to the tailpiece of the sink drain.
- Between the branch drain pipe and the P-trap outlet, install a trap arm using slip nuts. Ensure that the trap arm slightly slopes downwards toward the drain line. Here, you may require to add an extension of the tailpiece or cut the trap arm using a hacksaw- this will depend on the branch drain location and the drain configuration.
- Double-check all the drain parts components, then use the tongue-and-groove pliers to tighten slip nuts further. Many slips don’t require pliers, therefore avoid overtightening the nuts.
Step 7: Test for Leaks

Test for Leaks After Bowl Sink Installation
- Check for the leaks under the sink by running water into the sink. If there is no leak under the normal running condition, give it a good volume test by filling up the sink.
- If you trace slight leaks at the slip nuts, fix it by tightening the slip nuts a bit further. However, if you can identify some leaking around the rubber seal or the sink bottom onto the countertop, know that the fitting of the drain is not well seated in the sink bottom. In this case, you have only one option left. You need to dissemble the drain and start over keenly focusing on fitting the drain perfectly in the sink’s opening.
So, now you get that the installation of a vessel sink is not a big deal, but wait, some special pro tips are waiting for you….
Pro Tips for Installation of a vessel sink
01. Before starting the installation process, it’s advisable to know the countertop or the vessel you’d like to use.
02. Ensure that the sink size fits well with the existing usable space if you wish to leave the current countertop.
03. You need to check the faucet location as well as the spout’s height–these two details are the most important considerations here.Now that you’re equipped with all that you need, you should not have any excuse for not offering a new makeover in your bathroom. With a vessel sink installed, your bathroom will acquire a unique look it deserves.After reading this article, now you know that the vessel sink is best suitable for bathrooms; now this will ring a bell in your mind that what about the kitchen???? Then don’t worry, Gharpedia have something for you… Click on the below link for your answer:
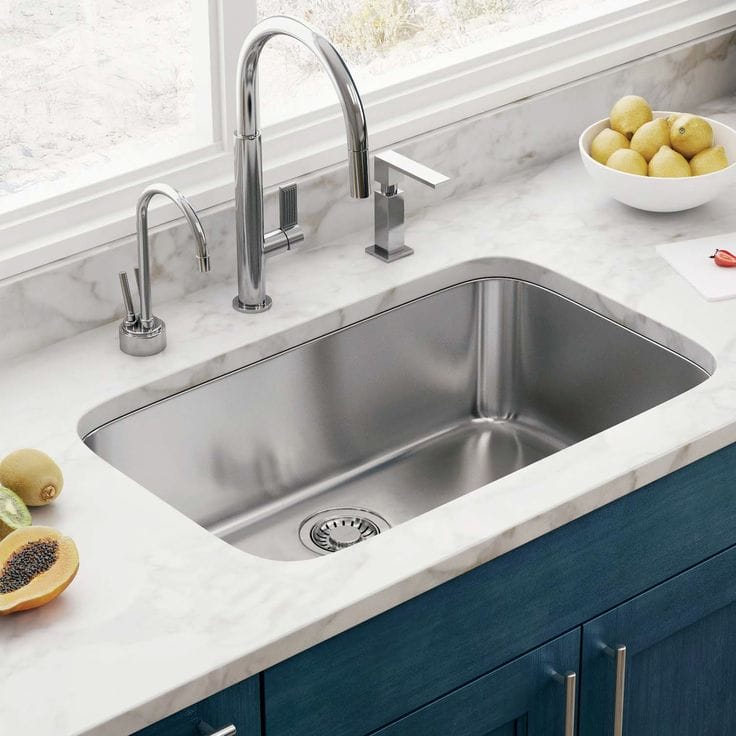
Image Courtesy: Image 5, Image 7
Author Bio
Jennifer Kiminza – Jennifer Kiminza is a content writer and content marketing professional at Hub Spot, an inbound marketing and sales platform that helps companies attract visitors, convert leads, and close customers. Previously, Jennifer worked as a marketing manager for a tech software startup. She graduated with honors from Nairobi University with a dual degree in Business Administration and Creative Writing.


