Be it paint techniques for wall like wood graining, dragging, sponging, or stencilling, the world of special effect wall paint has undergone a sea change in the past two decades. Gharpedia, through this blog, shares a brief overview of these effects to strengthen your understanding of the wall paint effects.
Why Wall Paint Effects?
Introducing special effects paint finishes amps up the appearance of a colour. The highs and lows of paint effect ideas bring an element of light and shade to a wall and provide another level of visual interest. Until recently, texture, in the form of thick wallpaper or swirling plaster patterns, was often used only to conceal structural problems. Now, cool wall paint effects have emerged as a serious contender in contemporary-style decoration. Paint effects for walls are also making a comeback. Different types of paint effects are used to create areas of textural contrast or to add all-over wall patterns in a linen, denim or damask effect. If texture and pattern just seem the same for you, then Pattern vs Texture article will help you to understand them in depth.
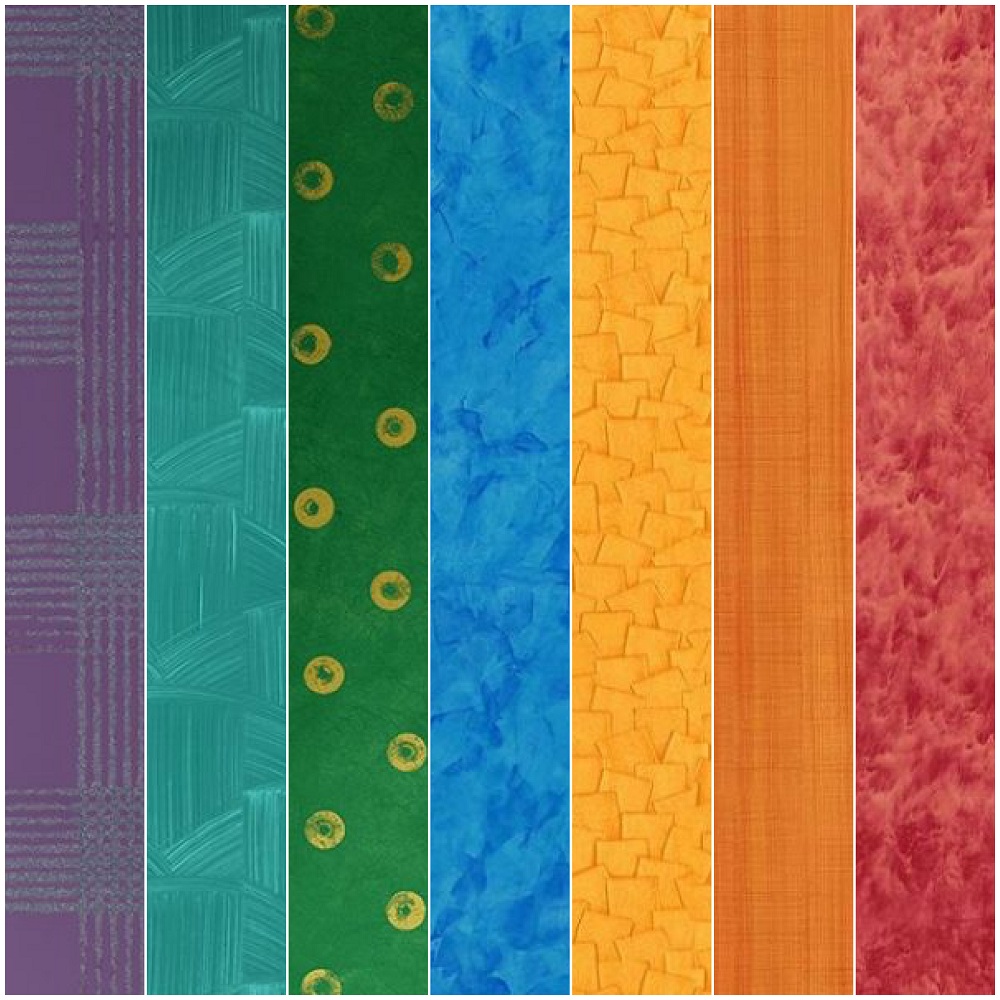
Wall paint effects have come a long way in recent years. Not only do different types of contemporary paint effects look better, but the successful application is easier to achieve. The big paint companies have all produced ranges of unique wall paint products, which are easy to use and guarantee good results. Cool wall paint effects can make new walls look like those of an old farmhouse. Shiny, metallic paints that simulate hard metal and even paint techniques for the wall, giving textile finishes like faded denim jeans, linen, carpets, velvets, etc.
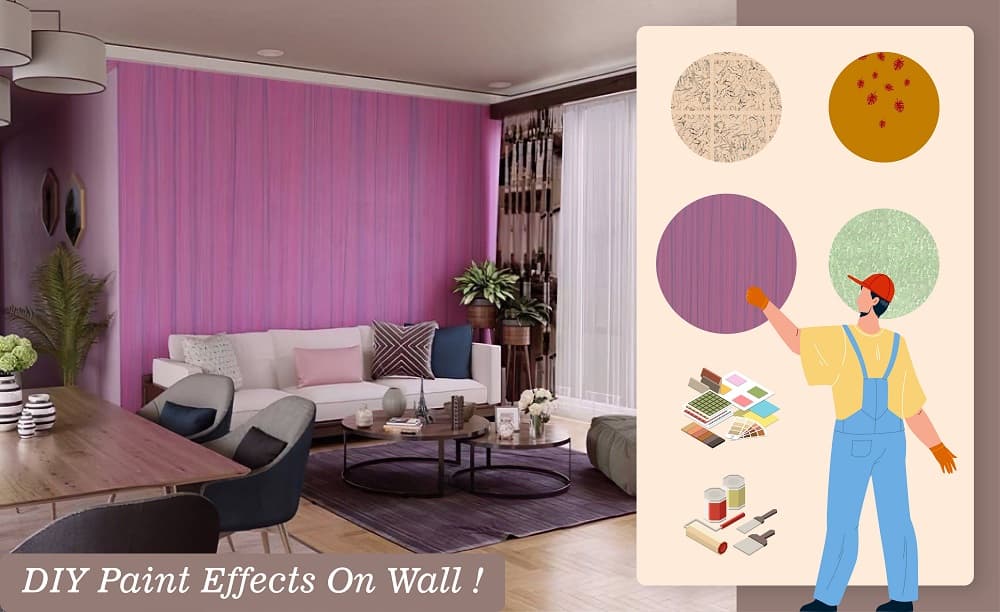
Wall paint effects are fun because they do not require specialised training. Just a crash course, and one will be fully set to implement DIY painting techniques, which will render zappy paint effects for the walls.
Let’s walk through some easy paint effects for walls, which can be done by anybody with the help of some DIY painting techniques! Special effects paint finishes which are almost similar are clubbed together. There are many types of paint finishes. Given below are the most common wall paint effects.
- Wood Graining and Dragging
- Stencilling and Sponging
Let’s dive deeper into the paint effect ideas and see how we can DIY the painting techniques.
01. Wood Graining and Dragging

When the natural wood pattern is imitated on an opaque surface with the help of colours, it creates the wood graining effect, explains’Ellis A. D.’[398] in A Practical Manual of House Painting, Graining, Marbling and Sign Writing.
Essentially, wood graining and dragging are the same kinds of wall paint effects; they are both created by dragging a dry paintbrush through an oil-based glaze in the direction of the wood grain. The difference is that in wood graining, you can create effects beyond that of imitating the pattern of the grain.
Checklist to Create Painting Techniques of Graining and Dragging
- The tools required to complete this DIY painting technique.
- Oil-based glaze
- The wood graining pattern creator
- Brush
- Kitchen paper

How to Create the Effect?
The following steps will be used to create the graining and dragging paint technique for walls, as shown in the image.

Pointer to Keep in Mind
You can use a graining comb to make attractive patterns by dragging the comb through an oil-based glaze.
02. Stencilling and Sponging
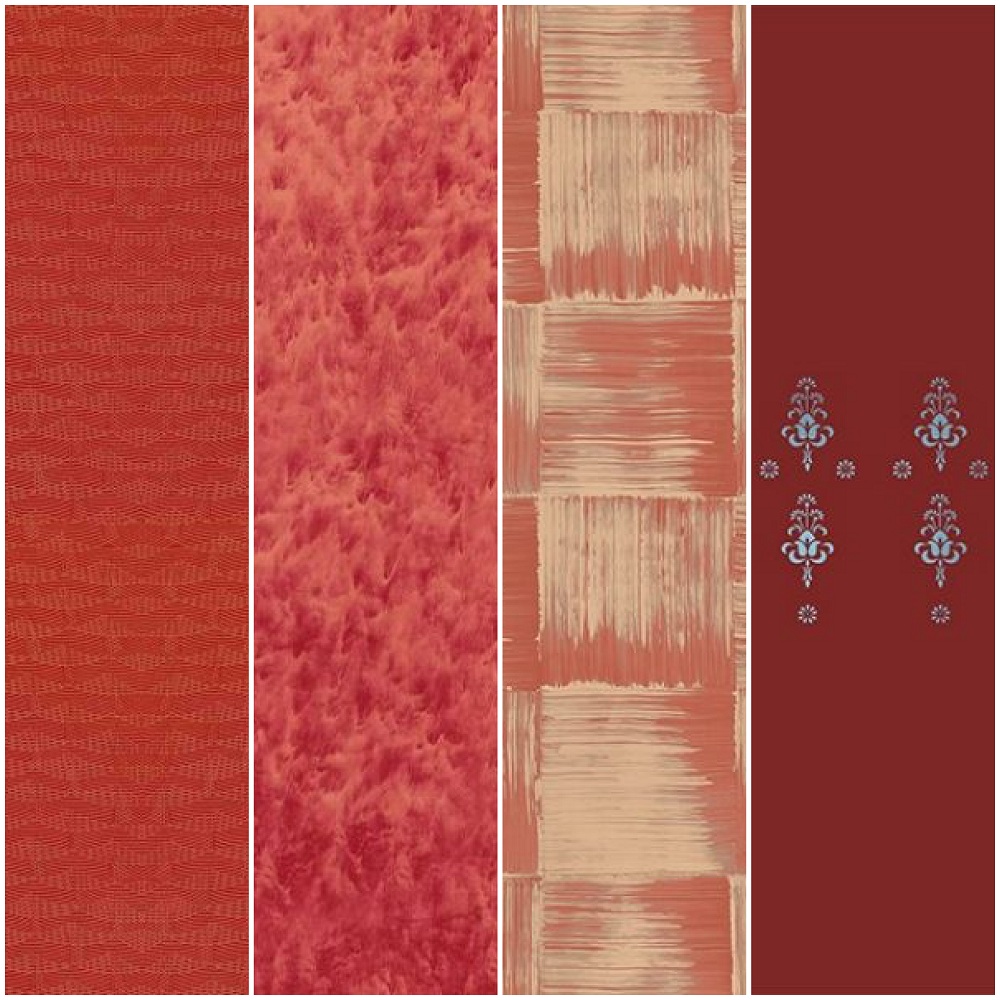
It is no surprise that stencilling is staging a comeback because it is the easiest and least expensive way of applying a painting technique for a wall. Everyone can cut a simple stencil and create the magic or pick one of the thousand complex designs available in the market.
The Britannica describes ‘Stencilling’ as creating a repetitive pattern with colouring the cut out in paper or any such material. Most of us have tried our hands on stencilling as children, but feel wary of trying the same on the walls.
- The first secret for the stencilling success, as mentioned in Decorating 1-2-3 by ‘John, P. H.’[400] is to use a removable spray adhesive on the back of the stencil so that it sticks to the wall as you paint.
- The second one is to dip your brush in the paint, then wipe it on the kitchen paper to remove all the moist paint and just leave a dry coating of colour.
- You can apply more colour, but remember that too much will cause blobbing and runs.
- The same rule applies to sponging, when paint should be used with a light touch.
- The textured finishes are applied as a thick coating of plaster-based paint, which is then worked on with a brush, comb or sponge to score into the surface and lift some of the coating.
Checklist to Create Stencilling and Sponging Effect
Following tools will help to set up scene to apply these DIY painting techniques.
- Brush, comb or sponge
- Cardboard
- Craft knife
- Dry paintbrush
- Kitchen paper
- Oil-based glaze
- Paint
- Plaster-based paint
- Spray adhesive (removable)
- Stencilling
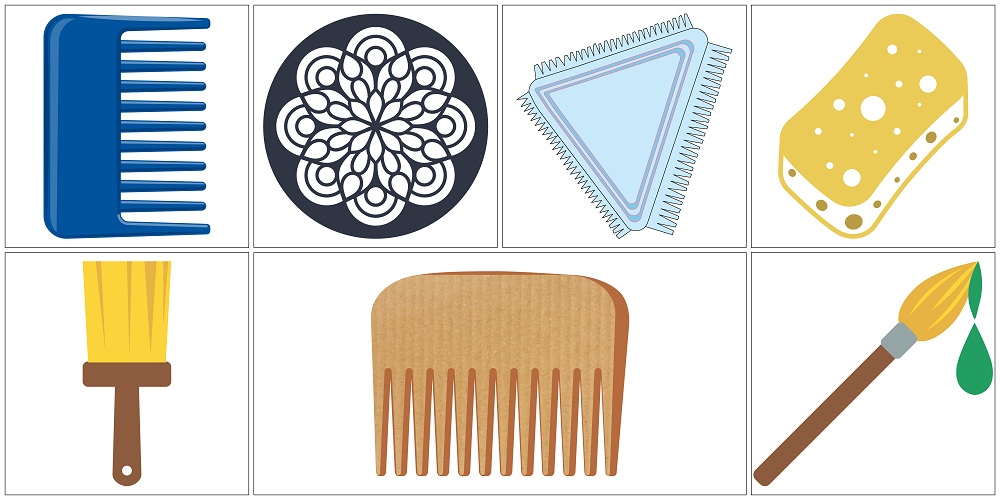
How to Apply Stencilling & Sponging on Walls?
The following steps are used to create different types of paint effects like stencilling and sponging, as shown in the image below.
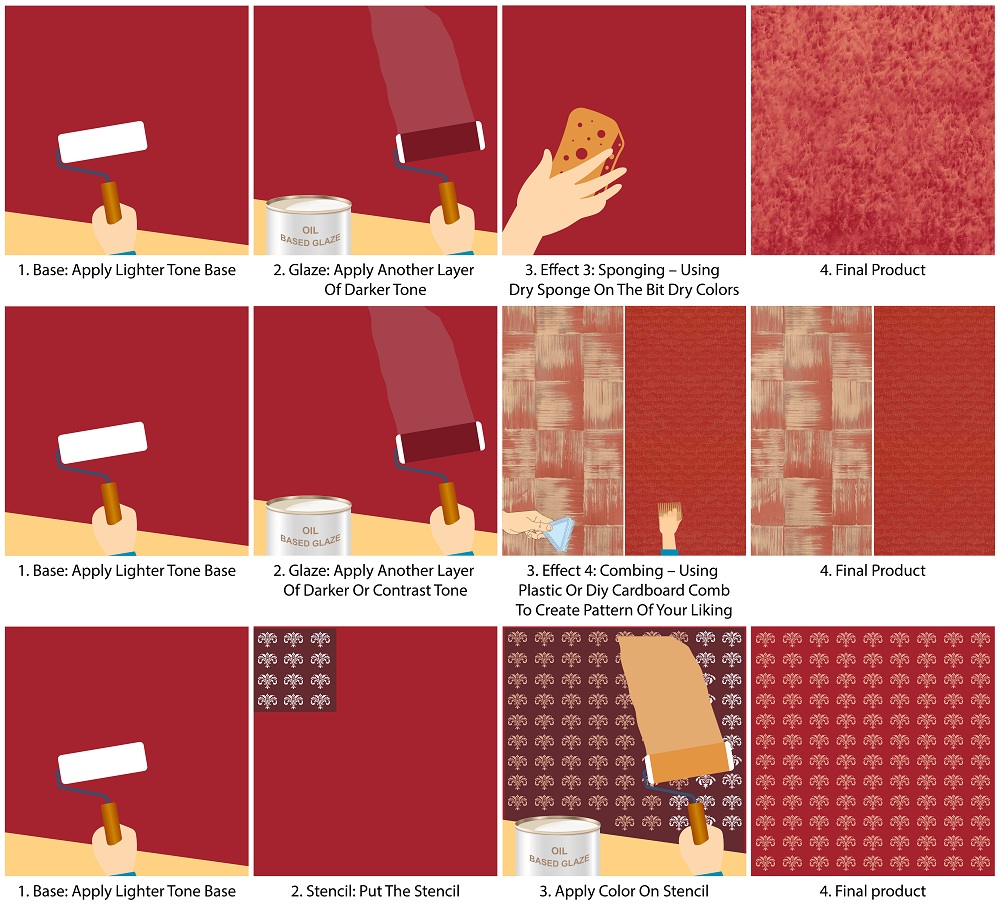
Pointer to Keep in Mind
- Stencil cutting is easier if you stick the pattern onto the card or plastic with a removable spray. Use a sharp craft knife, inserting the point and cutting away from corners. Protect the work surface with a cutting mat or a cardboard.
- Sponging can be done with a natural sponge, and paint should be applied quite sparingly. A subtler effect can be achieved with a softer combination of colours. Rotate the sponge as you work to avoid a repetitious pattern, and special effects wall paint will be rendered with every move.
- Use a comb or piece of plastic cut to size to create a pattern. This can simply be directional or geometric with one square vertical and one horizontal, or you could design your own effect.
- A sponge dabbed onto a textured base will create a simple raised pattern. This can look good in a rustic-style room and can also be repainted with a foam roller.
- Roll a set of vertical stripes onto the wall from bottom to top and then paint a set of horizontal lines in another colour with a roller to create a check effect
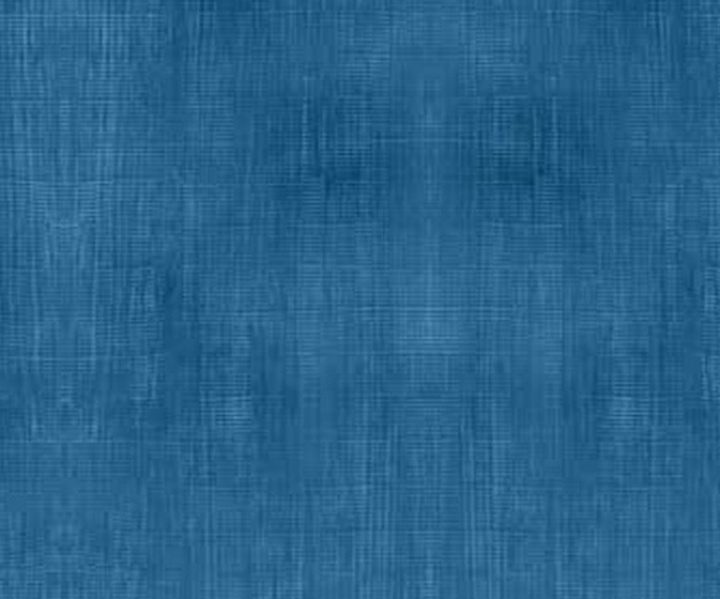
- A denim effect wall finish is a soft blue finish available in kit form. The wall is first coated in pale blue and then rolled over in a denim blue glaze, which is dragged with a long-haired brush, just like the painting technique for the wall used in the below image.
To Sum it Up
The above-mentioned paint techniques for walls work as a breath of fresh air in your house! Best part is that there is no need for a professional too. Just some colours, a few tools, and lots of dedication to achieve the look you have desired. Isn’t it amazing to see how simple things like cardboard or some other waste material are put to use to accomplish the DIY painting techniques? Mix and match, rub and squeeze and invent your own paint techniques for the walls. Along with internal paint effects, even external paint effects are essential, whose information can be found on Interior vs exterior paint.
Image Courtesy: Image 1(a), Image 1(b), Image 1(c), Image 1(d), Image 2(a), Image 2(b), Image 2(c), Image 2(d), Image 2(e), Image 2(f), Image 2(g), Image 3, Image 4, Image 5, Image 6(a), Image 6(b), Image 6(c), Image 6(d), Image 8(a), Image 8(b), Image 8(c), Image 9
Author Bio
Huta Raval – An English Literature and Journalism Topper, Huta Raval has graduated from the L D Arts College, Ahmedabad. Post serving for 23 years in the NBFC and Public Library Sectors her desire for ‘writing the unwritten’ brought her to the creative field of content writing. Her clientele comprises of NGOs, Blogging Platforms, Newspapers, Academic Institutions, et al.


