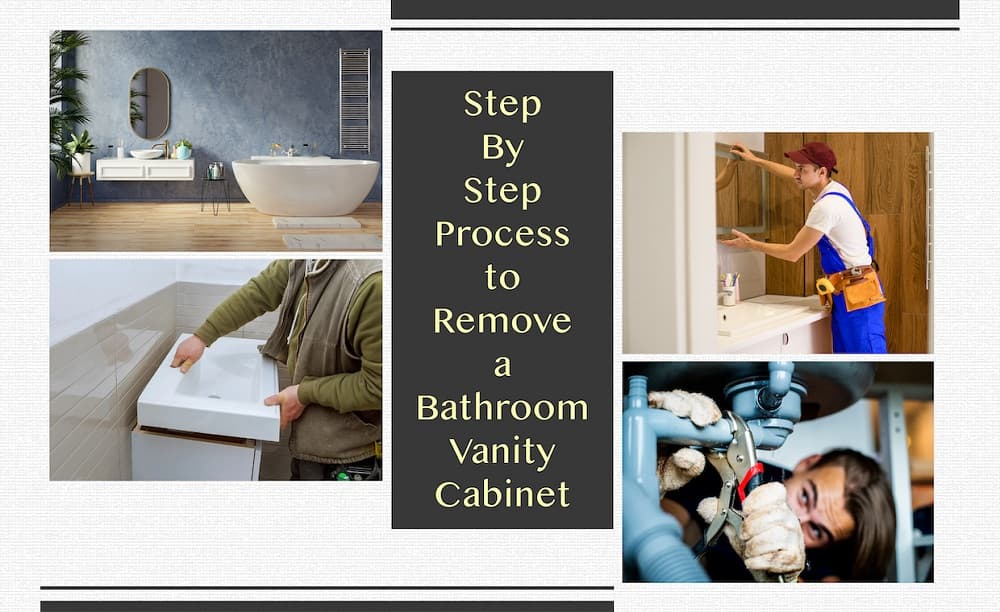
One of the must-have things in your bathroom is a vanity cabinet. It is the centrepiece of every bathroom. It conceals bathroom plumbing lines and holds the sink in place while providing storage space for your bathroom accessories and essentials.
However, when the vanity gets old or outdated, it loses its charm, and you may have to give your bathroom space a boost. This may mean removing the old vanity cabinet to install a new vanity cabinet.
But I’ve never removed a bathroom vanity before; how can I go about it? Is that, what you are asking? Worry not; in this article, we provide you with a step-by-step guide on how to remove a bathroom vanity without spending even a dime on a handyperson.
Ready? Let’s go. But before you start assembling your tools to remove a bathroom vanity, let’s go through what to do before removing it.
What You Should do Before Removing a Bathroom Vanity

In most cases, a bathroom vanity is built before the other fittings. If this is the case in your bathroom too, then removing the bathroom vanity might be a challenge. What you’ll need to do is cut the cabinet into sections so that you can remove it quickly. For this task, a reciprocating saw would come in handy.
Also, as you work to remove the vanity, check the condition of the p-trap, supply lines, shutoff valve, and any other plumbing fitting to see if they need replacement. Now let’s assemble the tools and materials you require for bathroom vanity removal.
Tools and Materials Required for Bathroom Vanity Removal

You will require the following tools and materials to remove bathroom cabinet.
Tools/ Equipment
- Screw gun
- Adjustable wrench
- Channel-lock pliers
- Bucket
- Putty knife
- Utility knife
- Flat pry bar
Materials
- Rag
- Woodblock
How to Remove a Bathroom Vanity
Follow the below-mentioned step-by-step process to remove the bathroom vanity.
Step 1: Shut the Water Supply Off

- The first step to removing the vanity is to turn the water supply to the cold and hot showers off. Close the fixture shutoff valves that connect the cold and hot supply pipes to a branch line stub-outs under the bathroom sink. Ensure that you close the valves by fully turning them clockwise.
- If the vanity faucet is not working correctly or doesn’t have shutoff valves, you’ll have to look for the main shutoff valve to shut off the whole house’s water supply.
- Once you’ve shut off the water, open the faucet fully to release any pressure and allow the water to drain out.
Step 2: Disconnect the Water Supply Lines

- Now that you’ve shut off the water, disconnect the water supply tubes to the faucet.
- Under the shutoff valve, place a bucket of water to collect water from the lines as you remove one tube at a time.
- Using an adjustable wrench, loosen the compression nut on the supply tube and slip off the supply line of the valve.
- Closely check the shutoff valve to make sure that there’s no leakage. However, if the water continues to leak from the valve even after it is shut off, you’ll have to shut the water off to the house to replace the fixture’s shutoff valve.
Tip: When installing a new sink and vanity, it’s advisable to avoid reusing old parts as their lifespan is limited, and it would be the right time to replace them with new ones.
Step 3: Remove the Drain Trap

- The next step in this how to remove a bathroom vanity guide is to remove the drain trap. Ensure that you wear gloves, as the task in this step will be messy. Be prepared, the wastewater could be gunky and greasy.
- Under the sink, place a bucket to collect the wastewater.
- Using the tongue and slip pliers, loosen the slip nuts connecting the drain trap to the drainpipe and the sink one at a time.
- After disconnecting the drain trap, use a rag to cover the line extending to the drain to prevent a foul smell from the sewage from coming back in.
Step 4: Remove Vanity Mirror

- To avoid breaking the vanity mirror when you remove the bathroom cabinet, take it off the wall. Even if it’s a few inches above the vanity, remove it. It’s better to reinstall it than break it!
- In this step, you’d need someone to help you remove the mirror safely without shattering it into pieces. Also, ensure that you put on your safety glasses and gloves.
- However, if the mirror is stuck to the wall with glue, and you’d want to replace it, follow these steps;
- Use packing tape to cover it in an “X” shape to prevent cracking.
- In any gaps between the wall and the mirror, insert wooden shims without forcing them in; ensure they’re snug.
- Using another shim, work on the pry bar behind the mirror to protect the wall. Work gently along the mirror’s sides and top as you release bit by bit.
- Support it at the top to prevent your mirror from fully detaching itself from the wall and falling.
- Then, carefully, carry the mirror out into another room if you intend to reuse it.
Step 5: Cut out the Caulk Joints
- Using a utility knife, cut the caulk joints that cover the space between the counter and the wall. Hold the knife by the handle and cut through the joints slowly and safely.
Step 6: Remove the Counter Vanity Top

- Check under the top of the vanity to see if it is connected to the vanity walls with brackets. If there are some brackets, then remove them first.
- Now you can remove the vanity countertop without even removing the faucet, unless you must.
- Carefully lift the countertop as it might be attached with glue to the sides. You can either lift the entire cabinet if the vanity is secured with wood glue, or pry it from the walls. Then, carefully pull it to prevent the walls from being damaged.
Step 7: Cleaning Up After Removing a Bathroom Vanity

- Use a scraper or knife to remove any remaining caulk.
- If the new cabinet is smaller than the old one, you need to patch and paint the floor or wall as required before installing the new vanity.
- Collect all the dirt generated in the job and, if possible, vacuum the place to be free of dust before you install a new bathroom vanity.
Can you see how easy it is to remove the bathroom cabinet? Now roll up your sleeves and get the job done. If you face any challenges during the bathroom vanity removal process, feel free to leave a comment in the comment box below. Hope you find this guide on how to remove a bathroom vanity helpful. Good luck, buddy!
Frequently Asked Questions (FAQs)
01. Are Vanities Glued to the Wall?
Vanities can be installed in a variety of ways, depending on the design and construction. While certain vanities can be fastened to the wall with adhesive or glue, this is not the most popular form of installation. It is not recommended to use adhesive or glue alone to attach a vanity to the wall, since it may not give enough support or stability.
02. Are there any Precautions I should take before Starting the Removal Process?
Before beginning the job, make sure to put on protective gear such as gloves and safety glasses. Before removing the vanity, switch off the bathroom’s water supply and unplug any plumbing connections. Use caution when handling heavy items such as the countertop and vanity cabinet to avoid injury or damage to the bathroom floor.
03. How do I address any Water Damage or Mould issues that may be present behind the Vanity?
If you discover water damage or mould behind your bathroom vanity during the removal process, it is critical to remove it carefully. Cleaning small patches of mould using a mixture of water and mild detergent is generally enough. Larger mould infestations may necessitate the aid of a specialist to ensure thorough treatment. Thoroughly dry the area to prevent further growth of mould.
04. How much does it cost to install a new Vanity?
The cost of labour for vanity installation can vary depending on your location and the complexity of the job. Roughly, it ranges from $175 to $700, as per Forbes, for a ready-made vanity. For custom vanity, the price is higher. To get a precise cost estimate for your specific project, it’s advisable to consult with local contractors or professionals who can assess your needs and provide accurate quotes based on the scope of work required.
05. Should I hire a Professional or can I remove a Bathroom Vanity Myself?
Removing a bathroom vanity can be a good DIY project, depending on your skills. When deciding whether to hire a professional or DIY, consider the complexity of the removal process, your skill level, and the potential risks involved. For complex situations, it is always best to hire a professional.
06. What do I do with the Vanity after I’ve removed it?
If the vanity is in good condition, you can either donate it or sell it. If not, then you can recycle it or dispose it responsibly.
Before you leave, check out our article:
Revamp Your Bathroom with the Ultimate Guide to Creative Makeovers in 2023
Image Courtesy: Image 8
Author Bio
Jennifer Kiminza – Jennifer Kiminza is a content writer and content marketing professional at Hub Spot, an inbound marketing and sales platform that helps companies attract visitors, convert leads, and close customers. Previously, Jennifer worked as a marketing manager for a tech software startup. She graduated with honors from Nairobi University with a dual degree in Business Administration and Creative Writing.


