


Do you know that with only $1000, you can give your bathroom that upscale spa-like look you’ve wished for? If you want to update your bathroom, bringing in a trendy bathroom vanity would go a long way.
What is a Bathroom Vanity?

A vanity is a bathroom furniture piece that combines a mirror, sink, and countertop. It changes your bathroom’s appearance and a lot of storage.
What are the Types of Bathroom Vanities?
Bathroom vanities come in six different types.
Below is a list of different types of bathroom vanities:
- Pedestal Vanity
- Free-Standing Vanity
- Floating Vanity
- Vessel Vanity
- Undermount Vanity
- Cabinet Vanity
01. Pedestal Vanity

These types of vanities require little space. It’s the simplest type of vanity with no room for storage or a countertop. It is just a basin and sink. The good thing about a pedestal vanity is that it is easy to install and can fit in any home, irrespective of style.
02. Free-Standing Vanity

Like a pedestal vanity, a free-standing vanity also has a minimal profile. However, it is available in rectangular or square shapes, which can support two sinks; it is suitable for a master bath.
03. Floating Vanity

It is also referred to as a wall-mounted vanity. The floating vanity is mounted directly on your bathroom wall. It gives a bathroom a relaxed, modern look with floor space beneath.
04. Vessel Vanity

The vessel vanity sits above the counter. It comes with intricate designs and patterns. It’s made of porcelain and metal.
05. Undermount Vanity

It has a built-in basin mounted beneath your vanity countertop. This type of vanity has a smooth, sleek appearance. However, installing an undermount vanity is a bit more complex and has limited space beneath the sink.
06. Cabinet Vanity

A cabinet vanity is the most common type of vanity. It is available in many hardware and door styles. The vanity cabinet is designed like your kitchen cabinets, with pull-out drawers for your storage needs.
What You’ll Need for Installing a Bathroom Vanity and Sink
Installing a bathroom vanity can seem like a daunting task. However, it is just a walk in the park with units like a countertop, an integrated sink, and the right tools and equipment.
Tools/ Equipment Required For Installing a Bathroom Vanity and Sink

Below is a list of tools/ equipment required to install a bathroom vanity and sink:
- Caulk gun
- Stud finder
- Carpenter’s compass
- Tape measure
- Jigsaw
- Small profile gauge
- Level
- Coping saw
- Drill with screwdriver bits
Materials Required To Install Bathroom Vanity And Sink

Below is a list of materials required to install a bathroom vanity and sink:
- Sink drain assembly
- Water supply tubes
- Vanity with sink and countertop
- Silicone caulk
- Wood shims
- Filler strip
- 2-Inch drywall screws
How To Install Bathroom Vanity And Sink – Step By Step Guide
The step-by-step guide will help you install a bathroom vanity and sink like a pro.
Step 1: Mark the new vanity placement
Step 2: Disconnect the vanity plumbing
Step 3: Take out the old bathroom vanity
Step 4. Prepare your new vanity’s back
Step 5: Locate the wall stud
Step 6: Set and fasten the vanity
Step 7: Secure the vanity to the wall
Step 8: Install sink faucet
Step 9: Install the vanity top
Step 10: Replace and seal the backsplash
Step 11: Install the sink and seal
Step 12: Reconnect the water supply
Step 1: Mark the New Vanity Placement

- First, determine where you’d place your vanity, and then mark the walls where you’ll install the bathroom vanity.
- Ensure that the measurement you’ve taken will fit the new vanity’s size before starting the installation process.
Step 2: Disconnect the Vanity Plumbing

- Turn off the water supply at your main shutoff or sink, and release any remaining pressure by opening the faucet.
- Then, remove the drain trap and the cold and hot water supply lines. Catch any water that drains out by using a bucket.
Step 3: Take Out the Old Bathroom Vanity

- Using a utility knife, cut out the sealant alongside the backsplash and carefully pull on the vanity top to remove it from the wall.
- Take out the sink top from the vanity base, and remove the screws at the vanity’s base using a drill. Take the old vanity out from the wall.
- Repair any wall damage and paint it. You can also use this step to paint the entire bathroom or patch the damaged flooring before moving to the next step.
Repairing wall damage can sometimes be difficult but by following a few steps we can make it easy.
Step 4. Prepare your New Vanity’s Back
- If your new vanity has a solid back, use your tape measure to take the measurements as you mark them. Then drill holes in the measurements to accommodate the supply and drain pipes.
Step 5: Locate the Wall Stud

- Using an electronic finder, locate the wall studs on the wall where you’d fasten the vanity and mark the studs’ center. However, if you can’t locate the wall studs, you can use wall anchors, but make sure that the anchors work well for your wall type.
Step 6: Set and Fasten the Vanity
- Measure the vanity cabinet’s height and transfer the dimension to the sidewall. Then, draw a straight line using a level at the marked height.
- Now, place your vanity cabinet in its proper position.
- Using the line you’ve drawn, check if the cabinet is in level both front-to-front and side-to-side. You can use wood shims or vanity feet to level it.
Step 7: Secure Vanity to the Wall

- Use two cabinet screws to secure the vanity to the wall. Drive the screws via the mountain strip in the vanity cabinet back and then into the anchor or wall stud.
- For the undermount sinks, follow the manufacturer’s instructions for installation before continuing with the next step.
Step 8: Install Sink Faucet

- Before you install the countertop, assemble the sink faucet and attach it to the vanity top. Wondering how it is done? Okay, follow these steps;
- Apply a caulk bead around the faucet’s bottom.
- Attach the P-trap (drain trap) to the drain line of the new sink.
- Now attach the water valve pipes, and then tighten the connections of the faucet.
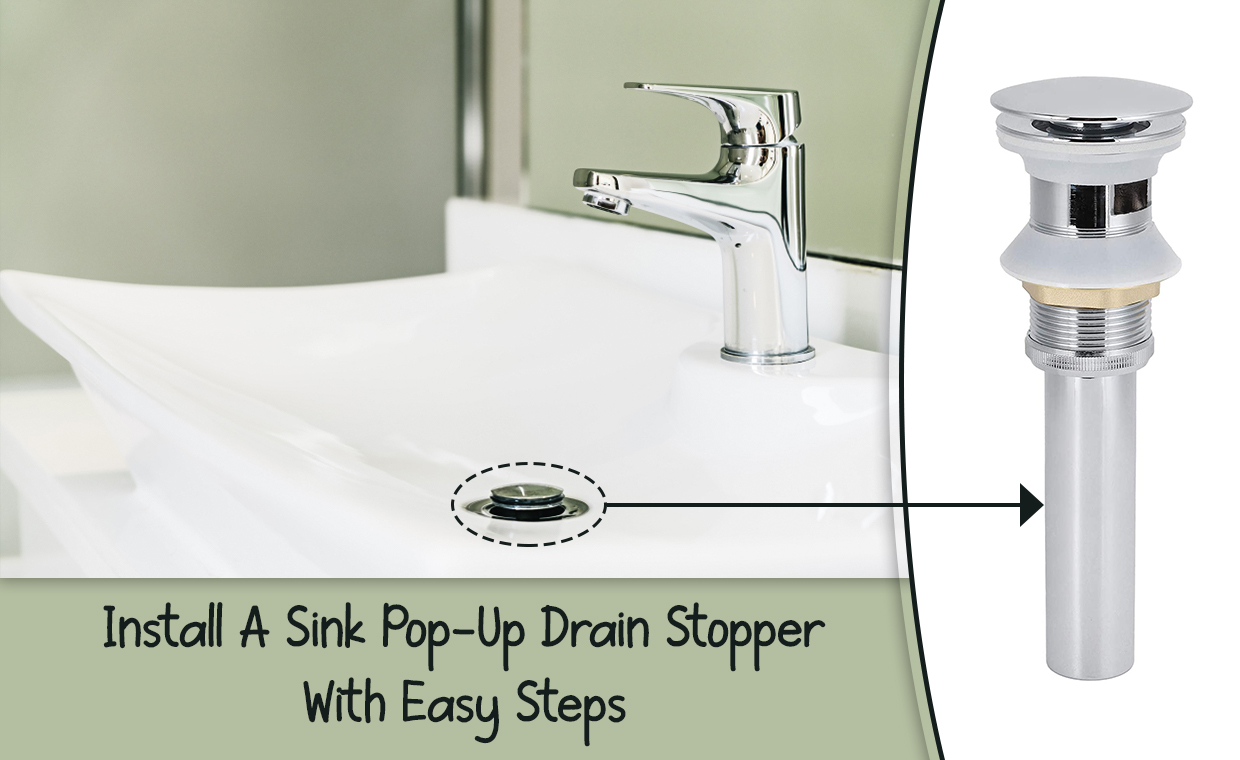
If you want to know how to install a sink pop-up drain stopper, you must have a look at our blog on the same.
Step 9: Install the Vanity Top

- Applying a silicone sealant dot on the vanity corners to install the integral vanity or sink. A thin caulk bead can also go long way.
- Use a damp cloth to wipe away the excess sealant.
- If your sink and countertop are separate rather than an intrinsic piece, connect them to the countertop before installing them on the vanity.
Step 10: Replace and Seal Backsplash
- If your vanity has a backsplash, you need to apply an adhesive silicone sealant bead on the back in a serpentine pattern and press it firmly against the wall to ensure that it’s in place.
Step 11: Install the Sink and Seal

- If you see gaps between the backsplash and the wall or between the backsplash, and vanity top, fill it with silicone sealant.
- Using a damp cloth, wipe the excess sealant away.
- Install your vessel or semi-recessed sink according to the instructions given.
Step 12: Reconnect Water Supply

- Now, reconnect the water supply lines to the faucet and then install the drain to attach to the drain trap.
- Where the counter meets the wall, apply silicone caulk to fill in the gaps.
- Finally, turn the water supply on and check for any leaks. Use a bucket to collect water in case there is a potential leak.
Can you see how simple it is to install a bathroom vanity? Now roll up your sleeves and start working. Please let us know in the comments section below if you run into any problems during the installation process.
Also, read
How to Add a Second Bathroom Sink? | A Step-By-Step Procedure!
Wall Mount Sink Installation – All Step By Step Instructions
How to Connect a Bathroom Sink Drain?
Image Courtesy: Image 14, Image 15, Image 17
Author Bio
Jennifer Kiminza – Jennifer Kiminza is a content writer and content marketing professional at Hub Spot, an inbound marketing and sales platform that helps companies attract visitors, convert leads, and close customers. Previously, Jennifer worked as a marketing manager for a tech software startup. She graduated with honors from Nairobi University with a dual degree in Business Administration and Creative Writing.


