Table of Contents
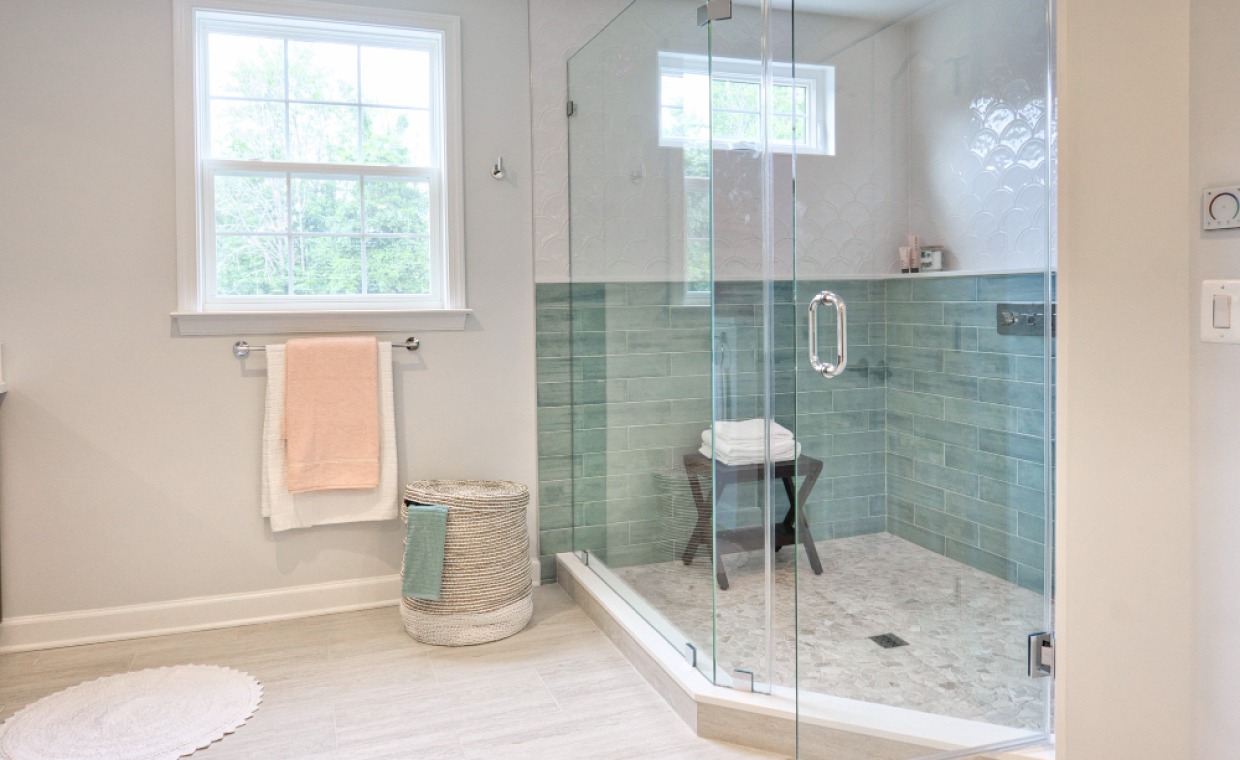
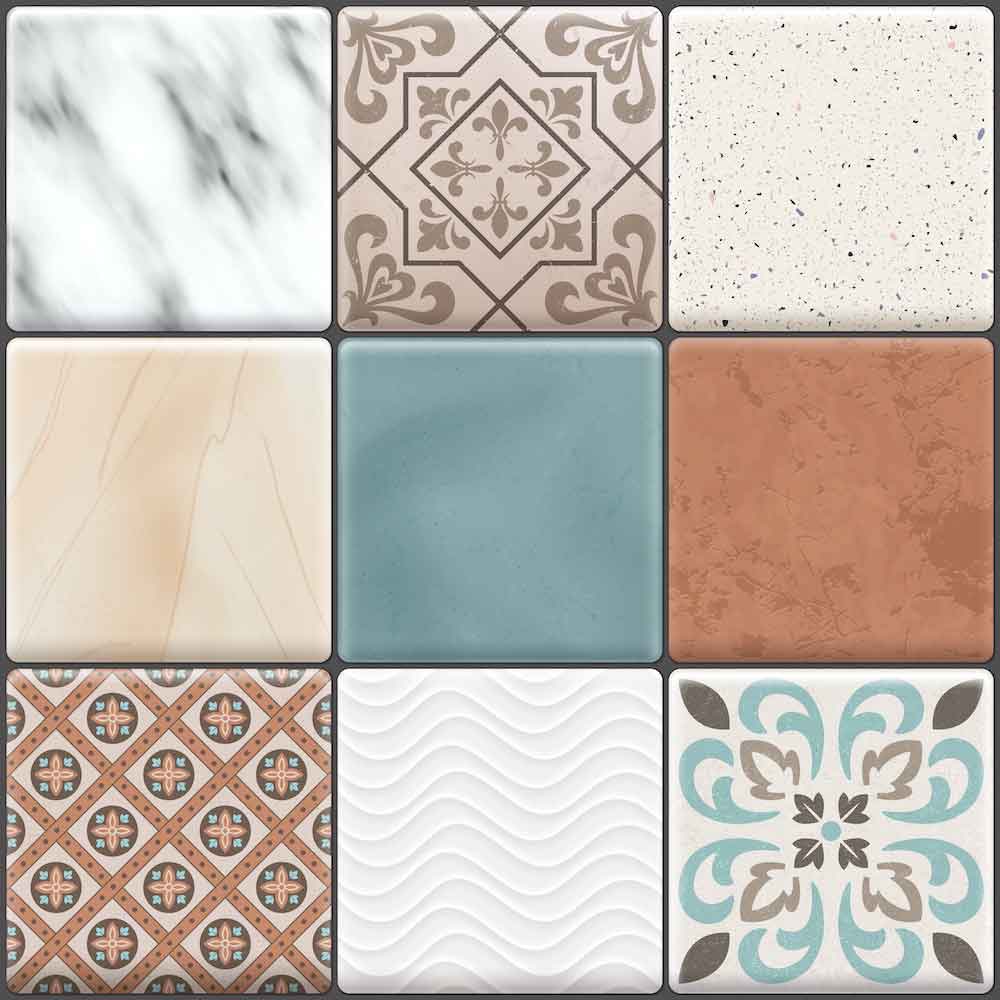
Ceramic tiles are thin slabs crafted by heating and cooling clay, silica, fluxes, and mineral-based colourants. They are widely used as coverings for floors, walls, and facades. These tiles are available in various colours, sizes, shapes, textures, and finishes. While square and rectangular shapes are the most common, ceramic tiles also come in alternative shapes such as triangles, circles, and rhombuses to achieve distinct aesthetics.
Beyond their visual appeal, ceramic tiles vary in technical properties based on their intended use. They may be designed for wall cladding, flooring, indoor or outdoor applications, or to withstand exposure to low temperatures, chemicals, and general wear and tear.
Also Read: Basic Things to Know about Ceramic Tile
Classification of Ceramic Tiles
1. Based on the Shaping Process
- Extruded Tiles (Shape A) – Includes split tiles and quarry tiles.
- Pressed Tiles (Shape B) – Includes vitrified, semi-vitrified, and fully vitrified tiles.
- Cast Tiles (Shape C) – Manufactured using casting techniques.
2. Based on Degree of Vitrification and Water Absorption
- Glazed Tiles
- Non-Glazed Tiles
- Engobed Tiles
3. Common Types of Ceramic Tiles
- Sintered Tiles
- Terracotta Tiles
- Majolica Tiles
- Red Biscuit Tiles
- White Biscuit Tiles
- Mosaic Tiles
Best Practices for Checking Ceramic Tile Quality On-Site
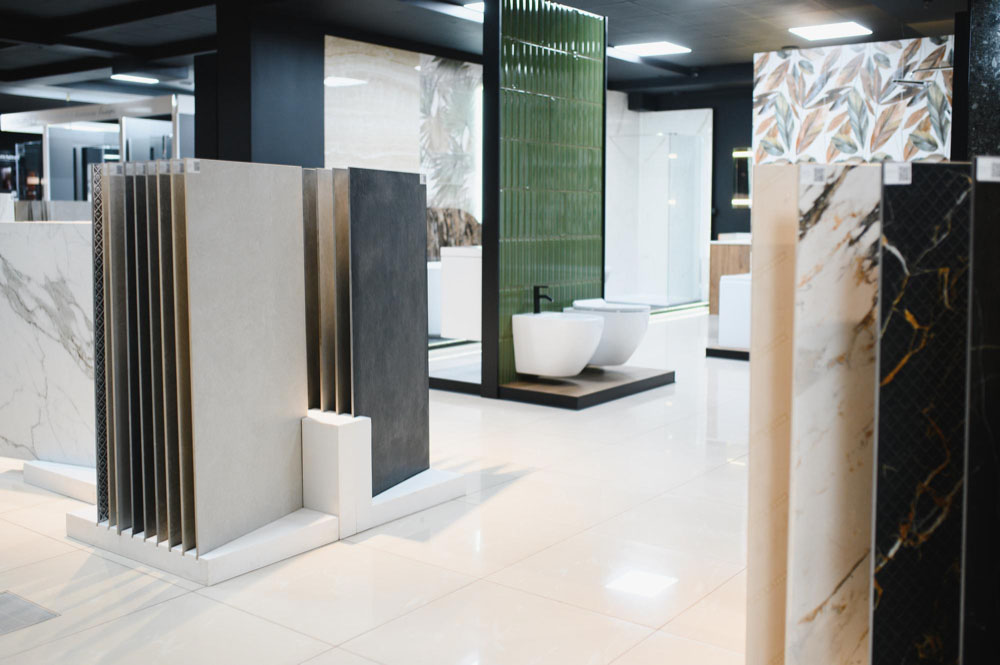
Ensuring the quality of ceramic tiles before installation is crucial for durability and aesthetic appeal. Below are key quality checks that should be performed on-site:
1. Dimensional Accuracy
- The tiles should be perfectly square or rectangular.
- Dimensions should adhere to the specified size, with a length and breadth tolerance not exceeding ±1mm and a thickness tolerance not exceeding ±3mm.
- The diagonals should be of equal length to ensure symmetry.
2. Visual Inspection
- The tiles should exhibit uniform colour and texture and must be free from cracks, chips or splitting.
- The top surface finish and glazing should be consistent, without chips or uneven patches. Check for crazing, which appears as a network of fine cracks on the surface, resulting from poor quality.
- Edges should be sharp, at right angles, and free from cracks or breaks at the corners. Check for cracked or discoloured grout lines too.
3. Structural Integrity
- Tiles should be firm and robust, capable of resisting breakage and cracking.
- The minimum thickness of ceramic tiles should not be less than 5mm.
- The tiles should be tested for curvature and warping by placing them on a perfectly flat surface.
- Scratch the surface with a sharp object to test the hardness. High-quality tiles resist scratches, ensuring longevity in high-traffic areas.
4. Water Absorption/Drop Test
- The tile’s water absorption should not exceed 10% of its dry weight when submerged in water for 24 hours.
- You may also place a drop of water on the tile and observe how long it takes to absorb. Quality tiles have low water absorption rates, enhancing their durability.
5. Surface Evenness
- The top surface must be smooth and even, free from cracks, depressions, holes, specks, spots, and cavities.
- The tiles should have scratch resistance to prevent surface damage.
- Lay the tile on a flat surface and use a straightedge or ruler to check for gaps or irregularities along the edges.
- Ensure that the tiles are level with respect to each other.
6. Resistance to Chemicals
- The glaze should be resistant to chemical substances used in routine cleaning to ensure durability in household conditions.
Also Read: Know the Properties of Ceramic Tiles!
Advanced Laboratory Tests for Ceramic Tile Quality
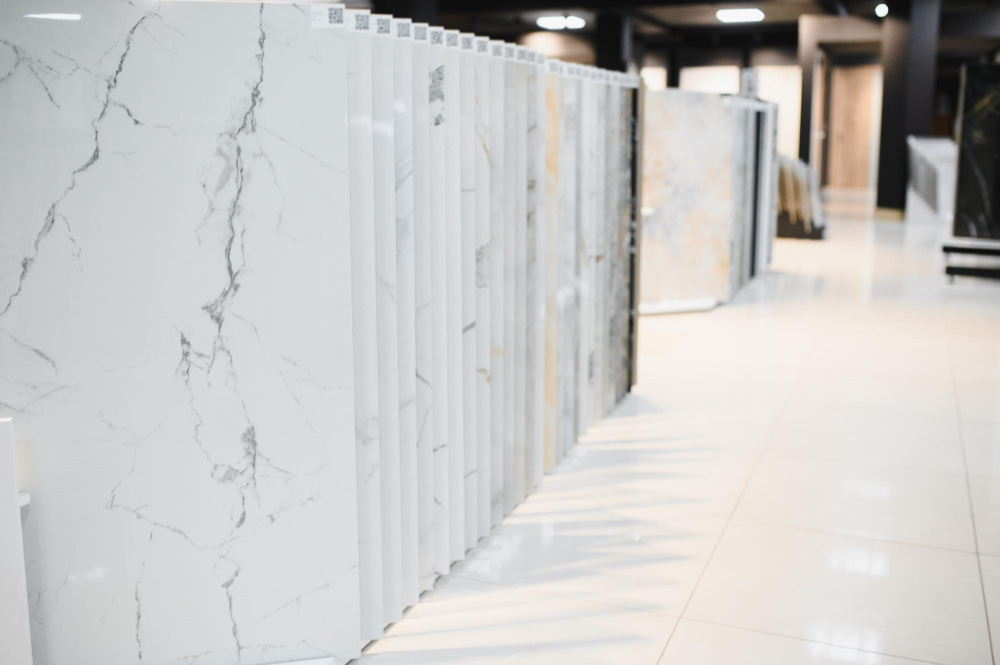
For large-scale projects or premium quality assurance, additional laboratory tests can be conducted, including:
- Water Absorption Test – Determines the porosity level of the tile.
- Crazing Test – Assesses resistance to surface cracks.
- Chemical Resistance Test – Evaluates the tile’s ability to withstand exposure to cleaning agents and other chemicals.
In today’s global market, laboratory testing is highly recommended, particularly for large projects, to ensure the highest quality standards.
Conclusion
By following these best practices, homeowners, builders, and project managers can ensure that ceramic tiles meet the required standards, providing both longevity and visual appeal for any space. Proper on-site inspections combined with laboratory testing can help achieve a durable and aesthetically pleasing installation.
FAQs Regarding Quality of Ceramic Tiles
1. How can I check if a ceramic tile is warped?
Place the tile on a flat surface and press down on the edges. If it wobbles or does not sit flush, it may be warped.
2. What is the recommended thickness for ceramic tiles?
Ceramic tiles should be at least 5mm thick to ensure durability and structural integrity.
3. How do I test a tile’s water absorption capacity?
Submerge the tile in water for 24 hours and measure the weight difference. If water absorption exceeds 10% of its dry weight, the tile is of lower quality.
4. Why is glaze quality important in ceramic tiles?
Good-quality glaze ensures uniform appearance, enhances resistance to stains and chemicals, and prevents surface damage over time.
5. What are the most common defects to look for in ceramic tiles?
Defects include chipped edges, uneven thickness, surface cracks, warping, inconsistent glazing, and excessive porosity.
Must Read:
Vitrified Tiles: Properties you should be Aware of Before Buying it!
Advantages & Disadvantages of Vitrified Tiles
References
Cutr. (2023). Wood Veneer vs Solid Wood: Pros, Cons, and Key Differences. Available at: https://www.cutr.com/articles/wood-veneer-vs-solid-wood-pros-cons-differences
Living Spaces. (2018). Wood Veneer vs. Solid Wood Furniture. Available at: https://www.livingspaces.com/inspiration/ideas-advice/shopping-basics/wood-veneer-vs-solid-wood-furniture


