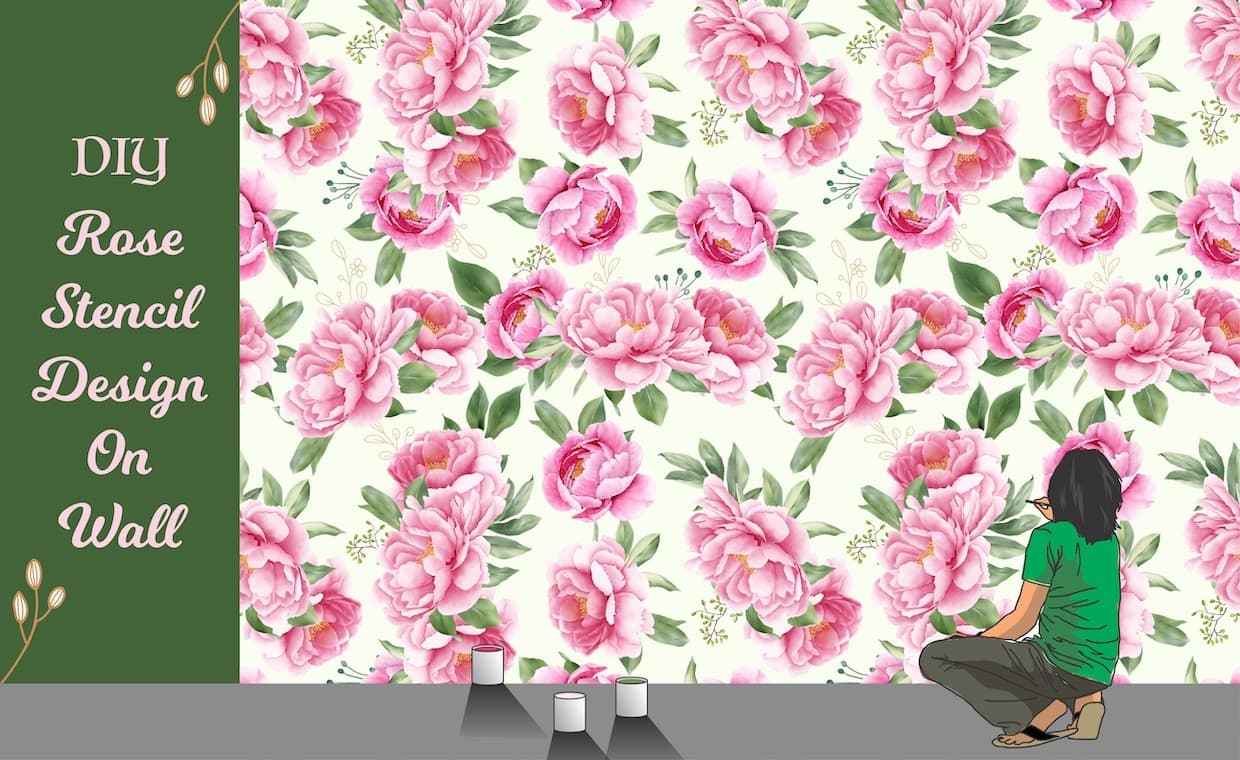
Are you keen on giving your bedroom a romantic and dainty touch? How about opting for a stencilled wall art? To be specific, a rose stencil design wall? “Rose is easily the most poetic of flowers,” writes Celeste Plowden, in her book ’Roses Cut & Use Stencils-53 Full-size Stencils Printed on Durable Stencil Paper’. Whether wild or garden-grown, it seems to hold a special power over us. Confused whether you’ll be able to carry it through? Relax, we’ve brought you the nitty-gritty of DIY rose wall through this blog!
Stenciled Wall Art
If you like patterns and have uneven walls, then stencilled wall art is the best option for you, as wallpaper requires walls that are smooth and even. Rose stencil for walls is easily available in markets these days and if you wish to make your own rose stencil for walls, then this blog is for you. Apparently, the rose stencil design wall is a very romantic and feminine style for a pretty bedroom. The blue rose stencil design walls have a look of faded textile and combine well with lace, muslin and plenty of vintage floral fabrics used for cushions and bed covers. The DIY rose wall provides a perfect backdrop for traditional bedroom furniture like dressing tables, Lloyd Loom Chairs, iron bedsteads and wardrobes. Keep a lookout for pretty old vases, mirrors and lamps that will add to the beauty of the look.
Also, if you are looking for colour of bedroom walls then click on the link below.

Things Required for Rose Stencil Design on Wall
- 3 stencil brushes
- 3 white saucers
- Kitchen paper
- Plumb line
- Powder blue paint for background
- Sample pot of green
- Sample pots of two pinks
- Scalpel or craft knife
- Spray adhesive
- Stencil material (Mylar or stencil card if you prefer), or buy a ready-cut rose stencil design
- Square of card (to mark distance between motifs)

How to Make a Rose Stencil Design?
Before you make your rose pattern stencil, keep a rose template stencil with you for reference.
Now make your own rose pattern stencil by copying the same size of rose pattern from the reference rose template stencil or enlarge it using the grid system. Then cut the stencil from the waxed card or the special stencil plastic available at any craft store. After knowing how to make a rose stencil, let us move to step-by-step process of DIY rose wall.
The Step-by-Step Process to DIY Rose Wall
Stenciling a wall pattern is quicker than putting up wallpaper and also a lot cheaper. A word of caution – use the smallest amount of paint on your brush and practice on paper before you tackle the wall.
1. Make the pattern for the stencil on the paper from rose template stencil. Coat the back of the pattern with spray mount adhesive and stick it onto the stencil material. Use a sharp craft knife and cut out the stencil carefully. According to Marthe Le Van and Larry Shea ed. (2008) (Author of book “Stencil Me In”) when cutting out your own stencil designs, be sure to use a sharp craft knife. An old or blunt blade will slow the job, make it more difficult, and fail to provide the fine, sharp edges you want.
2. Peel off the paper pattern, then spray the back of the stencil with spray adhesive and leave it to become tacky. That’s it! Your rose pattern stencil is now ready to use.

3. Hang the plumb line 25 cm from one corner of the wall and position the card with the line running through two corners. Make a pencil mark at each corner and then move the card down, placing the top point on the lowest mark, and repeat up to skirting. Mark up the whole wall in this way.
4. Position the rose flower stencil and smooth it onto the wall. Put the paints on the saucers and dab off brushes with kitchen paper so little remains on the brush.

5. Begin stencilling with the dark pink in the middle of the rose flower stencil, and then move on to the pale pink for the outer petals. Lift the stencil to check on the result as you go.
6. Use green paint for the leaves and stem. Lift the stencil to check the result. Position it on the next mark and repeat the pattern until the wall is covered with roses.

Now you know how easy it is to have a rose stencil design wall. Roll up your sleeves, get started and fill your home with some roses that will make you feel so proud about the artist inside you!
Let us know how the DIY rose wall project turned out.
To add more to your creativity here are some interesting blogs you might want read.
How To Do A Color Block Wall With Vibrant Contrast Colours?
13 Unique Interior Design Ideas and Home Décor Inspirations for 2022
Image Courtesy: Image 2
Author Bio
Huta Raval – An English Literature and Journalism Topper, Huta Raval has graduated from the L D Arts College, Ahmedabad. Post serving for 23 years in the NBFC and Public Library Sectors her desire for ‘writing the unwritten’ brought her to the creative field of content writing. Her clientele comprises of NGOs, Blogging Platforms, Newspapers, Academic Institutions, et al.


