


If you want to give a new and fresh look to your house, painting is the absolutely right way to change the ambiance of your house. Doing painting at right interval of time will keep your house refresh and new. However,
Is it just paint or there are some other things that make your paint finish better?
Yes, it is a wall putty which makes your painting shine, makes it strong and saves cost, too. When it comes to perfect finish, wall putty is important prior to paint application. So, before you start, it is necessary to know about wall putty.
Let’s first understand, what is wall putty and why it is necessary for your house painting.
Wall Putty
In general, wall putty is nothing but the materials with high plasticity which are similar in the texture of clay or dough. It provides a protective smooth base for paint application. It also acts as a sealer or filler as you can fill cracks or any patches on the wall. It allows all types of colours to be applied over the walls. Putty comes in different colours and consistency. The good thing about wall putty is that it can be easily used on both exterior as well as interior surface whether it is old or new.
Purpose of Wall Putty Before Paint Application
Even after applying expensive paint, your wall may look uneven. This uneven surface needs to be filled with putty. Following problems or defects can be hidden using wall putty:
- Hair cracks and pin holes on walls
- Dampness on wall
- Uneven and rough cement plaster on the wall
- Cracking due to the ageing of walls
- Discolored patches
- Effloresces on walls
- Peeling of old paint
There are other defects that may visible on the wall and we have written detailed article on it.
The above defects make your home walls ugly, dull and uneven. Therefore, first identify all these problems on your wall before you start the painting of your house. Application of wall putty before the paint application helps you to achieve smooth, leveled, finished and stunning surfaces for all types of paint. The surface finishing, if uneven due to defective plaster will get improved.
Procedure for Applying Putty on Wall
Follow the steps below for applying putty on wall:
- Before you start applying putty on wall, make sure the surface is clean and dry. The surface should be free from dust, loose particles, or any other contamination. Remove this loose particle using sandpaper or wire brush.
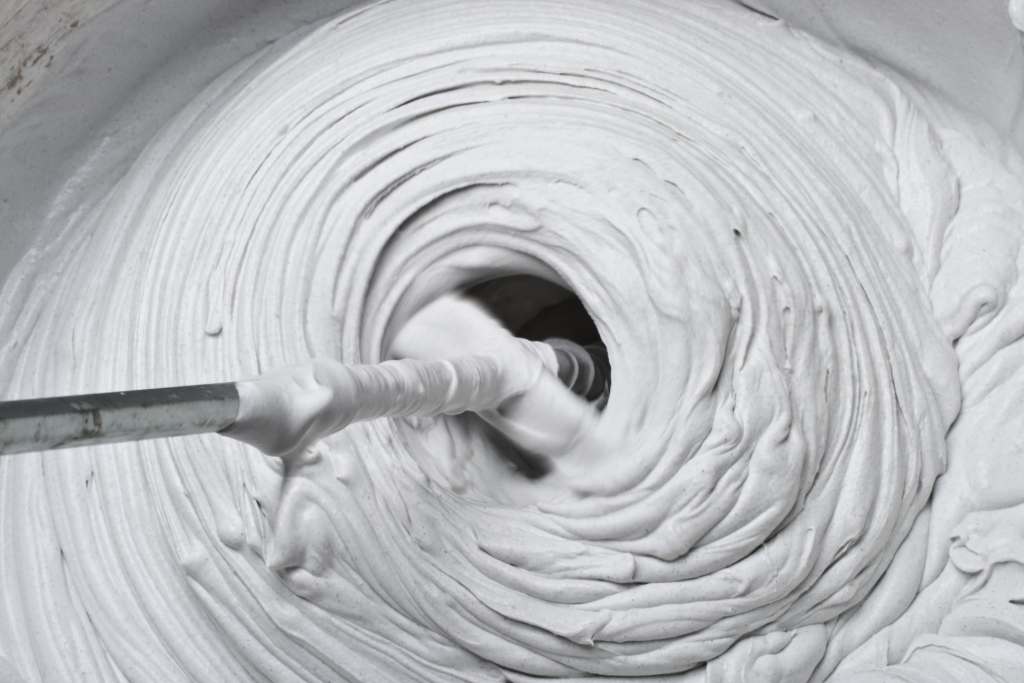
- Mix the wall putty in a pan and add water as per manufacturer’s instructions. Stir continuously by hand or an electric putty mixer for about 10-15 minutes till it gets a creamy, paste-like consistency.
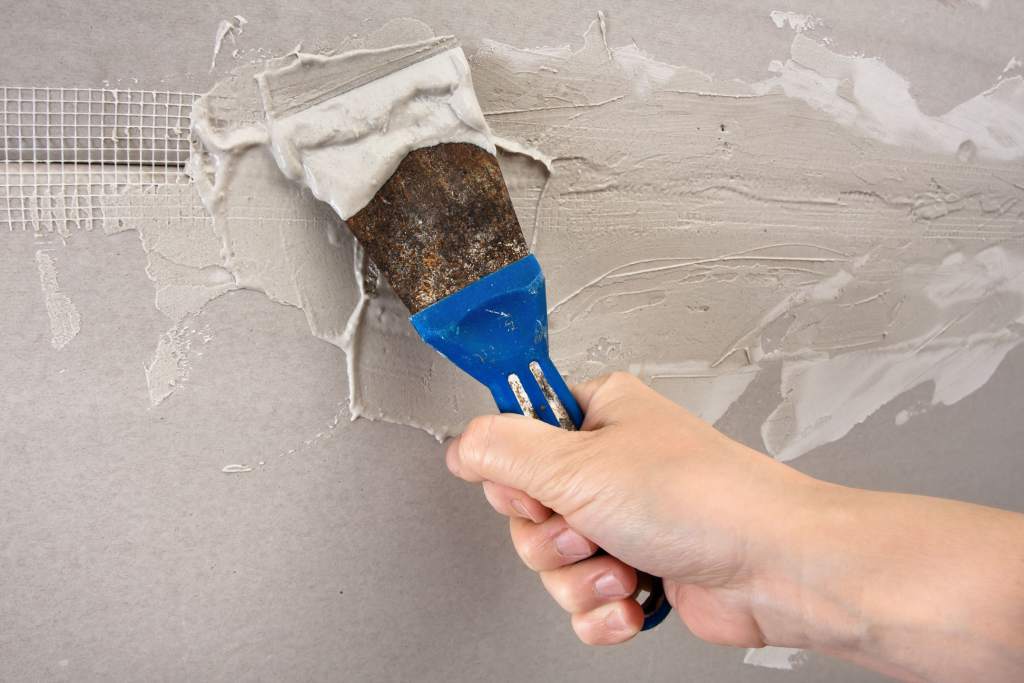
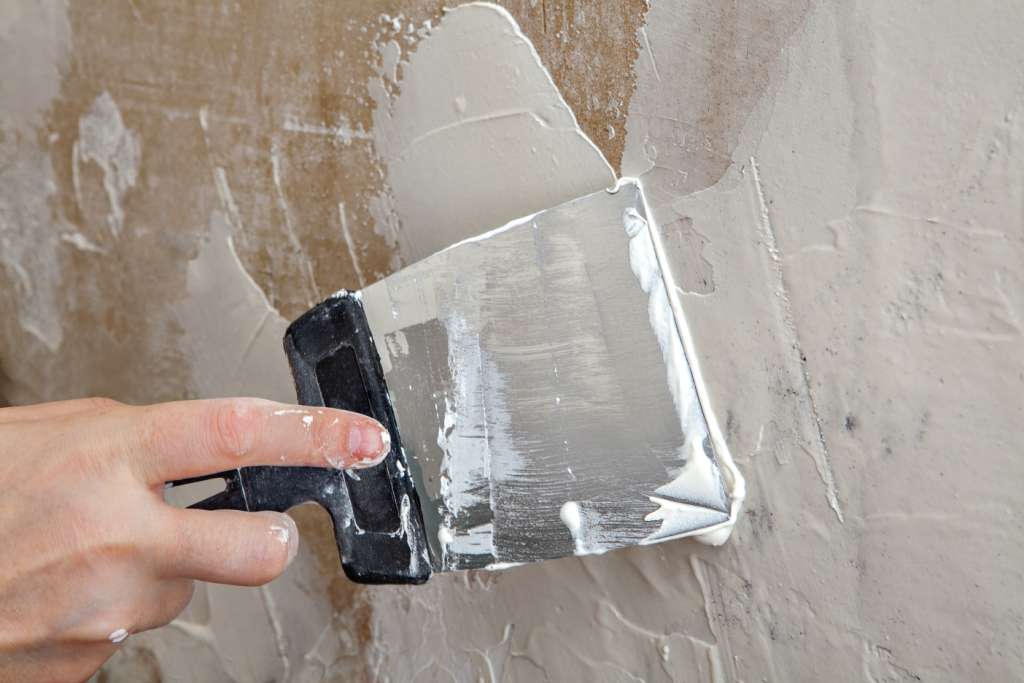
- Apply one coat of primer before applying putty on wall. Then apply the first coat of putty from bottom to top manner with the help of putty knife or spatula. Allow it to dry for a minimum 6 to 8 hours.
- After the first cost of putty get dried, apply a second coat of putty and dry it for hours. Once the putty dries completely, remove unevenness with the help of sandpaper.
We have also written a detailed article on how to apply wall putty?
Different Types of Wall Putty
There are various types of wall putty available in the market based on different purposes such as for interior and exterior walls. Basically, wall putty is differentiated into two types:
01. White Cement Putty
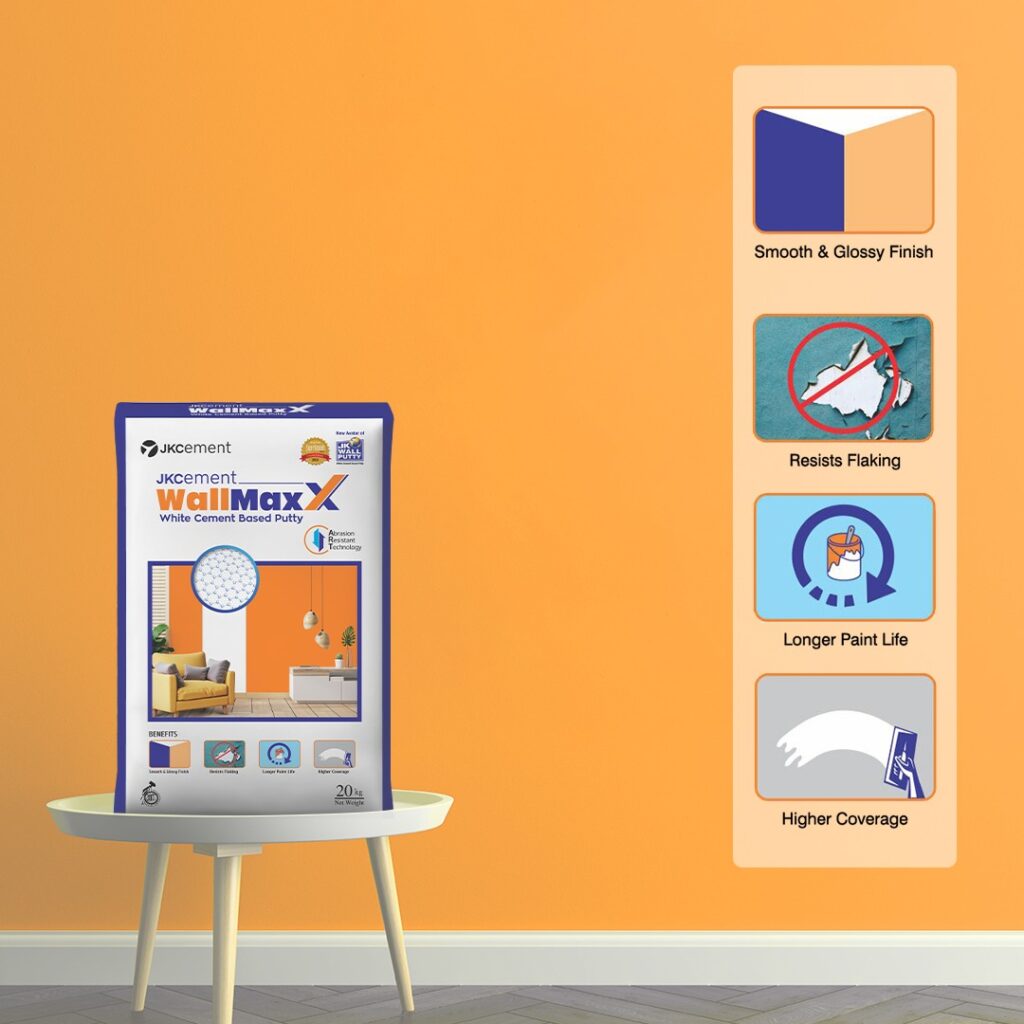
White cement putty is the most popular type of wall putty used nowadays. It is made by a mixture of white cement, mineral and polymers. White cement putty is ideal for indoor as well as outdoor walls. It comes in a smooth and glossy finish. For other detailed information of white cement putty, refer our article on it.
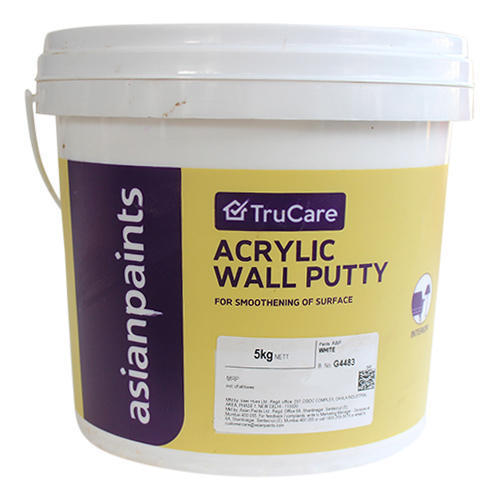
02. Acrylic Putty
Acrylic putty is a water-based wall putty which is made by white pigments, extenders, acrylic emulsion medium and additives. It is mostly used in interior surface and not on the exterior surfaces. Acrylic wall putty has a smooth and matt finish. We have also written an article on acrylic wall putty.
Thickness of Wall Putty
The total thickness of two coats of putty should be maximum 1.5 mm. Uneven thickness due to the unskilled application may cause problems.
Coverage Area of Wall Putty
The coverage capacity of wall putty depends upon the porosity and texture of the original surface. The average coverage capacity of wall putty approximately ranges from 20 to 25 kg/sq.ft/2 coats or 2 to 2.5 kg/sq mt/2 coats.
Packs Available
The putty is available in packs of 1kg, 5kg, 20kg, 40kg, etc. in HDPE bags or plastic container.
Applying Putty on Wall will Save the Cost of Painting
Wall putty is an ideal base for concrete or cement plastered walls and ceilings. It provides water resistant quality. As the wall putty application provides a smooth surface for paint, it increases the paint’s covering capacity. Therefore, applying putty on wall will reduce the consumption of paint and overall cost of painting and it will also increase the life of the paint. It also allows expensive paint to last several years. Hence, it will definitely save the cost of painting.
Popular Manufacturer of Wall Putty
Following are the popular manufacturer of wall putty in India:


These are the important points that you should know about wall putty. Now that you have all the information you need, evenly painted walls are within your reach!
Also Read:
Difference between Interior and Exterior Paint
POP, White Cement & Acrylic Wall Putty: Make Right choice
4 Simple Steps for the Application of Distemper Paint


