


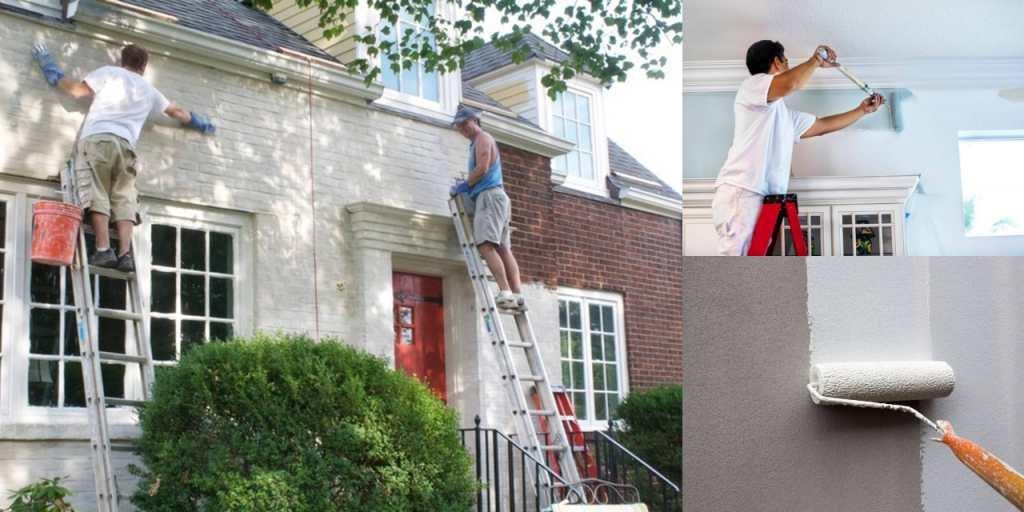
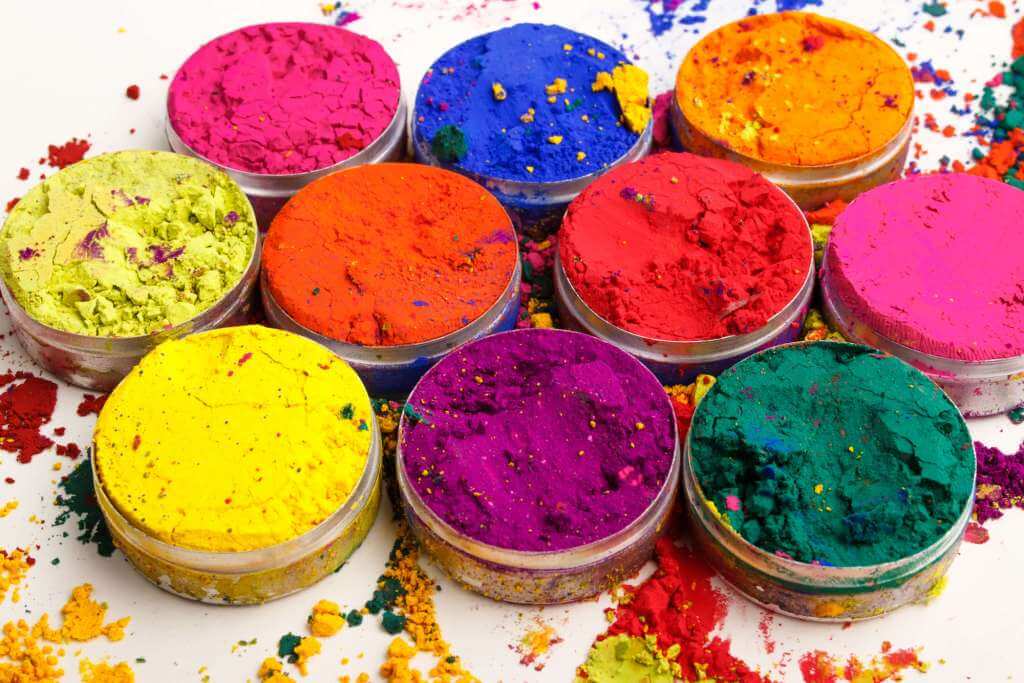
Painting your house is an absolutely easy way to instantly enhance the look of your house. It can transform your old house into shiny a new house immediately with less effort and cost. There are varieties of paint available in the market like emulsion paint, distemper paint, latex paint, enamel paint, etc. Distemper paint is amongst most common water-based paint used for the interior surface of the house. It is mostly applied on the wall and ceiling surfaces. The way you apply the paint is very important as colour itself. We have already described about distemper paint in our earlier articles.

Application of Distemper Paint
Application of distemper paint is same as the application of whitewash or colour wash. The difference is only that surface of finished distemper paint is superior to whitewash or colourwash. There are many manufacturers of distemper paint available in the market like Asian Paint, Berger Paint, Nerolac Paint, etc. They provide their product datasheet in which they provide instructions like “how to use their products?” These instructions should be followed strictly to achieve the best effective results.
However, here in this article, we have described step by step procedure of application of distemper paint which will help you along with the instructions given on the product datasheet.
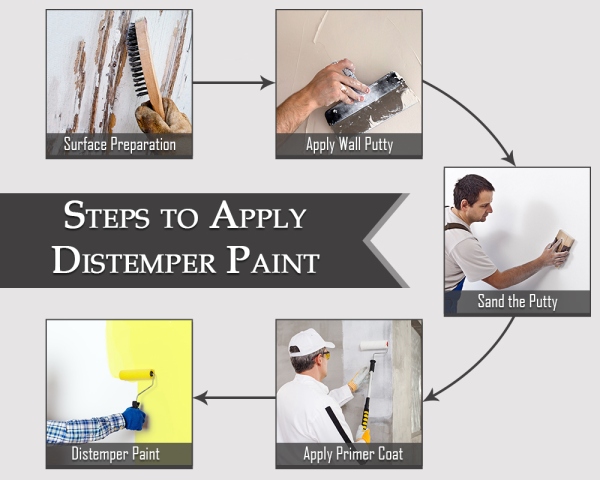
Procedure of Application of Distemper Paint
Step-1. Surface Preparation

(a) New Surface Preparation:
- If you want to paint a newly plastered surface, allow it to cure completely. As per the manufacturer recommendation, allow it cure for 28 days for new masonry. Preferably allow moisture to dry completely for 3 to 6 months period depending upon local climate or where there is high humidity.
- Remove the loose particles, dust, dirt, grease, wax, mortar dropping, etc. using wire brush or putty knife.
- Then wipe off the whole surface using a dry cloth.
(b) Old Surface Preparation:
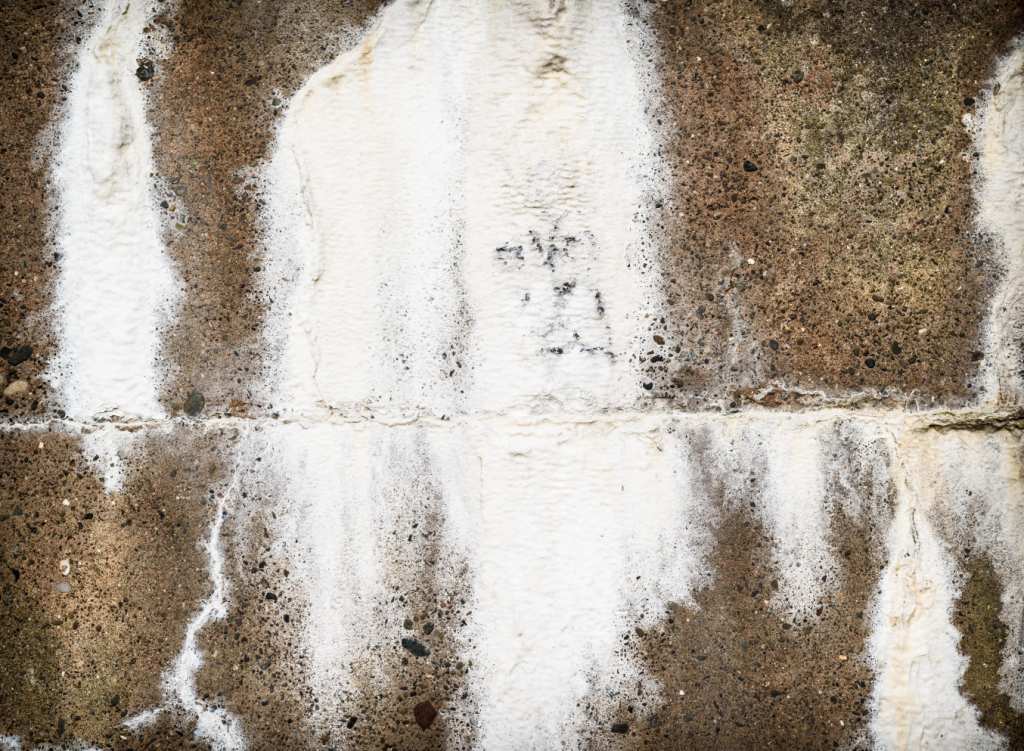
- If the distemper is to be applied on the existing painted surface, first remove the loose particles, dust, dirt, grease, wax, mortar droppings, growth of fungus, algae, dampness, etc. with the help of a putty knife or wire brush.
- Rub the old surface thoroughly with sandpaper. Wash the entire surface and allow it to dry fully.
- Fill the holes and cracks (upto 3 mm) with the putty and allow it for hardening.
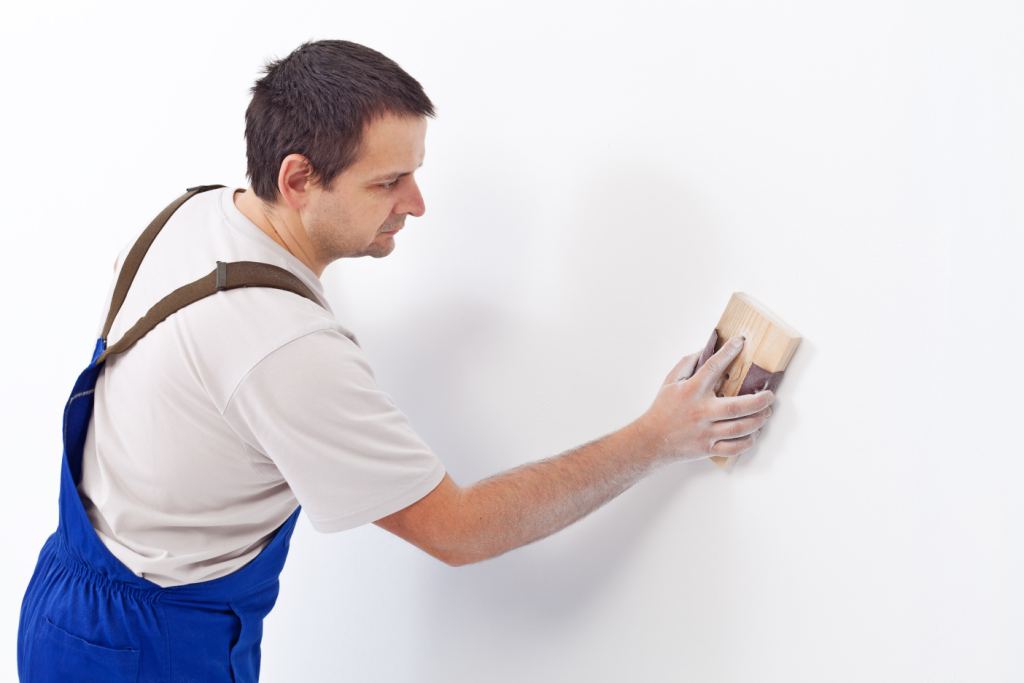
- Sand the wall with the sandpaper to get a smooth surface and wipe off the dust with dry cloth.
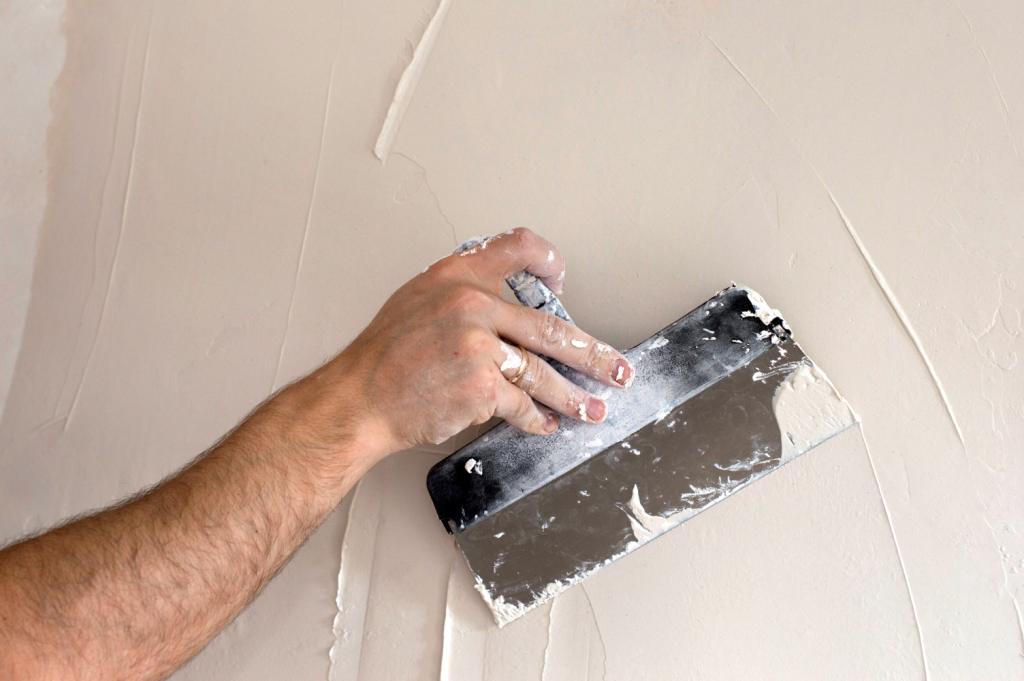
Step-2. Application of Wall Putty
- Apply one coat of primer before the application of wall putty and allow it to dry overnight. Some putty manufacturers recommend the application of primer coat before putty and some do not. Follow the manufacturer’s instructions as it might be governed by the quality and specifications of wall putty.
- Apply the first coat of wall putty in a vertical “bottom to top” manner by using a putty blade/spatula/ trowel or any finishing tool.
- Allow it to dry for minimum 6 to 8 hours.
- After drying of the first coat of wall putty, gently rub the surface with sand paper to remove the loose particle and uneven surfaces
- After finishing the first coat, start applying the second coat of wall putty.
- Leave the surface dry completely for 8 to 12 hours. After complete drying of second coat, rub the surface very gently to remove unevenness using sand paper.
- The minimum thickness of the coats should be limited to maximum 1.5 mm. If it is thicker, it may peel off or will crack later on.
- Drying time may vary according to the temperature variation, humidity and thickness.
For example, drying time will be significantly longer in cool and damp conditions and thick coating.
Step-3. Application of Primer Coat
- Once the putty is applied on the wall, the primer coat is applied to ensure a good bond between distemper paint and the surface and create a better finish. Primer coat provides the foundation for the paint job and increases the coverage of the paint.
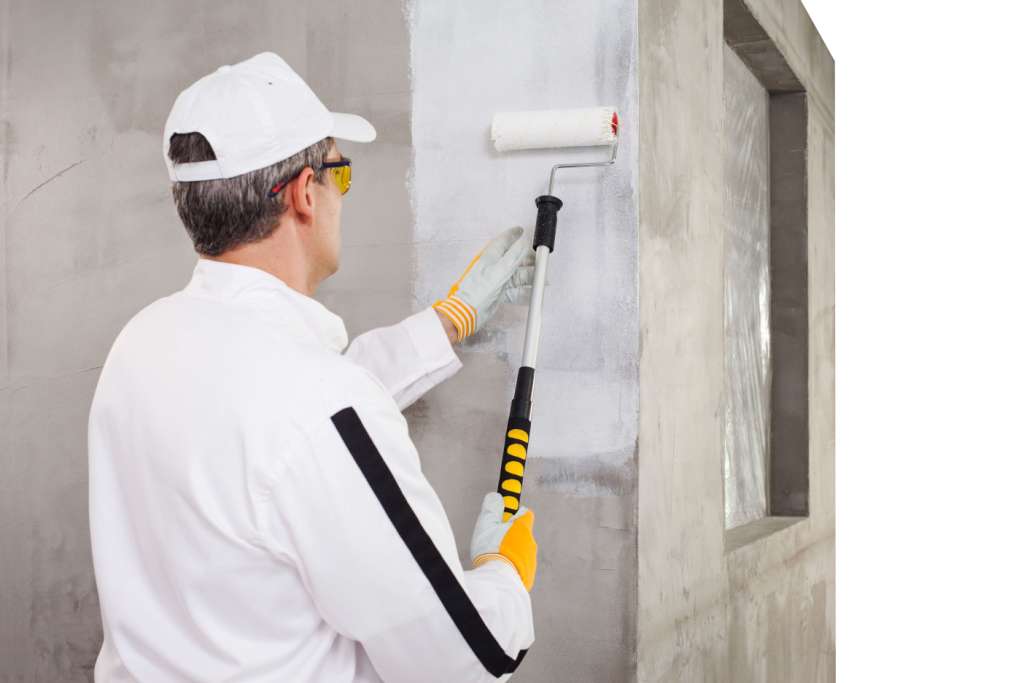
- Apply first coat of primer with brush or roller and leave it dry. After the drying of the first coat of primer, apply the second coat and leave it for 8 to 12 hours to dry.
Step-4. Application of Distemper Paint

- Dilute the paint as per the dilution ratio as recommended by the manufacturer.
- After the application of primer coat, apply the first coat of distemper paint with the help of a brush or a roller and leave it to dry for minimum of 12 to 16 hours. After the drying of the first coat of distemper paint, apply the second coat and allow it to dry overnight.
After finishing the application of distemper paint, prevent the surface from any dirty materials. Follow the above mentioned procedure to apply distemper paint and give your house an even fresh new look!
Also Read:
Difference between Primer and Paint
Tips to Maintain Paint Consistency During the Paint Job!
12 Qualities or Characteristics of Ideal Paint: Know Before Painting


