The primary function of any building is to offer shelter for humans, and the type of sloped roof is a crucial aspect of the structure. The sloped roof design protects from a variety of weather elements, including heat, rain, and snow. This can be a flat roof or a sloping slab.
What is a Sloping Slab?

What is a roof’s slope? In all places susceptible to severe rain or snow, the water or snow must be drained quickly to save the home from its adverse effects. Because wood is readily available in the United States, the pitched roof is more prevalent than the sloped slab roof design.
Pitched Roof v/s Sloping Slab
A pitched roof system has a deck or surface that slopes gradually from the top of the building or a heap of the rooftop to cover the entire building structure, also known as a single slope roof. Sloping slabs typically have a pitch of around 20 ° to the horizontal, while tiles have a pitch of 40 to 60 degrees. The roof’s minimum pitch or sloping degree (roof slope angle) is determined by the minimal slope required to exclude the roof cover and drain rainwater to the eaves or valley gutter. The slope of the roof is determined by the span, the site’s climate, and the nature of the covering material. The slope of a pitched roof should be such that people attending repairs can walk and work safely. The depth of the triangle frames at mid-span is determined by the pitched roof’s strength and stability. As opposed to a flat roof, a pitched roof is often lighter. The pitched roof structure is best suited to areas prone to high rainfall and snowfall. In recent years, concrete has also been used to make sloping slab roofs. If a single slope roof is built in a hot climate, it is advised that a false ceiling be installed for thermal comfort. Materials such as plywood, fireboard, asbestos cement sheet, thermocol, glass wool, and so on should be used for false ceiling work unless done in joint-less roofs such as RCC sloping slabs. Rafters and joists make up this type of roof system. The role of the joist is to regulate the spread or slippage of the rafters/walls and to provide convenient support for the ceiling below. The cross-section size of rafter timber is determined by the length of the rafter from the wall plate towards the ridge, the kind of roof covering, and whether purlins are used in the roof. It is regarded as more affordable to keep rafter cross-sectional dimensions as small as feasible; nonetheless, larger rafters will be required if an open roof area is required.
Let’s take a closer look at the slope roof benefits, types of slope roofs, and slope roof materials to gain a better understanding of them. Various types of roofing systems evolved over time but pitched roof systems still give a structure a classic aesthetic.
Advantages of Slope Roof
The slope roof house design is among the most crucial components of any structure, serving as the first line of defence against all environmental dangers. Various types of slope roof systems evolved over time but pitched roof systems still give a structure a classic aesthetic. Having said that, they continue to be the most popular and simplest choice for ensuring maximum protection. Let’s see some advantages of the sloped roof.
01. Style
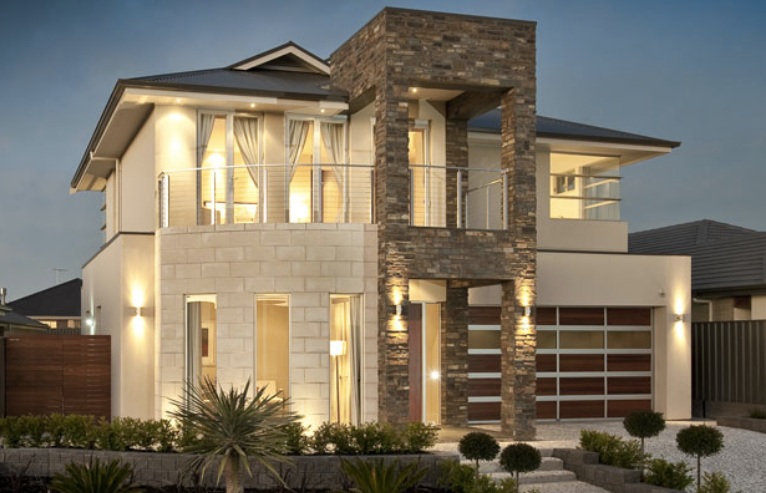
Standard roof slopes can be made in a variety of shapes and sizes, from simple two-sided slope roof sections to more sophisticated forms that combine hips and valleys.
02. Thermal Insulation
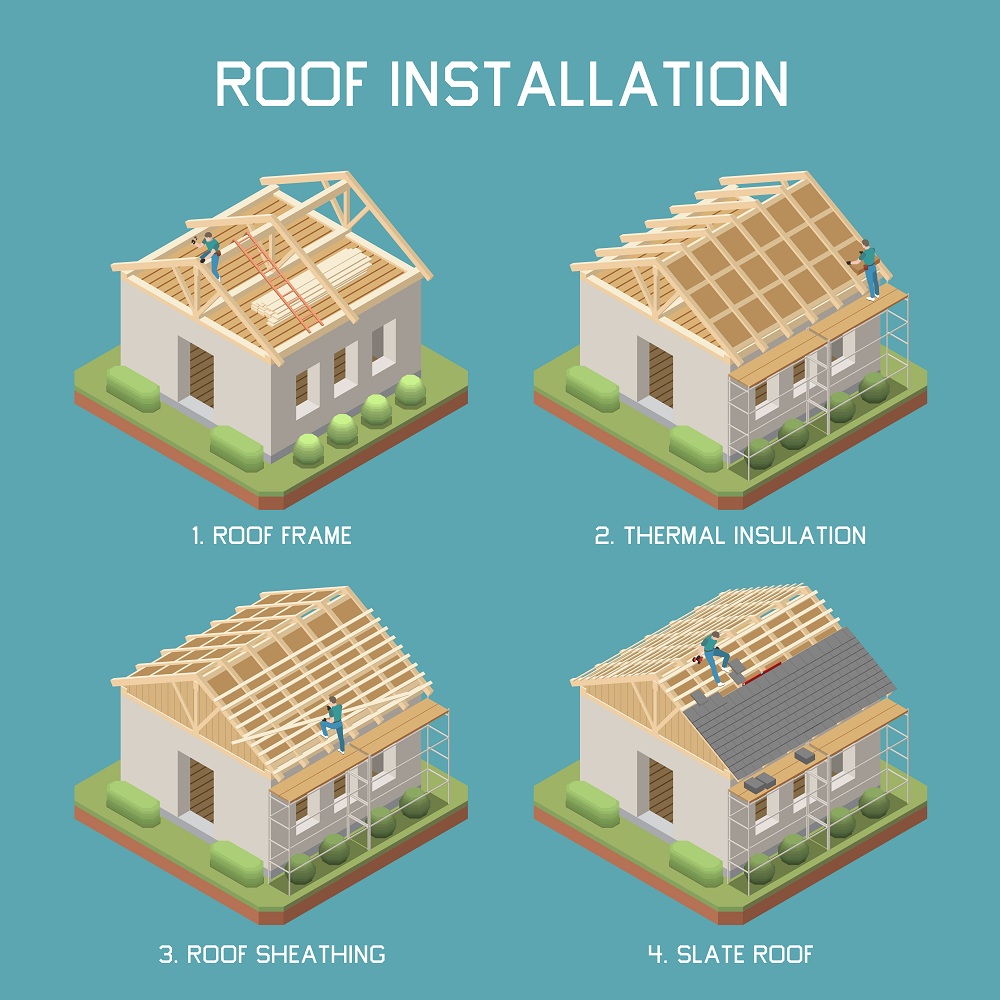
Slope roof designs are 10 to 15% more compact than flat roof houses. In addition, the sloping slab roof provides better thermal insulation by restricting the extent of the surface exposed to the outside.
03. Energy Saving

The sloped roof home design system of the structure is responsible for about 25–35% of the energy loss inside a building. An important benefit of sloped roofs is that they allow for natural ventilation between the structure and the outer layer, which also helps to save energy.
04. Withstand Environmental Hazards

Slope slab designs are ideal for protecting the house from the effects of snow, ice, water, and wind. They are stable, stronger, and provide optimum water drainage since they are shaped like a triangle. The durability, water resistance, and fire resistance of natural slate roofing tiles make them a crucial component of slope roof design.
05. Large Room Space
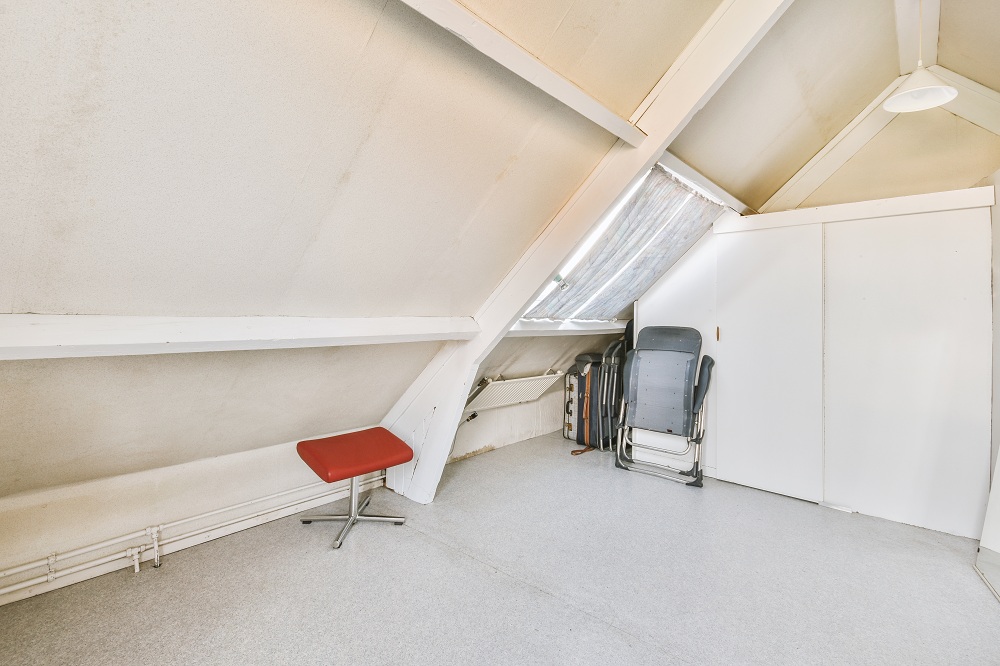
This type of sloping RCC roof enables additional rooms or storage areas beneath it without having to add an extra (expensive) floor to the entire structure.
06. Long Lifespan
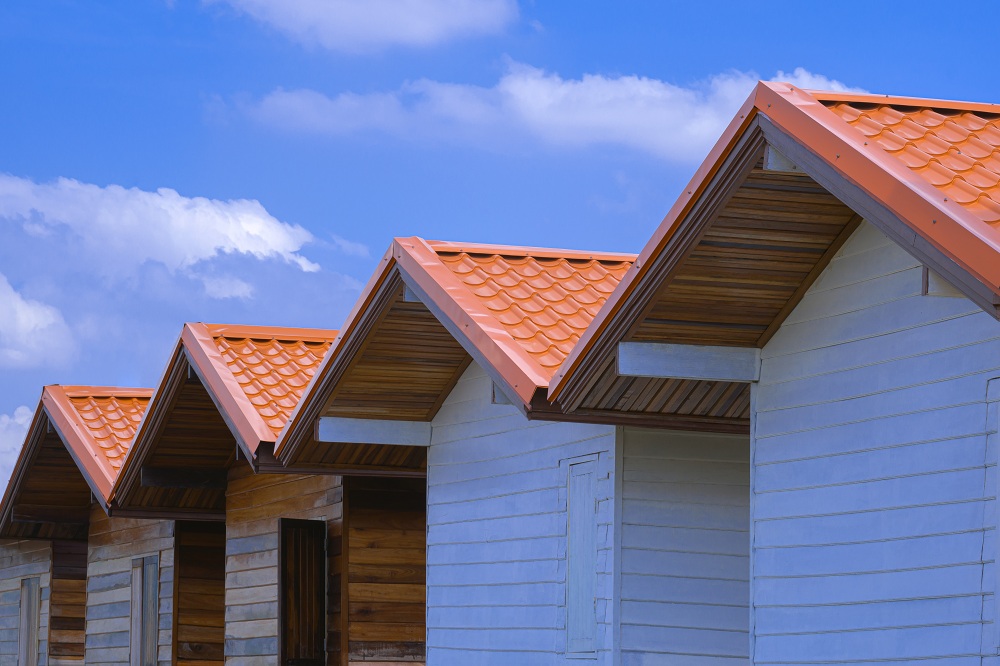
Flat roof drainage systems must be maintained on a regular basis to avoid leaks. Roof slope repairs are typically more expensive, but less frequent and less expensive repairs compensate. This is especially true if the roof is made of high-quality slope roof material, such as natural slate, which has a lifespan of more than 100 years and requires no maintenance. There are many slope roof types, which we will see further ahead.
07. Sustainable
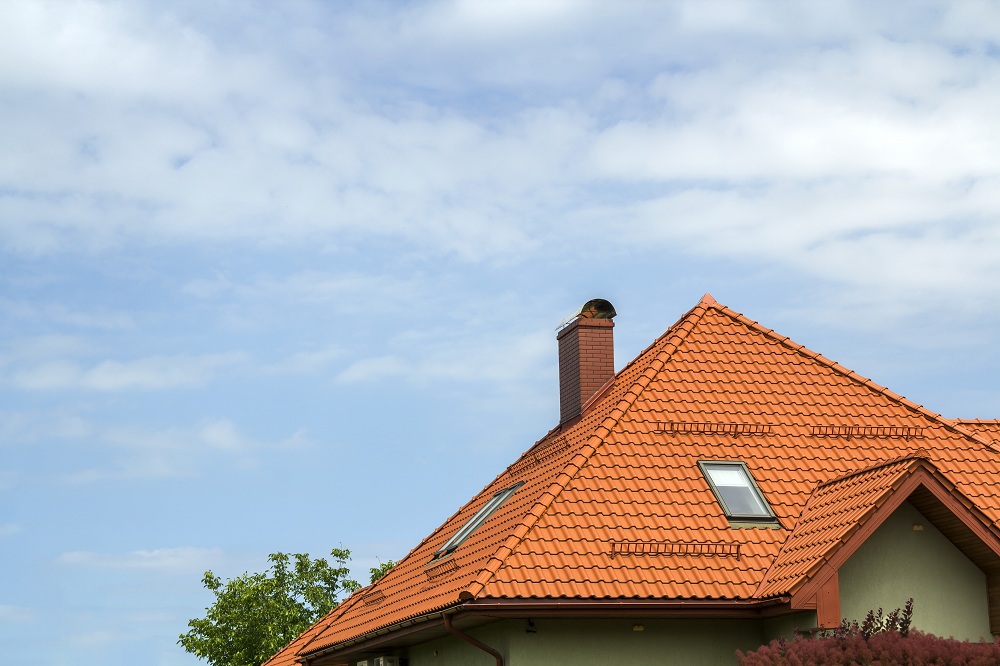
The sloping slabs may easily and effectively accommodate solar panels, and there is a wide variety of roofing tiles with green certifications. Before we get into the slope roof detail and casting work technique, let’s go through the equipment requirements, the scope of work, and the process of casting a sloping slab, which is outlined below.
Disadvantages of Sloping Slab
01. Cracks
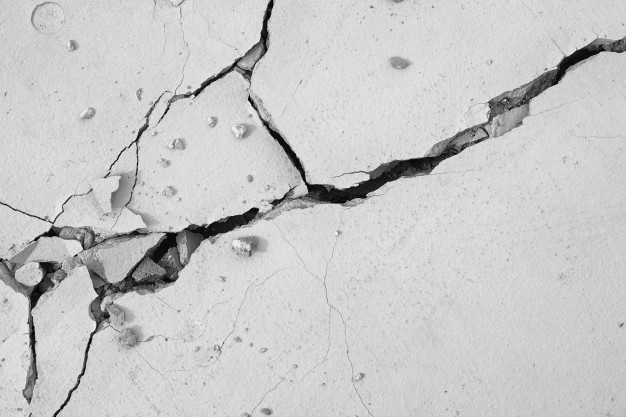
According to Miller, F. Mac Gregor, Powers, Laura J., and Taylor, Peter C (Author of Investigation of Discoloration of concrete slabs), unexpected concrete cracking is a common problem in sloping slabs. Cracking can be caused by one or a combination of variables such as drying shrinkage, heat contraction, shortening restraint (external or internal), subgrade settlement, and applied stresses. When the causes are considered and preventative measures are implemented, cracking on a standard roof slope can be significantly reduced. For example, joints are given in the design and added during construction forcing cracks to form in inconspicuous spots. Cracks that appear before hardening are mainly the result of settlement within the concrete mass or surface shrinkage (plastic-shrinkage cracks) induced by rapid water loss while the concrete is still plastic. As the concrete settles or subsides in the slope roof section, settlement cracks may form over embedded materials such as reinforcing steel, forms or hardened concrete. Settlement cracking is caused by insufficient consolidation (vibration), high slumps (overly moist concrete) or a lack of suitable protection over embedded items.
02. Water Leakage
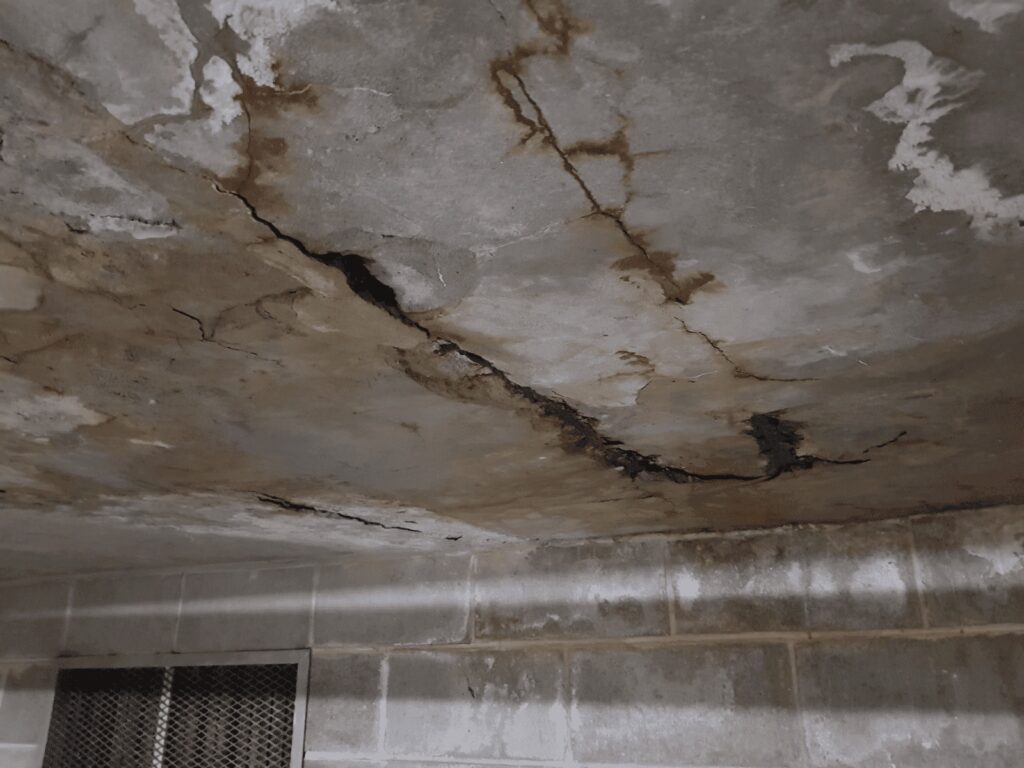
Concrete made using a minimal mix can hold water to varying degrees depending on the pressure exerted. The capacity of the standard concrete mix to absorb water increases as the concrete grade increases. It is also affected by the age and quality of concrete buildings. However, without the use of waterproofing additives or even other mixed design procedures, concrete is not completely waterproof.
03. Blisters
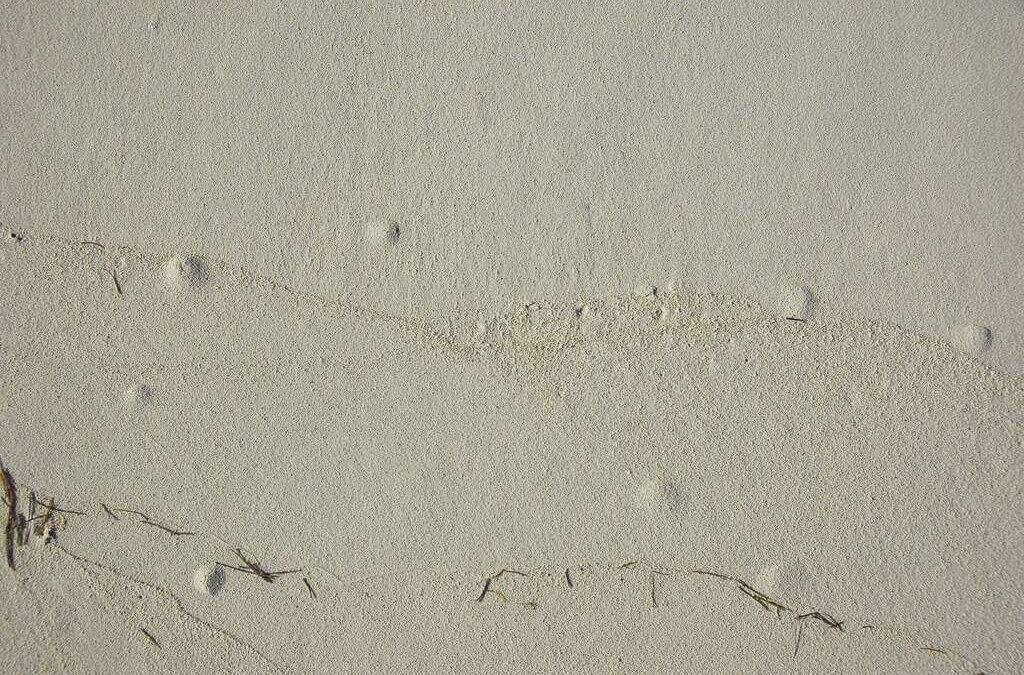
It is inconvenient when blisters emerge on the surface of a sloping slab during finishing operations. These varying-sized bumps occur when bubbles of trapped air or water rising through the plastic concrete get trapped beneath an already sealed, airtight surface. Blistering is caused by three major factors.
- According to experienced concrete finishers: a large rate of material passing the 600 m, 300 m, and 150 m (No. 30, 50, and 100) sieves, leading to an excessive quantity of entrapped air kept inside the concrete.
- When floating or completing it at any age, it is sealed. Sticky under drying winds, mixtures have a tendency to crust. The rest of the concrete is still plastic, and inside, trapped air comes to the top. Typically, that is all.
- To alleviate this situation, limit the amount of there is sand inside the mix. A sand decrease of 60 to 120 kg per cubic metre concrete metre (100 to 200 lb/yd3) could suffice.
04. Dusting
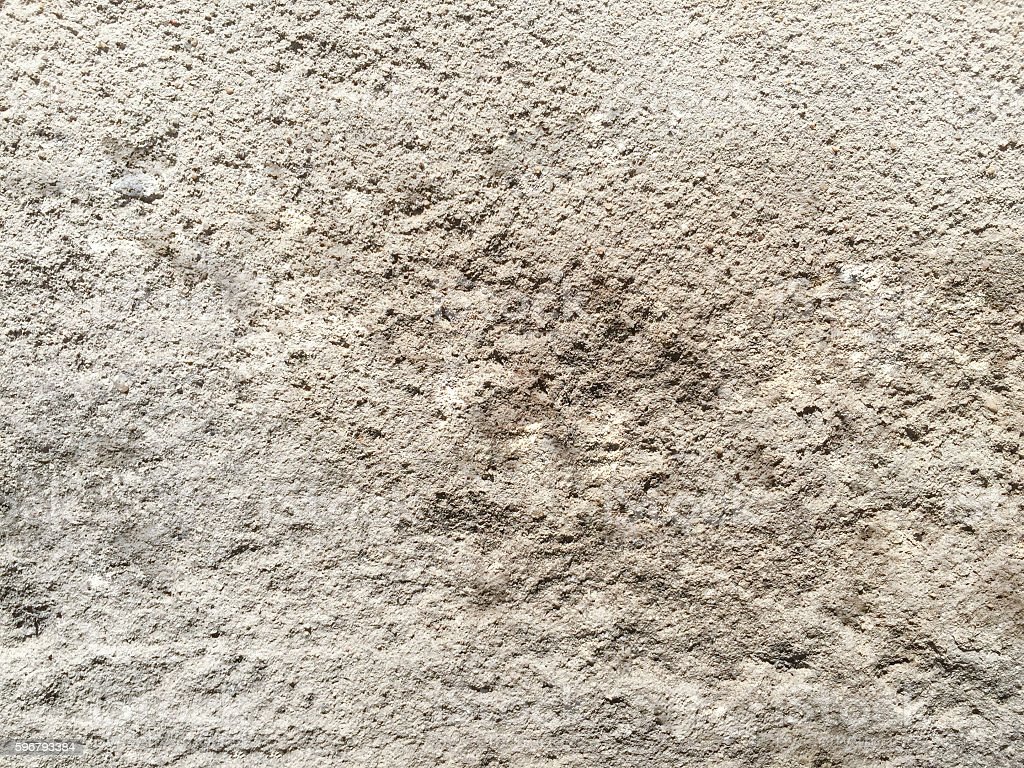
Both indoors and outdoors can experience dusting, which is the buildup of a thin, powdery substance that readily rubs off the surface of hardened concrete, but indoors is where it is most likely to cause problems. Laitance, a thin, feeble layer of water, cement, and microscopic particles, is what causes dusting. Dusting is a big problem in a sloping slab. Concrete is a fairly cohesive material with evenly dispersed aggregates, cement, and water. Before the cement hydration reacts sufficiently to form firm concrete, a specific amount of time must pass. The cement and gravel particles are partially suspended in the water during this time. The cement and aggregates sink because they are heavier than water. As they move downhill, the displaced water rises and emerges at the surface as bleed water, resulting in more water near the surface than in the lower area of the concrete. As a result, the laitance—the weakest, most porous, and least wear-resistant concrete—is located at the top surface, precisely where the toughest, most impervious, and most wear-resistant concrete is required. To avoid this type of problem with sloping slabs, we must take precautions while casting sloping slabs.
05. Popout
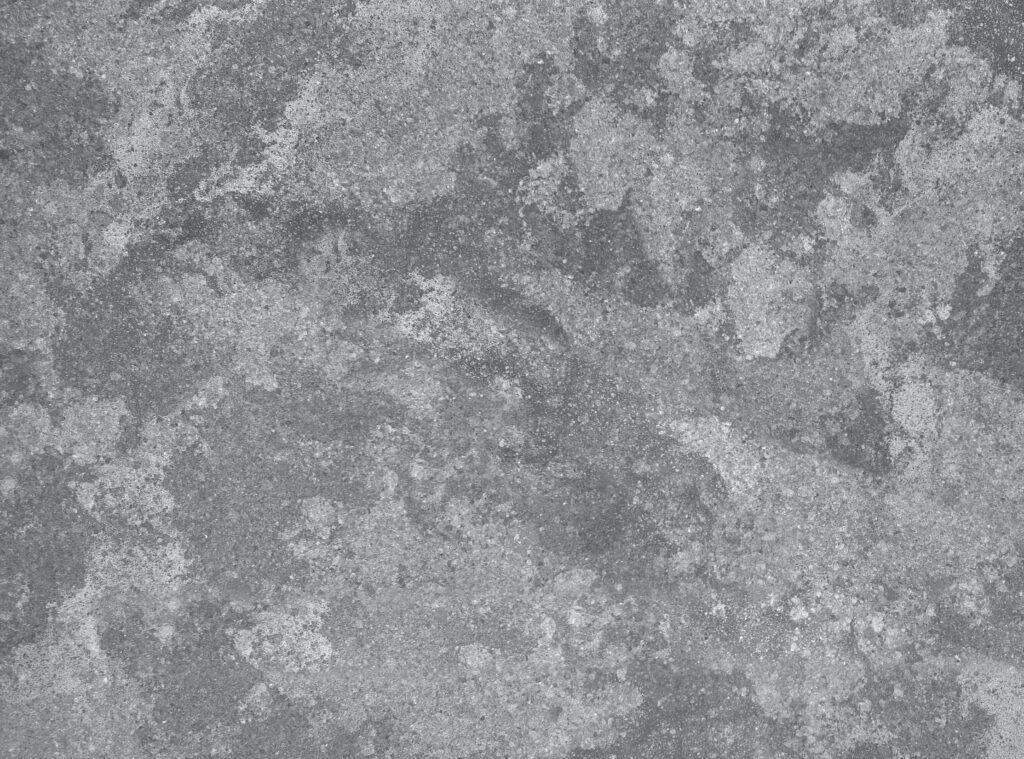
A popout is typically caused by a piece of porous rock with a high rate of absorption and low specific gravity. When the aggregate collects moisture or freezes in wet conditions, it causes internal pressures high enough to breach the concrete surface. Popouts are typically caused by pyrite, hard-burned dolomite, coal, shale, soft, fine-grained limestone, or chert. Popouts may also occur to relieve pressure caused by the water uptake of expanding gel generated during the chemical reaction between the alkali hydroxides in the concrete and reactive siliceous particles. The majority of popouts appear within the first year of placement. Popouts induced by alkali-silica reactivity (ASR) can develop as soon as a few hours after the concrete is put in and can last for weeks or even a year. Popouts caused by moisture-induced swelling might arise quickly after placement due to water absorption from the plastic concrete, or they can appear after a season or year of high humidity or rainfall, or after the concrete has been subjected to freezing temperatures. Popouts are regarded as a cosmetic detriment and have no bearing on the service life of the concrete.
06. Discolouration
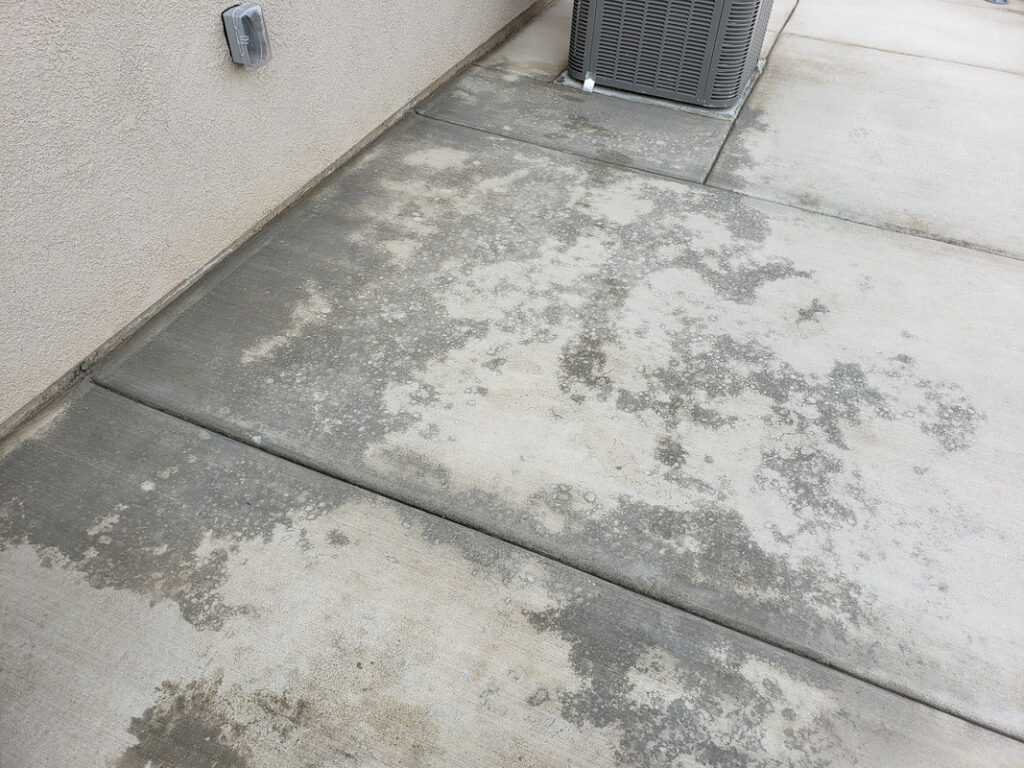
Surface discolouration of a small surface area of concrete can manifest as large-scale colour changes, spotted or speckled light or dark blotches on the top, or initial light patches of efflorescence. Laboratory research on the impact of various concreting techniques and concrete materials reveals that no single element is to blame for all discolouration. Calcium chloride admixtures, cement alkalis, hard-troweled surfaces, inadequate or improper curing, a wet substrate, variation in the water-cement ratio at the surface, and variations in the concrete mix have all been found to influence discolouration. Discolouration for various reasons emerges shortly after the concrete is placed. Later discolouration may be the result of atmospheric or organic staining—in other words, the concrete is unclean. Power washing with pressurised water and perhaps chemical cleansers are frequently used to eliminate this type of discolouration.
07. Low Spots
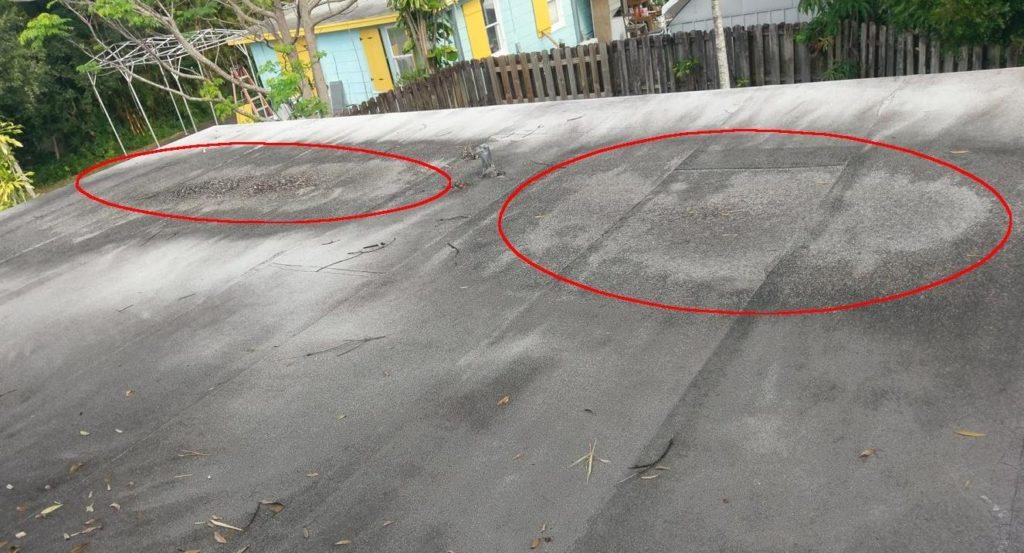
If items placed on the slab must be level, low places can impede slab drainage or serviceability. According to Taylor, Peter C., Detwiler, Rachel J., and Tang, Fulvio J (Author of Investigation of Discoloration of concrete slabs(Phase 2), Low spots are frequently produced by insufficient lighting during placement and polishing, as well as improperly positioned lighting damage to forms and screeds, form and screed grade sets. During construction, too wet or variable wet concrete was used, as well as ineffective placement and finishing procedures. Low spots can be prevented by (1) using a low-slump, low-water-content concrete mix, (2) providing appropriate light, (3) monitoring grades and levels often and filling low sections, and (4) employing a vibrating tool. (5) using a “highway” straightedge instead of a screed to strike off a bull float for surface smoothing and straightening.
Precautions for Casting Sloping Slab
01. Proper Quality of Cement
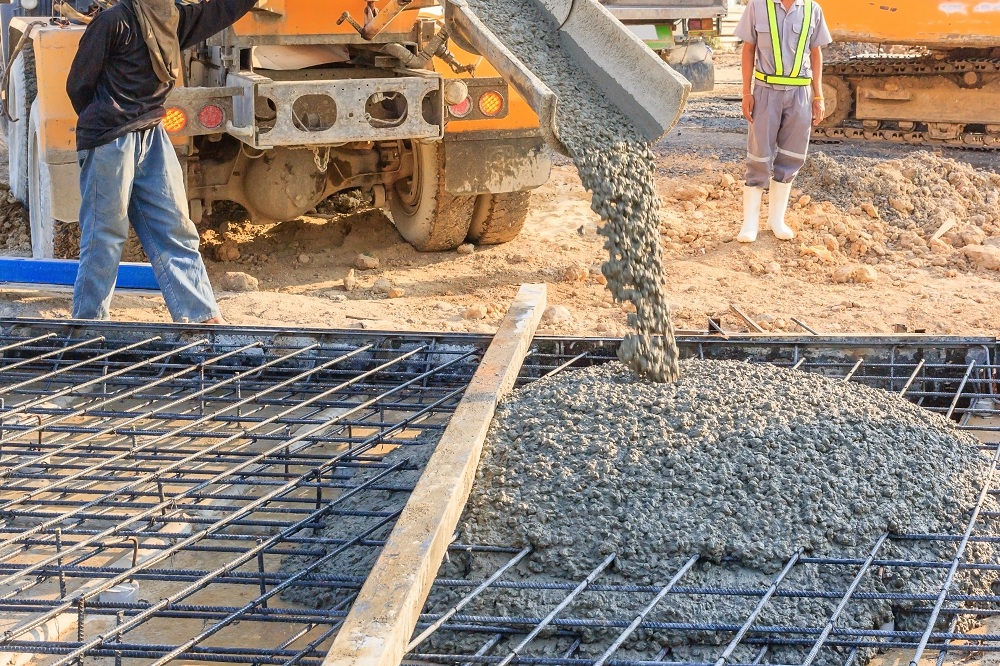
Ensure that all precautions for casting a sloping slab are in place. Standard roof sloping requires tests for checking the quality of the concrete ingredients that have been completed. The manufacturer’s test certificate on the quality of cement and admixture has to be available to demonstrate that they meet the criteria for slope roof material. Also make sure that regular sources of materials in required grades/sizes, including standby sources, are identified. Finally, make sure that the “First in, First Out” concept is observed when drawing cement for use in the works. The concrete must have the appropriate consistency and slump and the concrete cubes are manufactured and tested in accordance with the specifications.
Before pouring concrete, ensure that the centering, shuttering, and reinforcement have been approved by the engineer. Make sure that the concrete is put in and compacted before the initial setting. Insist on machine mixing in the appropriate proportions as specified in the design mix. Use only potable water while concreting. The quantity of cement and aggregate in a batch of concrete must be established by weight, unless the engineer allows volumetric batching. Ensure that the shuttering is strong enough to sustain dead and live loads, forces induced by concrete ramming and vibration, and other accidental loads placed on it during and after concrete casting. Ascertain that the surface has been treated with suitable mold oil. Slope roof house design is a very important aspect, so we have to take precautions in the slope roof section very precisely.
02. Correct Steel Bar Spacing
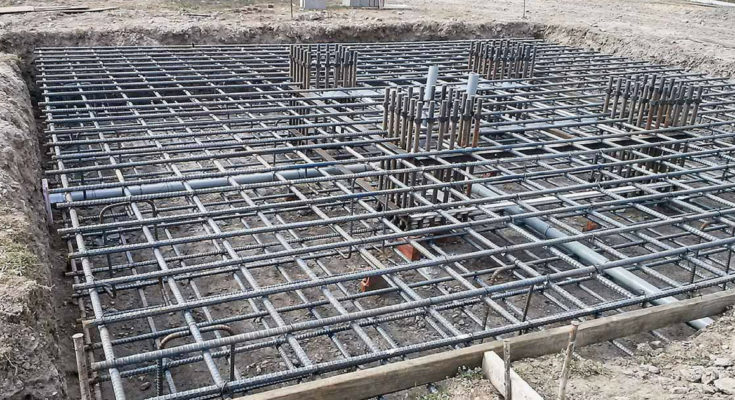
The reinforcement should be appropriately connected to reduce re-bar movement, and the binding ties should not protrude into the cover region/zone for proper roof slope angle. The distance between subsequent re-bars should be kept constant, and the alternative bars should be extended 0.3 times the span of the neighboring slope roof design slab. The lower reinforcement mat is held up by cover blocks, while the upper reinforcement mat is held up by steel chairs and edge U-bars. Laps in various bars should be staggered, and the lap length should follow IS 456 – 2000.
03. Formwork
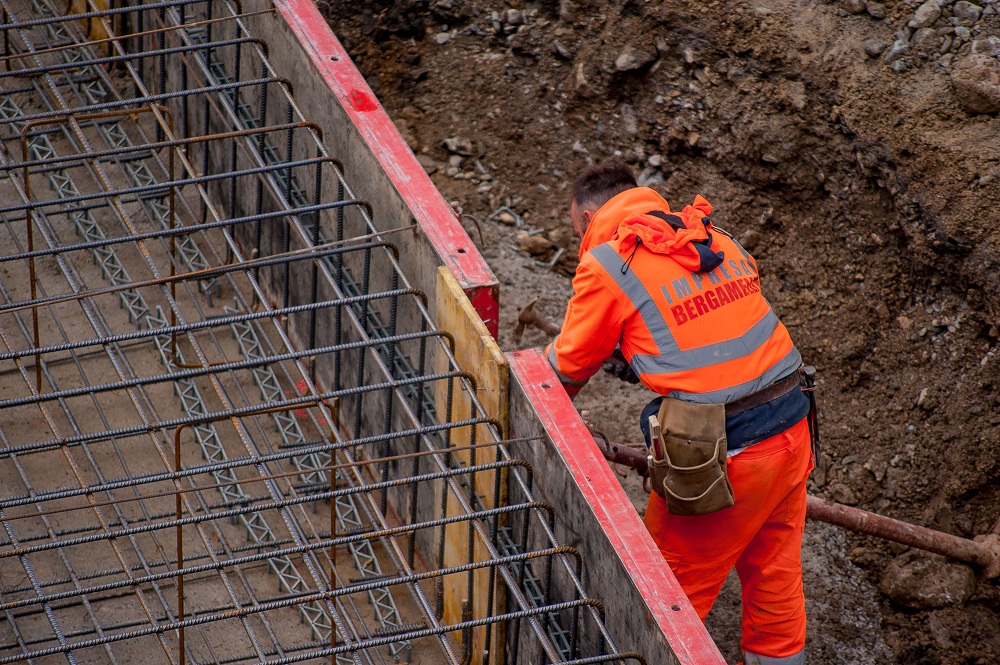
The formwork serves as a mold for freshly produced/placed concrete, allowing it to harden and achieve the appropriate shape. While placing and compacting the concrete, it should remain firm. The formwork should be watertight to prevent cement slurry loss, which reduces cement and water content. It also causes concrete honeycombing. Brown tape must be applied to plate joints to make them watertight. The formwork should be equipped with connections and props that allow it to be easily removed and reused with minimal maintenance. The formwork faces in contact with the concrete should be cleaned and treated with a form release agent to form a thin layer.
04. Curing
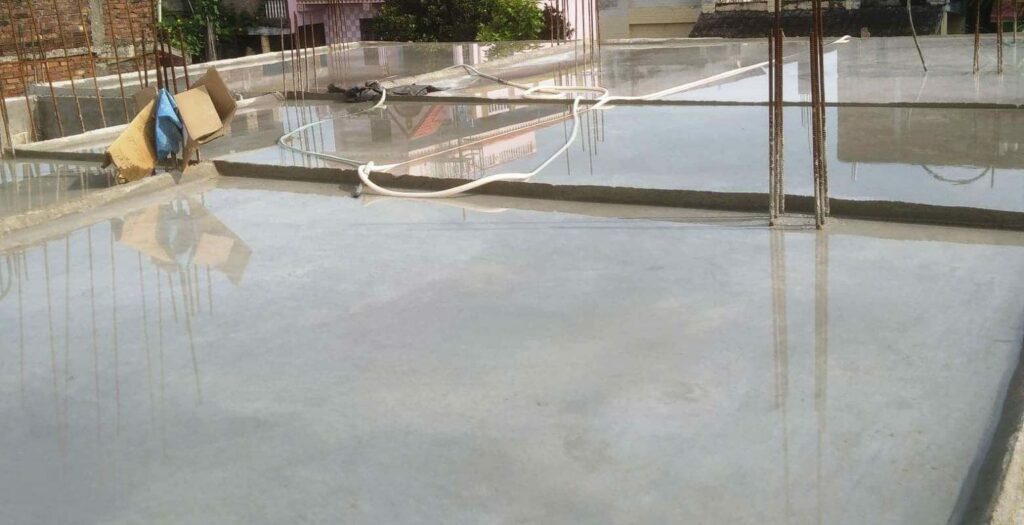
Curing should last 7-10 days and can be accomplished by ponding or utilizing membranes. The slab is divided into smaller rectangular pieces using mortar or clay, and these miniature ponds are filled with water. This curing process requires a significant amount of water. 24 hours after the concrete is cast, the curing process should start. Membrane curing can be employed in places where water is in short supply. A waterproof material called the membrane is used to cover the slab and stop water evaporation.
Materials and Machinery Utilised in Casting Sloping Slab
01. Vibrators
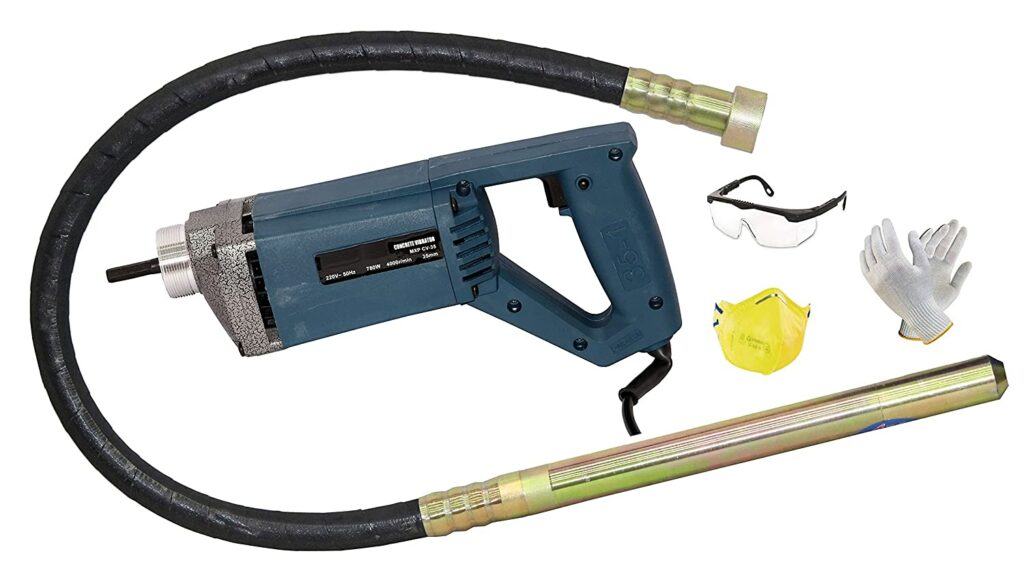
A concrete vibrator is a piece of construction equipment. These machines can arrive in a variety of shapes and sizes. While some are significantly larger and rely primarily on power cords, others are much smaller and run purely on battery power.
02. Transit Mixtures
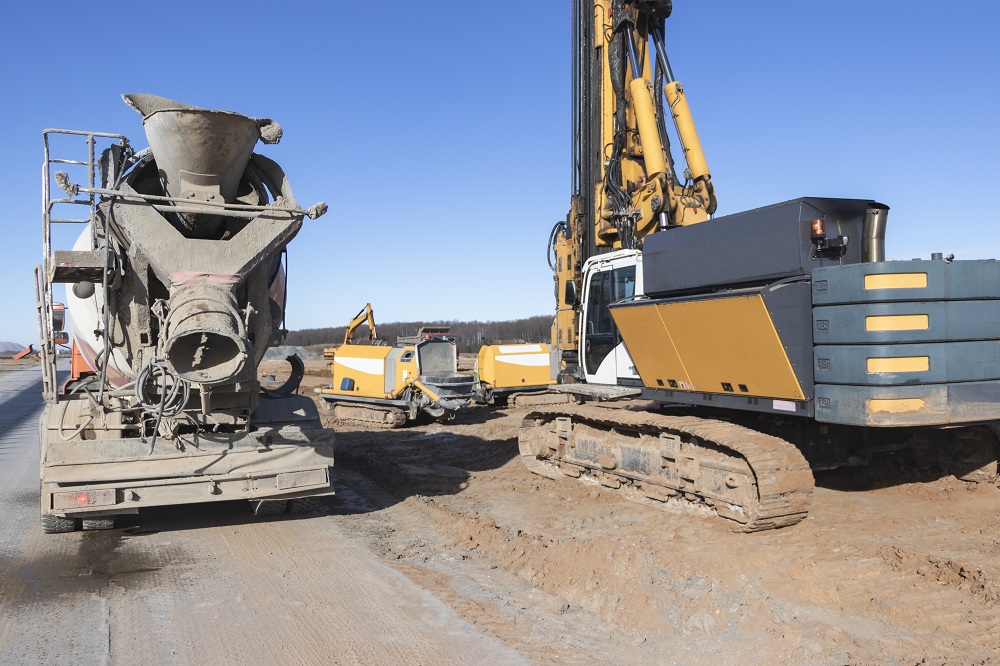
A transit mixer is a versatile piece of equipment used to move concrete and mortar from a ready-mix concrete plant. The transit mixer is filled with dry material and water. It is made out of a drum with a spiral blade that can move in both directions.
03. Chute and C.I. Pipes
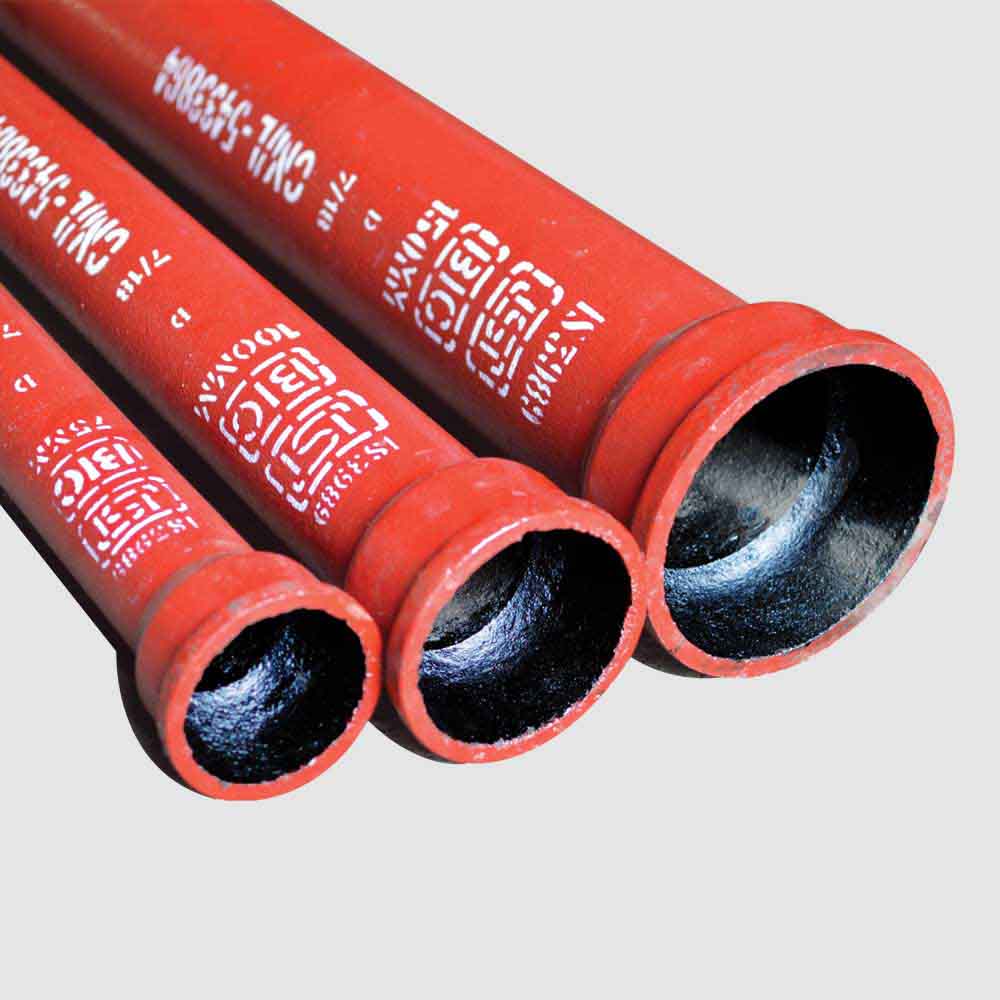
Water pipes and chutes for water distribution, wastewater and rainwater drainage. Metal pipes, metal chutes, and metal tubes are used for the disposal and transportation of solid garbage, recyclables, and/or soiled linens within or between buildings, facilities, and complexes.
04. Batching Point
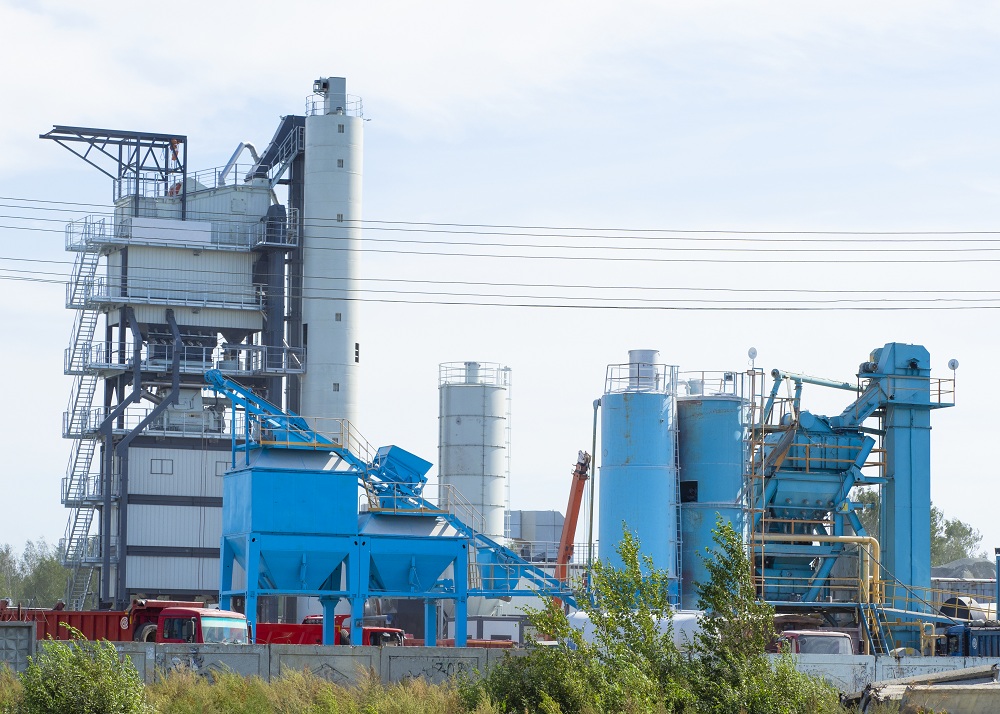
A concrete plant, often known as a batch plant, batching plant, or concrete batching plant, is a piece of machinery that combines various components to create concrete. Water, air, admixtures, sand, aggregate (rocks, gravel, etc.), fly ash, silica fume, slag, and cement are among the inputs.
These materials and machinery are used to build different types of sloped roof designs. Let’s talk about the process of casting a single-slope roof.
Process of Casting Sloping Slab
01. Marking the Slab

The painted red bands indicate that the tendons run close above the red marks. This is to ensure that no drilling occurs in this zone for the purpose of repairing electrical or other fixtures. This is the first process of casting a sloping slab.
02. Positioning Reinforcement
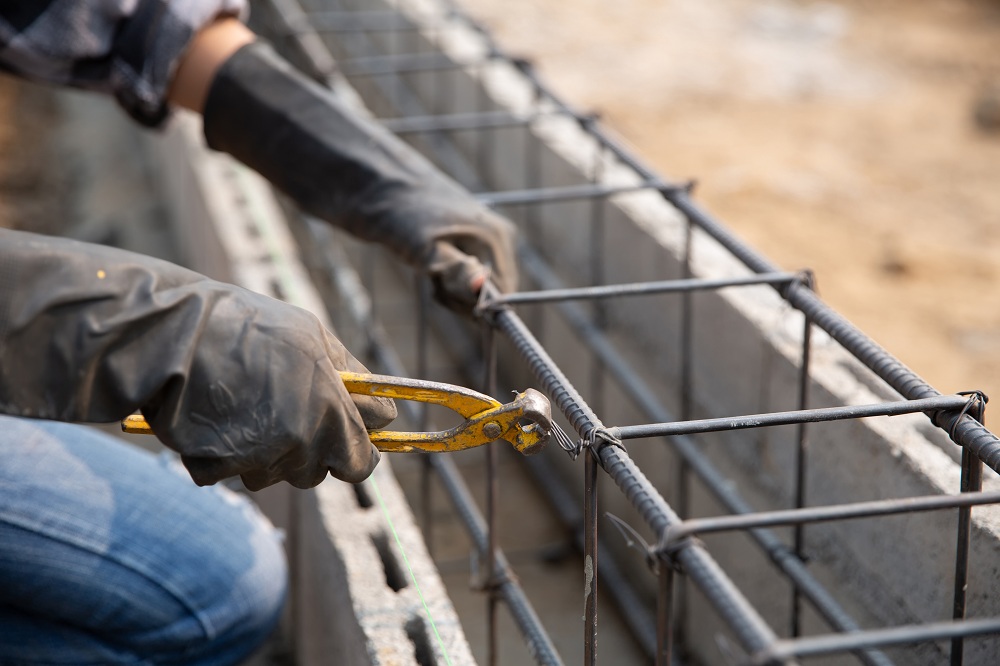
The placement of rebar is crucial to the design of a structure. In the 6-inch slab, lowering or lifting the top or bottom bars by even a quarter more than necessary can reduce the structure’s capacity to support loads by 20%. As a method of casting a sloping slab, reinforcement bar support must be used whenever necessary.
03. Formwork of Slab
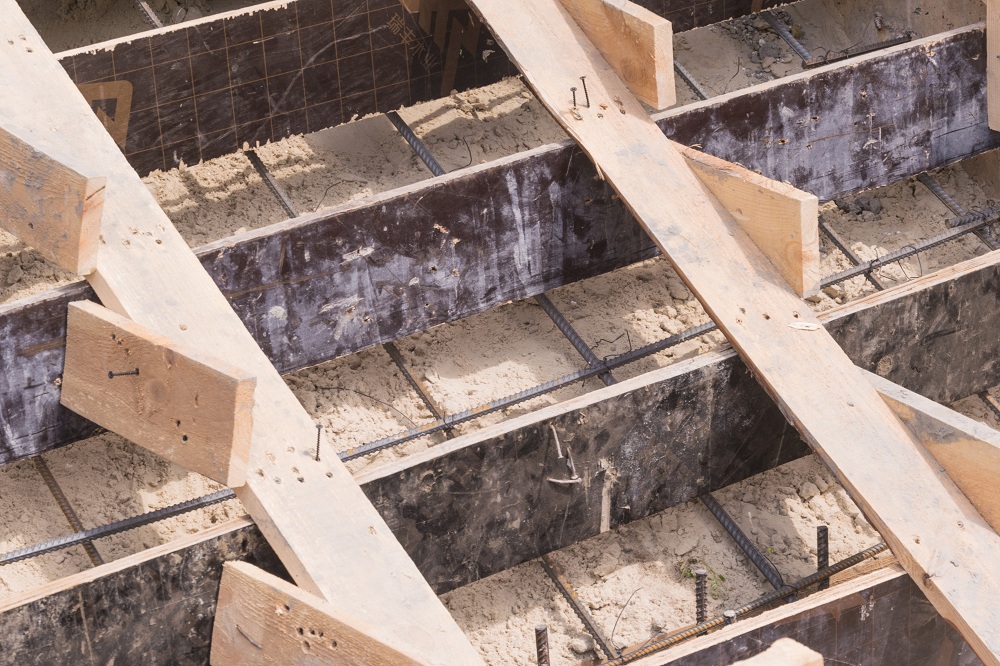
Formwork is just a temporary arrangement that is used to keep concrete in position while it cures. Formwork is firmly braced and supported because concrete is such a hefty substance. Before pouring the concrete, the sheating should be well-greased to make it simpler to remove the formwork once it has dried.
04. Positioning Concrete
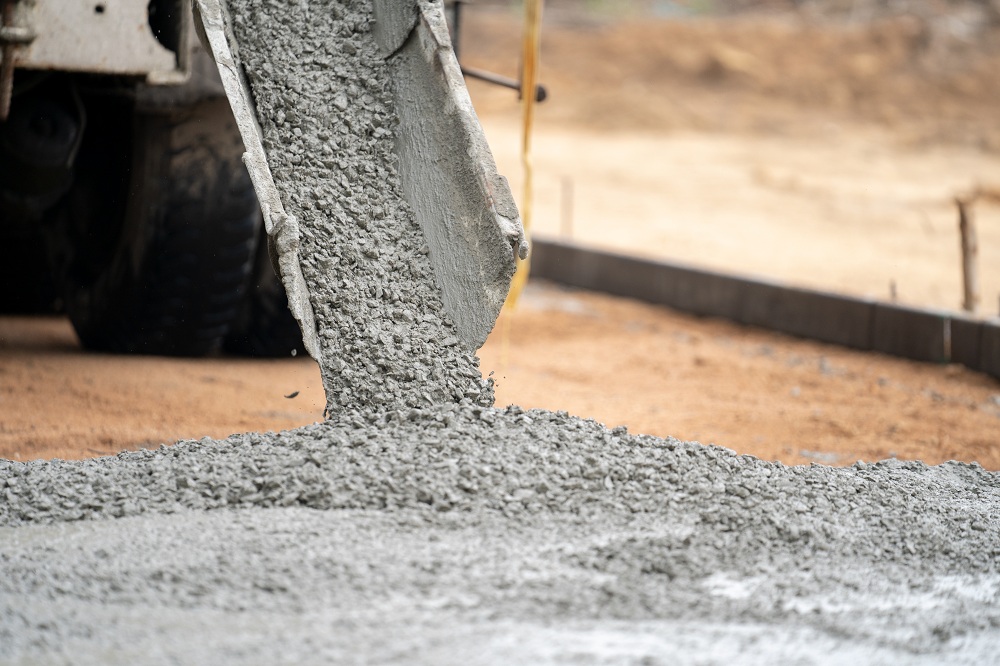
Buckets, hoppers, manually operated or motorized buggies, chutes and drop pipes, conveyor belts, pumps, tremies, and paving equipment are used to place concrete. Concrete can also be laid using the pneumatically deposited layer technique known as shotcrete.
Work Procedure
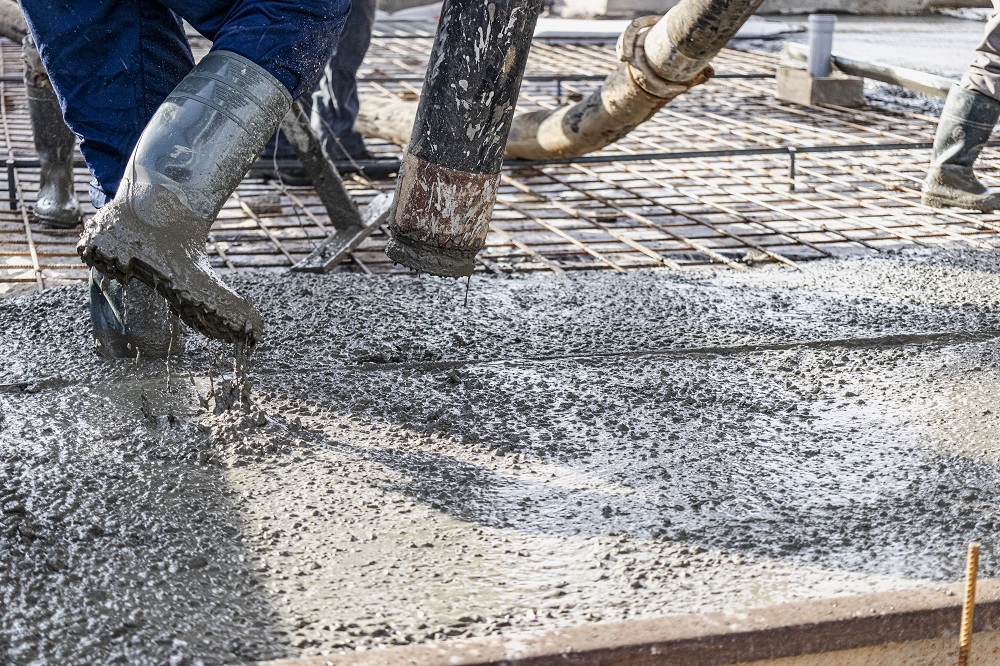
The standard process of casting a sloping slab is to make the spacing between rafters 400mm (16 inches); closer spacing allows for the use of small section rafters and battens that are fixed to the rafters to locate/fix the slates or tiles. The greater the gap between rafters, the thicker the rafter and lath timbers must be. Rafters are fastened to a wall plate at the top of each supporting wall; these are typically 100x75mm (43) lumber inserted in a cement mortar on top of the inner skin of a cavity wall or the inner part of a solid wall. Where the wall plate timber portion meets the wall plate timber section, a half-lap joint must be used. Each rafter has a small triangular part cut out of it (referred to as a ‘bird’s mouth joint’) to allow it to fit neatly over the wall plate. The rafter’s top is angled and affixed to the ridge board, which is normally 175mmx32mm (71/2 inch) mounted vertically. Purlins and their related struts provide extra support for the rafters. Purlins run perpendicular to the rafters, and struts are placed under every fourth rafter to connect to a joist above a foundation wall below. Hangers are used to support the ceiling, together with a longitudinal binder going perpendicular to the joists. Each hanger is nailed between both the rafters every fourth and the joist below. The larger the joist, the less likely it is that hangers will be required. Hangers are used to support the ceiling, together with a longitudinal binder going perpendicular to the joists. Every fourth hanger is nailed between the rafters and the joist below. The larger the joist, the less likely it is that hangers will be required.
Let’s go further and checkout what machines and materials are used in casting a sloping slab and what are the generally faced problems in sloping roof types.
Summary
According to E. H. K. Park (Author of R.C. Flat Plate under Combined in-Plane and Out-Of-Plane Loads) material handling is reduced since the total tonnage of steel (non-prestressed + prestressed), and concrete is less than for a Reinforced Concrete floor. Where the wall plate timber portion meets the wall plate timber section, a half-lap joint must be used. As the moment for laying the roof slab approaches, most home builders have anxiety attacks as well as bouts of self-doubt. Although guidelines for the correct laying of the house’s sloping slab have been proposed numerous times, readers continue to seek a short guide or chart to follow when the pitched roof of their house is to be set. Here are some pointers to help our readers get through this challenging time.
Don’t forget to check some interesting articles about doors mentioned below:
What are the different types of roofing materials for flat and sloped roofs?
Single Roof and Double Roof: All you Need to Know
6 Roof Maintenance Tips You Need to Know
5 Most Common Roofing Problems That You Shouldn’t Avoid
Image Courtesy: Image 1(a), Image 1(b), Image 2, Image 3, Image 10, Image 11, Image 12, Image 13, Image 15, Image 16, Image 18, Image 20, Image 21, Image 23